


Introduction
Le modèle présenté est une Peugeot 106 - 1.0 i 50cv
-
-
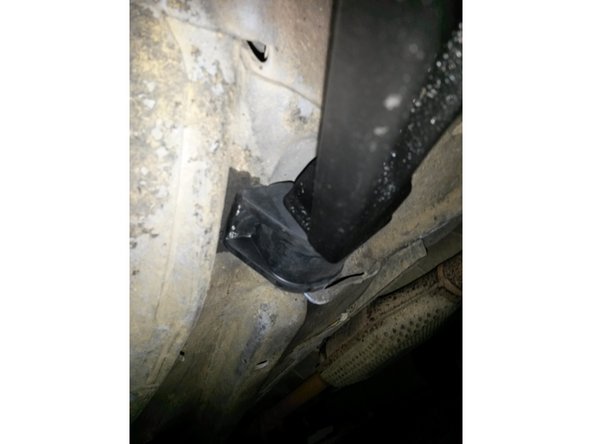
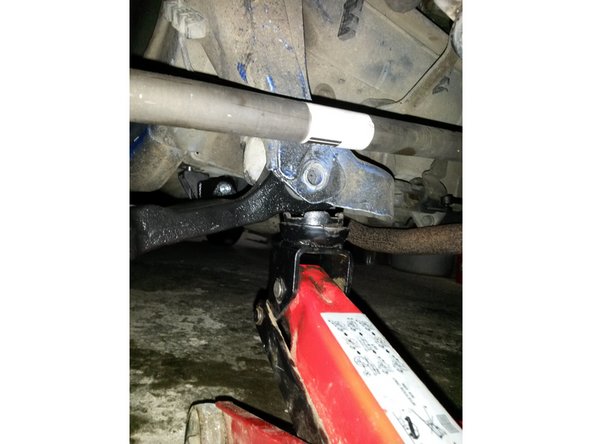
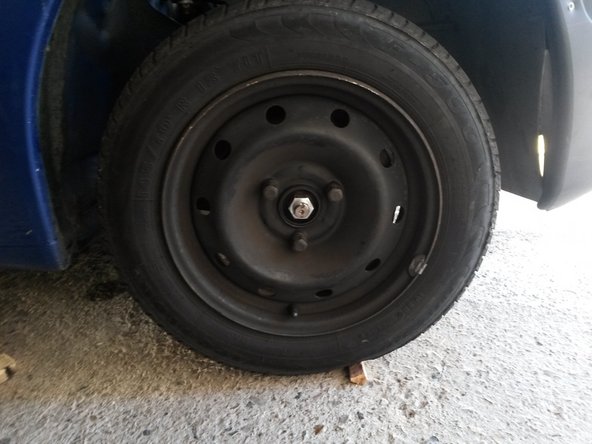
Positionner le cric sur le point d'ancrage conseillé par le constructeur et lever la voiture
-
Positionner la chandelle sous le berceau à coté du triangle et mettre la voiture en appui sur la chandelle
-
-
-
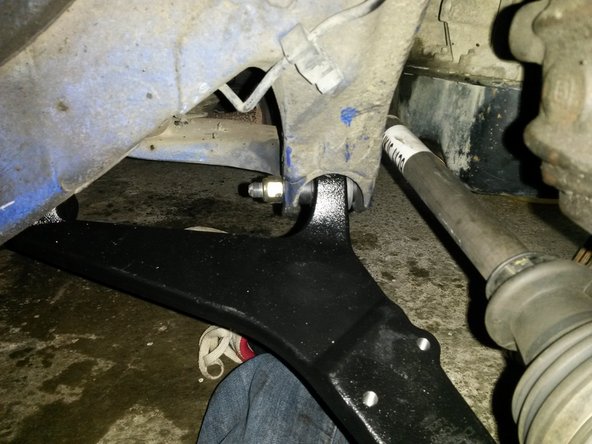
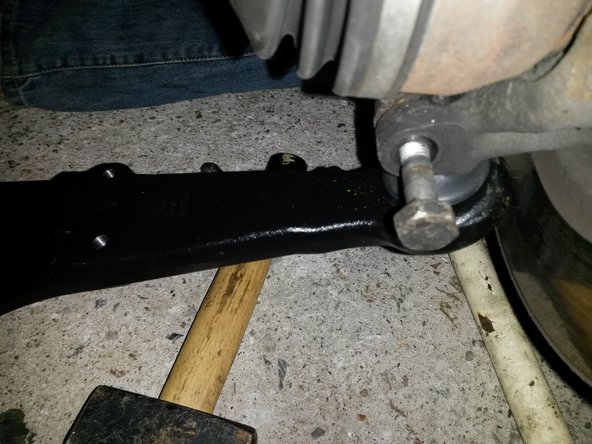
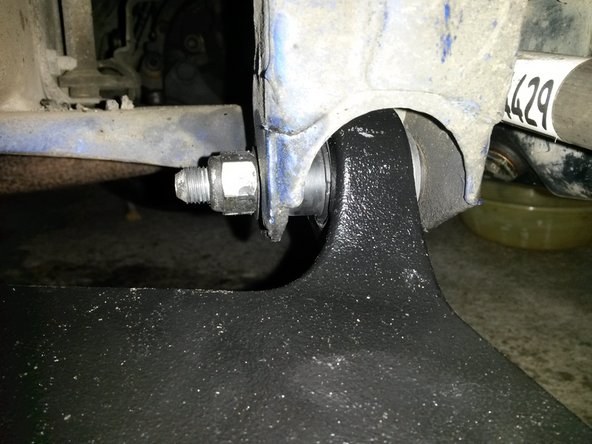
A l'aide d'une clé de 17, dévisser le boulon qui maintient la rotule inférieure.
-
A l'aide d'une barre, sortir la rotule en faisant pression sur le triangle vers le bas
-
-
-
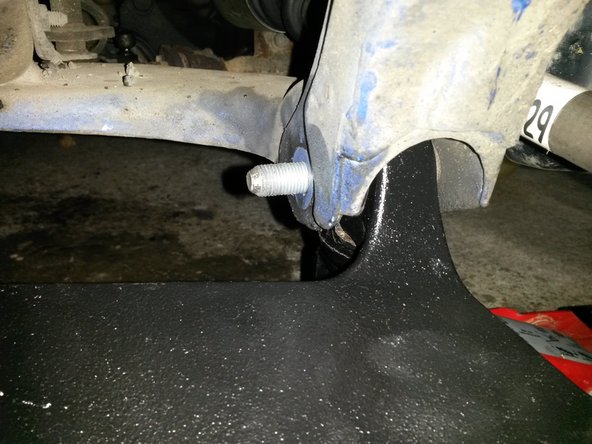
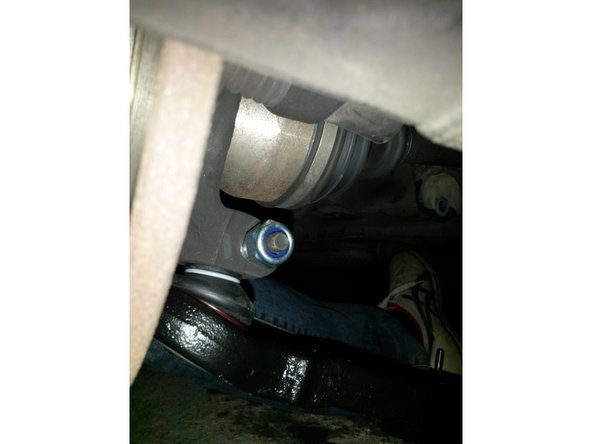
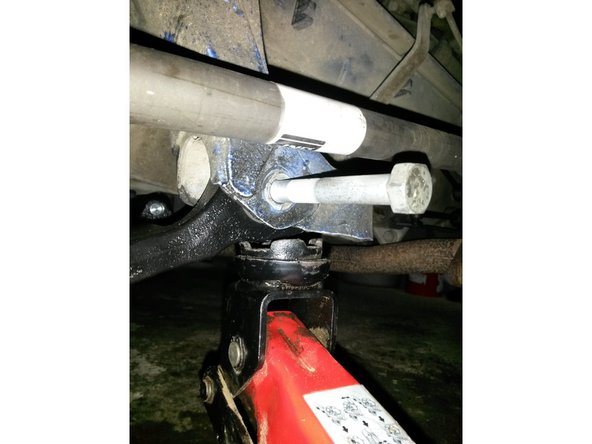
Dévisser la vis avec une clé de 17
-
Laisser le triangle dans son logement
-
-
-
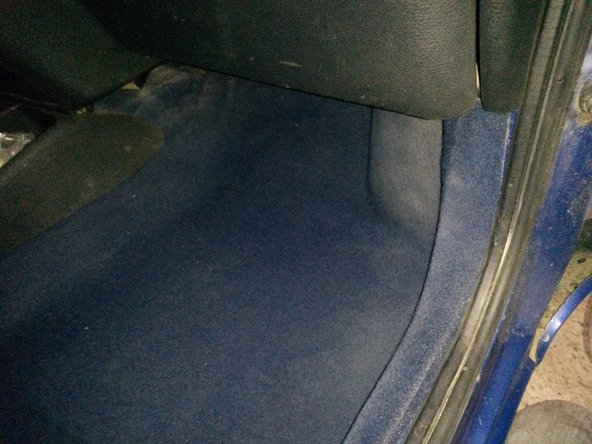
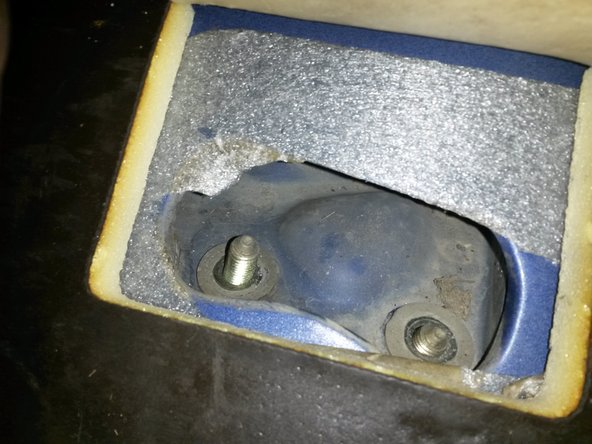
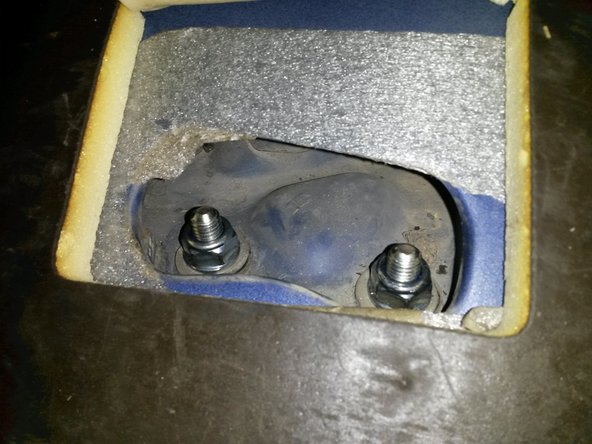
Côté passager, soulever la moquette pour accéder à la trappe
-
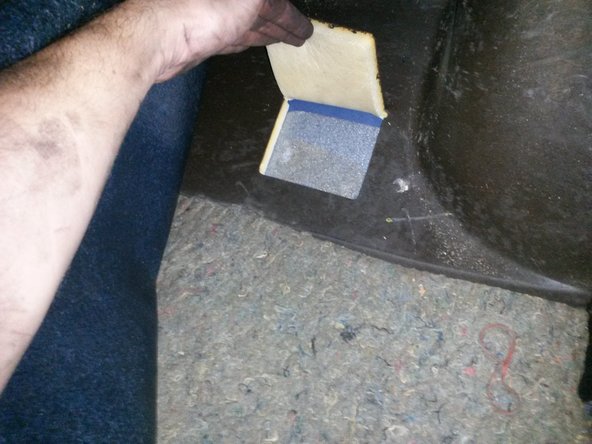
Ouvrir la trappe et le cache plastique pour accéder aux ecrous
-
Dévisser les écrous avec une clé de 17
-
-
-
Commencer le montage du triangle côté rotule car sa mise en place sera plus simple si le triangle est libre.
-
Mettre en place la vis de la rotule avec un écrou neuf (écrou frein)
-
-
-
Replacer les deux vis du triangle dans leur trous côté habitacle et visser légèrement les écrous sur les vis.
-
Il est important de remplacer les écrous freins usagés par des écrous neufs
-
-
-
Placer le triangle dans son emplacement côté moteur.
-
Si besoin, aider le triangle a monter en le soulevant avec un cric puis mettre en place la vis avec un écrou neuf.
-


Annulation : je n'ai pas terminé ce tutoriel.
5 autres ont terminé cette réparation.
5 commentaires
Bonjour, le tuto présente le côté passager. est-ce la même procédure côté conducteur?
merci pour le tuto bien réalisé
fernandes.bruno - Résolu à la publication Réponse
Bonjour pour tous les montages ne rien bloquer avant d'avoir réussi à faire prendre tous les boulons. Une solution bonne pour toutes interventions merci
LIONEL NICOLAS - Résolu à la publication Réponse
Bon tutoriel. Mais je galère à remettre le boulon du silentbloc du châssis. Je vais retenter demain en débloquent les écrous de la fixation intérieure.
apex65 sarl - Résolu à la publication Réponse