


Difficulté
Difficile
Étapes
11
Temps nécessaire
02:00:00
- Changement de pompe à eau 11 étapes

En cours
Ce tutoriel est en cours de création. Revenez de temps en temps pour voir les modifications.

Ce tutoriel a été créé par la communauté
User contributed
-
-
Placer un bac de récupération (5L) sous le radiateur coté gauche
-
Déconnecter la durite inférieure du radiateur, laisser le liquide s'écouler dans le bac
-
Reconnecter la durite (On évite les oublis par la suite ...)
-
-
-
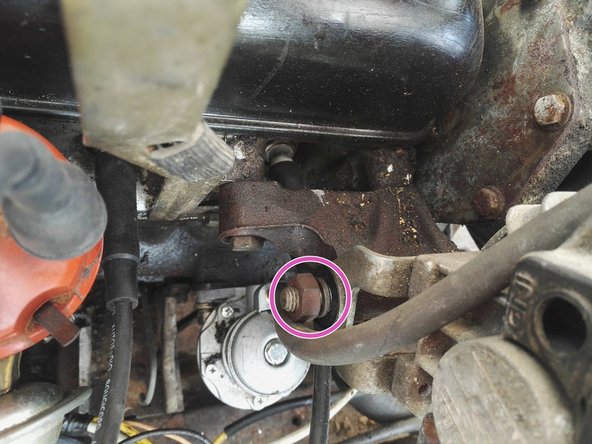
Avant de détendre les courroies, dévisser les 3 vis de la poulie de pompe à eau (2-3 tours)
-
Déposer complètement en dévissant l'écrou bleu
-
Détendre la courroie de pompe à eau en dévissant le galet tendeur
-
-
-
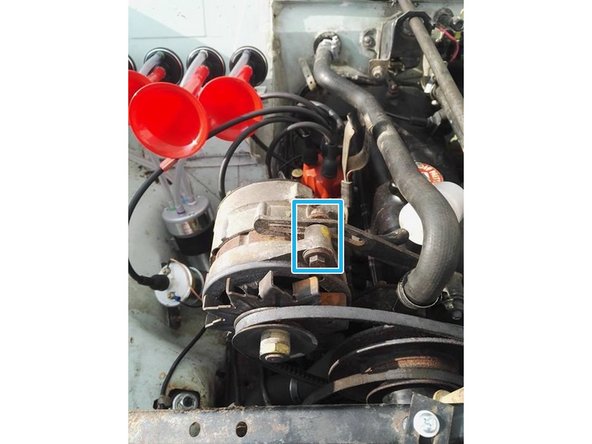
Il n'est pas nécessaire de déposer l'alternateur pour détendre la courroie il suffit de le dégager.
-
Pour cela, dévissez complètement l'écrou de tension supérieur
-
Desserrez simplement de quelques tours l'écrou de maintiens inférieur
-
-
-
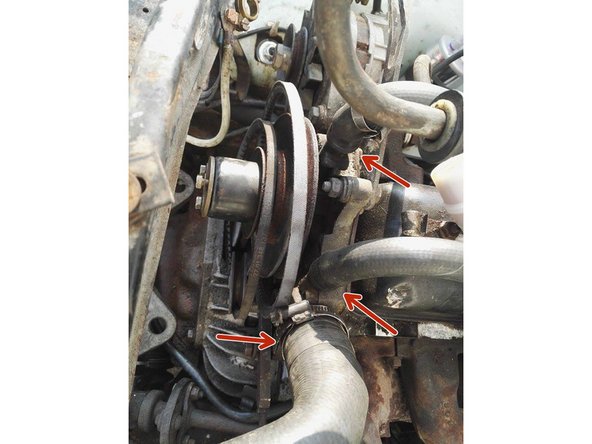
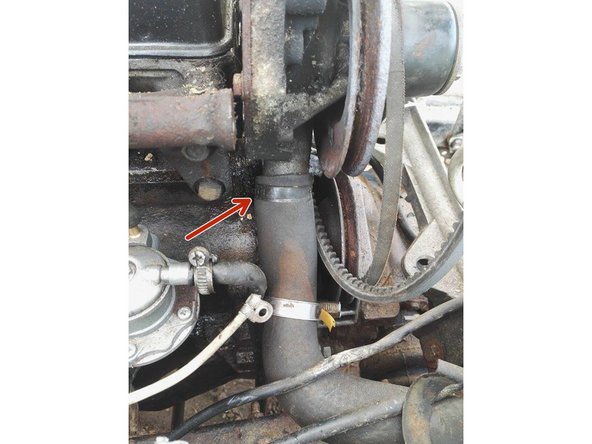
Déconnecter les durites du radiateur et du radiateur de chauffage
-
-
-
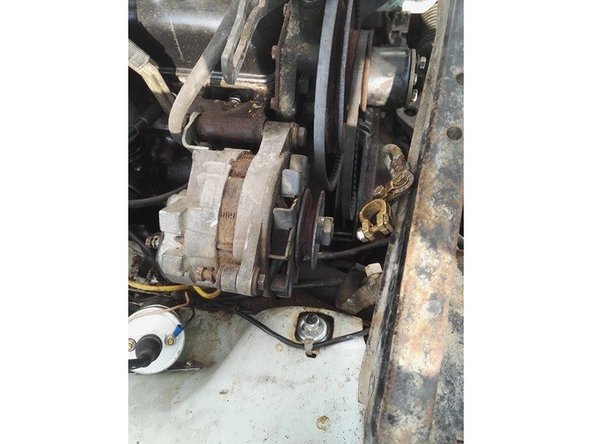
Déposer les courroies puis terminer de démonter la poulie de la pompe à eau.
-
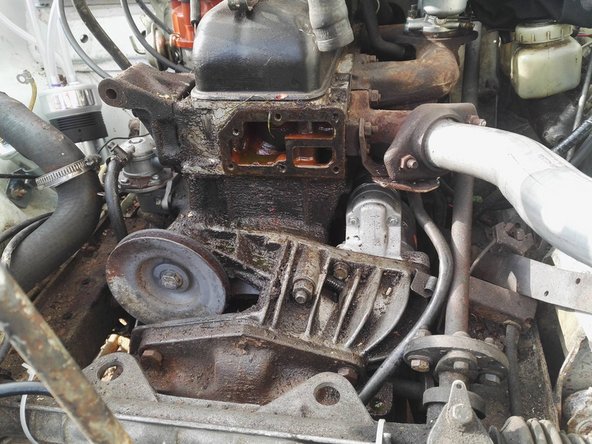
Dévisser les 6 vis de maintiens de la pompe à eau
-
Déposer la pompe à eau (tapoter légèrement dessus si elle reste collée)
-
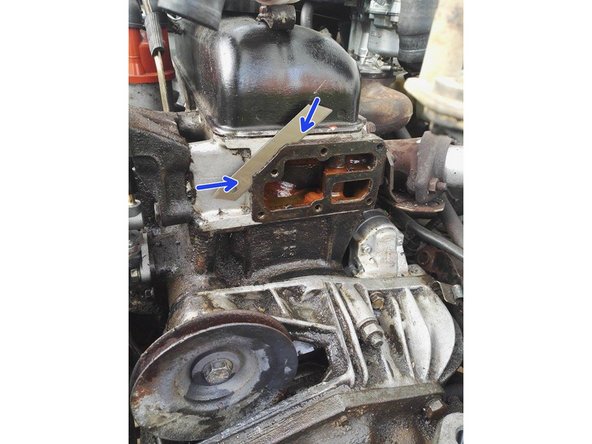
Décoller le joint en glissant une lame de cutter entre le joint et la culasse
-
-
-
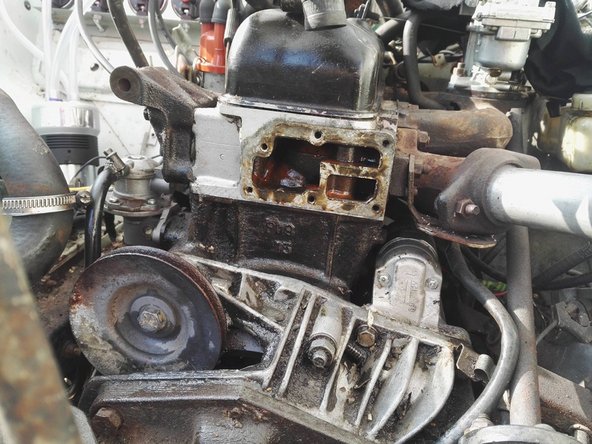
Bien nettoyer le plan de joint (et éventuellement en profiter pour nettoyer la culasse/bloc)
-
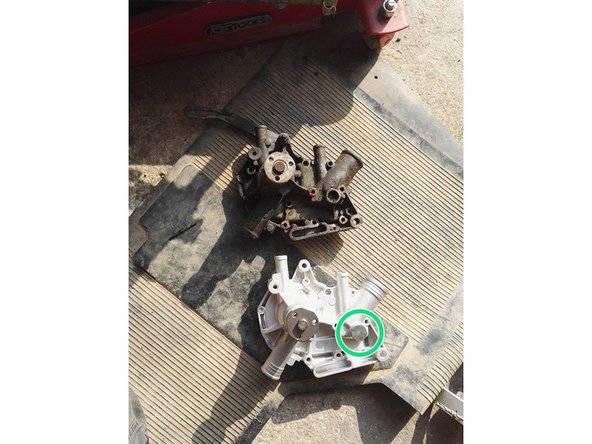
Comparer les 2 pompes (la nouvelle a 3 emplacement pour des sondes de températures)
-
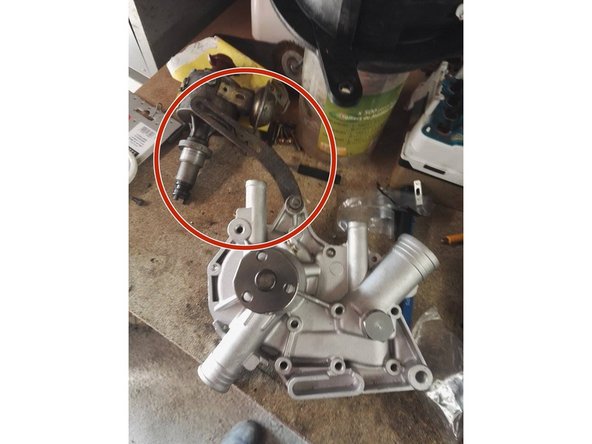
Récupérez la pate de fixation de l'alternateur et la monter sur la nouvelle pompe (Ne pas la serrer complètement)
-
-
-
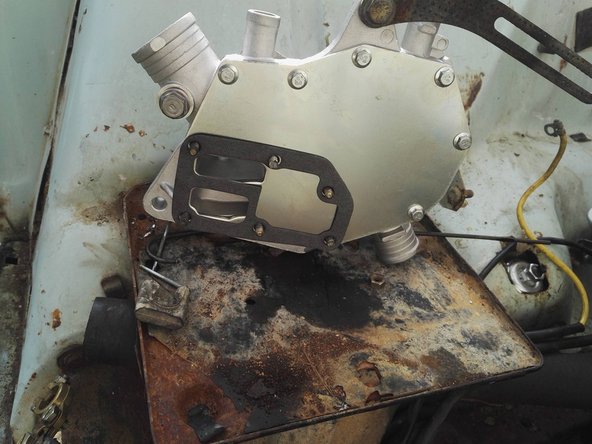
Mettre en place le nouveau joint
-
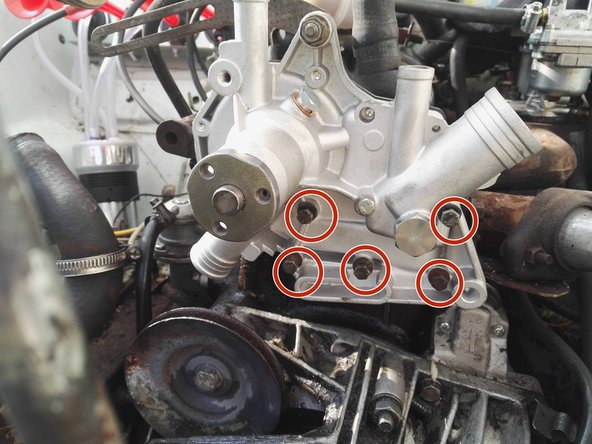
Mettre la nouvelle pompe en place, et serrer progressivement les 6 vis
-
-
-
Reconnecter les durites du radiateur et du radiateur de chauffage
-
Remettre en place la poulie de la pompe à eau, et la serrer complètement
-
-
-
Remettre en place les 2 couroies
-
D'abord engager la courroie de l'alternateur (la plus petite des deux) vu qu'elle se trouve derrière... puis la courroie de pompe à eau (la plus grande des deux)
-
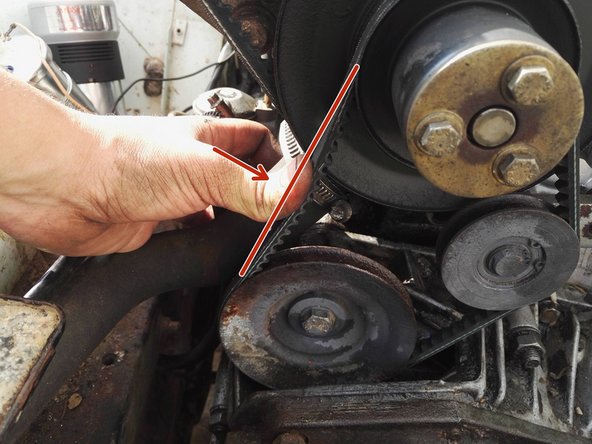
Remonter le galet tendeur et tendre la courroie (En vissant la vis orange) jusqu'à obtenir une légère flèche lorsque l'on appuie avec le pouce
-
-
-
Réengager la courroie de l'alternateur dans la poulie de ce dernier
-
La tendre en "écartant" l'alternateur et resserer les 2 vis de fixations ainsi que celle de la patte de fixation sur la pompe à eau
-
Vérifiez la tension (légère flèche lorsque l'on appuie avec le pouce)
-
-
-
-
Il est préférable de ne pas trop solliciter le moteur le temps que le joint se mette bien en place (laisser le ralenti avec quelques allumage du ventilateur) et vérifier l'absence de fuites
-


Annulation : je n'ai pas terminé ce tutoriel.
Une autre personne a terminé cette réparation.