Parts
-
-
Retirer l'enjoliveur, débloquer les vis de fixation de la roue
-
Lever la roue et caler la voiture sur chandelle
-
Démonter la roue
-
-
-
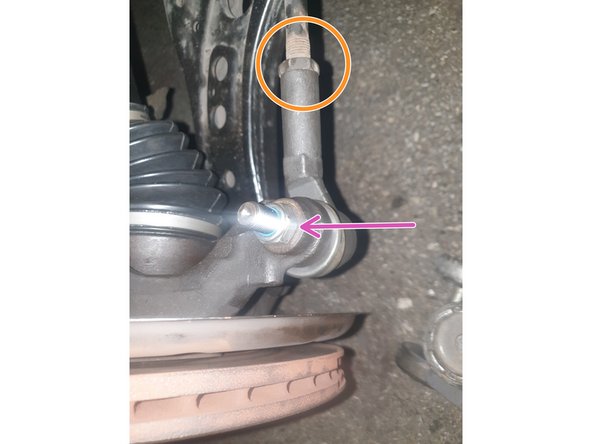
Débloquer le contre-écrou de réglage de la rotule de direction avec une clé de 19 et une clé à molette
-
Desserrer l'écrou frein (nylstop) de fixation de la rotule avec une clé de 19
-
Utiliser un extracteur de rotule en veillant à le positionner bien droit
-
-
-
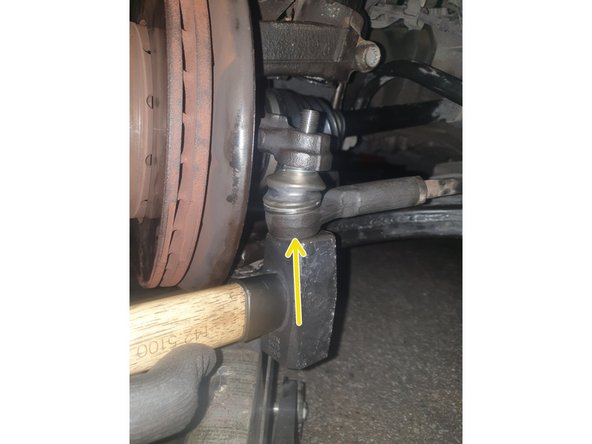
Pour éjecter la rotule vous pouvez utiliser un marteau à défaut d'extracteur. Mais il faut faire attention à bien frapper sur le coté du logement de la rotule et avec modération.
-
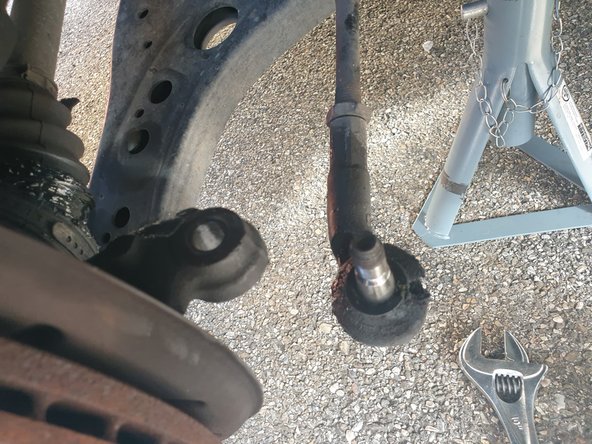
Une fois la rotule extraite, dévisser à la main en comptant le nombre de tours afin de conserver le réglage lors de la mise en place de la nouvelle rotule
-
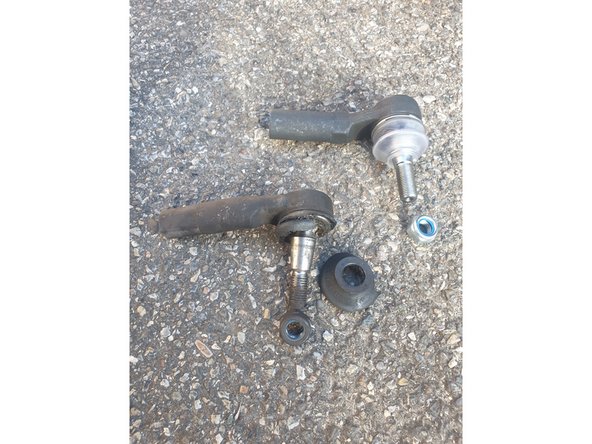
Comparez l'ancienne et la nouvelle rotule
-
-
-
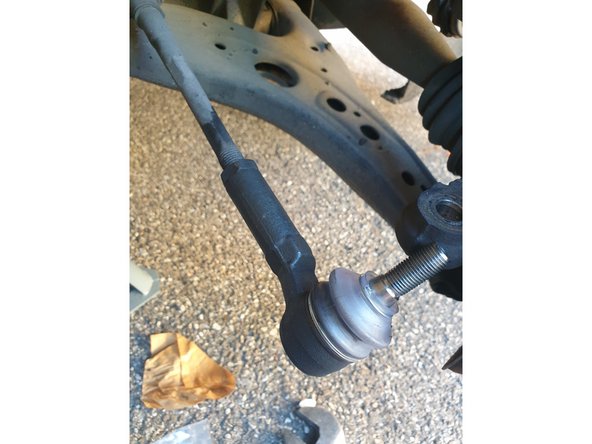
Visser la nouvelle rotule du même nombre de tour que l'ancienne
-
Insérer d'un coup franc la rotule dans son logement
-
Serrer l'écrou de 19
-
Serrer le contre écrou en maintenant la rotule
-
-
-
Remonter la roue et reposer le véhicule au sol
-
Si nécessaire (véhicule qui "tire" à droite ou à gauche) ou dans le doute, réaliser un contrôle suivi d'un réglage éventuel du parallélisme chez un professionnel
-


