


Difficulté
Modérée
Étapes
8
Temps nécessaire
01:00:00 - 02:00:00

Ce tutoriel a été créé par la communauté
User contributed
Introduction
Dans ce tuto je vais vous expliquer comment changer le silencieux arrière, le silencieux central et le tuyau d'échappement.
!!!!!!!!!!!!!! ATTENTION TOUTE INTERVENTION SUR LE SYSTEME D'ECHAPPEMENT DOIT SE FAIRE A FROID!!!!!!!!!!
-
-
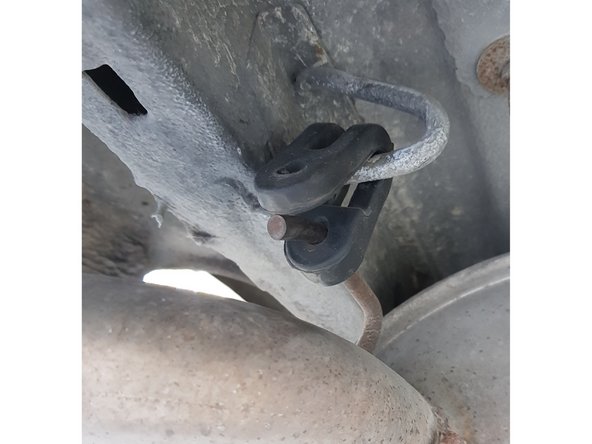
Avant même de commander la pièce vérifiez :
-
la forme du silencieux arrière
-
le nombre de silentblocs
-
La forme des "attaches"
-
Vous serez aussi sûr de commander la bonne pièce si vous avez la référence qui est noté dessus
-
la pièce de serrage du silencieux sur l'intermédiaire, ici il faut du 54mm
-
-
-
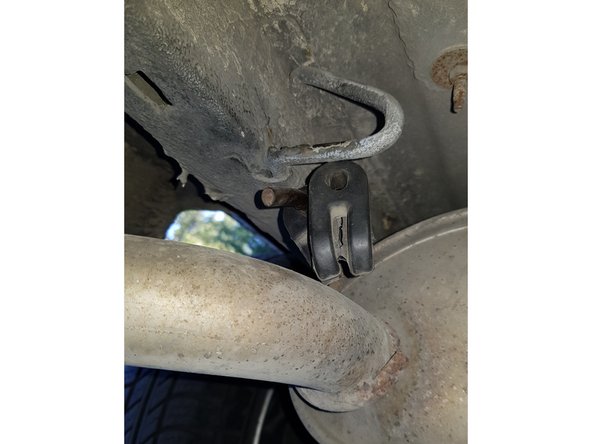
Vérifiez :
-
la forme de l'intermédiaire, le nombre, les emplacements et la forme des "attaches"
-
l'emplacement et l'état des silentblocs.
-
La forme du tuyau d'échappement
-
L'état de la pièce de serrage de l'intermédiaire sur le tuyau d'échappement, ici il faut du 66mm
-
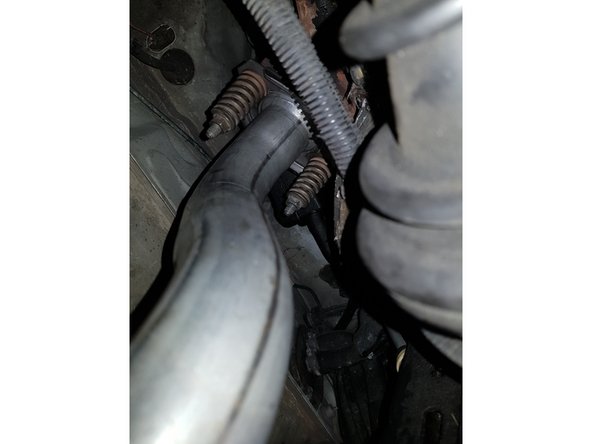
L'état des ressorts du boulon de serrage du tuyau sur le collecteur.
-
Pensez aussi à commander le joint entre le tuyau d'échappement et le collecteur ainsi que du mastic de montage ça peut toujours servir.
-
Les photos n°2 et 3 sont celles des pièces neuves pour une meilleure visibilité.
-
-
-
Il y a :
-
2 silentblocs pour le silencieux arrière
-
2 silentblocs pour le silencieux central
-
Un collier de serrage de 54mm pour le silencieux arrière sur le central.
-
Un collier de serrage de 66mm pour le silencieux central sur le tuyau d'échappement.
-
2 ressorts avec écrou pour fixer le tuyau d'échappement sur le collecteur.
-
Un joint
-
-
-
Avec une douille longue de 13mm retirez les 2 écrous puis le collier de serrage.
-
Retirez le silentbloc en tirant dessus. Faites ceci pour les 2 silentblocs
-
Retirez le silencieux arrière.
-
Le collier de serrage et les 2 silentblocs étant en bon état j'ai décidé de les réutiliser.
-
-
-
Enlevez la rondelle puis les 2 silentblocs.
-
Retirez les 2 écrous avec une douille longue de 13mm puis retirez le collier de serrage.
-
Retirez le silencieux central.
-
Retirez les 2 écrous et ressorts avec une douille longue de 13mm.
-
Retirez le tuyau d'échappement.
-
Je vais changer les 2 silentblocs qui sont en trop mauvais état mais vais réutiliser le collier de serrage ainsi que les ressorts et écrous de fixation du tuyau d'échappement.
-
-
-
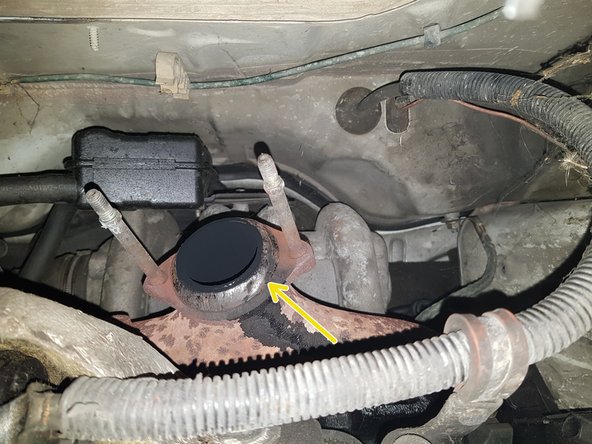
Le joint est resté sur le collecteur avec un tournevis plat retirez-le en faisant levier.
-
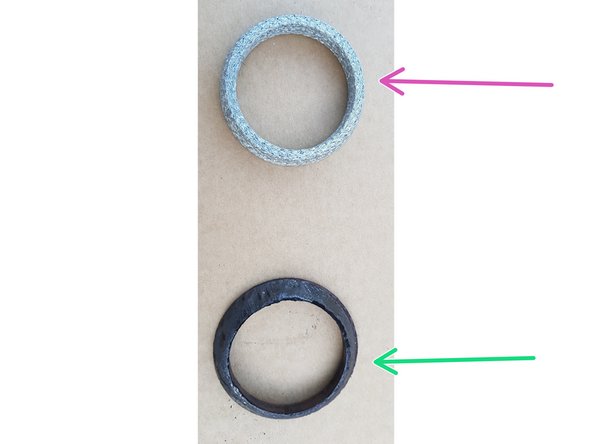
Joint neuf
-
Ancien joint
-
Le joint neuf n'était pas bon j'ai donc réutilisé l'ancien que j'ai brossé légèrement avec une brosse métallique et sur lequel j'ai mis de la pâte de montage sur ses 2 faces afin d'assurer l'étanchéité.
-
-
-
Nettoyez la portée du joint sur le collecteur d'échappement avec une brosse métallique.
-


Annulation : je n'ai pas terminé ce tutoriel.
Une autre personne a terminé cette réparation.