


Difficulté
Difficile
Étapes
13
Temps nécessaire
01:00:00 - 04:00:00

Ce tutoriel a été créé par la communauté
User contributed
Introduction
Changement du joint de couvre-culasse sur 520i E39
-
-
Pour retirer les 2 grands caches moteurs, retirer les petits caches des vis à l'aide d'un tournevis plat
-
Dévisser les vis maintenant le cache de droite en place (douille de 10)
-
Enlever le cache
-
-
-
Dévisser les boulons du cache de gauche (douille de 10)
-
Retirer le bouchon de remplissage d'huile avant de retirer le cache
-
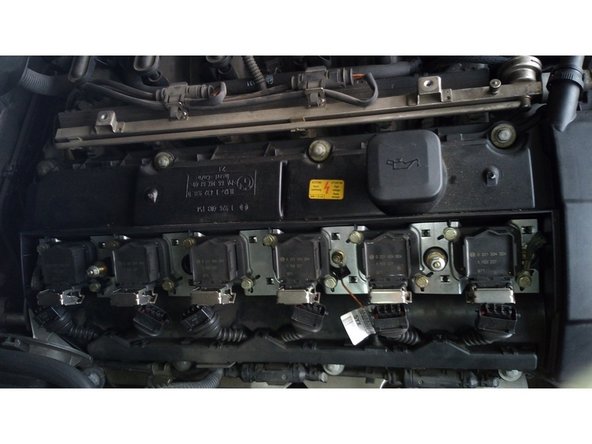
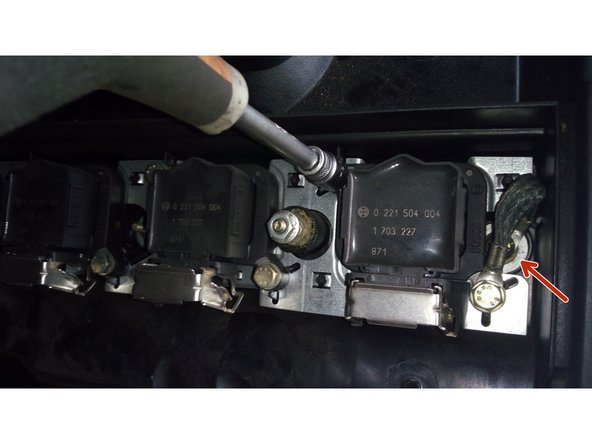
Les bobines sont désormais accessible
-
Remettre le bouchon de remplissage d'huile en place afin d'éviter que des impuretés tombent dans le moteur
-
-
-
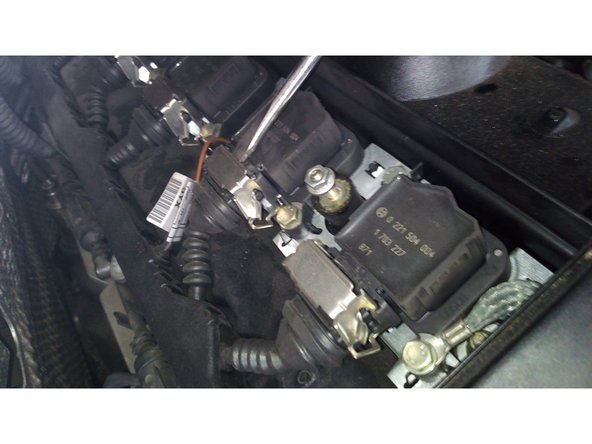
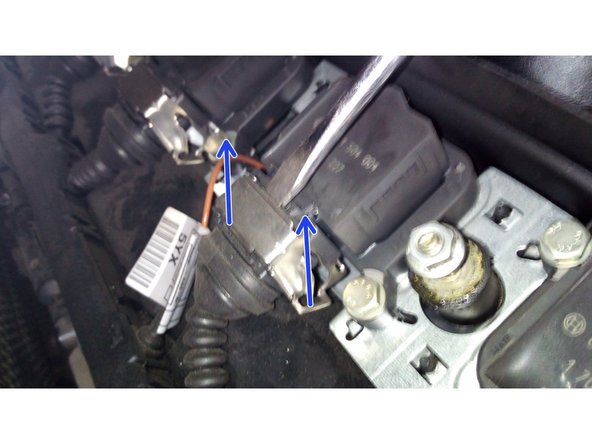
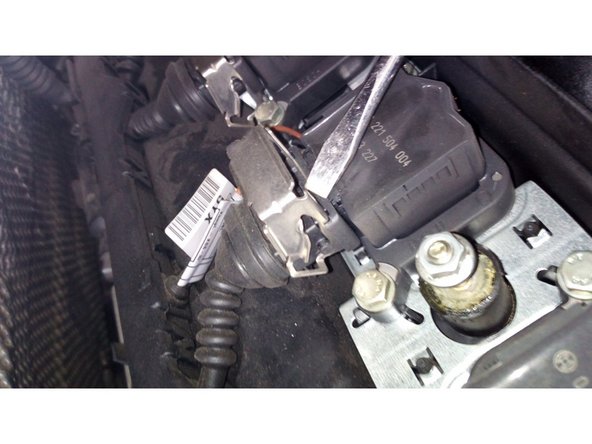
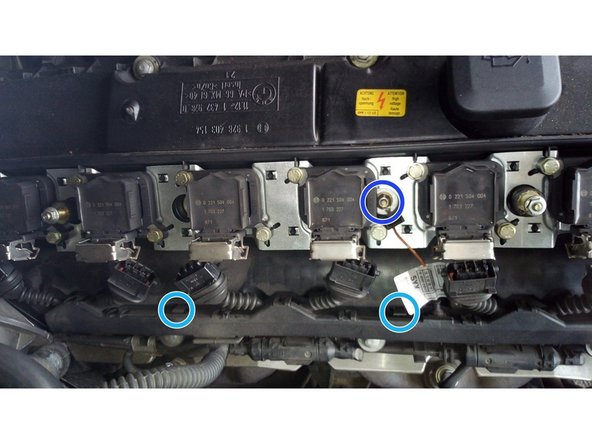
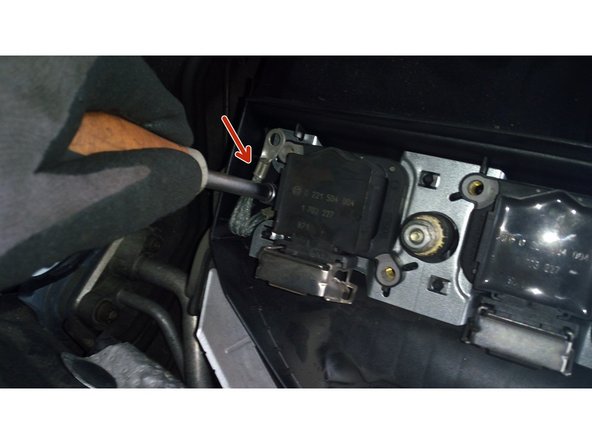
Pour débrancher une bobine, insérer un tournevis plat dans sa fixation métallique, et faire levier vers le haut
-
Répéter l'opération sur les autres bobines
-
-
-
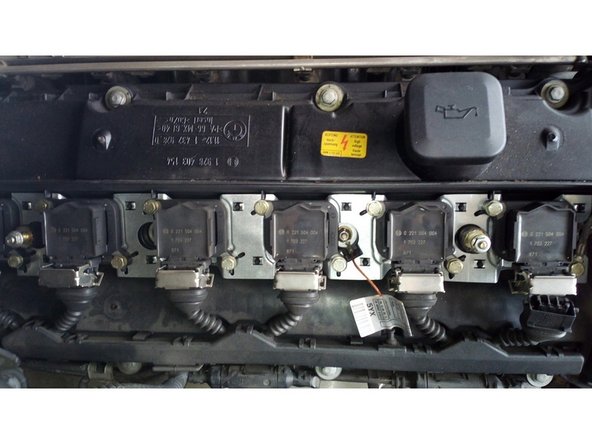
Dévisser la tresse de masse (douille de 8)
-
Déclipser le boitier contenant les faisceaux électriques des bobines
-
Écarter le boitier
-
-
-
Dévisser les boulons des bobines d'allumages (douille de 10)
-
Retirez les tresse de masse, pour cela retirer leur boulon (douille de 8)
-
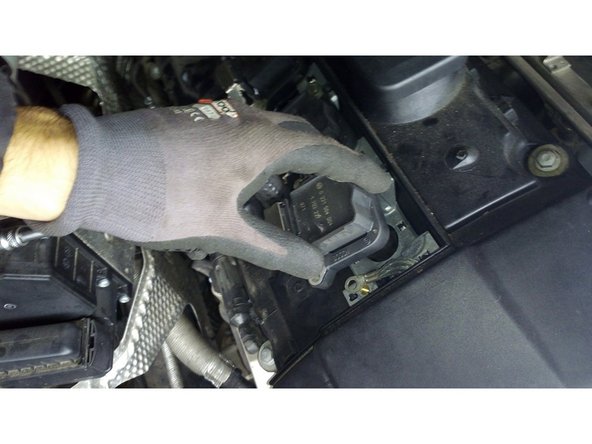
Retirer les 6 bobines et noter leur emplacement sur les cylindres
-
-
-
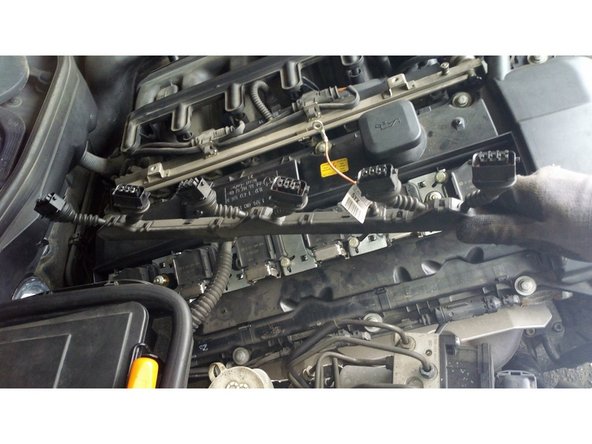
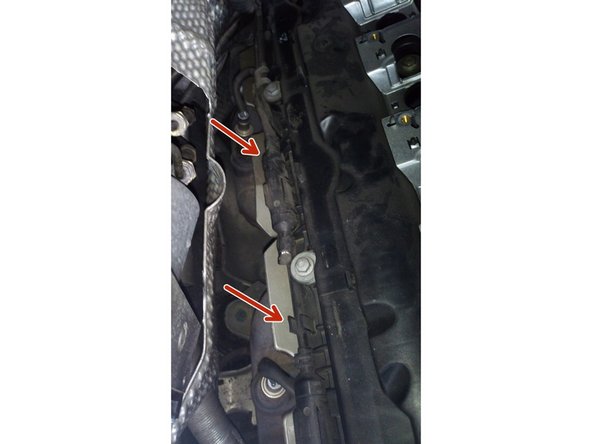
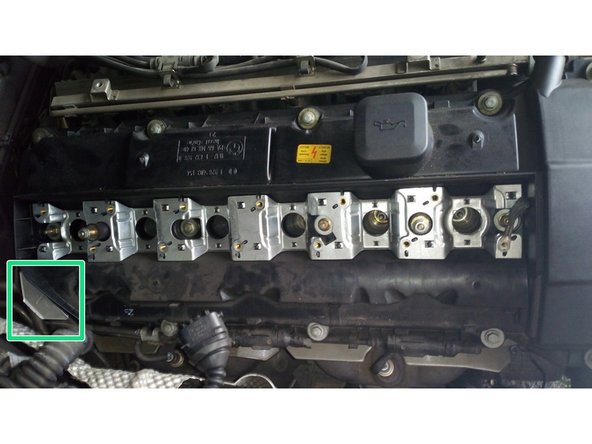
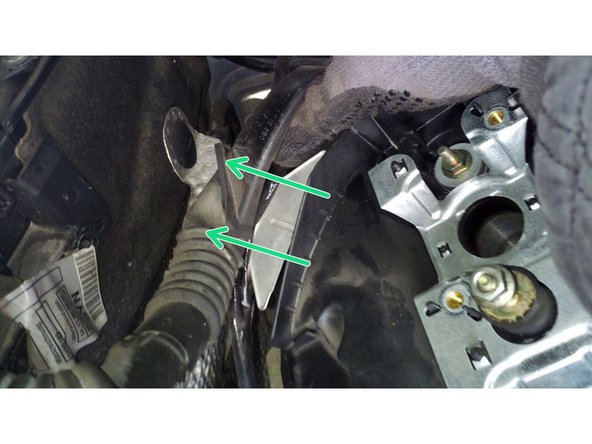
Déclipser les câbles électriques des sondes lambdas
-
Écarter les câbles électriques de leur emplacement (inférieur gauche sur la photo 2)
-
-
-
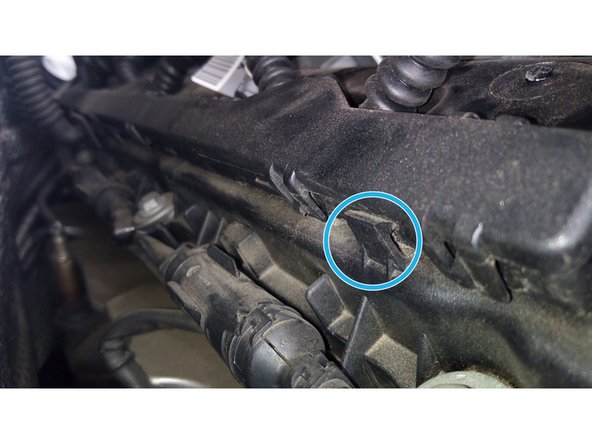
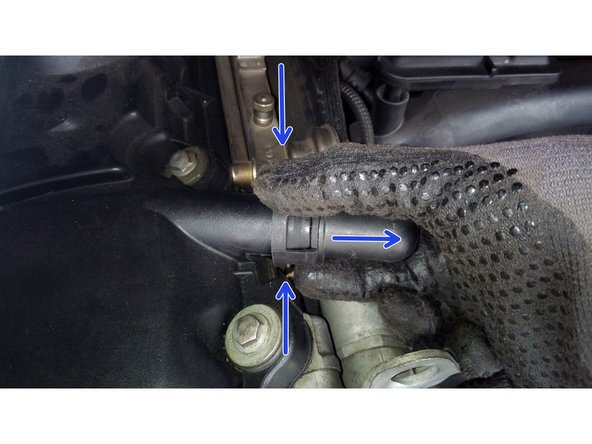
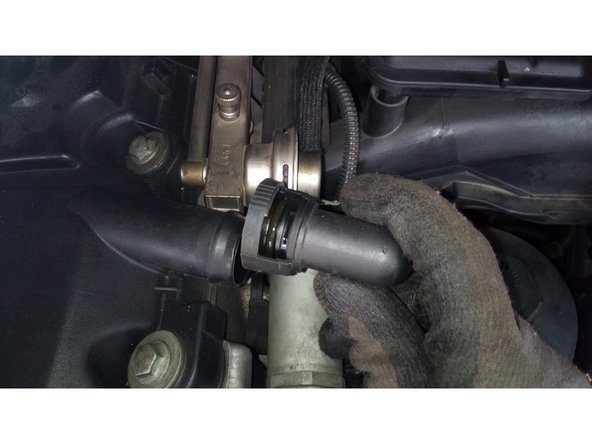
Retirer le flexible de dégazage du moteur, pour cela appuyer sur le contour plastique du tuyau et le retirer en même temps
-
-
-
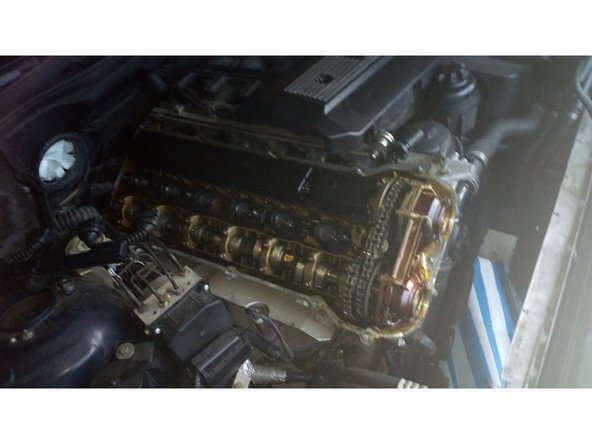
Dévisser les 15 boulons maintenant en place le couvre culasse
-
Le couvre culasse pourrait rester coller, utiliser une spatule pour faciliter son extraction
-
Retirer le couvre culasse
-
Récupérer au fur et à mesure les rondelles et les joints des 15 vis du couvre culasse, parfois elles restent collées dessus et se décollent pendant la manipulation du couvre culasse.
-
-
-
Retirer les joints restés collé sur les puits à bougie
-
Les joints peuvent être cassant, attention à ne pas faire tomber des morceaux dans les puits à bougie !
-
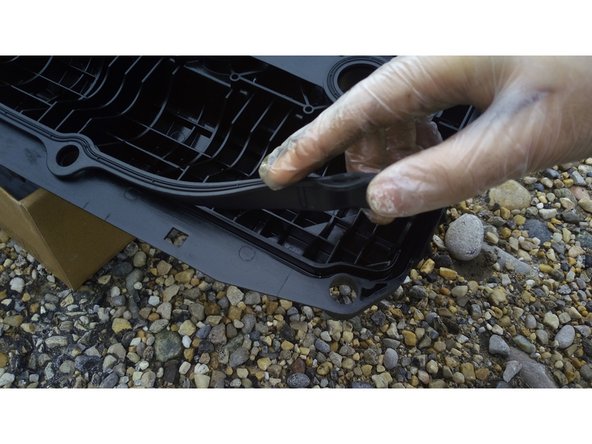
Retirer le joint du couvre culasse
-
Nettoyer les fentes du couvre culasse
-
-
-
Reposer délicatement le couvre culasse en veillant à ce que le joint reste bien en place
-
Mettre les vis et les serrer en croix, de l'intérieur vers l'extérieur
-
Remonter le reste des pièces dans l'ordre inverse de la dépose
-
Vérifier l'absence de suintement d'huile après avoir rouler quelques kilomètres.
-


Annulation : je n'ai pas terminé ce tutoriel.
8 autres ont terminé cette réparation.
6 commentaires
Ne pas oublier le couple de serrage si non joint déformé
Bonjour,
J'ai un M54B30 sur une X3. J'ai probablement une légère fuite au niveau du joint de couvre culasse car parfois j'ai une odeur d’huile moteur brûlée qui remonte dans l’habitacle et le pare chaleur du joint de collecteur est noir cramé. J'aimerai savoir si quelqu'un a une idée pour le couple de serrage des vis du couvre culasse?
Salut c’est un classique sur ce moteur. Il faut pas serrer fort les vis, je crois que le couple de serrage est de 10-15 Nm si je me souviens bien, à vérifier. Les vis doivent être serrées en croix; de l’intérieur vers l’extérieur
proslaam -
Merci. Manque le couple de serrage 15nm.
Tuto très bien réalisé. Merci