


Difficulté
Modérée
Étapes
13
Temps nécessaire
01:00:00

Ce tutoriel a été créé par la communauté
User contributed
Introduction
Opération pas très compliquée.
Ici les difficultés principales sont de mettre le véhicule sur cale du fait du manque de point d'appui, et de retirer le support d'étrier qui est serré fort et dont les vis ne sont pas très accessibles.
Quoiqu'il en soit si vous n'avez pas la douille XZN M14 vous ne pourrez pas retirer le disque seulement les plaquettes.
-
-
Mise en sécurité du véhicule : démontage et remontage de la roue
-
Placez des cales derrière les roues avant puis desserrez le frein à main.
-
-
-
-
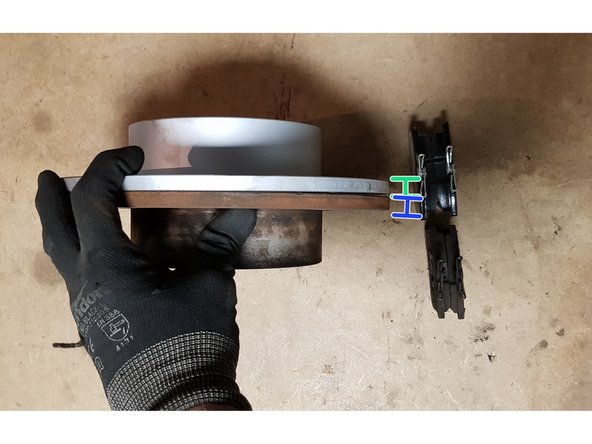
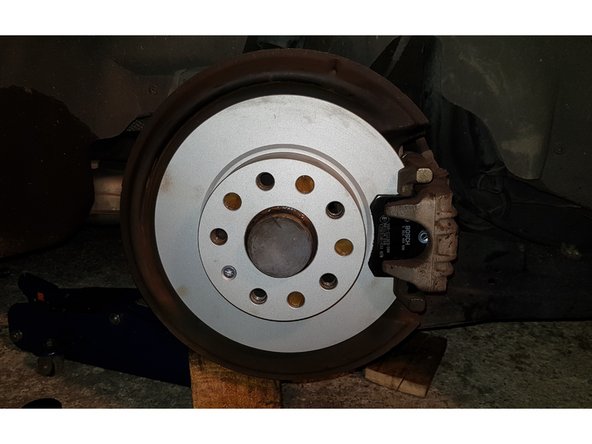
Vis de fixation du disque
-
Etrier
-
Support d'étrier
-
-
-
-
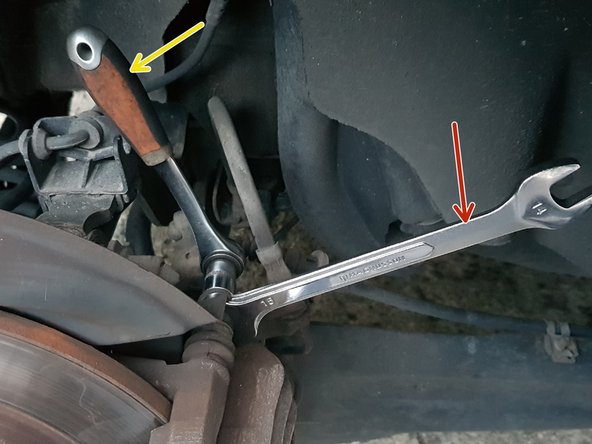
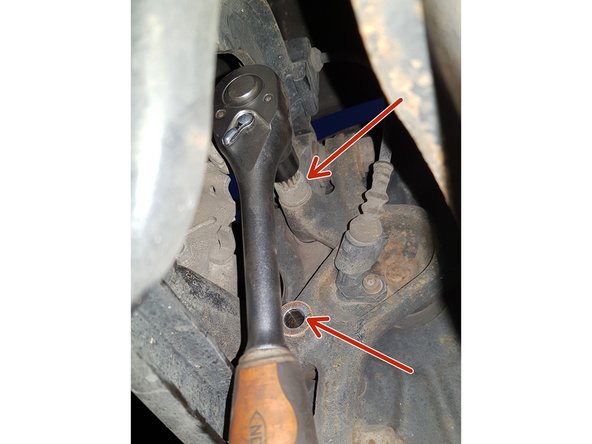
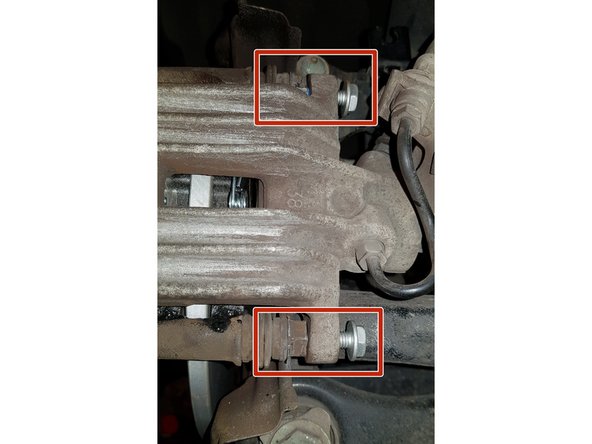
Avec une clé à œil de 13mm
-
et une clé plate de 15mm retirez les 2 vis.
-
-
-
-
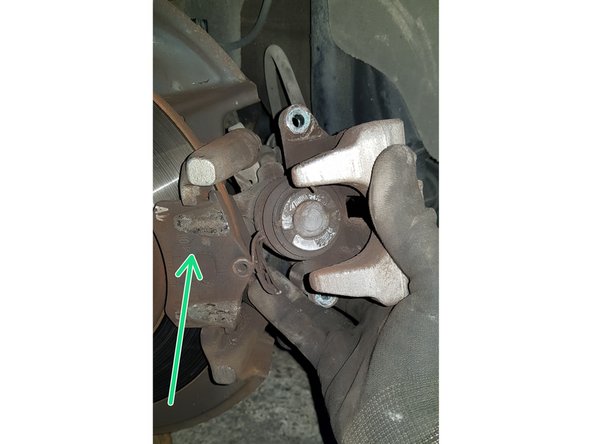
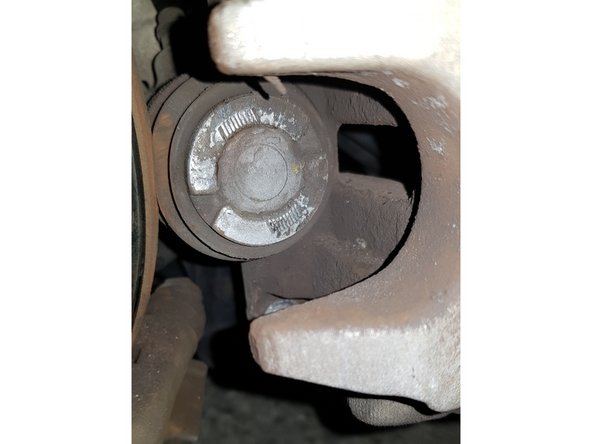
A l'aide d'un outil adapté repoussez le piston à fond.
-
A l'arrière les pistons d'étrier sont généralement vissés, un serre-joint sera inutile il faut un outil qui va visser votre piston en même temps qu'il va le pousser.
-
En poussant votre piston vous poussez également votre liquide de frein qui risque de déborder par le bocal dans le compartiment moteur.
-
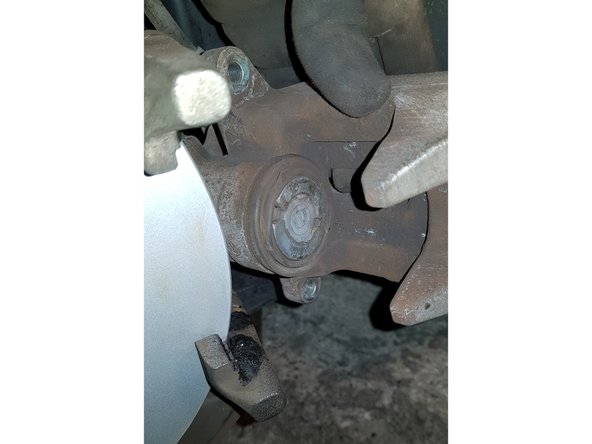
Nettoyez avec une brosse métallique votre étrier et son support.
-
N'endommagez pas les soufflets en caoutchouc
-
-
-
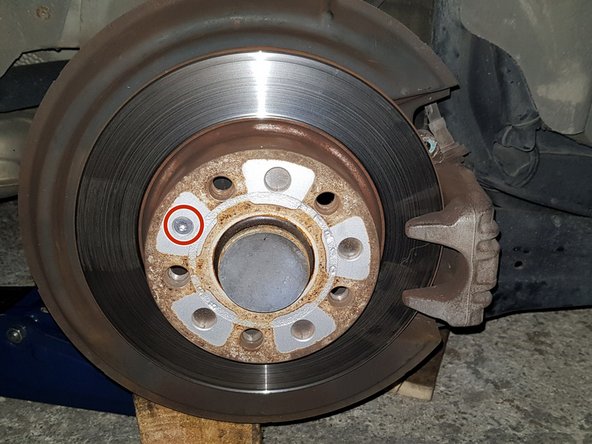
Avec une douille Torx mâle T30 retirez la vis.
-
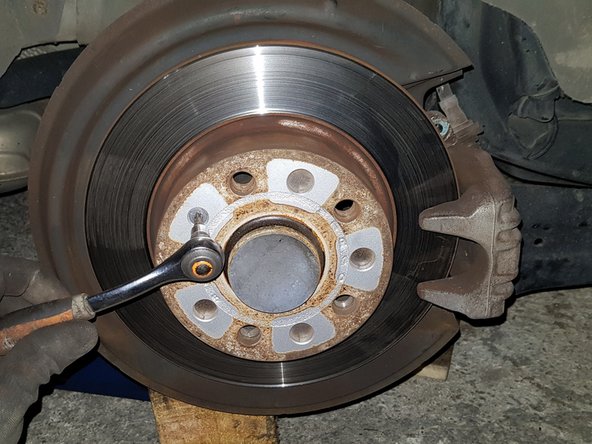
Retirez le disque
-
Nettoyez la portée du moyeu avec une brosse métallique.
-
-
-
Anciennes pièces
-
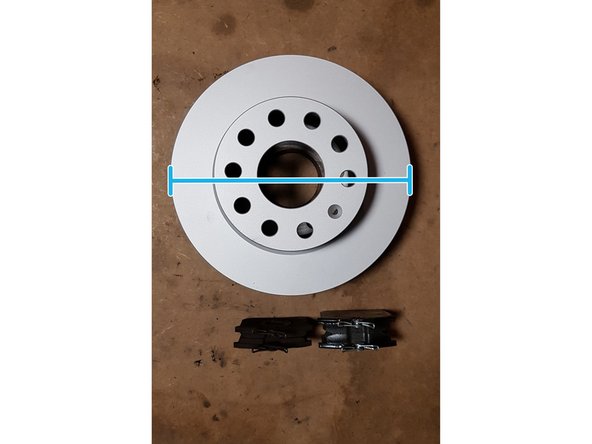
Pièces neuves
-
Avec les pièces neuves sont fournies les 2 vis d'étrier, la vis du disque et le kit accessoires. Je n'ai pas utilisé le kit accessoires car il n'y en avait pas de monté sur la voiture.
-
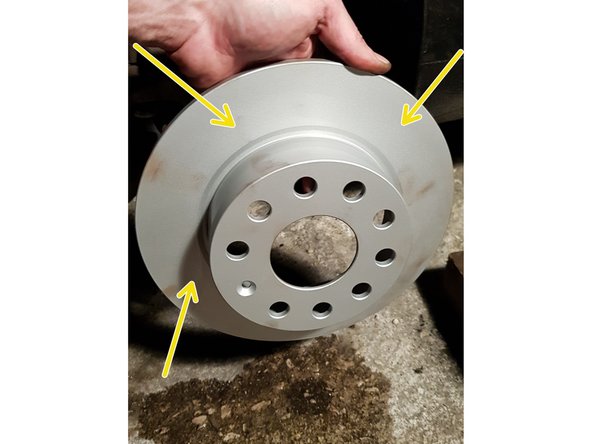
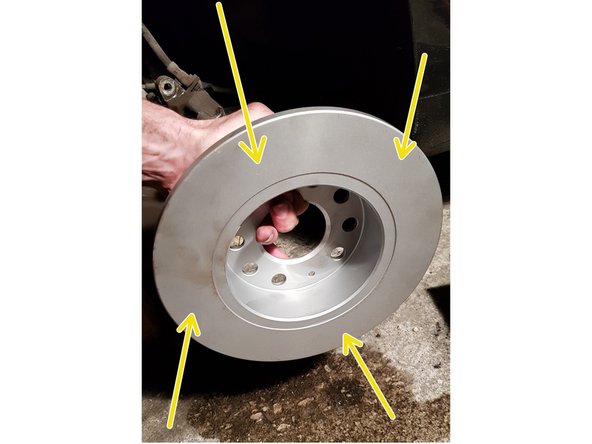
Vérifiez que les diamètres des disques sont les mêmes.
-
Comparez l'épaisseur du disque neuf
-
avec celle de l'ancien.
-
-
-
Mettez un peu de graisse cuivrée sur le moyeu afin d'éviter qu'avec le temps le disque colle dessus.
-
Pulvérisez du nettoyant frein sur les 2 faces afin d'enlever la paraffine qui sert à protéger le métal de la rouille.
-
-
-
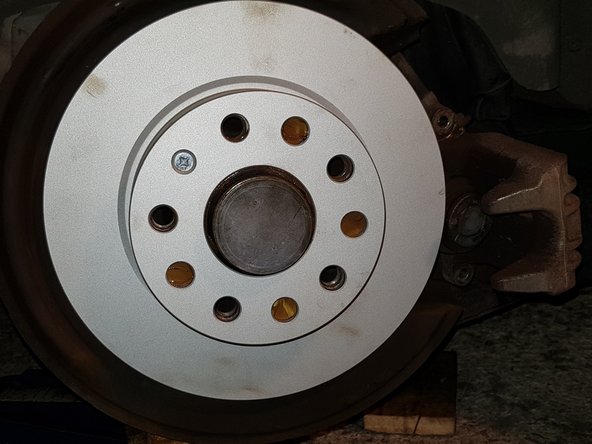
Positionnez le disque puis fixez-le avec sa vis.
-
Mettez un peu de frein filet sur les anciennes vis de support d'étrier que vous allez utiliser pour le fixer.
-
-
-
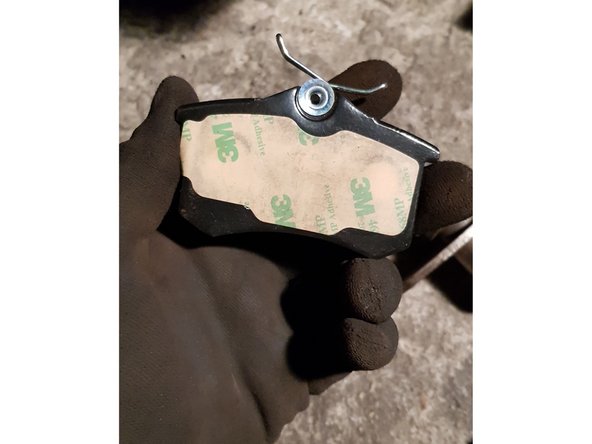
Les plaquettes ont une feuille en papier sur leur faces d'appui car il y a de la colle dessus qui va permettre à la plaquette de rester en position sur l'étrier et le piston.
-
Positionnez les 2 plaquettes sur le support d'étrier puis retirez les feuilles en papier.
-
-
-
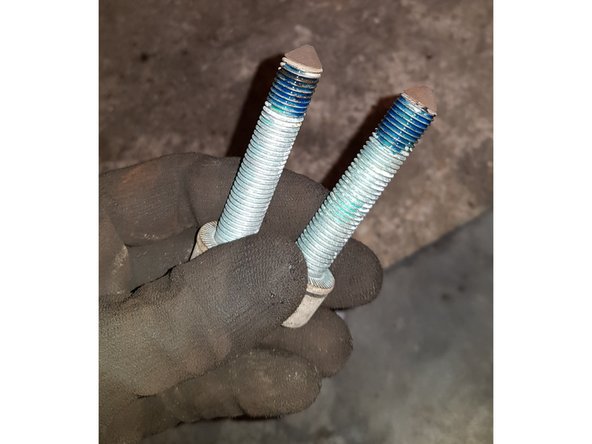
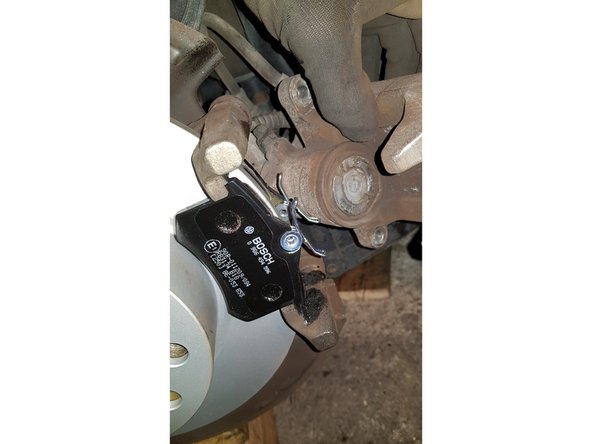
Utilisez les 2 vis neuves pour fixer l'étrier.
-
Une fois le remontage terminé, enfoncez plusieurs fois la pédale de frein pour mettre les plaquettes en appui contre les disques.
-
Vérifiez le niveau de liquide de frein dans le bocal.
-
Pour le rodage des plaquettes neuves, ne pas effectuer de freinages brusques lors des premiers 200 km.
-
L'efficacité des premiers freinages peut être réduite.
-


Annulation : je n'ai pas terminé ce tutoriel.
3 autres ont terminé cette réparation.
Un commentaire
Inutile de démonter l’étrier complètement on peut enlever les disques sans enlever la partie fixe
jujumoreau - Résolu à la publication Réponse