


Difficulté
Modérée
Étapes
19
Temps nécessaire
01:00:00

Ce tutoriel a été créé par la communauté
User contributed
-
-
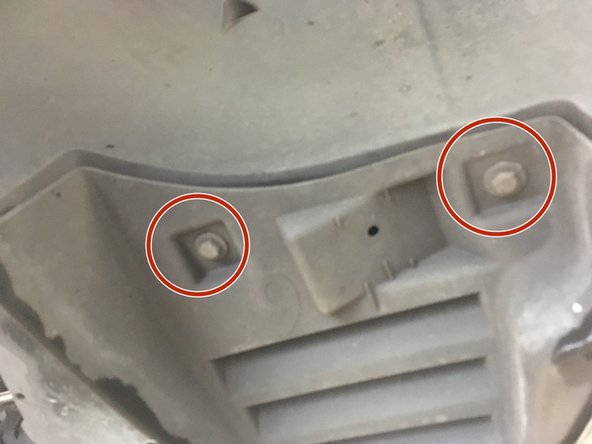
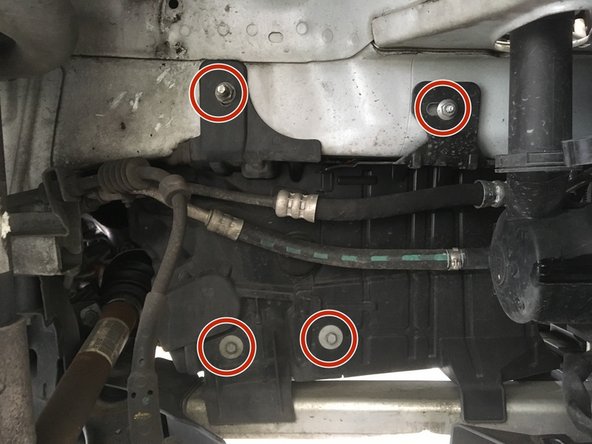
Deviser les 11 vis de T25 et T40
-
Retirer la plaque sous moteur
-
-
-
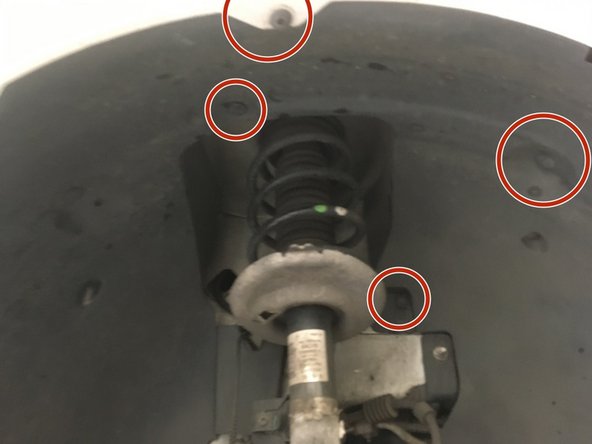
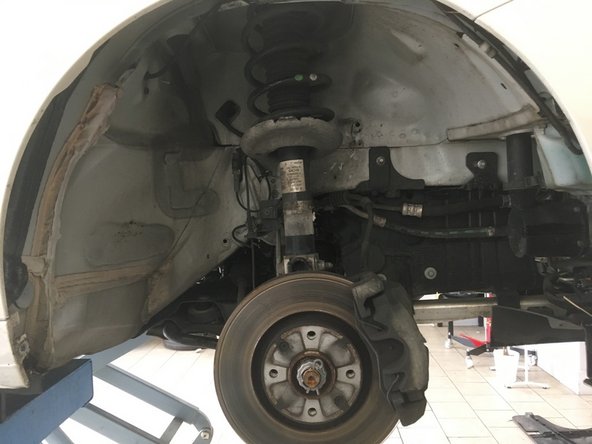
Deviser les vis de T30 et retirer les clips qui maintienne le passage de roue
-
-
-
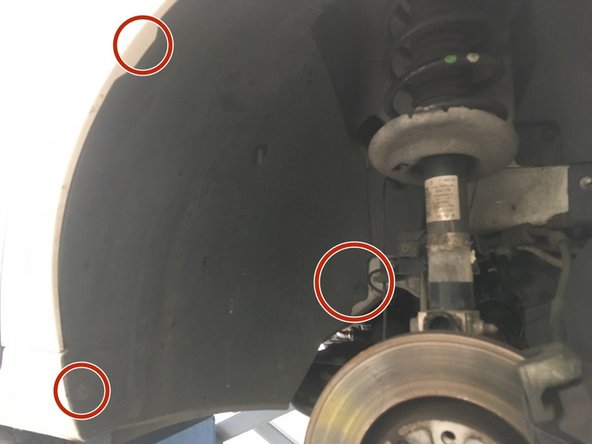
Deviser les deux vis de 10 en dessous du véhicule qui maintienne le passage de roue
-
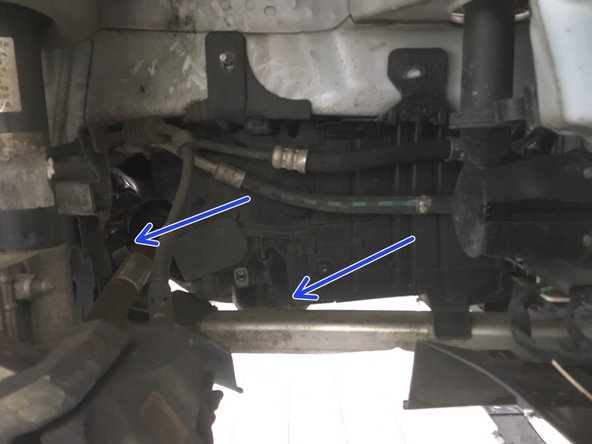
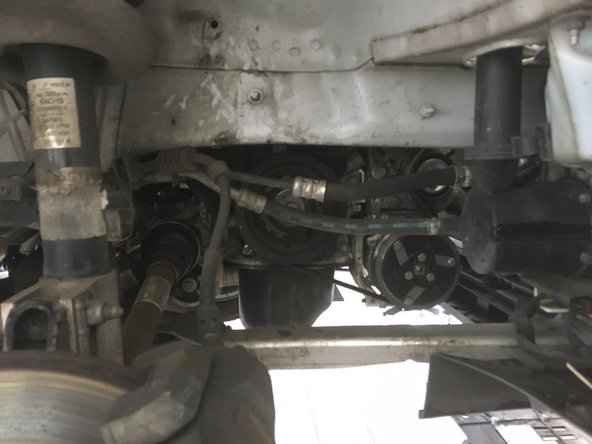
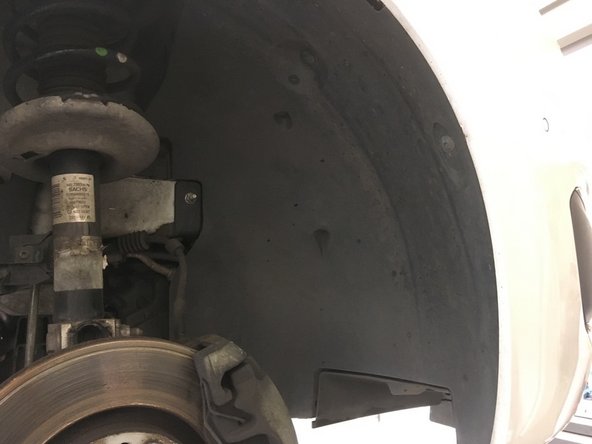
Retirer le passage de roue
-
-
-
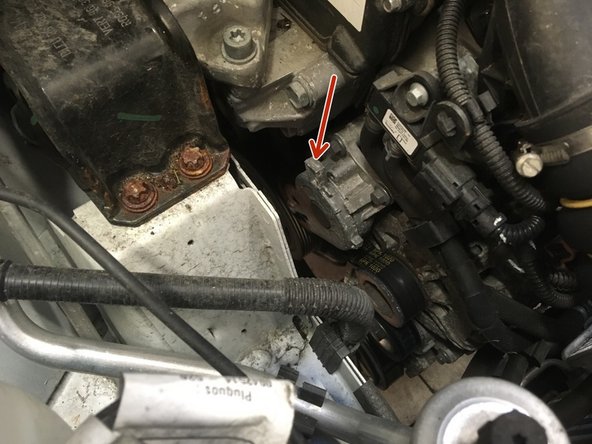
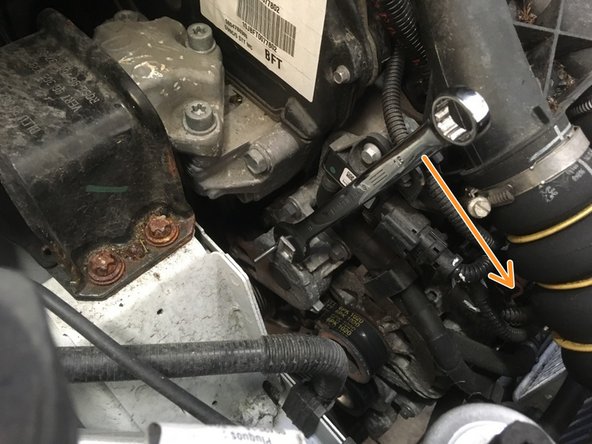
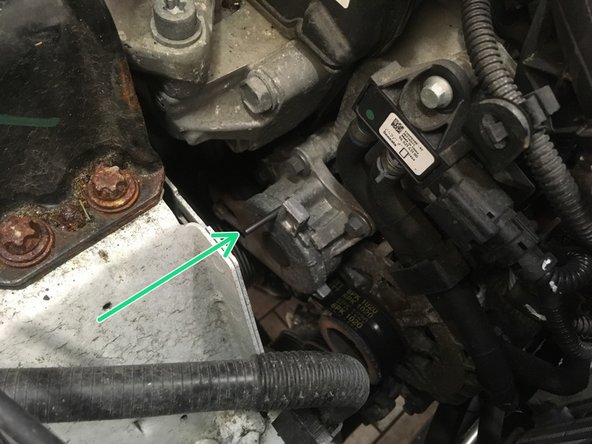
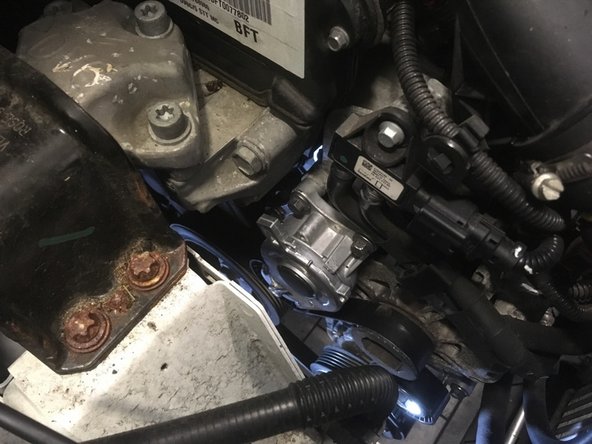
Détendre le tendeur à l'aide de la clé plate de 15
-
Insérer une pige pour bloquer le tendeur dans cette position
-
-
-
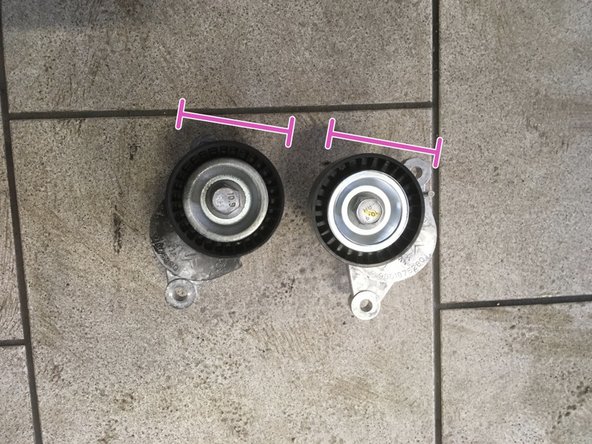
Détendre le 2eme galet tendeur à l'aide de la clé plate de 15
-
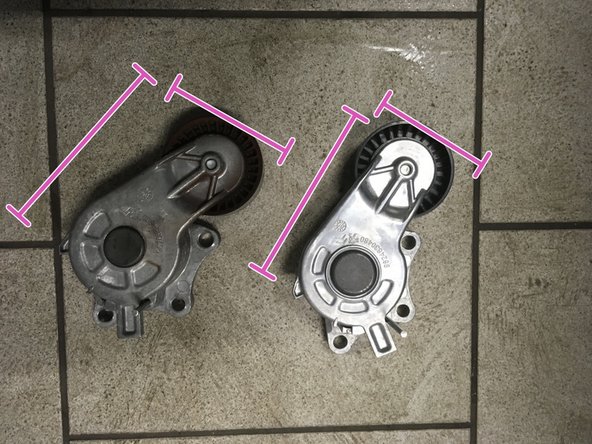
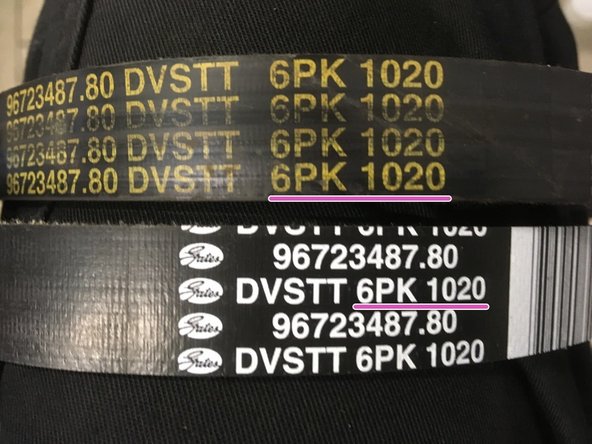
Retirer la courroie
-
-
-
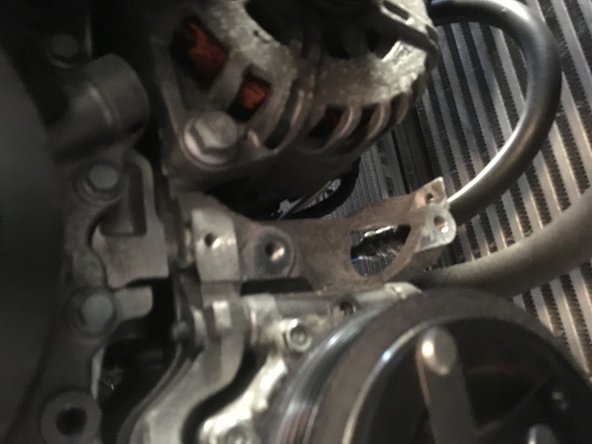
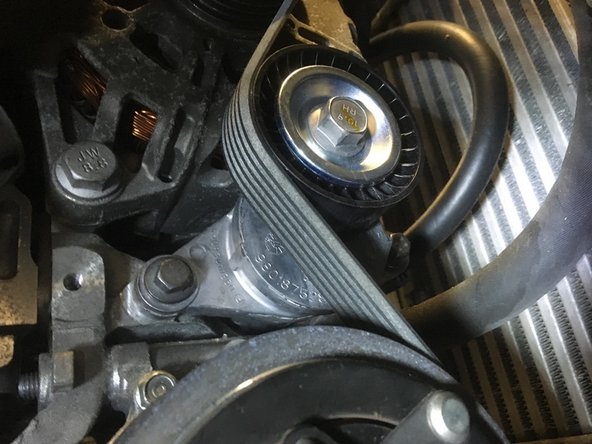
Détendre le galet tendeur à l'aide de la clé plate de 15
-
Retirer la pige de calage
-
-
-
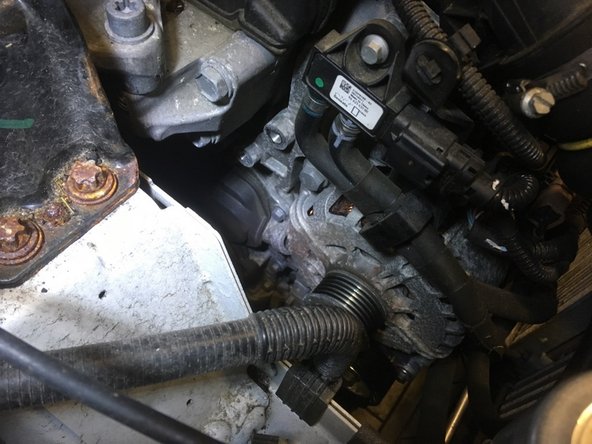
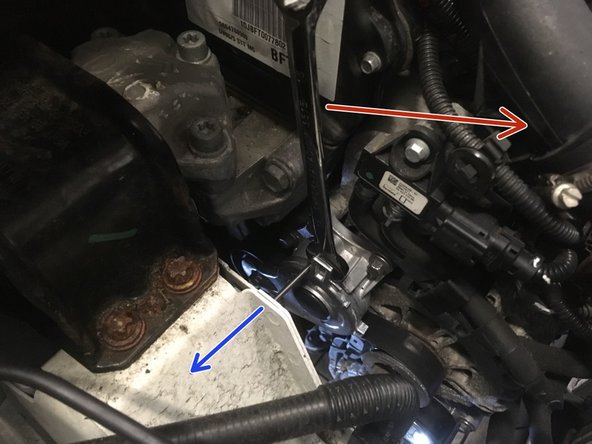
Détendre le galet tendeur à l'aide de la clé plate de 15
-
Retirer la pige de calage
-


Annulation : je n'ai pas terminé ce tutoriel.
4 autres ont terminé cette réparation.
3 commentaires
Merci pour le tuto.
Neanmoins il faut moins d’une heure. Il suffit de ne pas démonter la roue
kevin Bulens - Résolu à la publication Réponse
Un immense merci pour ce guide! Réparation terminée!
J’ai une 5008 phase 1 de 2013 avec start stop et le tuto est tout à fait utilisable pour ce modèle.
A noter que ca m’a pris plutôt 4 heures qu’une heure: j’ai galéré à l’étape 5 pour enlever la protection (et ensuite pour la remettre!) et les 2 vis du 2e galet étaient horriblement difficiles à enlever: trop serrées! C’est seulement à cause d’elles que j’ai été obligé de démonter la protection du bas de caisse.
blaisefiedler - Résolu à la publication Réponse
Merci! Et pour les 5008 phase 1 avec un système start et stop: quelles seront les différences? Evidemment une courroie différente, mais sinon?
blaisefiedler - Résolu à la publication Réponse