


Difficulté
Modérée
Étapes
11
Temps nécessaire
03:00:00

Ce tutoriel a été créé par la communauté
User contributed
Pièces
-
-
Lever la roue avant droite ou gauche suivant le soufflet de cardan que vous voulez enlever.
-
Mettre des chandelles sous la voitures pour sécuriser.
-
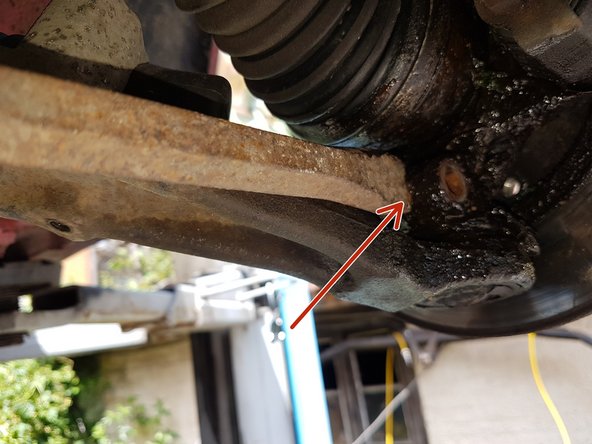
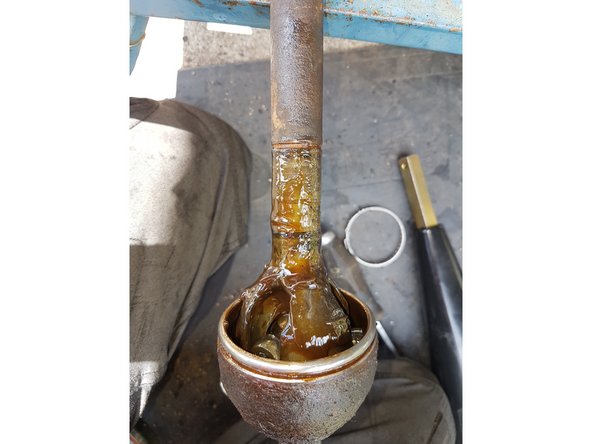
Comme vous pouvez le constater, mon soufflet de cardan fuit un peu !
-
Ce qui est entouré en rouge est le boulon de rotule inférieur completement noyé dans la graisse.
-
Quoiqu'il en soit, ayez toujours la RTA avec vous pour pouvoir ensuite remonter la voiture aux bons couples de serrages.
-
-
-
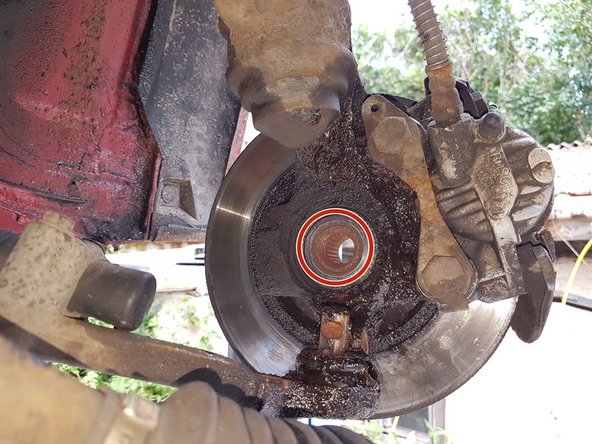
Dans un premier temps, nous allons enlever l'écrou de moyeu.
-
Pour cela, il faut bloquer le moyeu (à l'aide d'un outils fabriqué maison), et dévisser l'écrou (il est assez dur car serré à 25kg!)
-
ATTENTION: NE PAS UTILISER la pédale de frein pour bloquer la roue au risque d'endommager les freins !
-
Remarque: Il se peut que votre écrou soit bloqué par 2 petit ergot, du coup il faudra que vous taper un peu dans l'autre sens pour pouvoir le déserrer.
-
-
-
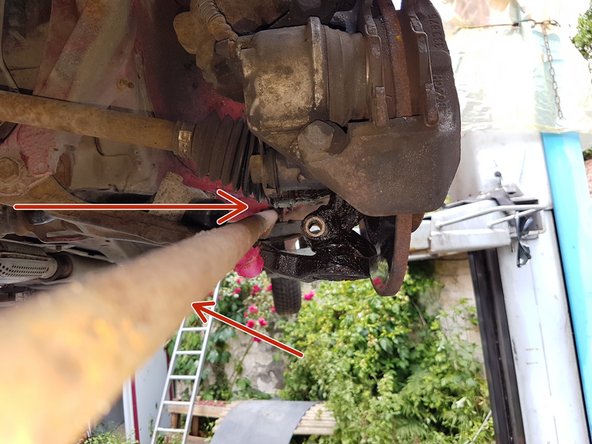
Dévisser l'écrou de rotule inférieur
-
Laisser l'écrou en bout de vis pour pouvoir taper dessus et déloger la vis.
-
Il ne faut pas taper directement sur le bout de la vis pour ne pas abimer le filetage.
-
-
-
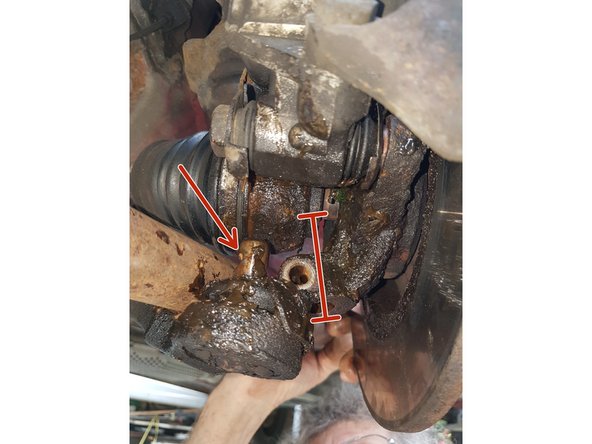
S'aider d'un burin pour pouvoir écarter le logement de la rotule.
-
S'aider ensuite d'une barre de fer pour faire jouer le bras et enlever la rotule.
-
La rotule s'enleve par le bas.
-
-
-
Il ne reste plus qu'à enlever le cardan coté moyeu en l'écartant
-
...et à le retirer coté boite.
-
Il n'y a pas de vis coté boite, le cardan est juste emmanché.
-
ATTENTION: Il y aura un petit peu d'huile qui va couler ! Prévoir un récipient.
-
-
-
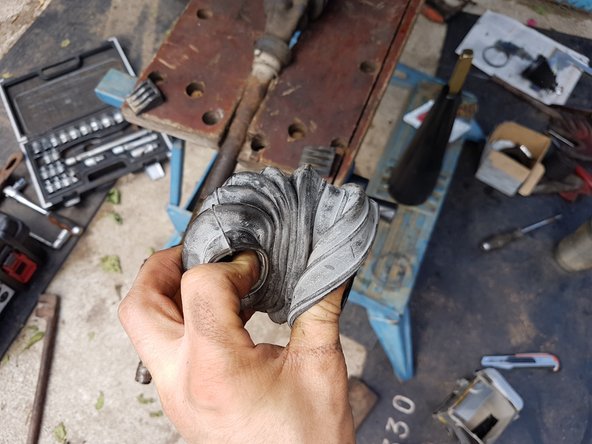
Couper l'ancien soufflet pour l'enlever completement.
-
Ici on voit que c'est le collier qui a cassé.
-
-
-
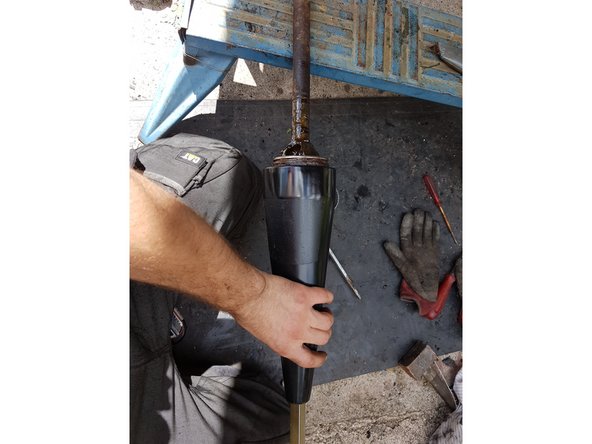
On utilisera un cone pour pouvoir passer le soufflet par le cardan
-
Avant de mettre le soufflet sur le cone, il faut le retourner.
-
-
-
Une fois le soufflet retourné, le mettre dans de l'eau chaude pour le ramollir.
-
Sur le cone, mettre de l'huile de vérin ou une autre huile pour aider au passage.
-
Bloquer le cardan de l'autre coté car vous aurez besoin de pousser trés fort pour pouvoir arriver en haut du cone !
-
-
-
Remarque: Les photos sont celles du changement de soufflet de ma clio mais la méthode est la même que la 106.
-
Une fois le nouveau soufflet passé, il faut le retourner pour le mettre dans le bon sens.
-
Une fois mis dans le bon sens, vous pouvez couper/ajuster la longueur du soufflet.
-
-
-
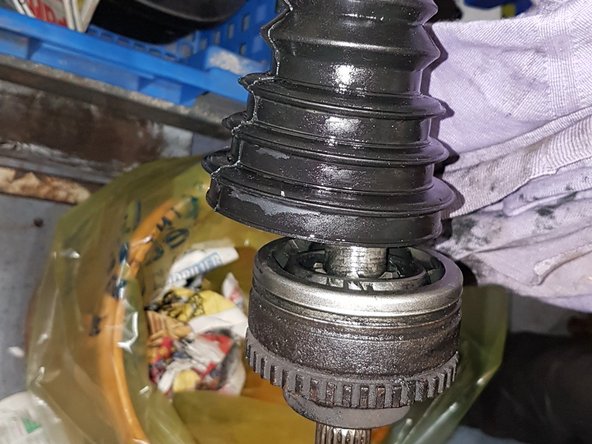
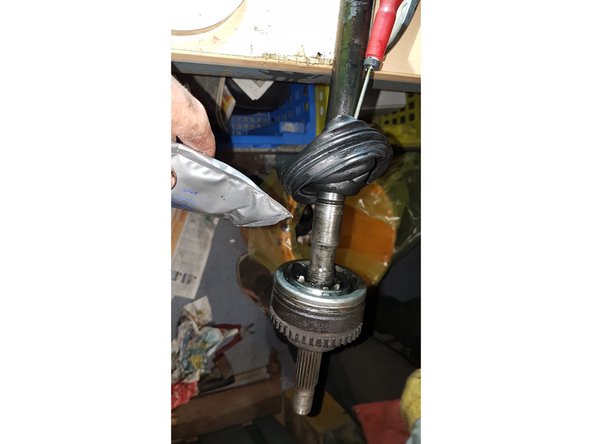
Mettre toute la graisse fournie dans le tripode du soufflet.
-
Remettre le soufflet dans sa position finale.
-
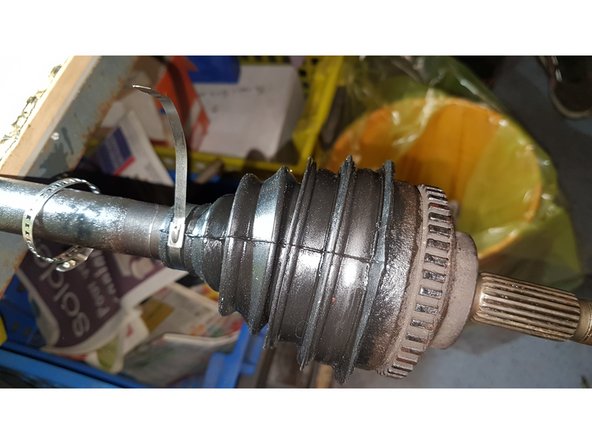
Serrer avec les colliers de chaque coté du soufflet.
-
-
-
Pour remonter le cardan, il suffit simplement de faire les opérations dans le sens inverse.
-
Remarque: Normalement vous n'aurez pas besoin de refaire le niveau d'huile de boite, mais si vous avez perdu trop d'huile, refaite le.
-


2 commentaires
Bonjour, quel es ce fameux outil fait maison ? Il es indispensable ? Parceque je suis pas sur d'avoir ce qu'il faut pour
madelainemax42 - Résolu à la publication Réponse
Salut !
On le voit sur la photo, c'est un Y qui permet de mettre deux vis de roue, et d'appuyer sur le sol avec le 3eme coté, comme cela cela ne force pas sur le frein ou ailleurs, juste sur le moyeu.
Aprés, tu peux aussi prendre un serre joint de macon, et faire 2 trous pour mettre les vis dans le moyeu, et faire appuyer le serre joint par terre.
Il y a peut etre d'autres solutions mais il faut faut surtout pas déserrer en appuyant sur le frein !
Bonne soirée !