


Introduction
Pour remplacer la sonde, on va démonter la tuyauterie d'arrivé d'air et débrancher le débitmètre d'air pour pouvoir accéder à cette sonde.
-
-
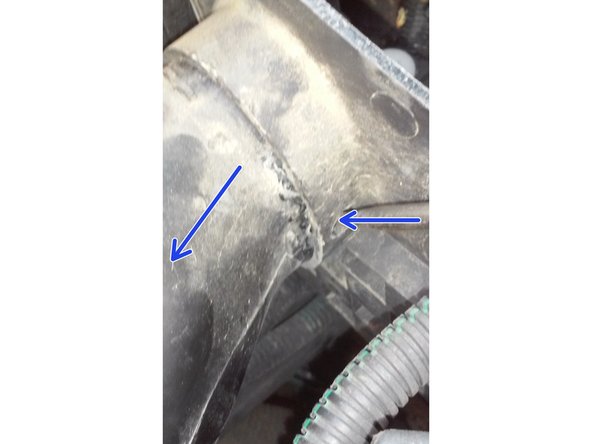
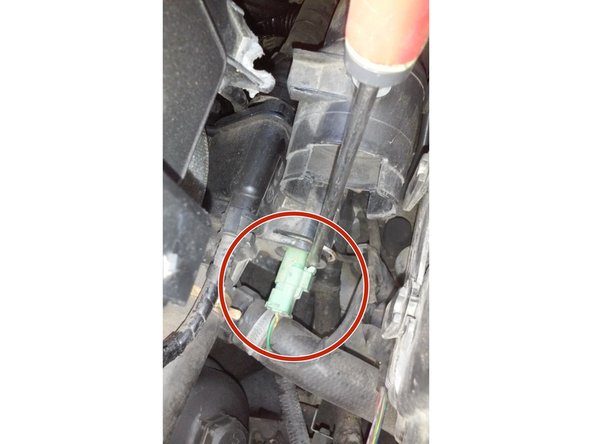
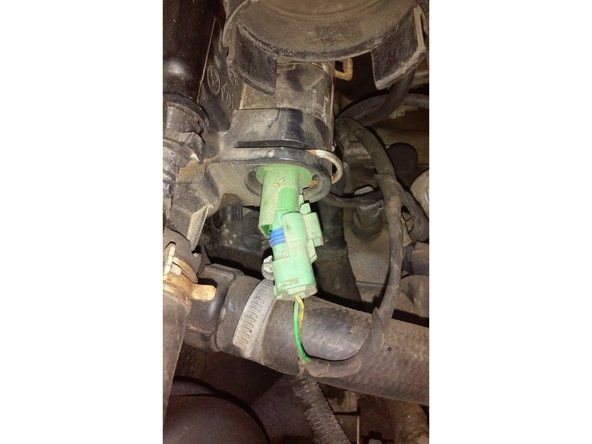
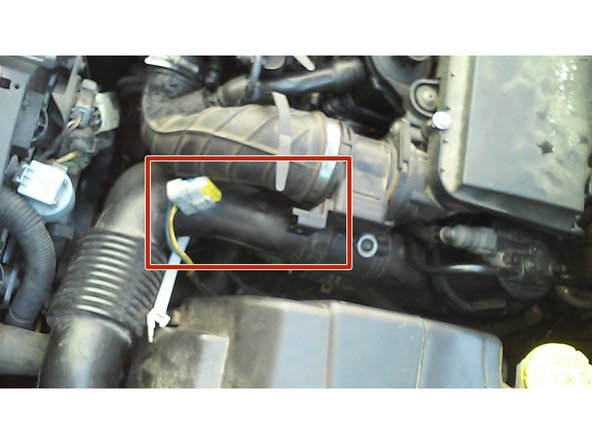
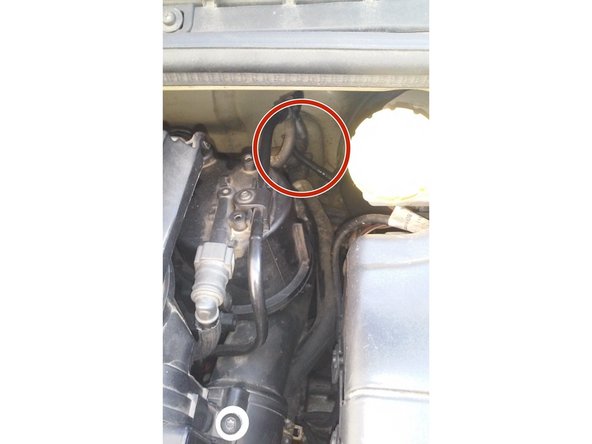
Localiser la zone où se trouve la sonde.
-
Elle se trouve sous la durite en plastique de l'entrée d'air
-
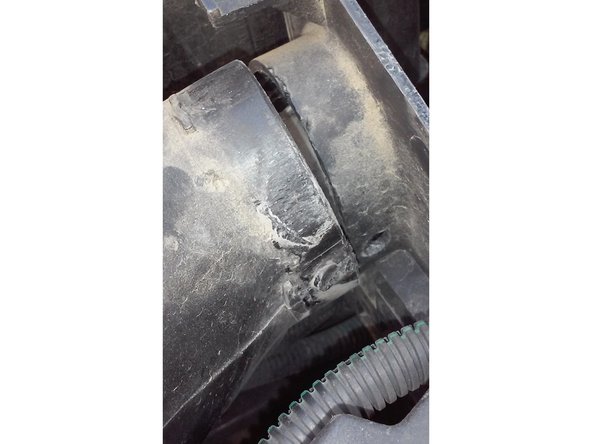
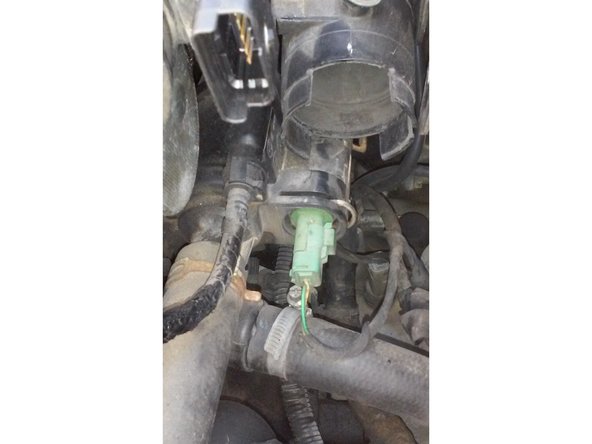
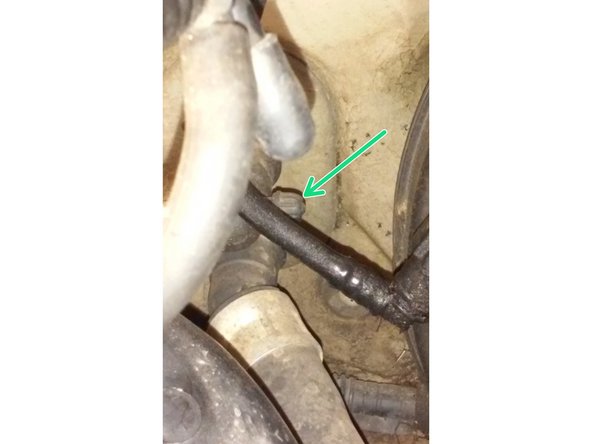
Et là voici.
-
Travailler sur un moteur froid
-
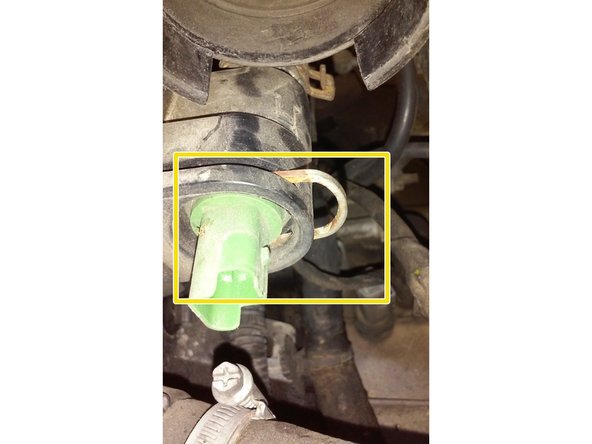
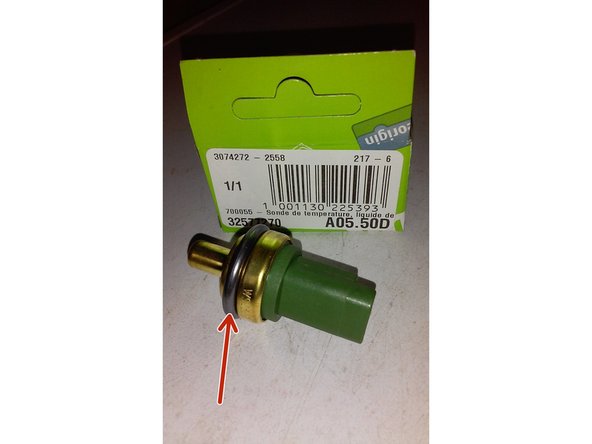
La couleur de la sonde est importante commander la même couleur que la votre..Ici verte.
-
-
-
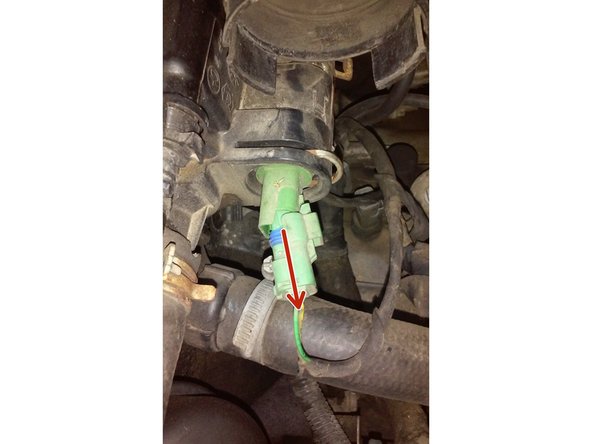
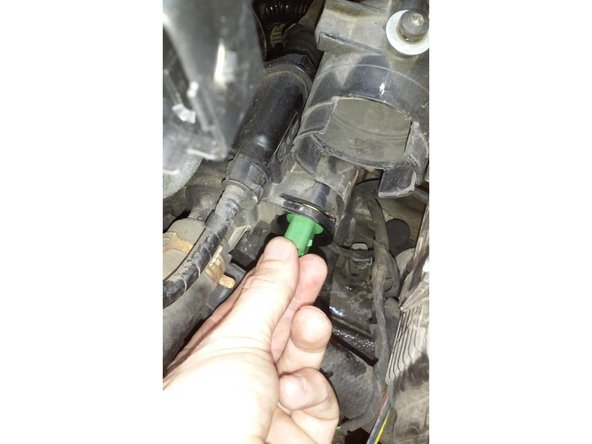
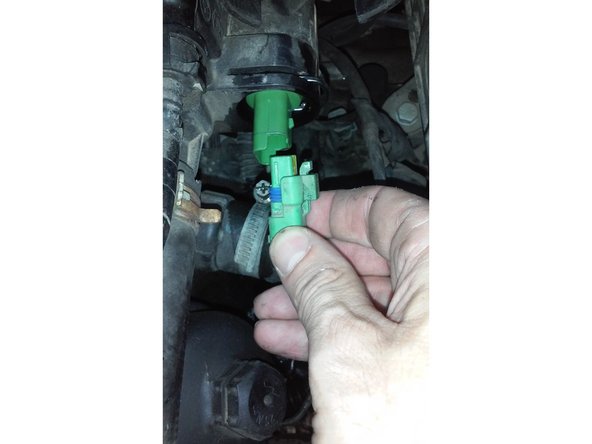
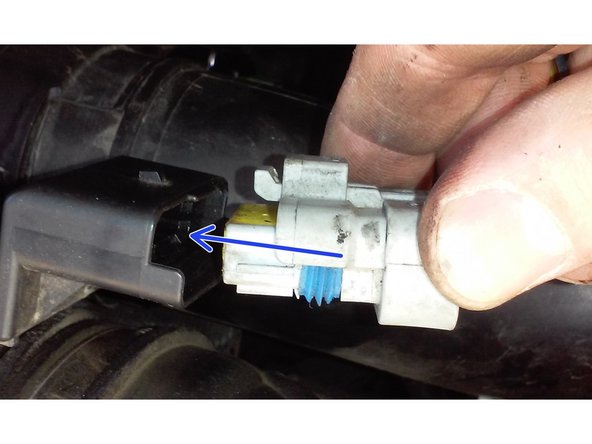
Avec le doigt pousser sur la petite languette grise et de l'autre main tirer sur la prise.
-
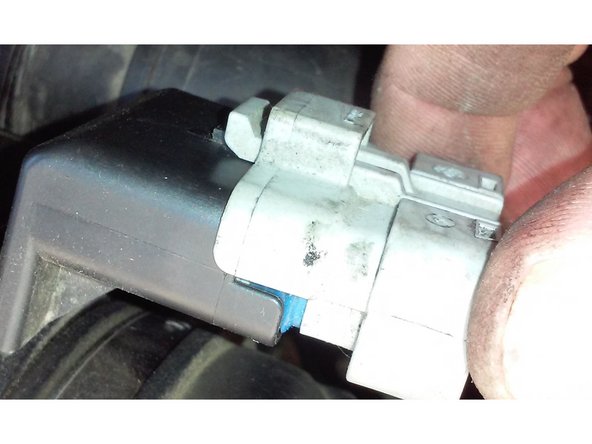
Déconnecter la prise
-
-
-
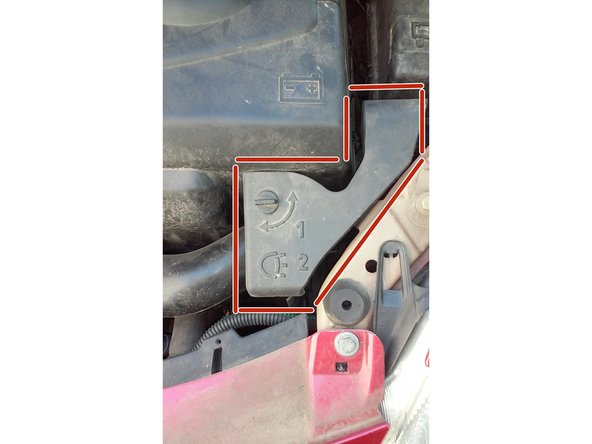
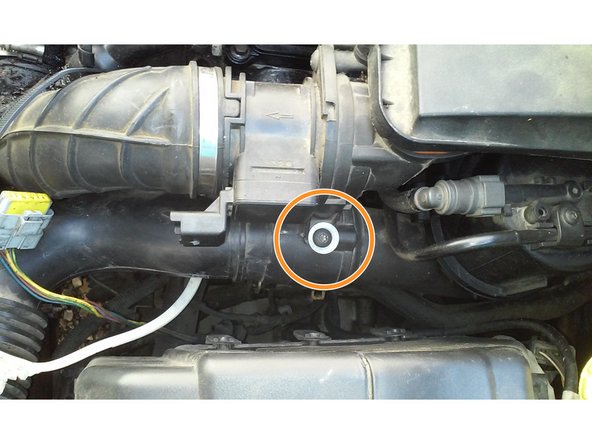
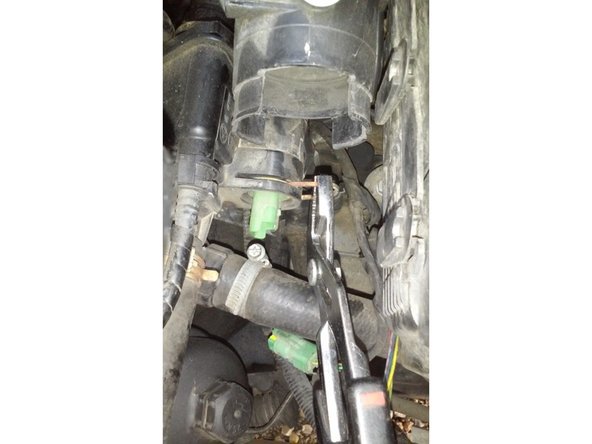
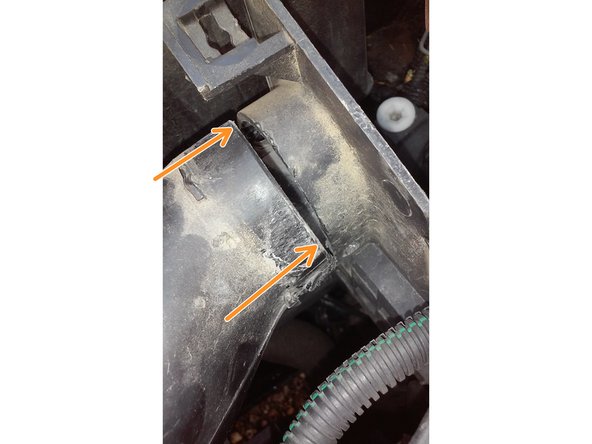
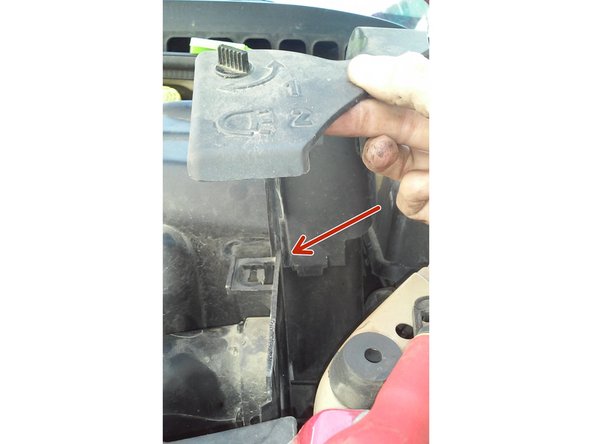
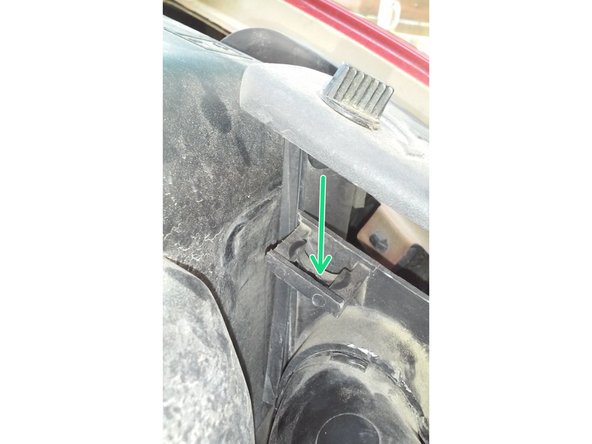
Pour démonter cette pièce (je ne connais sont nom), elle se trouve entre la batterie et le phare
-
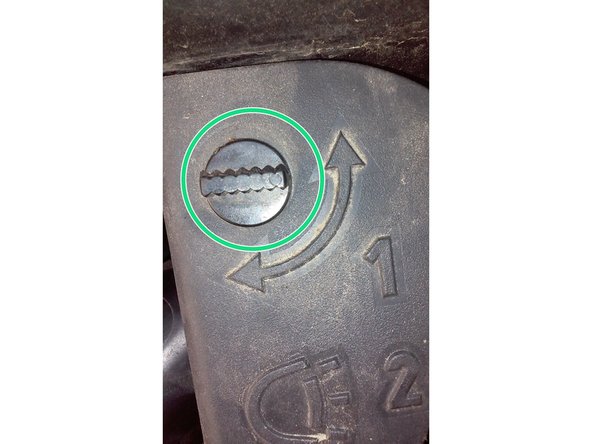
Il faut juste tourner ce bouton d'un quart de tour vers le haut ou le bas et tirer dessus,cela vient tout seul.
-
-
-
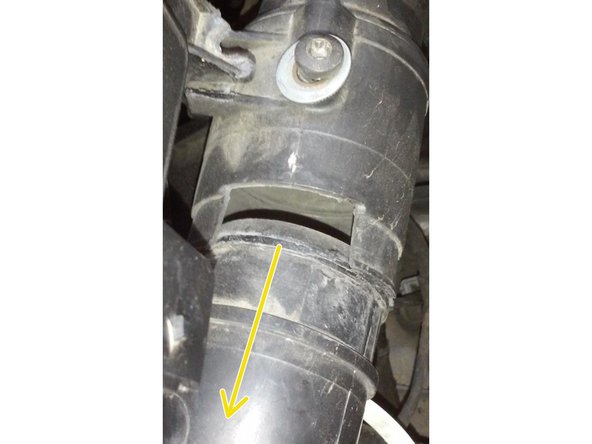
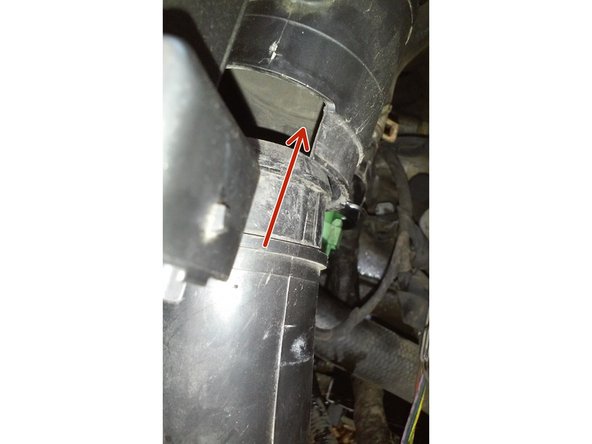
Pour démonter le tuyau en plastique dur il faut pousser avec un tournevis dans le trou.
-
Mettre le tournevis dans le trou pousser dessus et avec l'autre main tirer sur la durite.
-
-
-
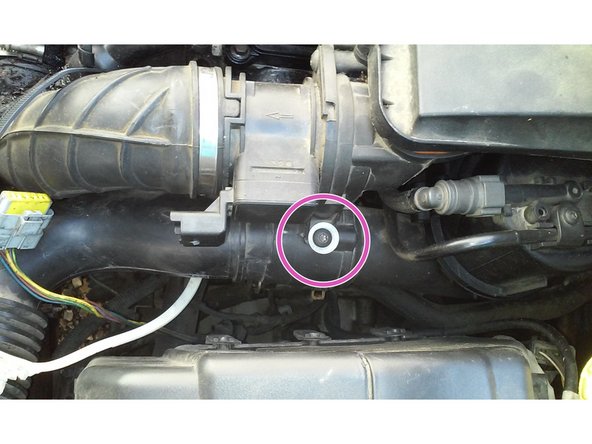
Avec le tournevis torx T35 desserrer la vis
-
Prenez le tuyau dans la main faite du droite et gauche avec et tirer dessus pour le démancher
-
-
-
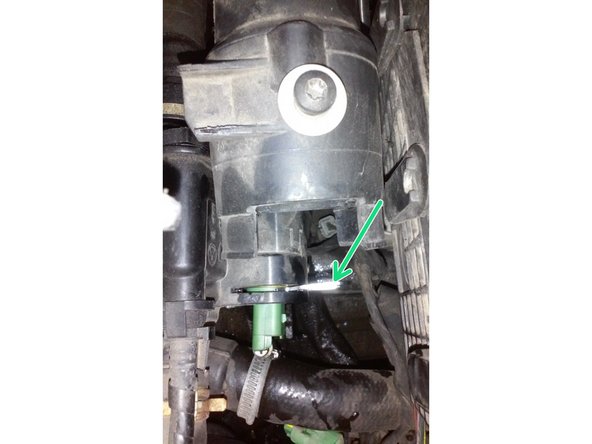
Avec le tournevis plat passé le derrière la petite languette de la prise, faites levier avec et de l'autre main tirer sur la fiche
-
-
-
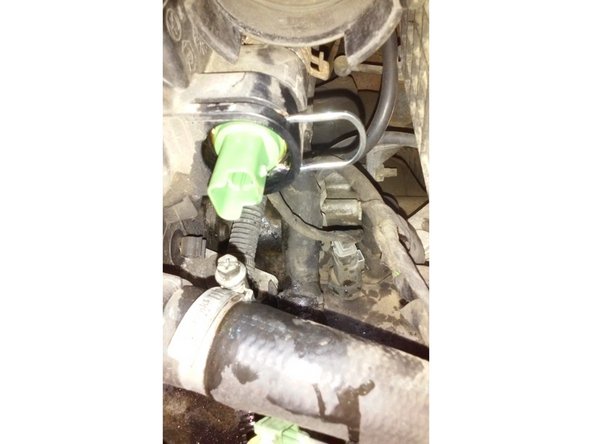
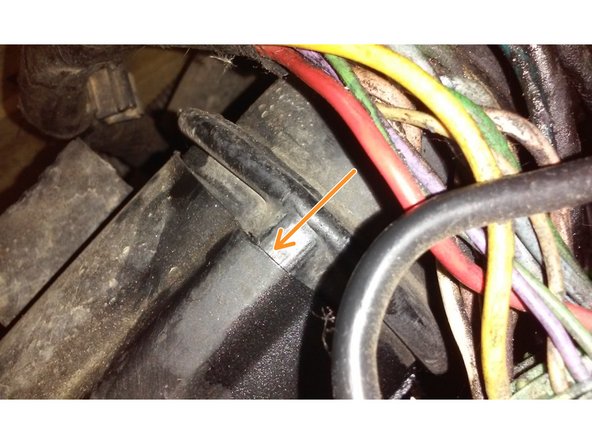
Toujours avec le tournevis plat passer le derrière le clips faite levier de façon à ce que le clips face un cran
-
Visualiser sur la photo
-
Pour enlever complètement le clips , continuer avec une pince pour éviter qu'il ne tombe dans votre compartiment moteur.
-
-
-
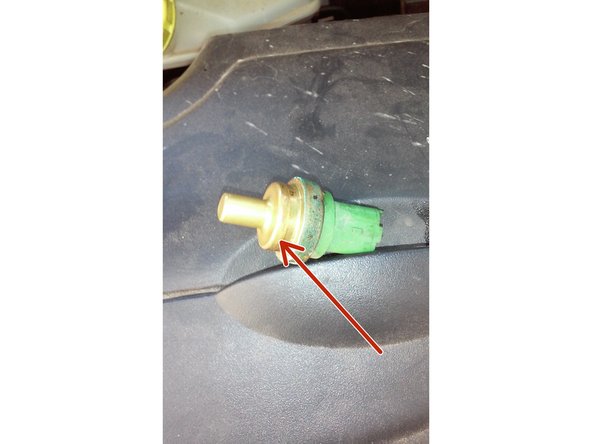
Monter le joint dessus
-
Pour la prochaine étape il va falloir faire vite, donc mettre la sonde neuf à porter de main sa consistera à enlever l'ancienne sonde et mettre la nouvelle sonde pour éviter de perdre trop de liquide de refroidissement.
-
-
-
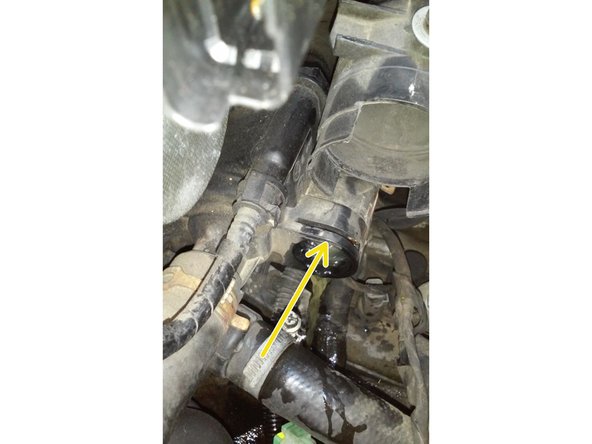
Retirer la sonde à la main en la bougeant de droite à gauche et de haut en bas en tirant dessus.
-
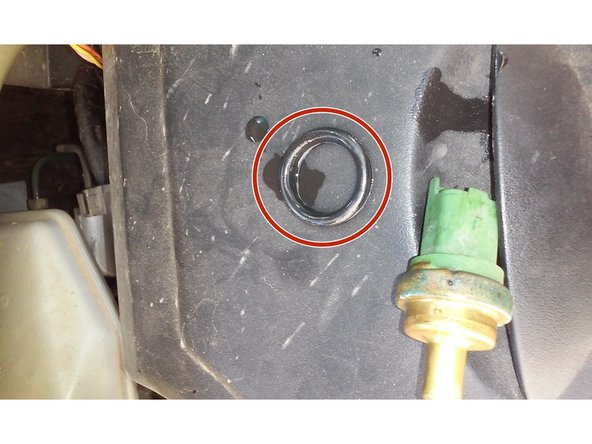
Attention il manque le joint, il est resté à l'intérieur!
-
Mettre le doigt dans le trou pour récupérer le joint.
-
-
-
Une fois l'ancien joint récupérer
-
Mettre en place la nouvelle sonde.
-
Maintener la sonde en place et glisser le clips au premier cran.
-
-
-
Une foi le clips mis comme ceci.
-
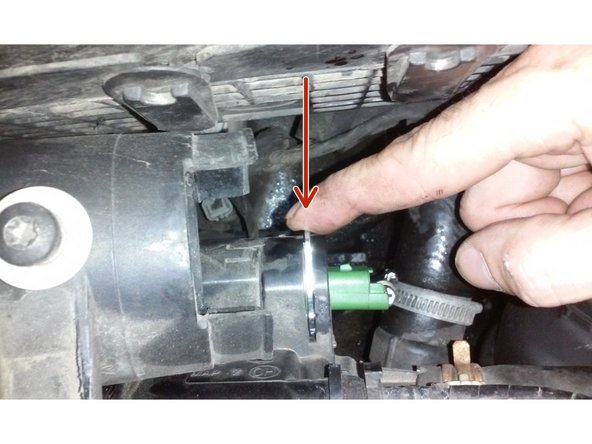
Enfoncer le à fond avec le doigt
-
Passer un petit coup de chiffon pour retirer le liquide de refroidissement qui s'est écoulé, avant de remonter le reste.
-
-
-
Reconnecter la sonde, prener la fiche et enfoncer la à fond jusqu'à entendre un clic
-
-
-
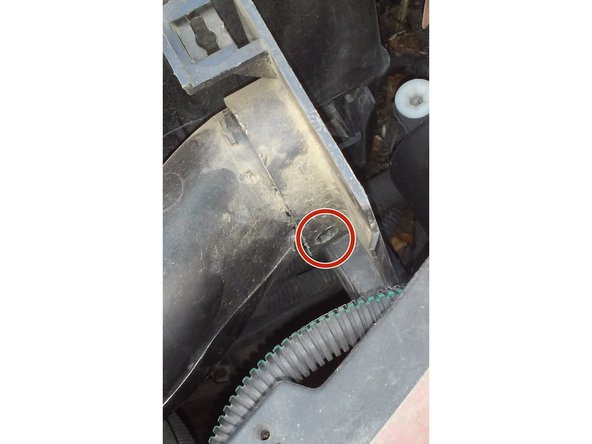
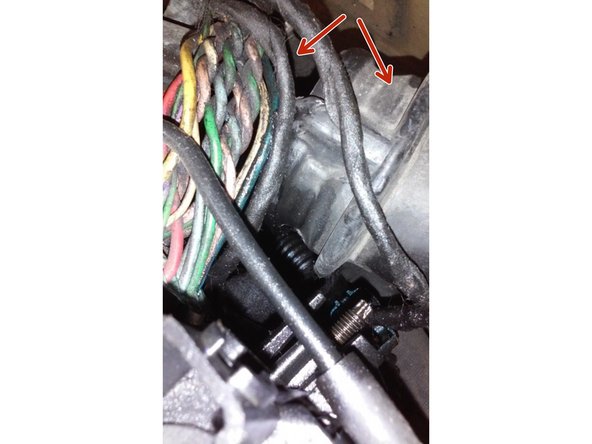
Attention avant de tout remonter contrôler la gaine en plastique quelle ne soit pas démanchée. Elle se trouve derrière le filtre à air pas très visible, il faut écarter le faisceau électrique pour voir.
-
sur ce tutoriel elle était démanchée.Pour la remettre il suffit de l’emboîter à la main.
-
-
-
Commencer par emmancher la durite coté filtre à air.
-
Emmancher l'autre extrémité du coté du phare.
-
Serrer la vis pour maintenir l'ensemble.
-
-
-
Prise du débitmètre.
-
Replacer la prise dans son logement.
-
Enfoncer la à fond jusqu'à entendre un clic.
-
-
-
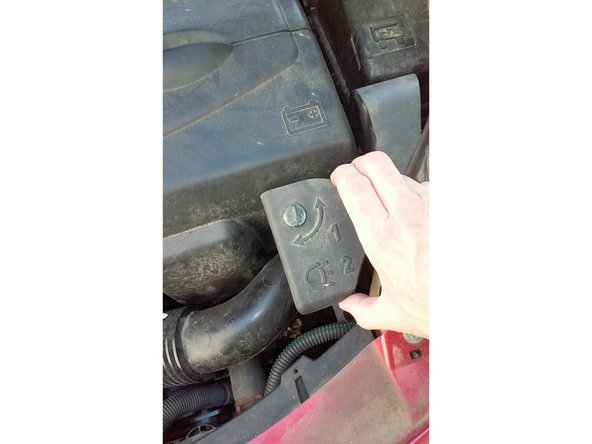
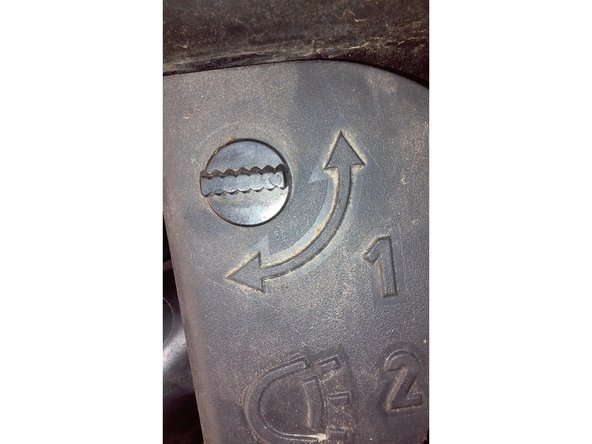
Faire glisser la protection dans son logement.
-
Positionner le bouton pour qu'il puisse rentrer dans le trou.
-
Tourner le bouton d'un quart de tour soit à droite soit à gauche pour le blocage.
-
-
-
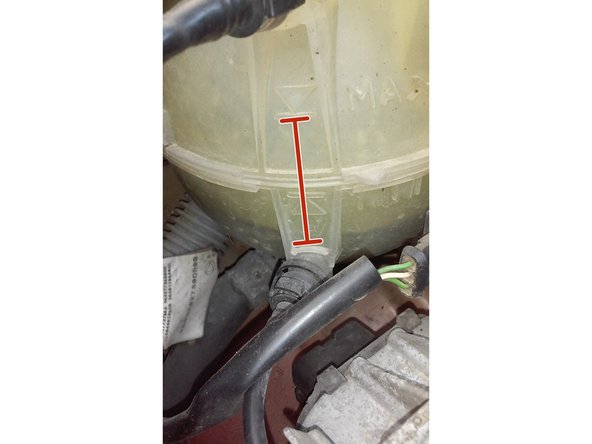
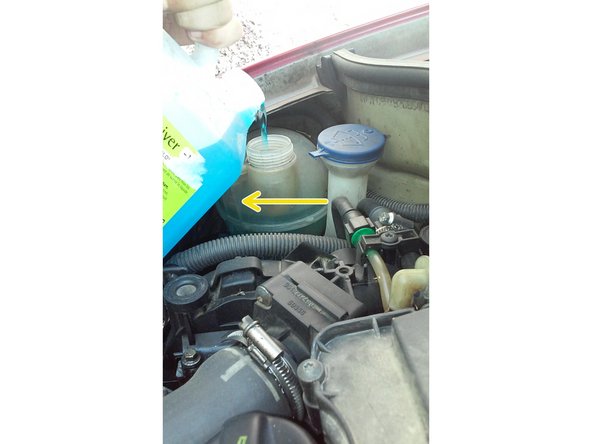
Mettre du liquide de refroidissement jusqu'au repère du haut
-
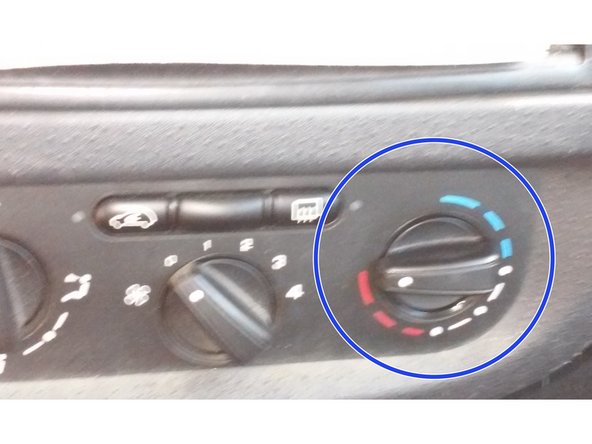
Dans l’habitacle se mettre en position air chaud
-
-
-
Localiser la vis de purge, elle se trouve derrière le filtre à gazole.
-
La voici , démarrer le moteur et desserrer le bouchon et le resserrer lorsque le liquide sort en continu.
-
Refaire le niveau jusqu'au repère maxi, faire chauffer le moteur jusqu’à l' enclenchement du ventilateur.
-
Rouler quelques kilomètres, contrôler si il n'y a pas de fuite, refaire le niveau si nécessaire.
-


Annulation : je n'ai pas terminé ce tutoriel.
8 autres ont terminé cette réparation.
4 commentaires
bjr, c’est pas une Toyota Auris EN TOUT CAS
MAIS UNE CITROEN C2 OU C3 1.4 HDI
assimben2000 - Résolu à la publication Réponse
Avec de tels tutos la mécanique est un vrai plaisir. Merci.
RAYMOND FONTAINE - Résolu à la publication Réponse