


Introduction
Tutoriel realisé sur citrën Saxo phase 2 - 1.1 i 60cv
-
-
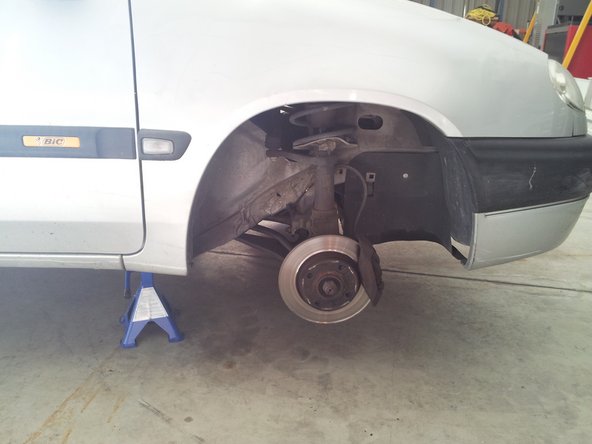
Positionner le cric sur le point d'ancrage conseillé par le constructeur et lever la voiture
-
Positionner la chandelle sous le berceau à coté du triangle et mettre la voiture en appui sur la chandelle
-
-
-
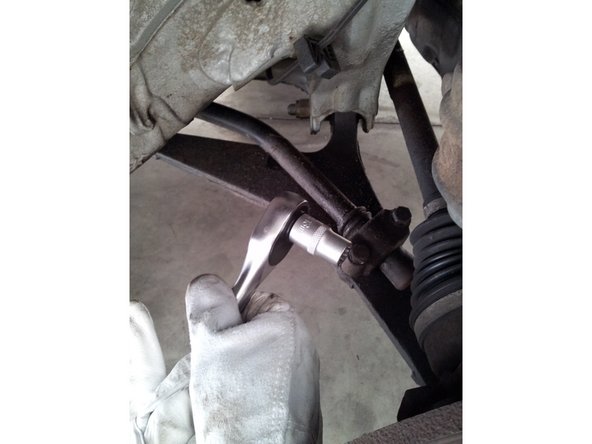
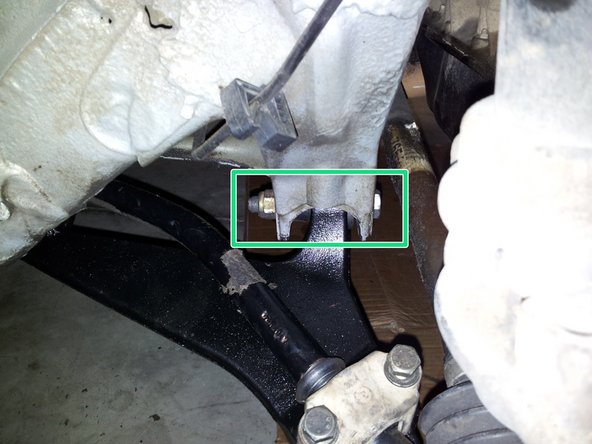
Dévisser le boulon de fixation du pivot à l'aide d'une clé de 16 et d'une clé de 17.
-
Puis dégager le pivot en faisant attention à ne pas abimer le capot de protection ou le soufflet de la rotule.
-
-
-
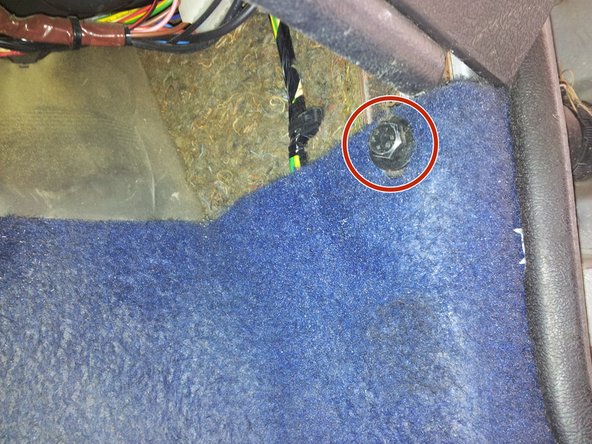
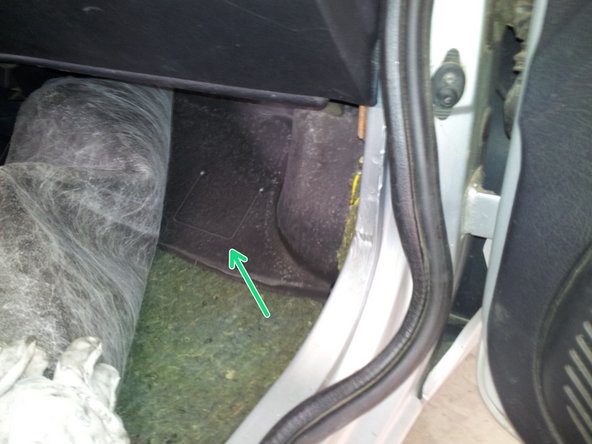
A l'intérieur de l'habitacle dévisser les deux clips plastiques et la vis qui maintiennent l'avant de la moquette. Puis soulever la moquette.
-
Soulever la mousse insonorisante à l'endroit pré-découpé.
-
-
-
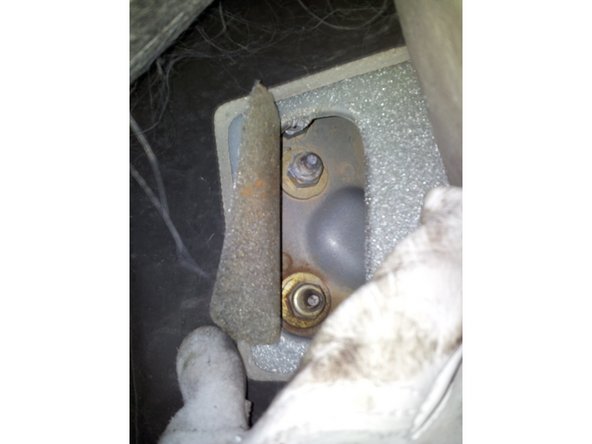
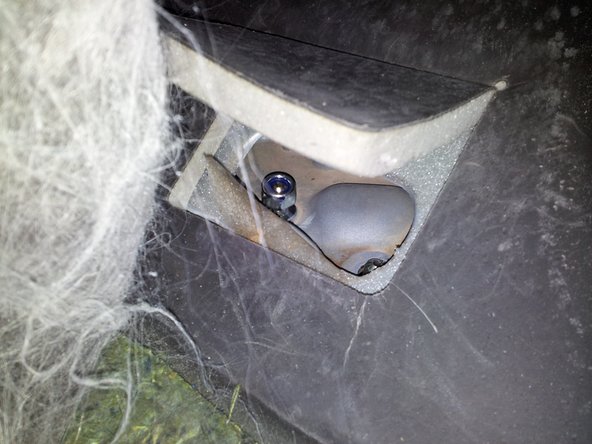
Découper partiellement à l'aide d'un cutter le papier mousse, en suivant la découpe dans la tole.
-
Dévisser les deux écrous à l'aide d'une clé à pipe ou à douille de 16 mm.
-
-
-
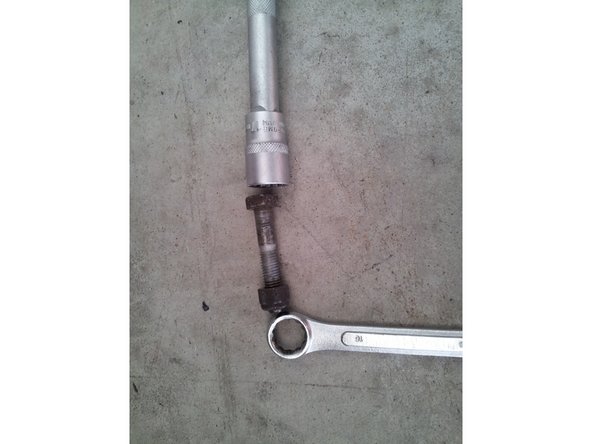
Dévisser le dernier boulon à l'aide de deux clés de 18 mm
-
-
-
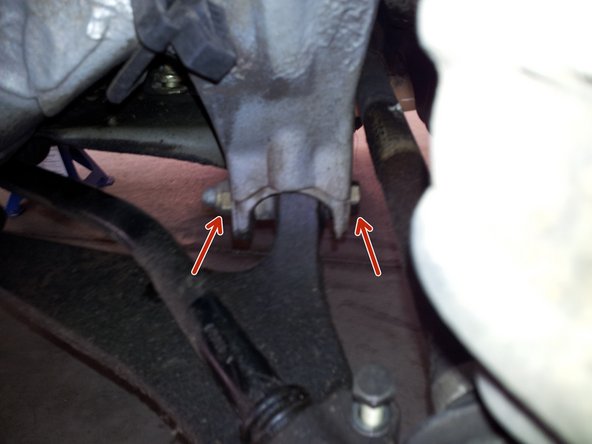
Dégager les deux vis de la fixation arrière et l'articulation avant, en appuyant vers le bas sur le bras inférieur.
-
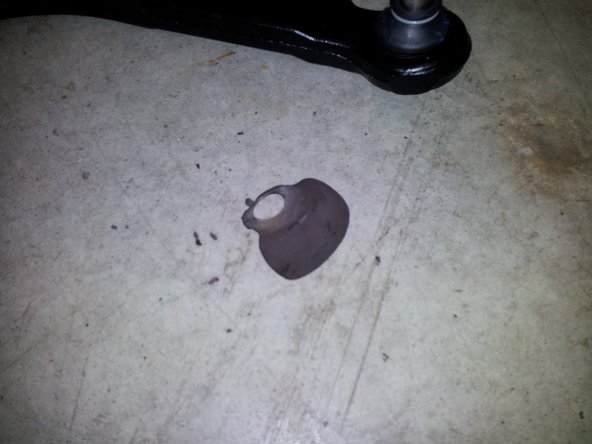
Attention à conserver le chapeau de protection de la rotule, pour le remettre sur le nouveau bras inférieur.
-
-
-
Mettre l'ancien capot de protection sur la rotule du nouveau triangle
-
Commencer par mettre en place l'axe de la rotule dans son emplacement en faisant attention à bien orienter la découpe pour la vis de blocage, ainsi qu'à bien orienter le doigt de positionnement du capot de protection dans la rainure du pivot.
-
Mettre en place le boulon dans le pivot en changeant l'écrou, et en serrant à 38 N.m
-
-
-
Engager les deux vis de la fixation arrière dans leur emplacement
-
Engager le pivot avant dans son emplacement et engager la vis
-
A l'intérieur du véhicule, mettre deux écrous neufs sur la fixation arrière du triangle et serrer à 40 N.m
-
Mettre un écrou neuf sur la vis de fixation avant du triangle et serrer à 85 N.m
-
-
-
Resserrer les deux vis du palier de barre antidévers à 25N.m
-
Remettre la roue en place et reposer le véhicule au sol
-
Remettre la moquette en place
-
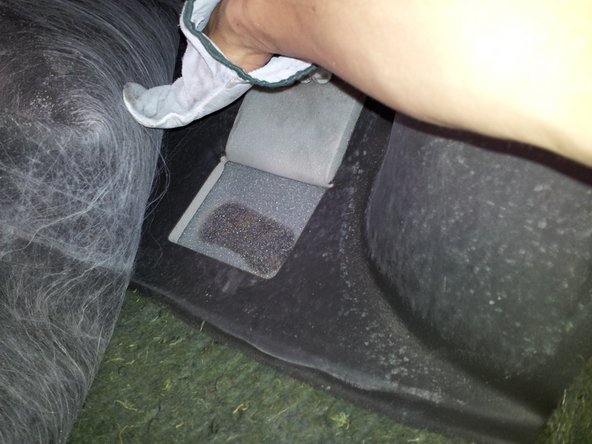
Côté conducteur vérifier que les pédales fonctionnent parfaitement et ne soient pas gêner par la moquette.
-
Procéder de la même manière pour le deuxième côté.
-
Faire contrôler la géométrie du véhicule.
-


Annulation : je n'ai pas terminé ce tutoriel.
7 autres ont terminé cette réparation.
10 commentaires
J’ajouterai que lors de la commande du triangle choisissez le triangle avec la rotule de suspension prémontée car si vous êtes “amateur” sans outillage spécial c’est la galère assurée et…un montage …aléatoire
rgrbajus62 - Résolu à la publication Réponse
Merci pour ce tuto.
Pour ma part pas de problème particulier a part aussi une fuite d’huile de boite côté conducteur : une fois le triangle déposé, attention lorsque vous maniez le cardan a ne pas le tirer vers vous !!
Aussi, je m’intéroge sur l’utilité de controler la géométrie alors qu’on ne touche pas aux organes de direction ?
francois.letourmy - Résolu à la publication Réponse
J’ai démonté le bras pour changer la rotule de suspension sur les 2 côtés. Mais c’est la galère quand on n’a pas les outils et avec la masse le bras placé dans l’étau, je n’y suis pas arrivé. Finalement j’ai réussi, le bras dans l’étau avec un mamelon en ferraille coincé entre le bras et l’étau qui poussait sur la tige de la rotule.
Dévisser le boulon de fixation du pivot. Puis dégager le pivot en faisant attention à ne pas abîmer le capot de protection ou le soufflet de la rotule. Le pivot ne sort pas à l’étape 5 mais seulement à l’étape 9.
Attention lors de la mise en place de la rotule dans le bras de ne pas abîmer le soufflet lors de la frappe sur un objet en ferraille du bon diamètre de l’arrière de la rotule.
Refixer la barre antidevers sur le triangle, j’ai bataillé pour mettre la deuxième vis.
Jean-Paul LIEBER - Résolu à la publication Réponse