


Difficulté
Facile
Étapes
9
Temps nécessaire
01:00:00

Ce tutoriel a été créé par la communauté
User contributed
Introduction
Changement du soufflet de la biellette de direction sur clio 2 par un soufflet universel
-
-
Commencer par desserrer les boulons de la jante puis mettre le coté de la voiture sur le cric en mettant des cales de sécurité ou des chandelles.
-
-
-
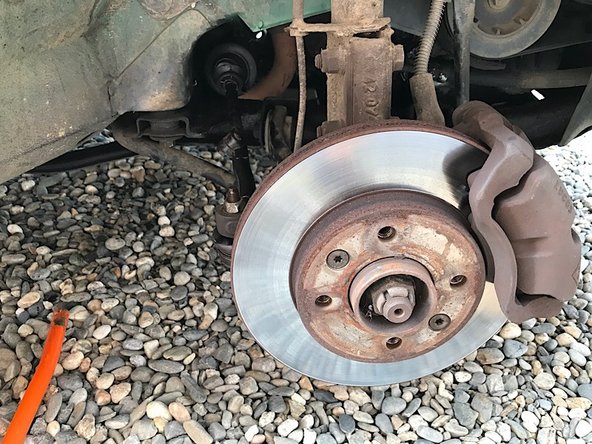
Une fois le coté de la voiture soulever et mi en sécurité, finir de démonter la roue.
-
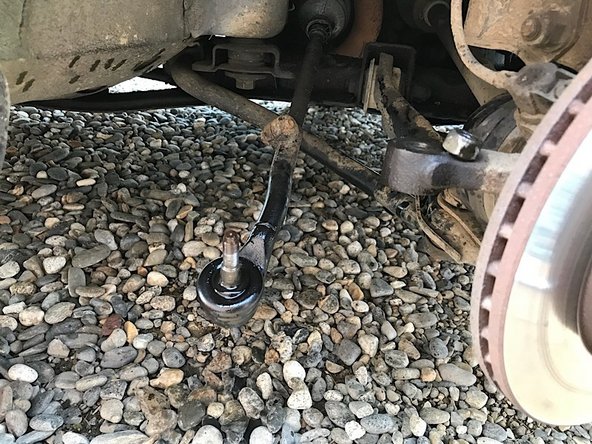
Une fois démonté, tourné la roue vers l'intérieur en tournant le volant pour avoir accès plus facilement a la biellette de direction et son soufflet.
-
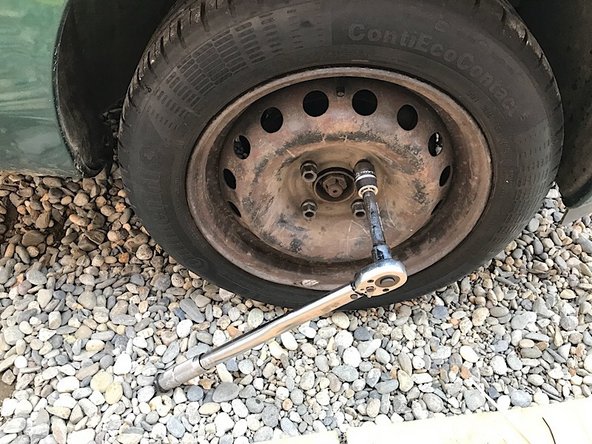
Se munir d'un cliquet et d'une douille de 17 pour dévisser l'écrou de la biellette.
-
-
-
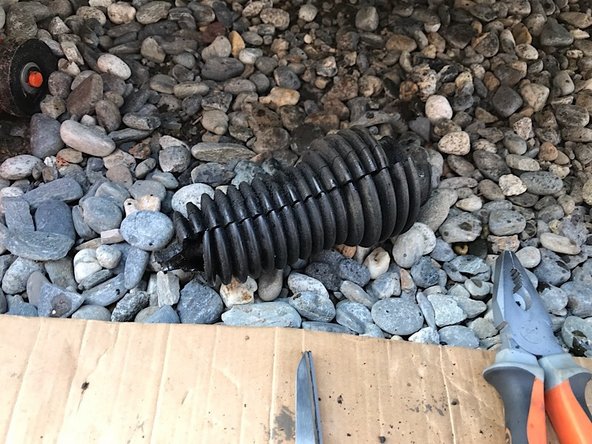
Prendre le nouveau soufflet et le mettre à coté de l'ancien afin de comparer leur longueur. Comme c'est un soufflet universel, il est prévu pour être coupé afin d'avoir la bonne longueur.
-
Une fois la longueur comparée, couper sur le nouveau le surplus.
-
Attention, toujours couper le côté le plus large
-
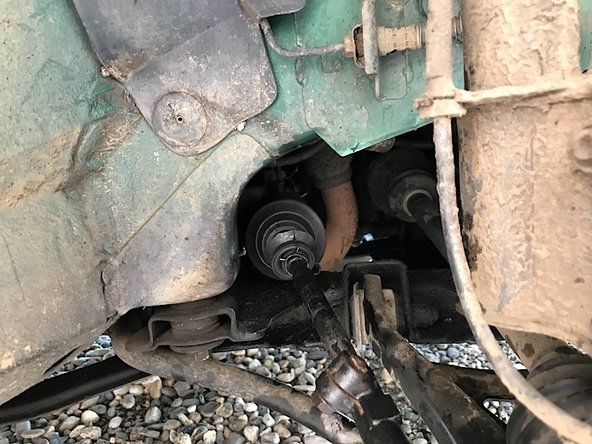
Une fois fait, enduire de graisse l’intérieur du nouveau soufflet ce qui facilitera son introduction dans la biellette de direction.
-


Annulation : je n'ai pas terminé ce tutoriel.
7 autres ont terminé cette réparation.
4 commentaires
En l’absence de cône vous pouvez essayer d’utiliser un petit entonnoir dont vous coupez la partie la plus grande pour l’adapter au diamètre de la rotule. Idéalement le soufflet doit être “chaud” (opération difficile par temps froid). Le couple de serrage indiqué ici est clairement trop élevé (164N.m)!!! 37N.m est bien plus probable. Sinon serrer fermement avec la clef de 17 mais sans exagérer (à une main). En cas de doute contrôler le serrage après un bref roulage à vitesse lente mais en faisant aller la direction.
Bonjour, Je ne trouve pas ce soufflet universel pour ma Clio sur le site Oscaro. Tous ceux qui sont proposés n’ont pas ce petit cône qui permet de glisser le soufflet. Sans ce cône mentionné à l’étape 6 il faut démonter la biellette de direction mais dans ce cas il faut refaire le parallélisme
Pouvez vous m’indiquer où trouver ce soufflet universel ?
Merci
Bonjour, êtes-vous sûr du couple de serrage de la rotule? J’ai 37N.m sur a documentation. Cdt
a_bosc2000 - Résolu à la publication Réponse