Introduction
Changement des plaquettes de freins avant d'une Mini Cooper One 1.6 i 90cv
-
-
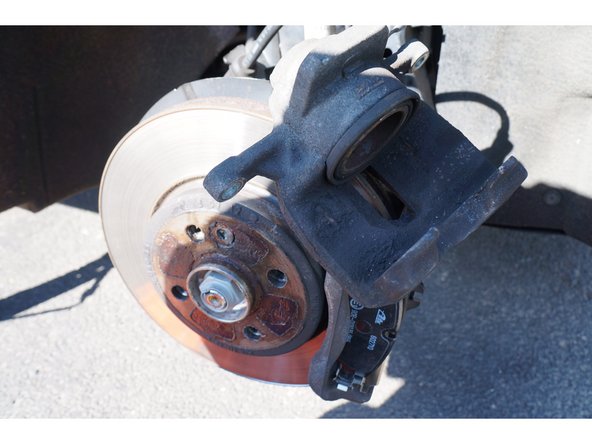
Deux vis à enlever avec le cliquet et la clé plate
-
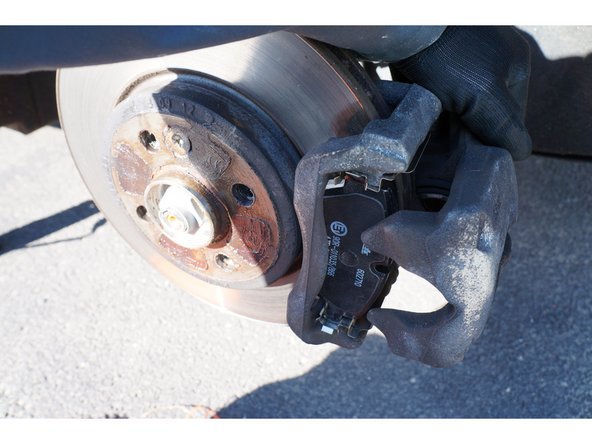
Une fois la vis inférieure retirée et la supérieure desserrée on peut faire pivoter l’étrier
-
-
-
Enlever les plaquettes de leur logement et retirer les supports métalliques.
-
Nettoyer à l'aide d'une brosse métallique les portées
-
-
-
Mettre les nouveaux supports puis les nouvelles plaquettes.
-
Comparer les anciennes et les nouvelles plaquettes
-
-
-
Repousser le piston dans son logement avec le serre-joint (utiliser l'ancienne plaquette comme support).
-
Remettre l'étrier en place.
-
-
-
Inserrer et fixer les anciennes (ou des nouvelles) vis.
-
Bloquer le tout : c'est terminé pour le côté droit ...
-
Dans certains cas des vis neuves sont fournies avec les plaquettes
-
-
-
Côté gauche le témoin d'usure doit être dé clipsé de son logement dans la plaquette.
-
Celui-ci peut être conservé s'il n'est pas usé (pensez à changer les plaquettes avant que le témoin s'allume en controlant régulièrement l'usure des plaquettes).
-
-
-
Remonter le côté gauche comme le droit ... c'est terminé !
-
Amorcer le circuit de freinage en répétant quelques coups de pédale de frein jusqu'à ce que cette dernière devienne dure
-
Un petit rodage des plaquettes est nécessaire.
-
Annulation : je n'ai pas terminé ce tutoriel.
9 autres ont terminé cette réparation.
19 commentaires
c’est bien
j’aurais rajouter quel est le diamètre de la clef et aussi lorsque l’on repousse le piston on ouvre le bouchon du liquide de freins pour plus de facilitée
T Bon Tuto …mais pour la remise à zéro des infos au tableau de bord ??
Une solution ??
Car il y a un voyant rouge m’enjoignant de voir un pro :) pour vérifier le circuit de freinage (voiture de 20.000 km)
Sacrés constructeurs qui nous forcent à repasser par la valise :)
La manoeuvre se fait porte fermée, contact mis (mais pas démarré : appui bref sur bouton Start-Stop)
ponpoy -
Pas besoin de valise. La remise à zéro se fait en navigant dans le menu de l’ordinateur de bord avec le bouton au bout de la manette de clignotant ou phare (avec un combinaison d’appuis courts = naviguer, ou longs = valider). Il faut rentrer dans CHECK-INFO, puis, sur la donnée en alerte, aller sur SET ou RESET, et rester assez longtemps (petite animation compte à rebours) pour la remise à zéro. On trouve la procédure un peu partout sur le net (attention à votre version de Mini…).
ponpoy -


