


Difficulté
Facile
Étapes
5
Temps nécessaire
00:10:00

Ce tutoriel a été créé par la communauté
User contributed
Introduction
Après avoir deviser les vis qui tienne les plastique du par brise et le renfort de châssis en forme d'un triangle , on soulève la mousse de protection , on retire l'ancienne résistance, et remonte la nouvelle.
Et on fini par tester le bon fonctionnement du pulseur
-
-
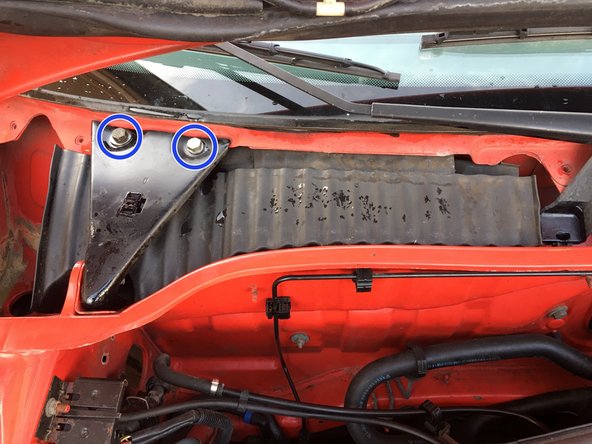
Dévisser les deux vis du plastique a l'aide du tourne vis cruciforme
-
Tirer vers le bas le plastique
-
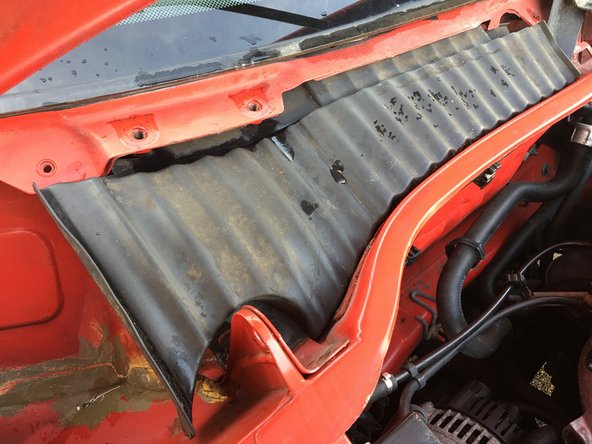
Soulever l'essuie glace et retirer le plastique
-
-
-
Dévisser les deux vis du dessus avec la clé de 13
-
Dévisser la vis du coter avec la clé de 13
-
Retirer le triangle métallique en le tirant vers vous
-
-
-
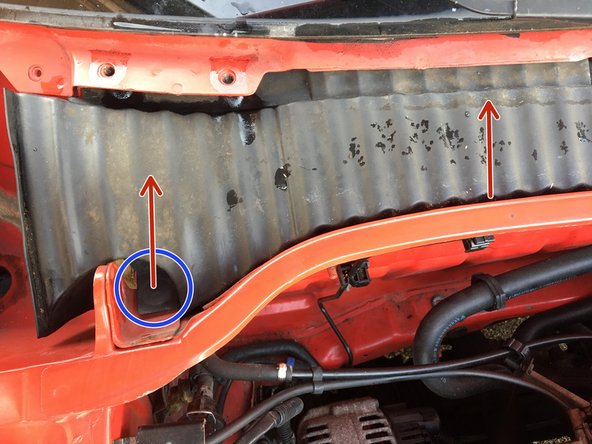
Dé-clipser le clip a la main ou au tourne vis
-
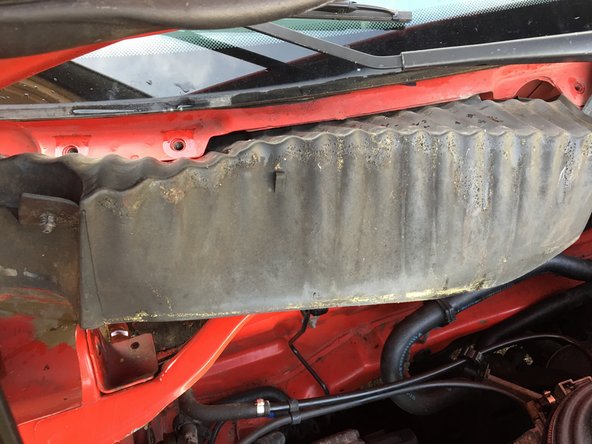
Soulevez la partit basse du plastique souple en tirant depuis le clip et vers le milieu droit de la piéce
-
-
-
Vous aurez une vue sur la résistance
-
Tournez la résistance vers la gauche
-
Tirer la résistance vers le bas
-
Déconnecter la résistance
-


Annulation : je n'ai pas terminé ce tutoriel.
4 autres ont terminé cette réparation.