


Difficulté
Modérée
Étapes
7
Temps nécessaire
01:00:00

Ce tutoriel a été créé par la communauté
User contributed
Introduction
Tutoriel permettant de changer sa courroie d'accessoires sur une Peugeot 207 1.4 VTi 16V 95 cv
-
-
Surélever l’avant droit du véhicule et enlever la roue avant droite.
-
Déclipser les fixations en plastiques et la vis torx qui maintiennent le pare-boue à l’aide d’un tournevis plat pour les clips.
-
-
-
Dévisser la protection plastique du carter afin d’enlever le pare-boue.
-
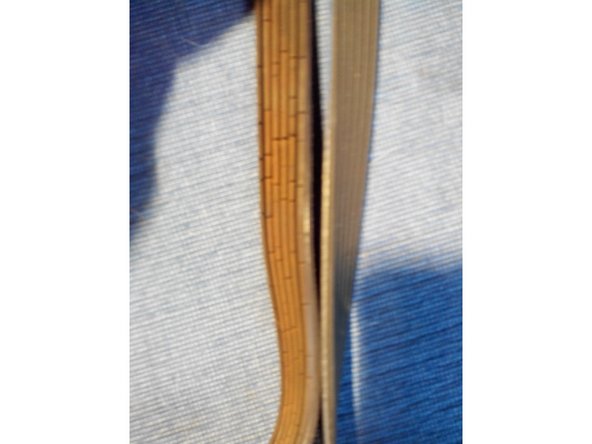
Enlever le pare-boue, on aperçoit alors la courroie.
-
-
-
Détendre la courroie: utiliser une clé coudée 21/23 pour lever doucement le tendeur en le faisant pivoter de gauche à droite.
-
Maintenir la position du tendeur en glissant une vis
-
-
-
Débrayer la roue de friction en tirant sur la languette et la coincer dans l’encoche prévu afin de libérer la courroie.
-
-
-
Enlever l’ancienne et mettre la nouvelle courroie suivant le même parcours: celle-ci doit passer autour des trois poulies marquées par une flèche ( attention ne pas tourner la poulie damper, la plus grande, à gauche).
-
Avant de remettre la courroie, vérifier les roulements (tendeur, roue de friction, alternateur) en les faisant tourner, il ne doit pas avoir de bruit suspect et pas de point dur.
-
Vérifier également si la pompe à eau ne fuie pas (en passant son doigt ou en dévissant la poulie de pompe à eau).
-
-
-
Enlever la languette de la roue de friction de l’encoche et la repousser dans son logement.
-
Libérer la vis de maintient du tendeur en tirant légèrement sur la clé puis relâcher doucement pour tendre ma courroie
-
S’assurer que la courroie est bien positionnée: bien au centre des roulements.
-
-
-
Démarrer le moteur et contrôler visuellement si la courroie tourne correctement et qu’il n’y a pas de bruit suspect.
-
Remettre le pare boue et la roue.
-


Annulation : je n'ai pas terminé ce tutoriel.
13 autres ont terminé cette réparation.
2 commentaires
Bonjour, bonne explications qui m’aide bien pour le démonter et voir l’état du régulateur qui ne me donne que 13,9 volts de recharge maxi à partir de 2000 Tours pas plus, je pense que ce sont les charbons usés. Encore merci.
patrick viala - Résolu à la publication Réponse