


Difficulté
Très difficile
Étapes
29
Temps nécessaire
08:00:00

Ce tutoriel a été créé par la communauté
User contributed
Introduction
Ce tutoriel est réalisé sur une Renault Clio 2 1.5 DCI
-
-
Avant tout, ce tutoriel n'est pas compliqué en soit, mais il faut être assez méthodique, prendre des photos, car beaucoup de pièces seront démontés.
-
Il faudra aussi prévoir de la place pour mettre les pièces enlevés.
-
Ayez toujours la RTA du véhicule, cela sera toujours utile !
-
Les photos correspondent à ma voiture, je n'ai pas énormement d'options dessus donc à adapter à votre véhicule.
-
Concernant les outils, une boite de douilles, les clés classiques et vous pourrez tout faire sans problèmes.
-
-
-
Tout d'abord, déconnecter la batterie de la voiture.
-
Mettre les roues droites
-
Enlever les 3 vis de la grille de ventilation du haut.
-
-
-
Declipser les montants plastiques droits et gauches en les tirant simplement.
-
Enlever le cache juste au dessus de la boite à gant et déposer les vis.
-
Enlever le cache au dessus de la molette de réglage des phares et déposer la vis.
-
-
-
Déposer le cendrier
-
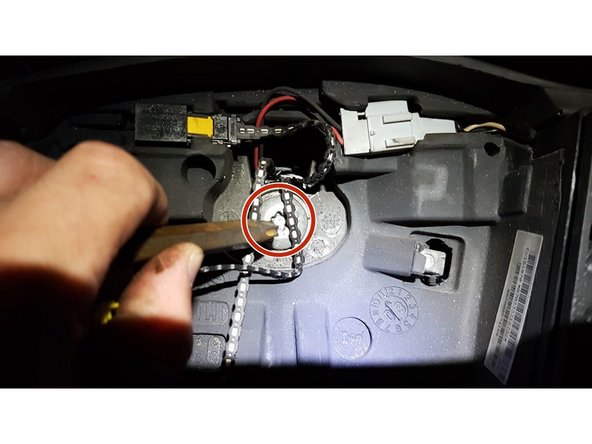
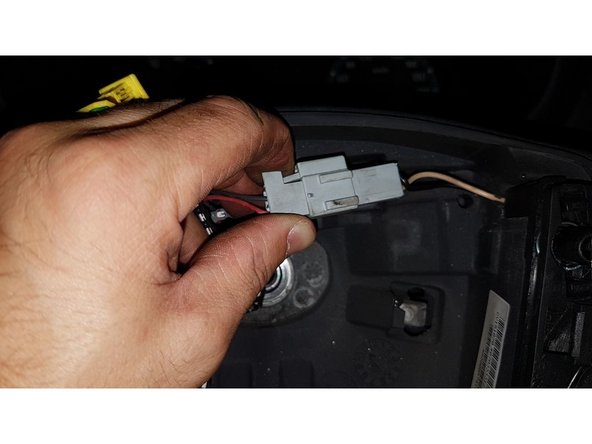
Dégager le support de l'allume cigare de son logement et débrancher son connecteur.
-
Déclipser le soufflet de levier de vitesse.
-
-
-
De chaque coté, déclipser la console centrale et la dégager par l'arrière
-
Déclipser le clips qui se trouve devant le pommeau de vitesse
-
Tirer la console vers vous pour la dégager
-
-
-
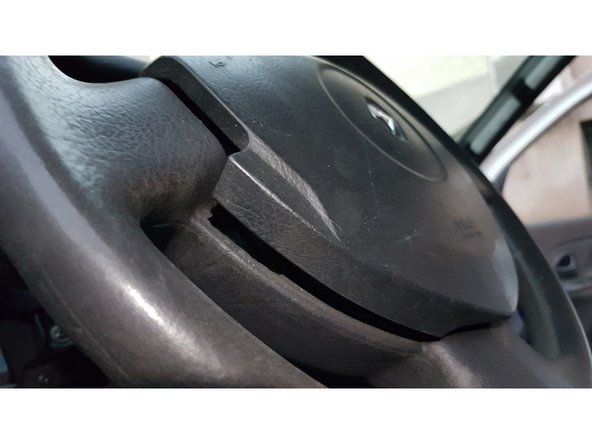
Enlever le cache de la colonne de direction tenu par 3 vis.
-
Sous le volant, appuyer sur les deux ressorts de fixation du module d'airbag.
-
Une fois déclipser, on peut enlever l'airbag.
-
-
-
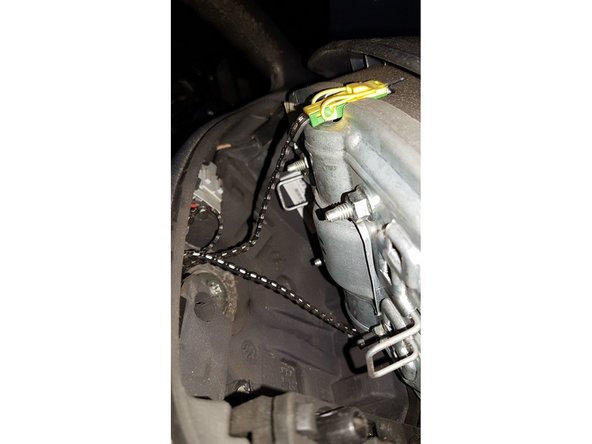
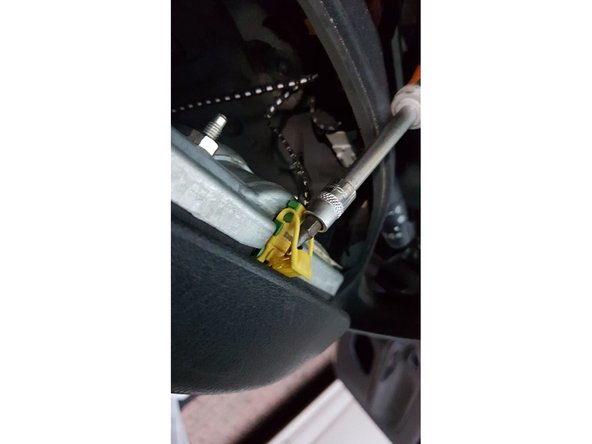
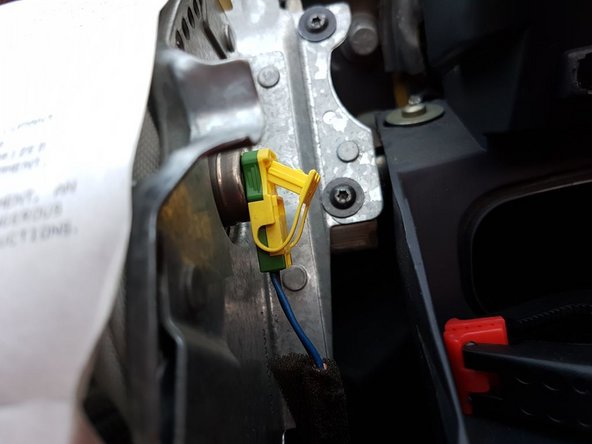
Déclipser les 2 connecteurs sur l'airbag.
-
Pour les déclipser, il faut utiliser un petit tournevis.
-
-
-
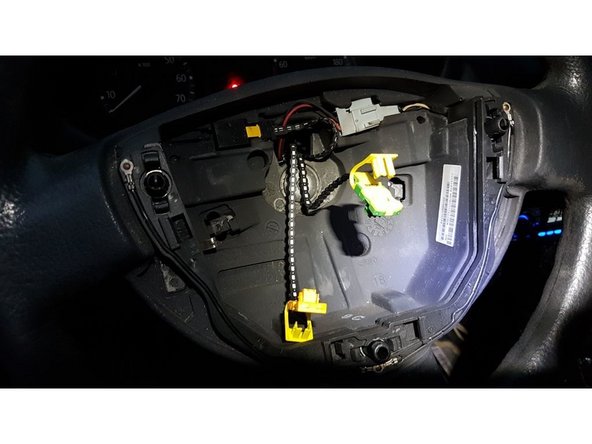
Déserrer la vis de fixation du volant.
-
Déclipser la garniture supérieur (entr le volant et le compteur) et dégager la demi coquille. Il n'y a pas de vis.
-
ATTENTION: Une fois dévisser, mettre des repères pour pouvoir remettre le volant dans la même position.
-
Déclipser le connecteur électrique restant dans le volant.
-
Déposer ensuite le volant.
-
-
-
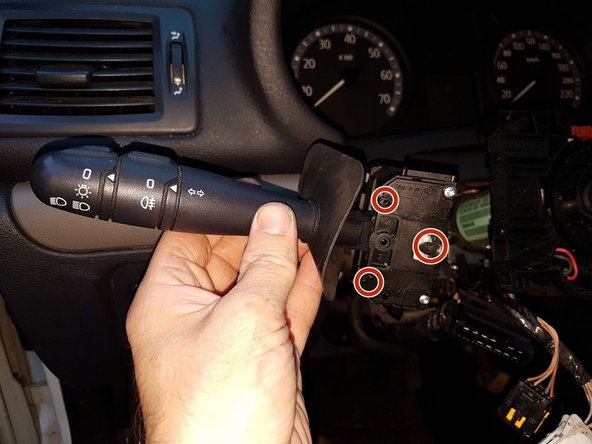
Enlever les contacteurs tournant/comodo en enlever les 3 vis qui les tiennent.
-
Déconnecter les connecteurs associés.
-
Suivant la version de votre clio, vous pouvez avoir les commandes radios également.
-
-
-
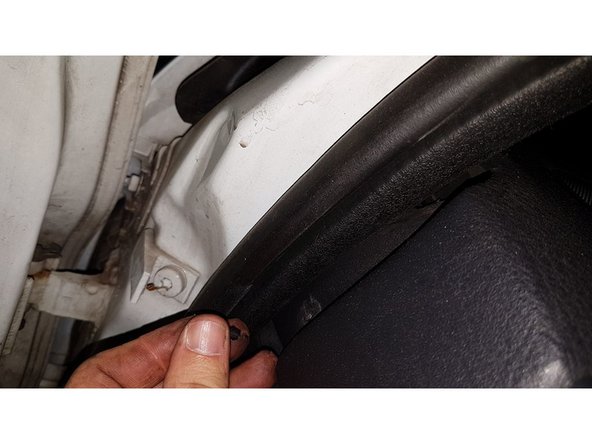
Enlever la vis droite et gauche du revétement supérieur de la planche de bord qui se trouve vers le joint de porte, derrière l'aérateur.
-
Déclipser le cache du réglage des phares et déconnecter les connecteurs.
-
Uns fois toutes les vis enlevé, vous pouvez décoller légerment le revétement et le tirer vers vous.
-
Il doit venir sans forcer. Si cela force, vérifier bien que toutes les vis ait bien été enlevés.
-
-
-
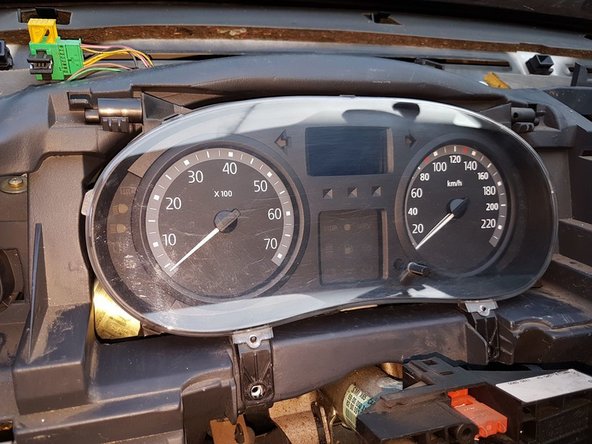
Une fois le révetement supérieur enlevé, vous pouvez facilement faire basculer le combiné et déconnecté les cables.
-
Il faut d'abord pousser/déclipser une première partie du connecteur pour pouvoir ensuite enlever le connecteur complet.
-
Il ne faut pas "tirer" sur le connecteur, le connecteur est inséré puis "bloqué" par un petit système en plastique.
-
-
-
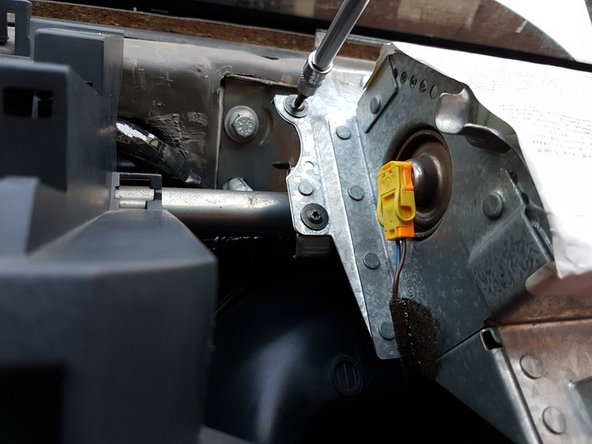
Une fois que vous avez enlever le revétement supérieur, vous pouvez enlever l'airbag passager.
-
Enlever les 4 vis de maintien de l'airbag.
-
Déconnecter l'airbag de ses deux connecteurs, un à droite et un à gauche.
-
Pour enlever un connecteur, il faut d'abord enlever une partie en plastique pour pouvoir ensuite le tirer.
-
-
-
Pour enlever les instruments de la colonne, on commence par l'autoradio.
-
Pour enlever l'autoradio, il suffit d'enlever l'entourage du poste et de le tirer vers soi pour pouvoir enlever les cables.
-
Normalement vous devriez avoir les cables d'alimentation, les cables des hauts parleurs et la prise d'antenne
-
-
-
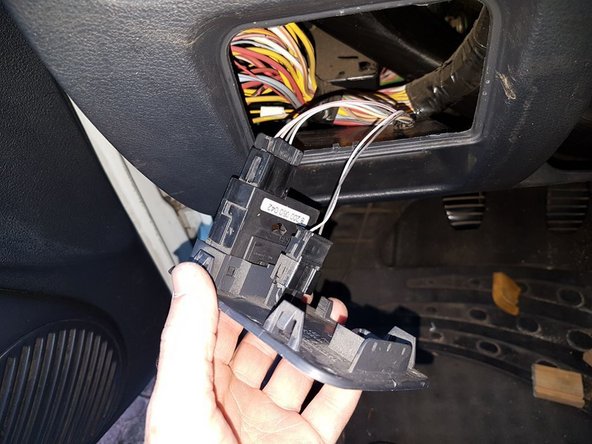
Déclipser le support d'interrupteurs.
-
Débrancher les connecteurs.
-
Déposer le support d'interrupteurs.
-
-
-
Enlever les deux vis de fixation du panneau de commande de ventilation
-
Enfncer puis décaler le panneau de facon à le déloger de son emplacement et de pouvoir le faire sortir.
-
Enlever les cables qui sont sur les boutons de ventilation pour pouvoir déposer la facade.
-
-
-
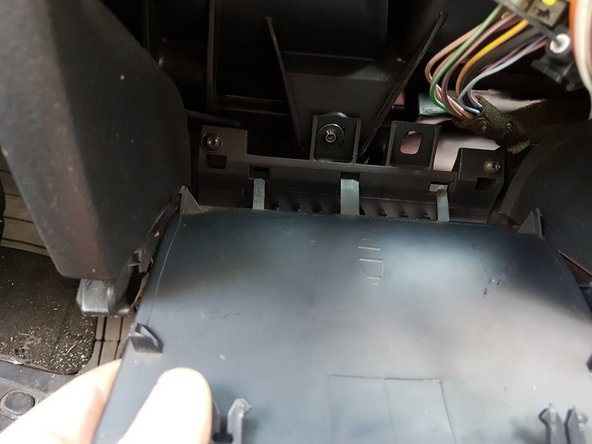
Pour enlever le dernier cache, il suffit simplement de le tirer.
-
-
-
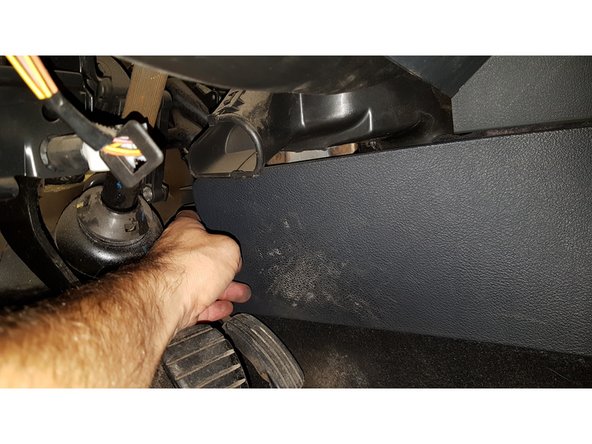
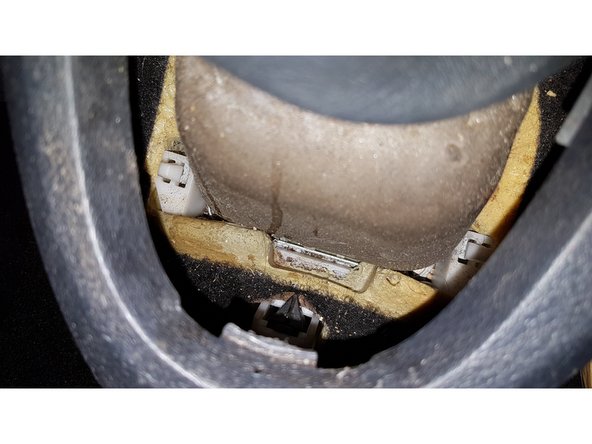
Il y a 7 vis de fixation pour la planche de bord.
-
Dévisser les 3 vis qui se trouve sous le cache inférieur que l'on vient d'enlever.
-
Enlever ensuite la vis qui est dans le coin inférieur droit, a coté de la boite à gant, qui est juste caché par un petit cache.
-
En haut et en bleu se trouve les pions de maintiens de la planche.
-
-
-
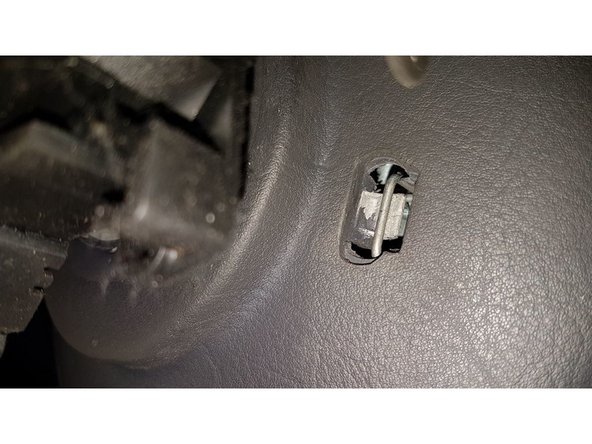
Il y a une vis dans le coin inférieur gauche à enlever, cacher sous un petit cache plastique.
-
deux vis sur la colonne de direction, indiqué comme sur les 2 photos.
-
-
-
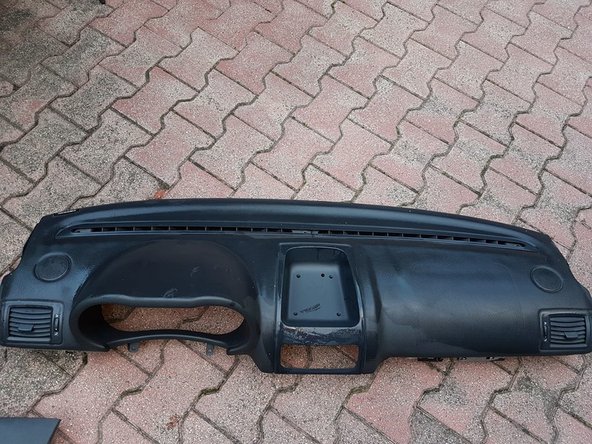
Pour enlever la planche de bord, soulever légerement et tirer la planche à soi afin de dégager les pions de maintien au niveau des vis de fixation supérieur.
-
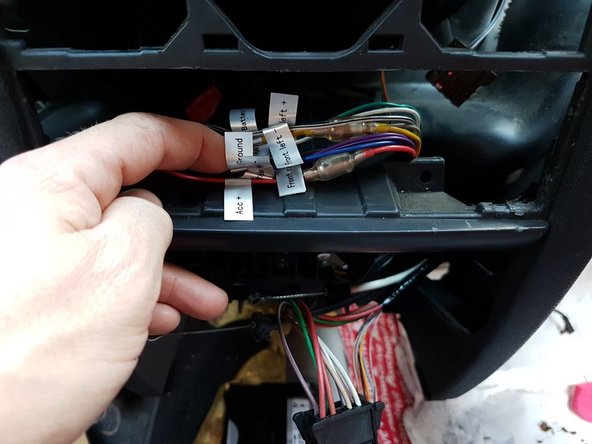
Une fois enlever, noter et repérer où vous les cables car la longueur des cables est juste.
-
-
-
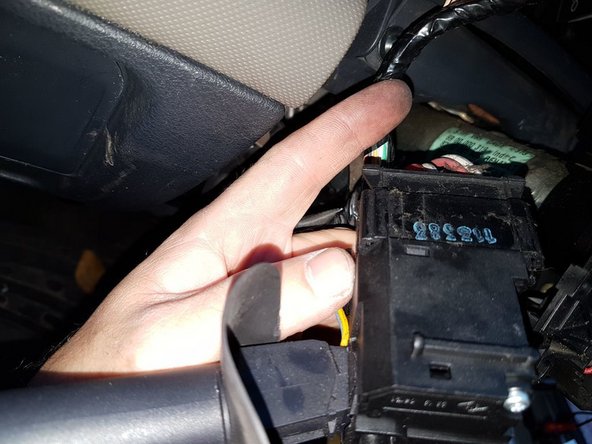
Il faut déboiter le conduit de ventilation gauche.
-
Pour cela, il suffit de le déclipser de la sortie du chauffage (qui part du centre).
-
Ensuite on peut enlever le bloc de chauffage plastique qui se présente devant nous sous la console.
-
-
-
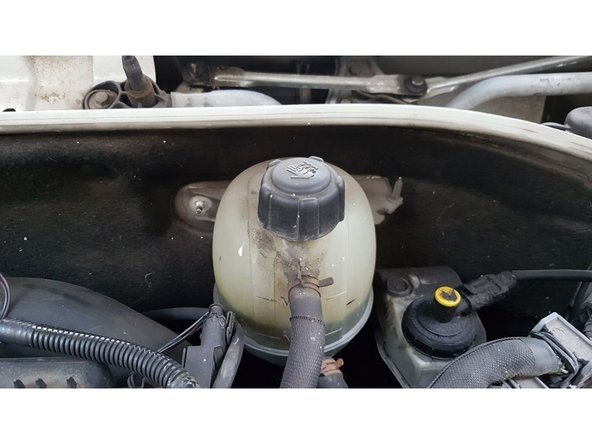
Avant d'enlever le bloc chauffage, il faut pincer les durites d'arrivée et de sortie de liquide de refroidissement.
-
Les 2 durites se trouvent en dessous du bocal de liqude de refroidissement.
-
Enlever le bocal (le mettre de coté sans débrancher ses durites).
-
On aperçoit alors les durites d'entrée et de sortie du radiateur de chauffage.
-
-
-
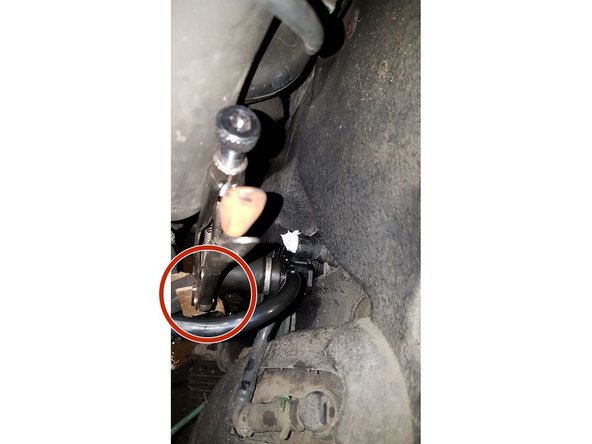
Pour ne pas que le liquide de refroidissement coule lorsqu'on enlevera les durites, il faut les "pincer".
-
Pour cela, on utilisera soit des pinces durites, soit des pinces avec des cales en bois au bout pour ne pas abimer la durite (ma solution).
-
Ensuite, il suffit de débrancher la durite.
-
La durite est connecté par une attache "rapide".
-
Pour l'enlever, vous devez appuyer à gauche et à droite (flèche rouge) puis tirer vers l'arrière.
-
Pour les remettre, il n'y aura juste qu'à les "clipser".
-
-
-
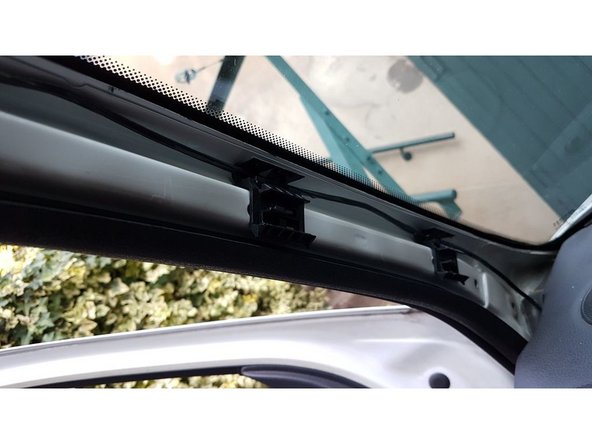
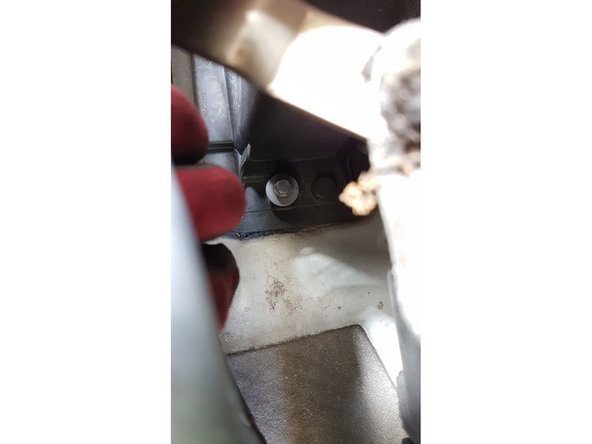
Pour accéder à ses vis, il faut enlever les essuies glaces.
-
Enlever les essuies glaces à l'aide d'une clé de 13.
-
Ensuite, enlever les protections plastiques.
-
Enfin, dévisser les deux vis indiqués par les flèches bleues qui correspondent aux vis qui maintiennent le bloc chauffage par le haut.
-
La vis (flèche rouge) n'est pas facile d'accès car il y a le balai d'essuie glace (entouré en bleu) dans sa trajectoire.
-
-
-
Une fois que les durites sont déconnectés, nous pouvons enlever le bloc chauffage sans risque de mettre du liquide de refroidissement partout.
-
Tout d'abord déposer la vis de maintien de la poutre et l'écarter.
-
En haut, le bloc chauffage sera calé dans une glissière prise dans le tube transversal qu'il faudra déboiter.
-
Quand vous aurez réussis à enlever le bloc, vous aperceverez l'emplacement des durites que l'on a pincé coté moteur (entouré sur la photo).
-
-
-
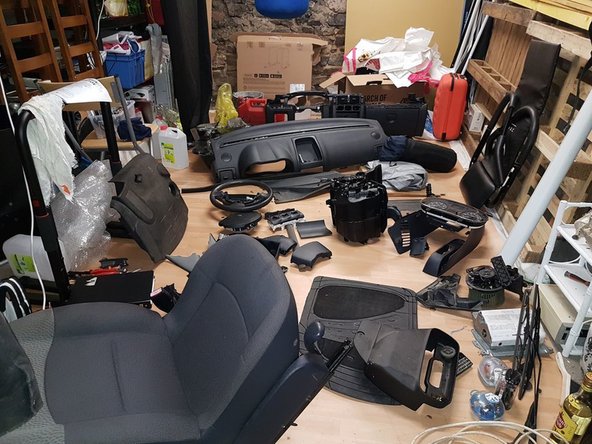
Une fois le bloc chauffage enlevé, la voiture commence vraiment à être à nu ! :)
-
-
-
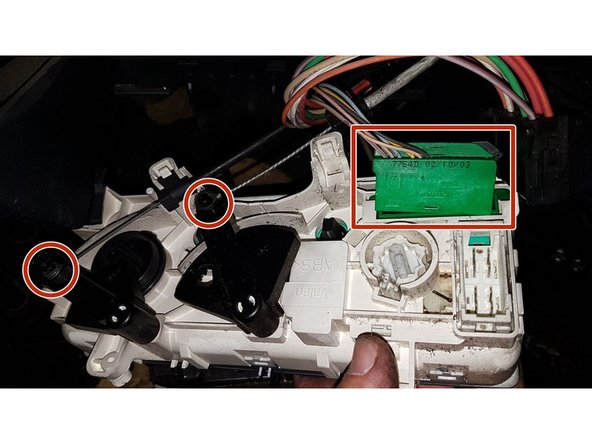
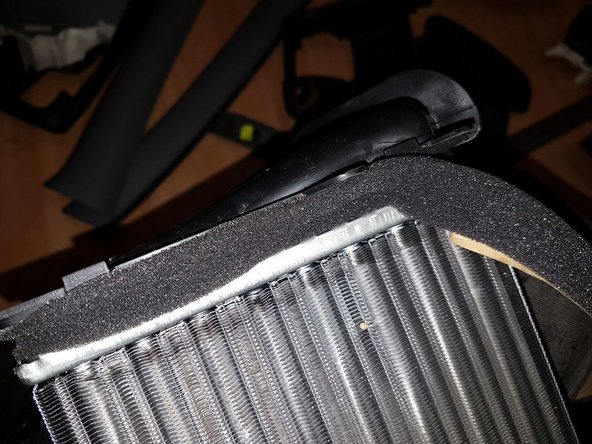
Enlever le radiateur.
-
Mettre le nouveau radiateur, en pensant à mettre le petit bout de mousse tout autour qui est fourni avec.
-
-
-
Pour remonter le bloc chauffage, il suffit "simplement" de refaire le tuto dans l'autre sens !
-
Dans mon cas, il a fallu que j'enleve le siège et le tapis de sol car du liquide de refroidissement avait coulé dessus. Et comme chacun ça, c'est quasiment impossible de nettoyer du liquide de refroidissement !
-
-
-
Une fois que vous avez tout remonté, il faut refaire le niveau de liquide de refroidissement.
-
Penser aussi à refaire une purge du circuit !
-


Annulation : je n'ai pas terminé ce tutoriel.
8 autres ont terminé cette réparation.
26 commentaires
Bonjour
J'ai mis les 2 durite. Mais sa coule au niveau durite de sortie. dans le capot
Il y'a un petit joint en plastique a mettre avant de mettre la durite. Mais sa fuit . Sa peut venir de quoi svp ?
Merci
majidsopra - Résolu à la publication Réponse
Bonjour, il y avait des joints de fourni avec le radiateur de chauffage ? Car malgré le changement de radiateur j'ai toujours une fuite a l'intérieur de l'habitacle sous le bloc chauffage. Je vois pas de quoi ça pourrait venir.
Si quelqu'un a une idée ?
Doudou71 -
Bonsoir,
J'ai un problème pour remonter le volant. J'arrive plus à le pousser à fond. Pouvez-vous m'aider ?
touzanis2012 - Résolu à la publication Réponse
Bonjour, tuto suivi a la lettre et aucun soucis, pour le demontage….
Remontage bientot.
Merci a vous le top. Bravo