


Difficulté
Modérée
Étapes
17
Temps nécessaire
02:00:00

Ce tutoriel a été créé par la communauté
User contributed
Introduction
Un radiateur qui fuit causera non seulement une perte de liquide de refroidissement mais aussi une perte de pression. Or, le circuit de refroidissement a besoin d'être en pression pour fonctionner de manière optimale.
L'ordre de démontage que je donne ici n'est qu'une possibilité parmi tant d'autres. On peut très bien démonter le ventilateur après le canister, clamper les durites avant de démonter la batterie... C'est juste une proposition.
On peut faire cette intervention chez soi mais il faudra prévoir des rampes de levage au minimum. Un pont ou une fosse facilitent énormément les choses.
-
-
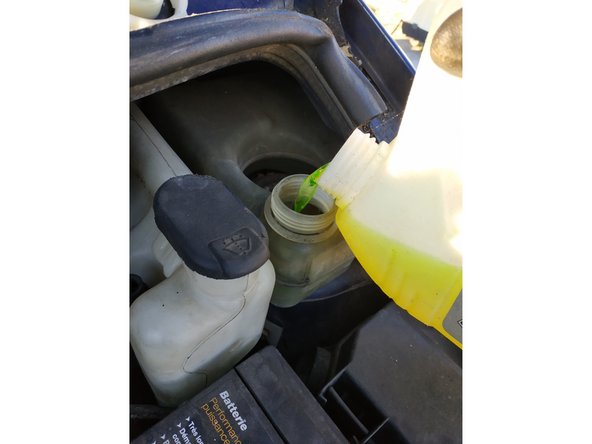
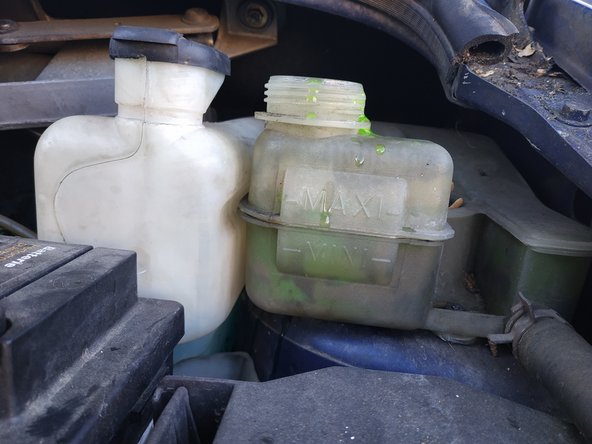
retirer le bouchon du vase d'expansion
-
Il va sans dire qu'on travaille moteur froid bien évidemment.
-
retirer le manchon d'air et le mettre à l'écart
-
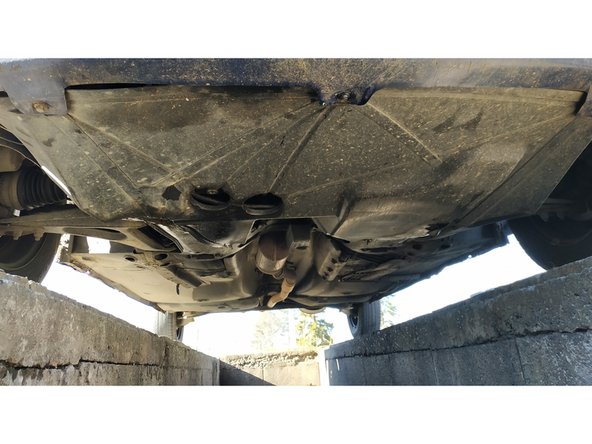
retirer le cache de protection moteur sous la voiture (clés de 10mm et 13mm, il y a 9 vis en tout)
-
-
-
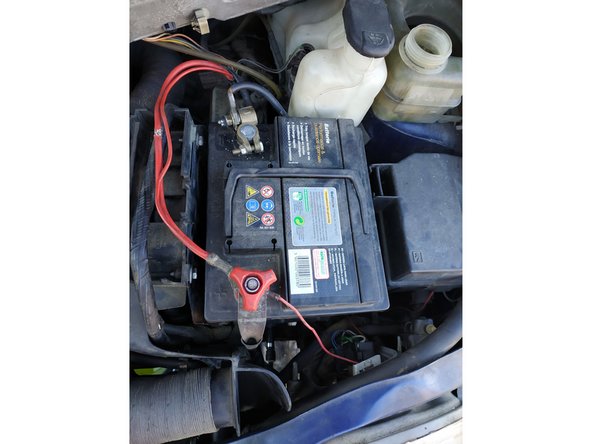
déconnecter la batterie en commençant par le terminal négatif (clé de 10mm)
-
retirer la batterie après avoir dévissé la patte de fixation (clé de 7mm)
-
retirer le cache plastique autour de la batterie (2 vis, clé de 10mm)
-
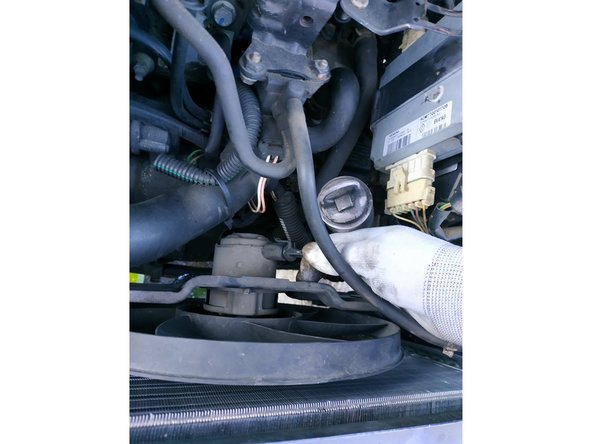
Il faudra déclipser la durite du canister.
-
-
-
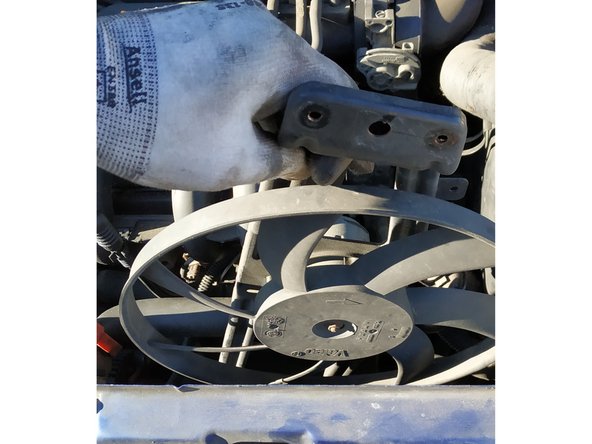
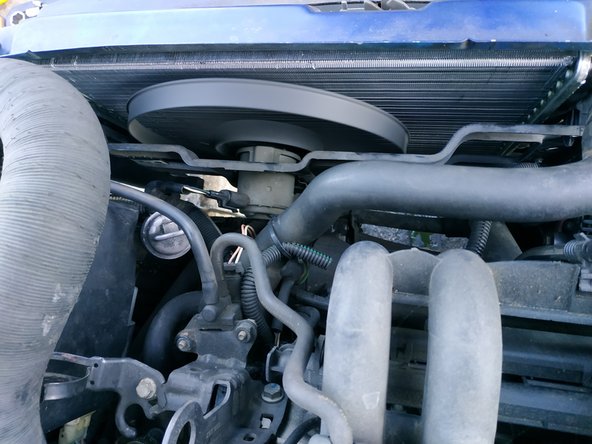
débrancher la prise du ventilateur
-
dévisser les 4 vis de fixation du ventilateur sur le radiateur (clé de 7mm, il y a deux vis de chaque côté)
-
retirer le ventilateur
-
-
-
Sur ce véhicule, le liquide de refroidissement a été changé très récemment et va donc être réutilisé (il faut le remplacer tous les 2 ans). On va donc clamper les durites pour éviter de vider le bloc moteur.
-
clamper les deux durites du haut (je les avais clampées avant de démonter la batterie)
-
et enfin celle du bas
-
-
-
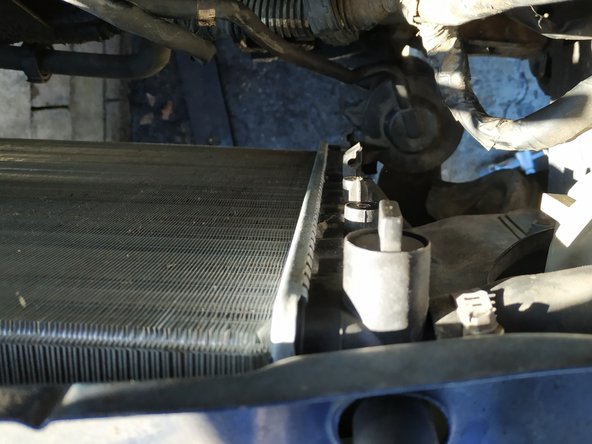
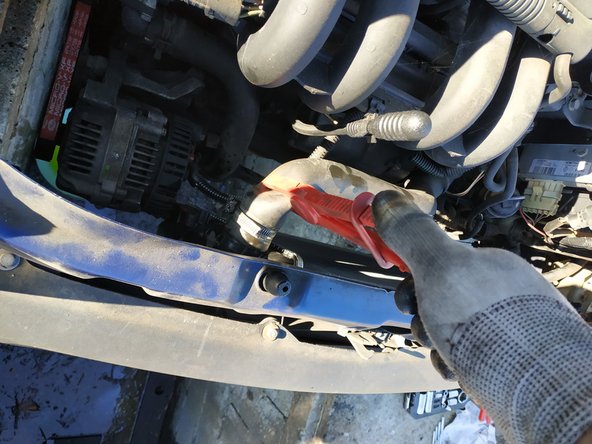
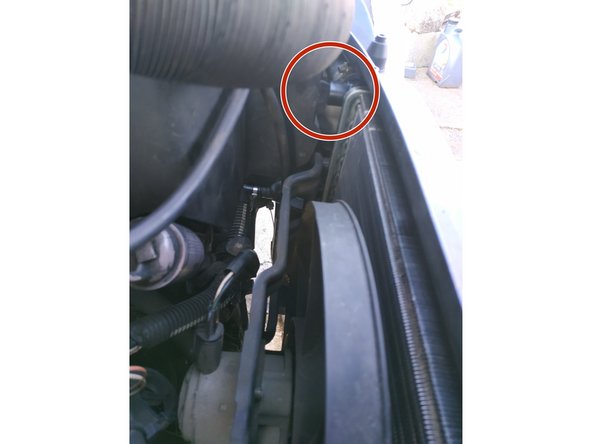
Avant de démonter le radiateur, on va devoir libérer le canister (recyclage des vapeurs d'essence du réservoir).
-
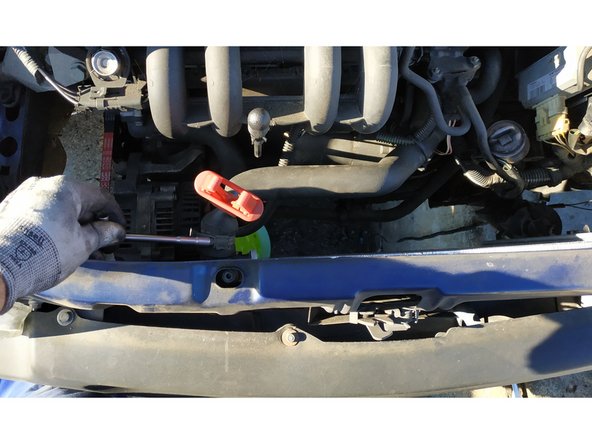
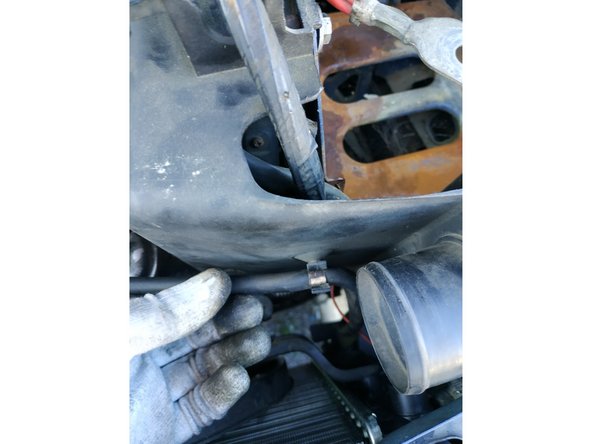
dévisser la vis de blocage du canister sur le radiateur (clé de 7mm)
-
faire basculer le canister et le soulever pour le libérer
-
et le laisser en attente
-
-
-
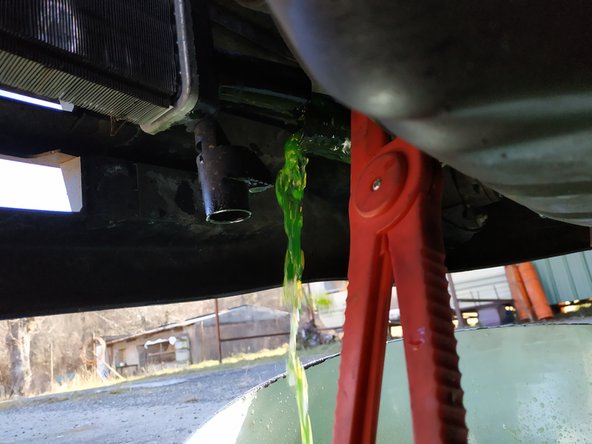
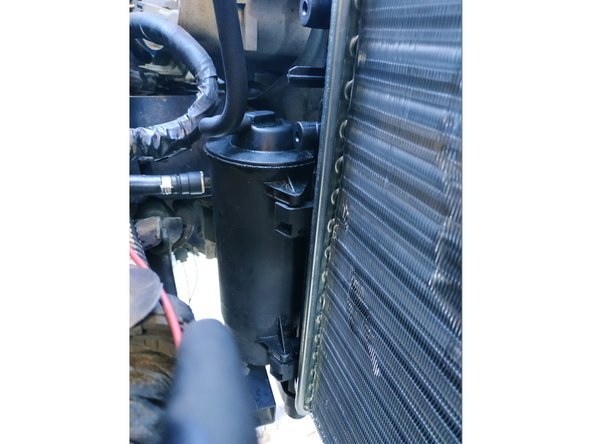
après avoir placé un bac de récupération sous le radiateur, défaire le collier de serrage et démancher la durite
-
Le collier que l'on voit ici n'est pas d'origine et ne serrait pas assez la durite. Je l'ai remplacé par la suite par un collier conventionnel que l'on visse avec une clé de 7mm ou un tournevis cruciforme.
-
laisser vidanger le radiateur complètement
-
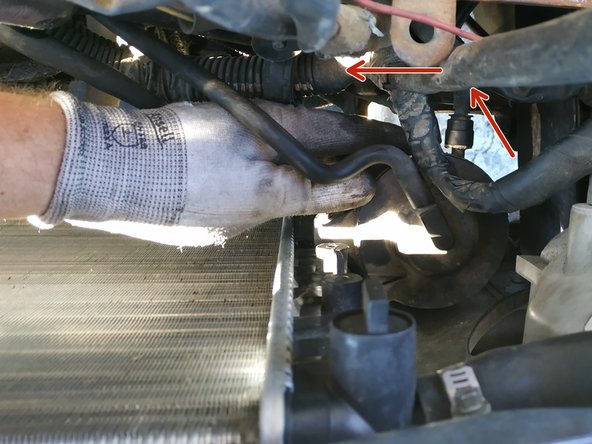
démancher les 2 durites du haut après avoir dévissé les colliers de serrage (clé de 7mm)
-
-
-
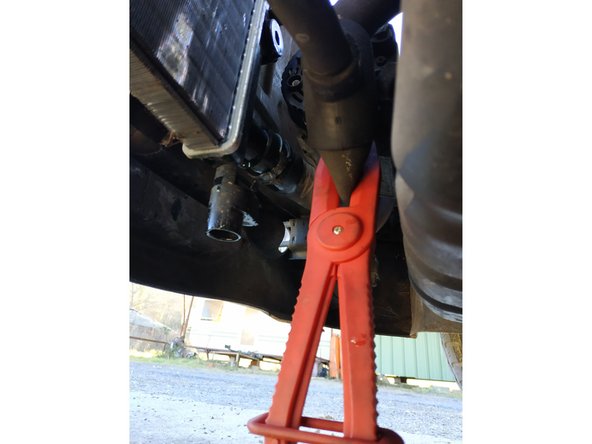
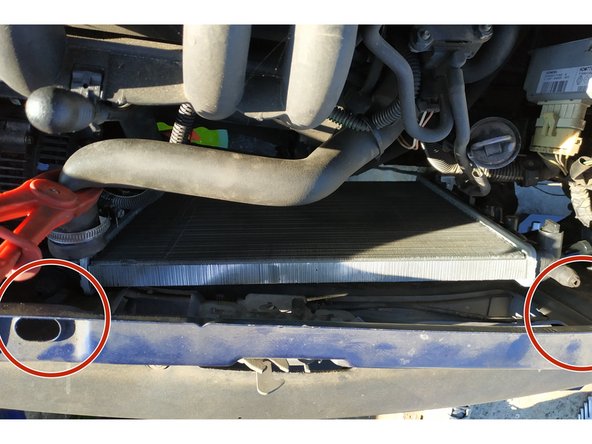
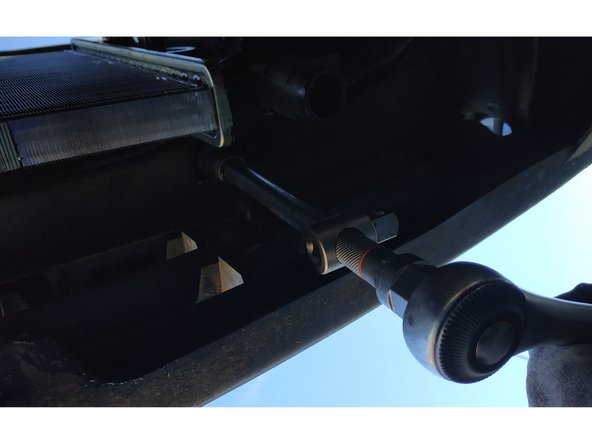
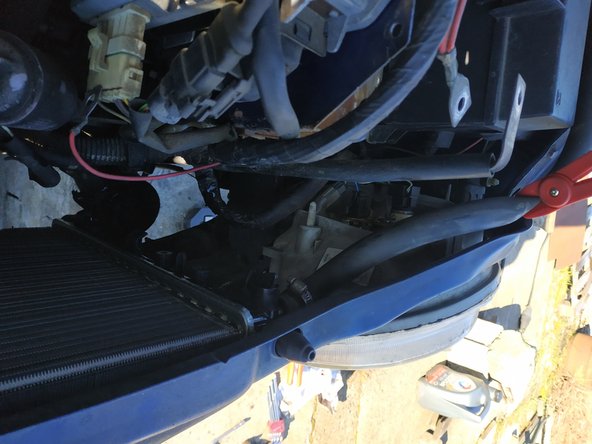
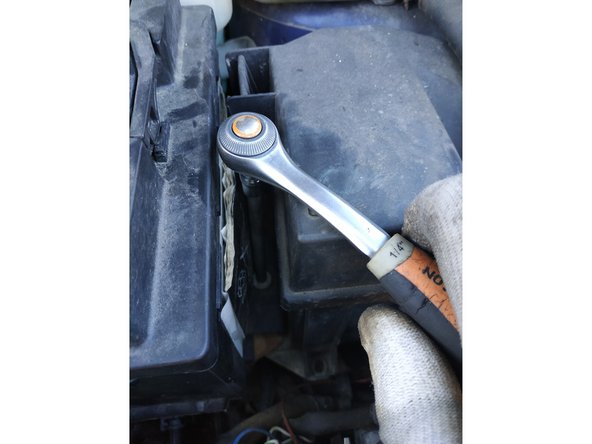
sous la voiture, défaire les 2 vis de fixation du radiateur (clé à cliquet, rallonge et douille de 13mm)
-
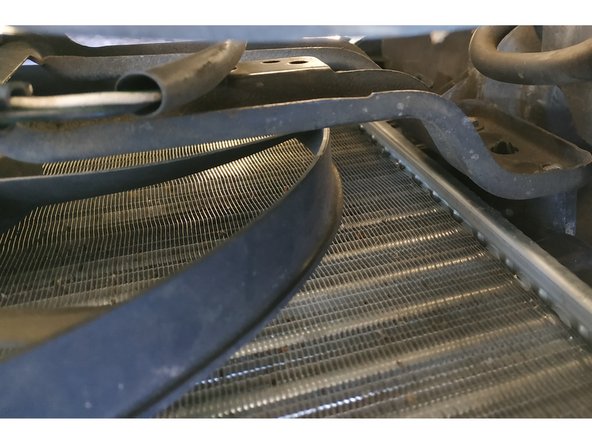
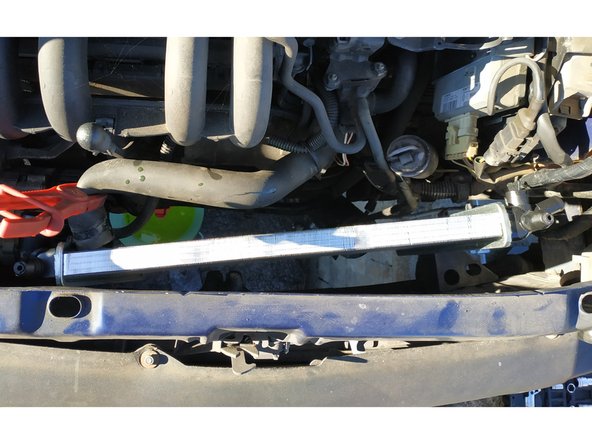
baisser le radiateur pour le déloger de la traverse (2 pions de part et d'autre)
-
et retirer le radiateur
-
-
-
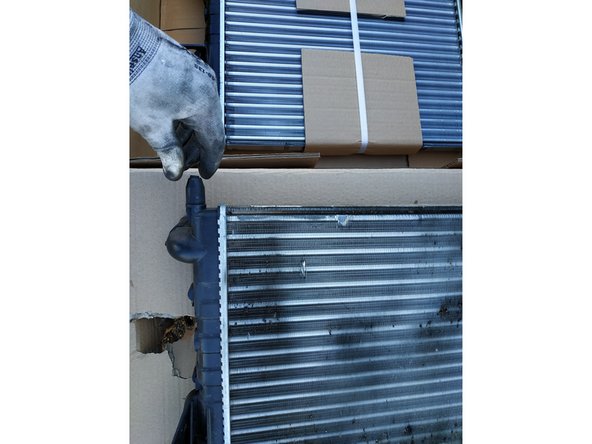
comparer les radiateurs
-
retirer les entretoises en caoutchouc de l'ancien radiateur
-
et les installer sur le nouveau
-
-
-
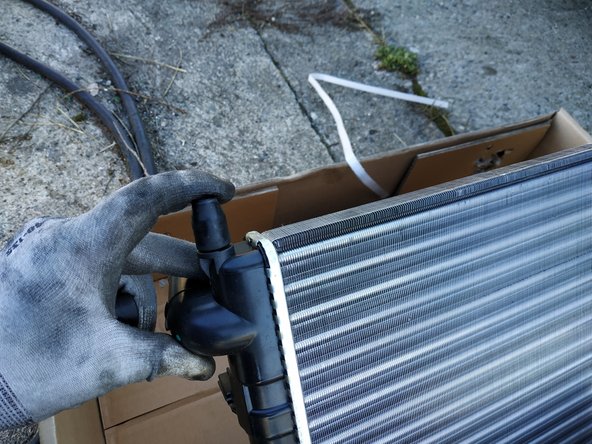
présenter le radiateur
-
Faire très attention, les radiateurs sont des pièces très fragiles et on peut plier les ailettes juste en les touchant avec la main. Bien prendre son temps pour installer le radiateur neuf.
-
insérer les 2 ergots du haut dans leur logement sur la traverse
-
et visser les 2 vis de fixation (cliquet, rallonge et douille de 13mm)
-
-
-
emmancher les 3 durites, serrer les colliers (clé de 7mm ou pince multiprise selon ce que vous avez) et retirer les pinces à clamper
-
-
-
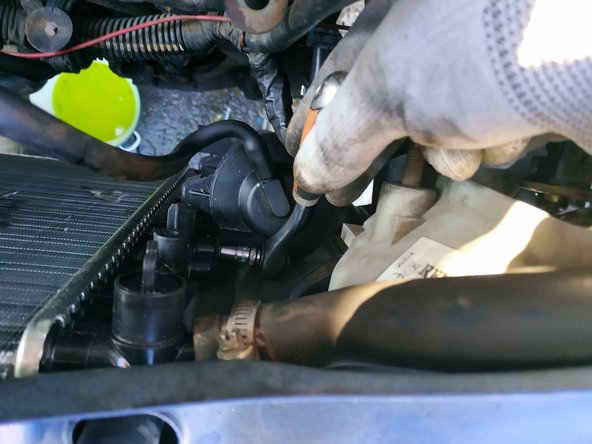
insérer les 2 ergots du canister dans leur logement sur le radiateur
-
On peut en profiter pour contrôler l'état du canister, j'ai dû pour ma part réparer une durite qui était cassée en deux.
-
plaquer le canister contre le radiateur
-
et visser la vis de fixation (clé de 7mm)
-
-
-
présenter le ventilateur sur le radiateur
-
et visser les 4 vis de fixation (2 de chaque côté, clé de 7mm)
-
Il y a deux pions de centrage pour le ventilateur, 1 de chaque côté. Il sera de toute façon impossible de visser si le ventilateur n'est pas centré.
-
rebrancher le ventilateur
-
-
-
installer le cache en plastique sur le côté de la batterie (2 vis, clé de 10mm)
-
remettre la durite du canister en place
-
remettre le manchon d'air en place
-
-
-
installer la batterie et reconnecter en commençant par le terminal positif (clé de 10mm pour le terminal négatif)
-
positionner et visser la patte de fixation de la batterie (clé de 7mm)
-
-
-
Je recommande de purger le circuit au maximum avant de démarrer le moteur. Pour cela :
-
remplir le vase d'expansion
-
ouvrir la purge au niveau du radiateur jusqu'à ce que le liquide s'écoule
-
et la purge au niveau du thermostat jusqu'à ce que le liquide s'écoule
-
Il faudra sans doute remplir le vase au fur et à mesure.
-
-
-
A ce stade, le gros de la purge a déjà été fait. On va juste finir et s'assurer que tout fonctionne.
-
démarrer la voiture, chauffage réglé sur le chaud au maxi (le rond rouge sur la console de ventilation)
-
on peut accélérer pour faire monter le moteur en température plus rapidement
-
Des bulles vont remonter dans le vase d'expansion, preuve que la purge se fait.
-
visser le bouchon du vase d'expansion une fois que le ventilateur se met en marche et laisser tourner le moteur
-
-
-
on laisse tourner le moteur pour s'assurer qu'il n'y a pas de fuite
-
quand on sait que tout va bien, couper le moteur et remonter le cache sous la voiture (clés de 10mm et 13mm)
-
moteur froid, on fera le niveau de liquide de refroidissement une dernière fois
-


2 commentaires
Clair et bien illustré. Questions complémentaires des internautes très utiles. Merci pour ce travail excellent.
pichon.sur.mer - Résolu à la publication Réponse
j'ai bien fait tout ce que tu m'as dit mais j'ai une petite fuite derrière le moteur je suis dégouté