


Difficulté
Modérée
Étapes
15
Temps nécessaire
01:00:00
- Changer un phare avant sur Clio 2 15 étapes

En cours
Ce tutoriel est en cours de création. Revenez de temps en temps pour voir les modifications.

Ce tutoriel a été créé par la communauté
User contributed
Introduction
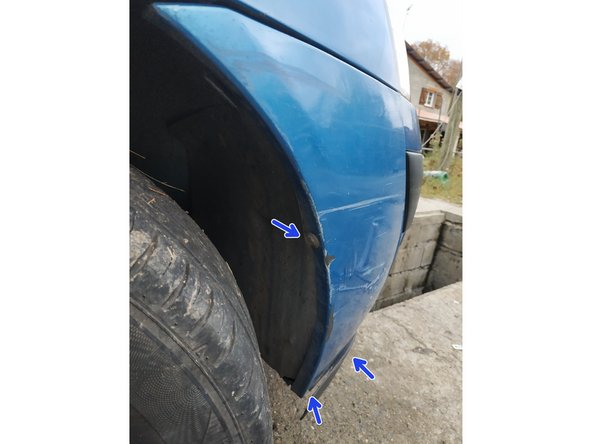
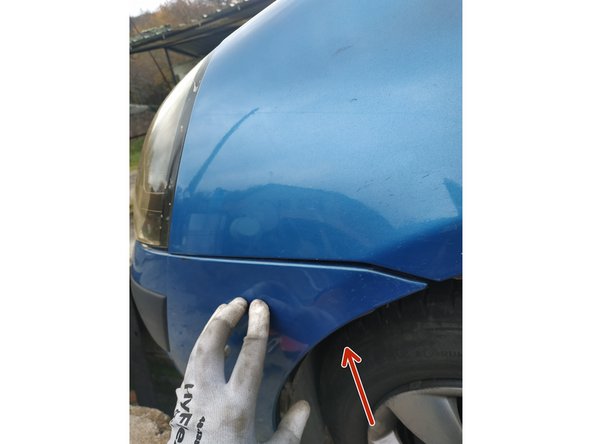
Sur Clio 2 phase 2, il est malheureusement obligatoire de sortir le pare-chocs pour pouvoir remplacer un phare. Ce tutoriel montre les différentes étapes à suivre.
Pièces
-
-
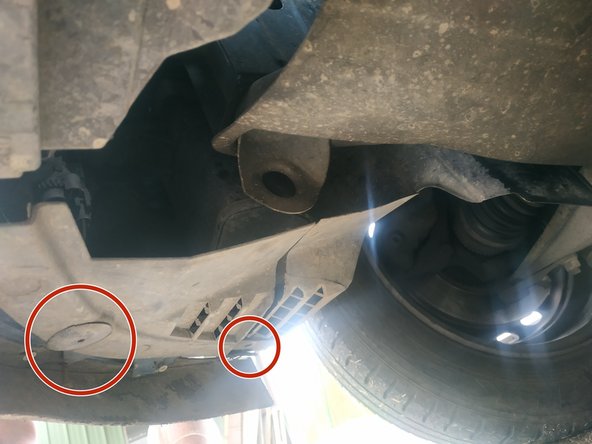
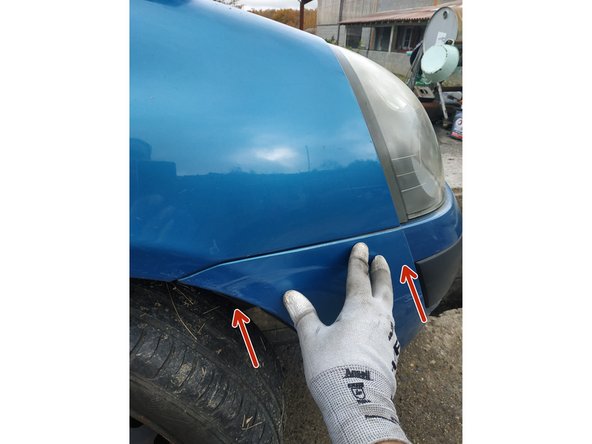
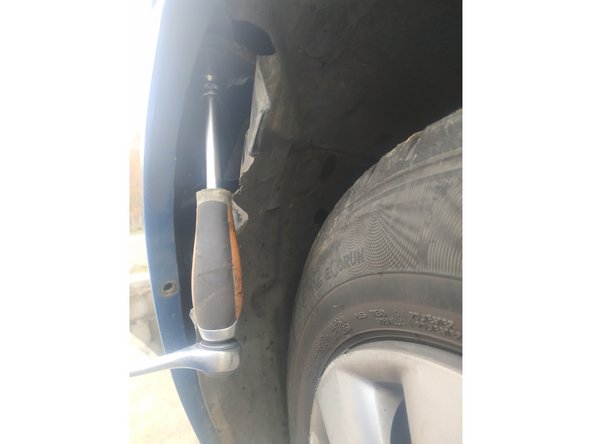
tourner légèrement les roues et dévisser la vis du passage de roue côté gauche, clé torx T20
-
dévisser l'autre vis de maintien du passage de roue, clé torx T20
-
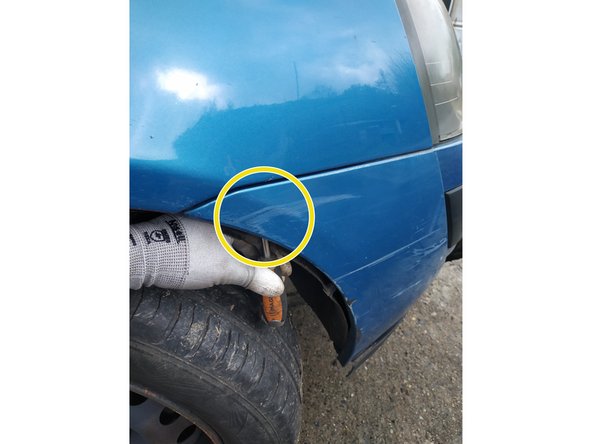
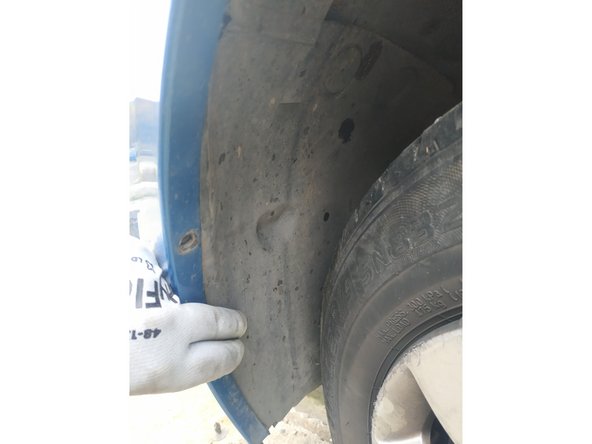
retirer le clip de maintien
-
-
-
écarter le passage de roue
-
et dévisser la vis de maintien du côté gauche du pare-chocs à l'aide d'une clé de 10mm
-
Utilisez de préférence une clé longue ou un cliquet avec rallonge car l'accès est restreint.
-
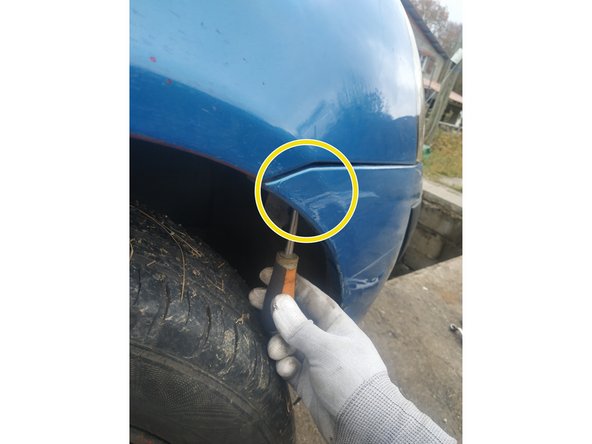
dégrafer le pare-chocs (on cherche juste à l’entrouvrir)
-
-
-
procéder de façon identique pour le côté droit :
-
dévisser les 2 vis et retirer le clip du passage de roue
-
écarter le passage de roue et dévisser la vis de maintien du pare-chocs
-
dégrafer le pare-chocs
-
-
-
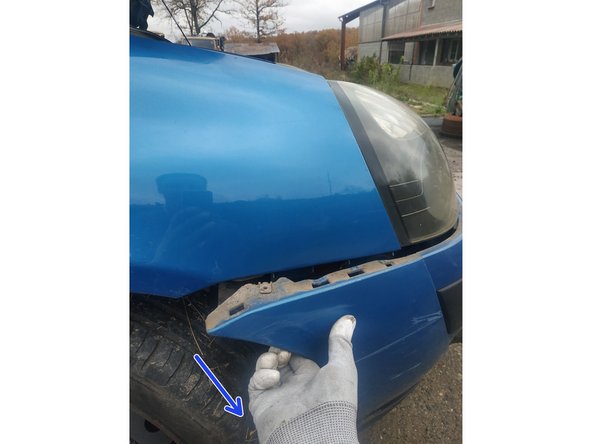
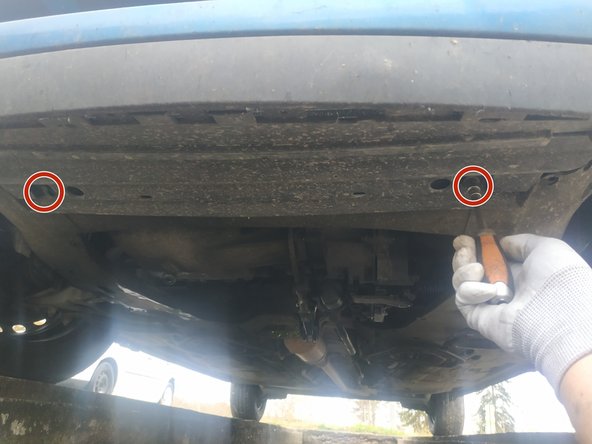
dévisser les 2 vis du bas, clé de 10mm
-
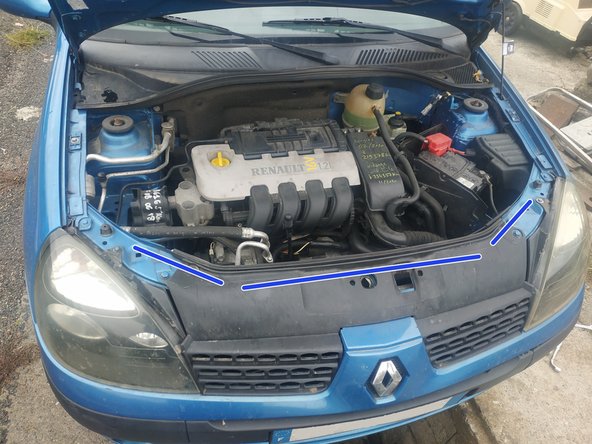
pour libérer la partie supérieure, retirer les 2 clips en plastique en faisant levier avec un tournevis plat
-
L'autre clip n'est pas visible sur la photo mais il est exactement à l'opposé.
-
faire basculer le pare-chocs vers l'avant et le poser délicatement au sol
-
Ne pas tirer, les anti-brouillards (si vous les avez) sont encore branchés.
-
-
-
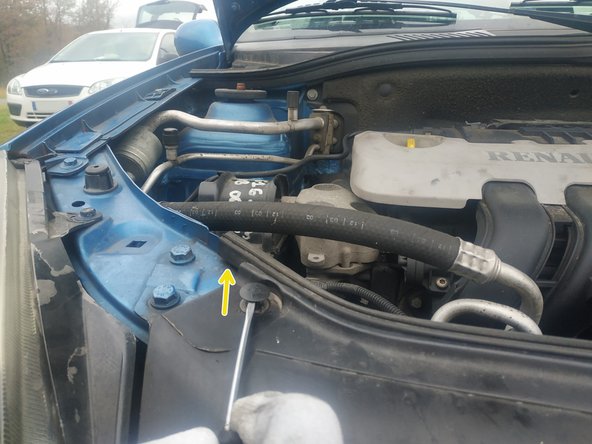
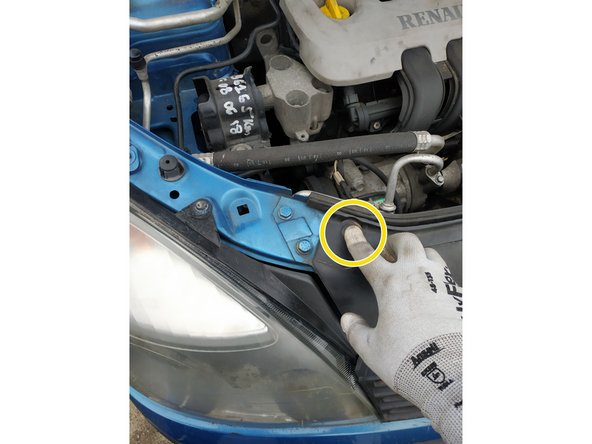
dévisser la vis du haut, clé de 10mm
-
puis les 2 du bas du bas, clé de 10mm
-
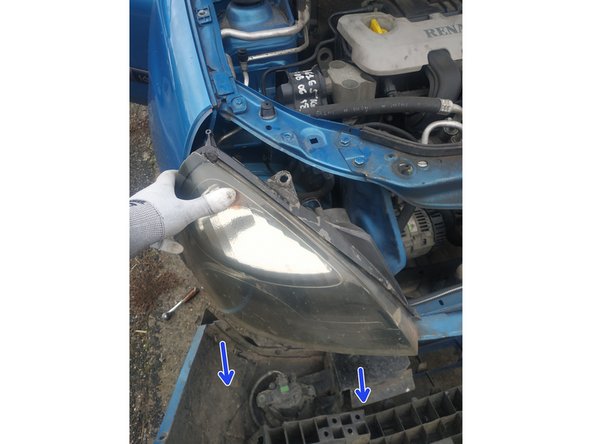
tirer le phare vers soi pour le déloger
-
-
-
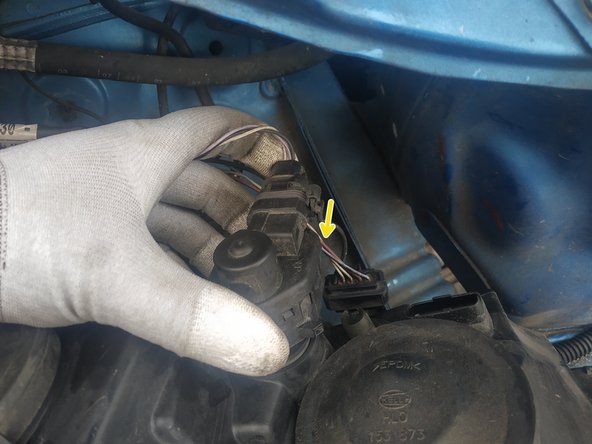
débrancher la fiche du moteur de réglage de hauteur
-
Ici, le moteur n'était pas branché car le phare que j'ai remplacé n'était pas d'origine et pas compatible. Le nouveau phare est conforme et j'ai pu tout brancher correctement.
-
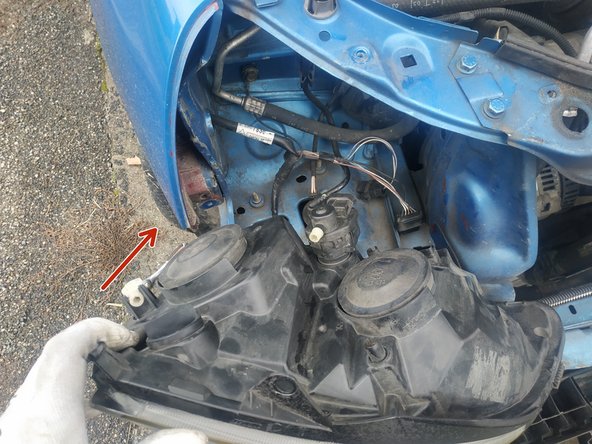
débrancher la fiche d'alimentation et sortir le phare
-
-
-
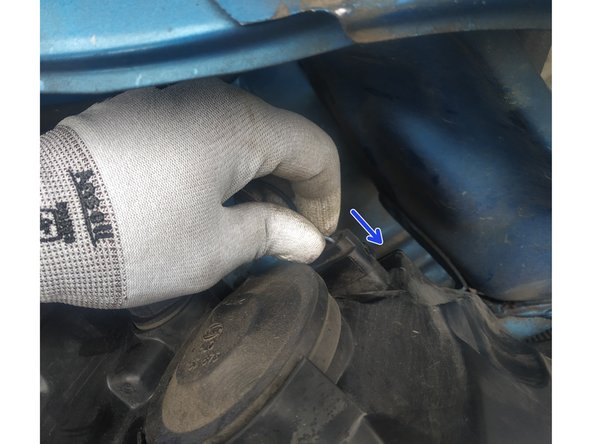
présenter le phare
-
brancher la fiche du moteur électrique
-
et la fiche d'alimentation
-
-
-
le changement des ampoules étant extrêmement peu pratique sur Clio 2, je vous conseille vivement de tester les feux de position, croisement, route et clignotant avant de continuer (testez aussi le moteur de réglage de la hauteur du phare)
-
Même si vous ne changez qu'un seul phare comme c'est le cas ici, testez les 2 côtés.
-
-
-
présenter le phare correctement et le mettre bien en butée
-
visser les 2 vis du bas, clé de 10mm
-
et celle du haut, clé de 10mm
-
-
-
clipser le côté droit du pare-chocs sur l'aile
-
visser la vis de maintien, clé de 10mm
-
présenter le passage de roue correctement, visser les 2 vis de fixation, clé torx T20 et mettre le clip en place (voir étapes 2 et 3 si besoin)
-
-
-
s'assurer que la partie basse est correctement positionnée et visser les 2 vis de fixation, clé de 10mm
-
poser et verrouiller les 2 clips du haut
-
il y a normalement un joint en caoutchouc qui court tout le long de la traverse mais il est la plupart du temps très endommagé ou absent
-
-
-
N'hésitez pas à faire régler vos phares chez un professionnel (régloscope).
-


Annulation : je n'ai pas terminé ce tutoriel.
Une autre personne a terminé cette réparation.
2 commentaires
Je vous remercie. Dommage que mes tutos ne soient pas payés par Oscaro comme promis sur leur site.
a_bosc2000 - Résolu à la publication Réponse