


Difficulté
Facile
Étapes
6
Temps nécessaire
00:45:00

Ce tutoriel a été créé par la communauté
User contributed


-
-
Lever le véhicule et le mettre en sécurité sur chandelles. Caler le véhicule roue arrière avec une cale de bois par exemple.
-
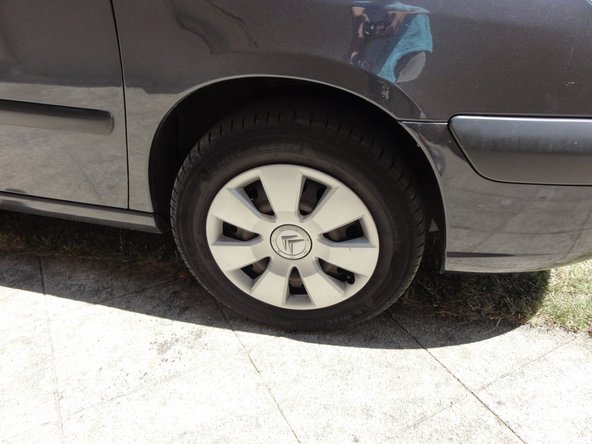
Démonter la roue avant gauche ou droite (une par une si pas de pont comme moi).ici roue Gauche
-
-
-
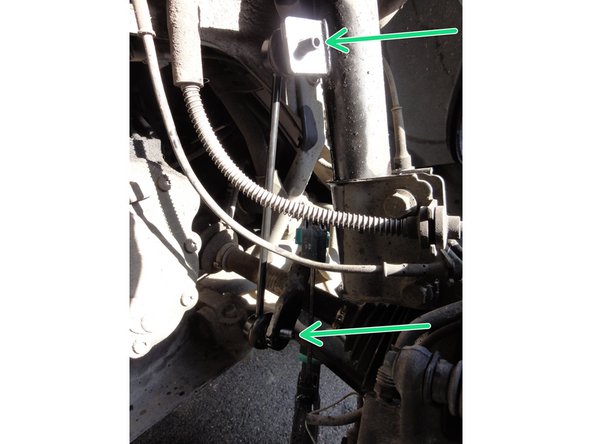
Biellette de barre stabilisatrice
-
Dévisser la vis du haut à l'aide de la clé plate et contre clé hexagonale
-
Pulvériser du W40 si nécessaire
-
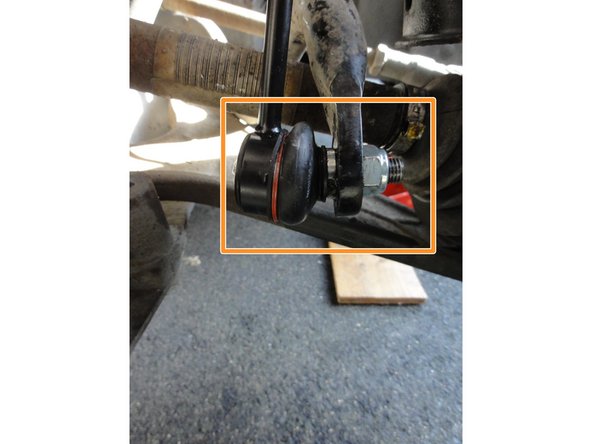
Dévisser la vis du bas à l'aide de la clé plate et contre clé hexagonale
-
-
-
Une fois l'écrou retiré pousser sur la tige en bas et en haut pour sortir la biellette.
-
J'ai serré le triangle avec un serre joint sans trop forcé pour sortir la biellette sans effort.
-
-
-
Nettoyer les surfaces
-
vérifier la compatibilité de la biellette longueur etc.
-
Replacer la barre dans les 2 trous avant de serrer les ecrous
-
Presserez la vis du haut et bas à l'aide de la clé plate et contre clé hexagonale
-
-
-
Serrer la vis du haut à l'aide de la clé plate et contre clé hexagonale
-
Serrer la vis du Bas à l'aide de la clé plate et contre clé hexagonale
-
-
-
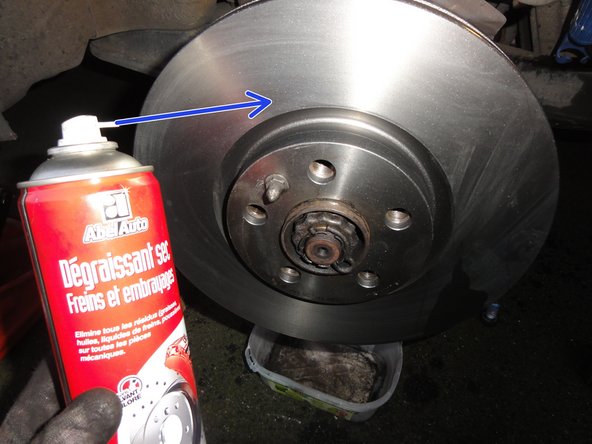
Dégraisser le disque si nécessaires. Pas de graisse sur les disques!
-
Serrer les écrous de roue au couple à l'aide d'une clé dynamométrique
-
Faire de même pour le côté Droit. J'ai fait les deux coté, car les deux avaient les joint de rotules ouvert.
-
Essai routier
-




Vraiment simple et rapide.
Vraiment simple et rapide.
Annulation : je n'ai pas terminé ce tutoriel.
2 autres ont terminé cette réparation.