


Difficulté
Modérée
Étapes
8
Temps nécessaire
01:00:00
- Mise en place d'un compte-tour. 8 étapes

Ce tutoriel a été créé par la communauté
User contributed
Outils
Pièces
-
-
Présentation de notre Toyota Aygo 1.4HDI de 2009
-
Photo de l'habitacle avec le tableau de bord dans son plus simple appareil.
-
Position du futur compte tour.
-
-
-
Un pack compteur kilométrique avec sa boite à fusible.
-
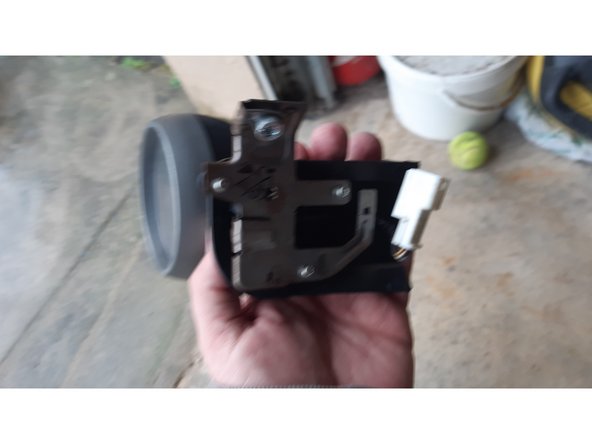
Le bloc compte-tour avec son support.
-
Capot du compteur avec le passage du compte tour.
-
-
-
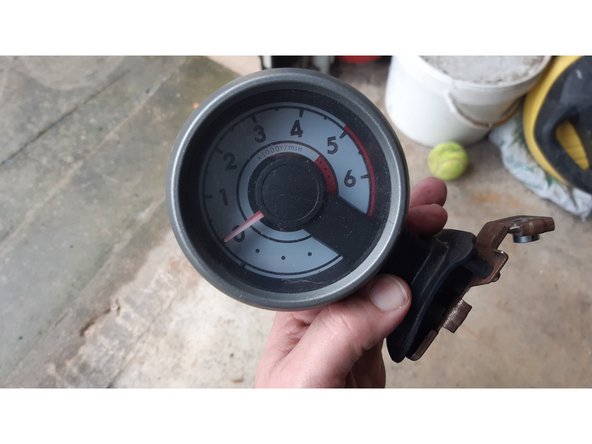
Compte-tour démonté du bloc acheté.
-
Vue du connecteur de ce compte-tour.
-
-
-
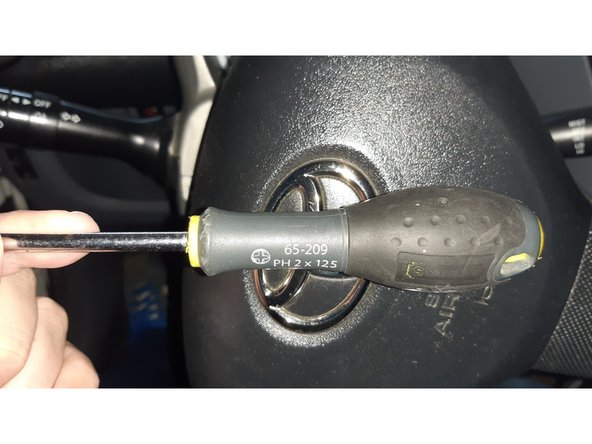
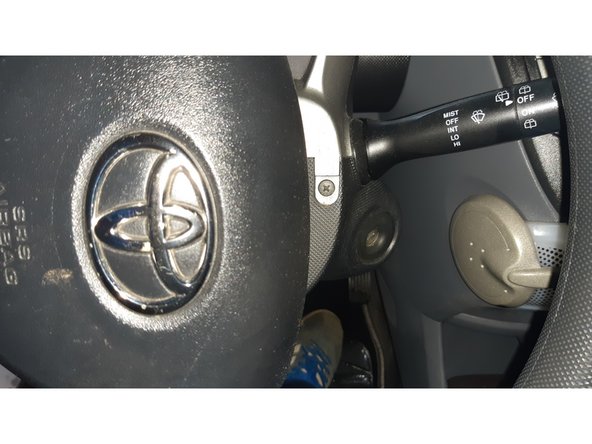
Il faut tourner le volant vers la gauche pour avoir accès à la vis coté gauche du capot.
-
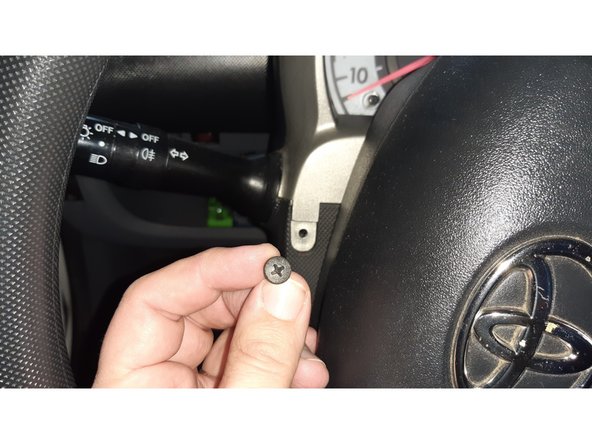
Position de la vis.
-
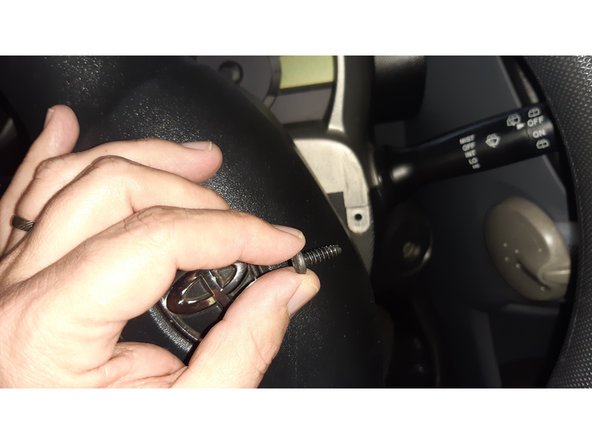
Vis enlevée.
-
-
-
Vis du capot coté droit.
-
Vis enlevée.
-
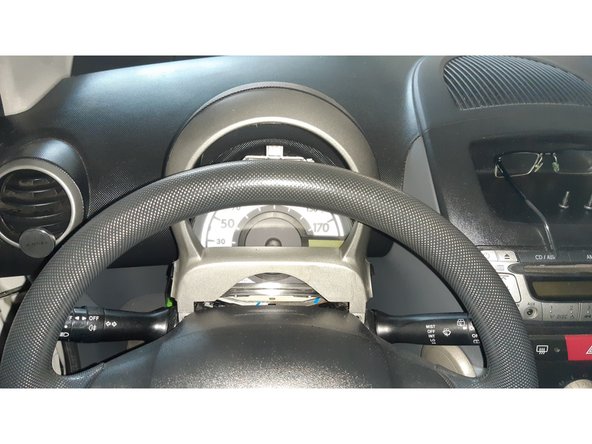
Tirer le capot vers le haut pour le retirer.
-
-
-
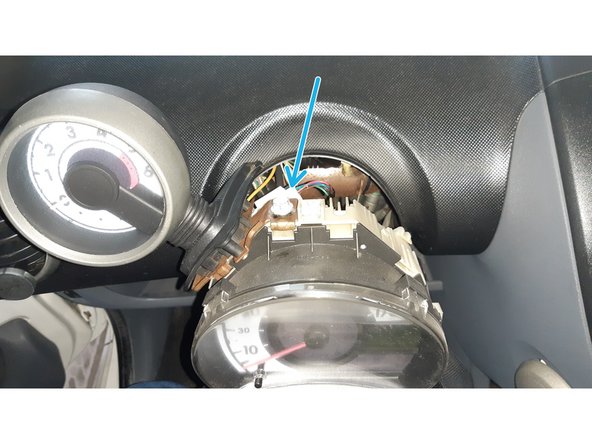
Vue sur l'emplacement du compte-tour.
-
Connecteur d'alimentation du compte-tour.
-
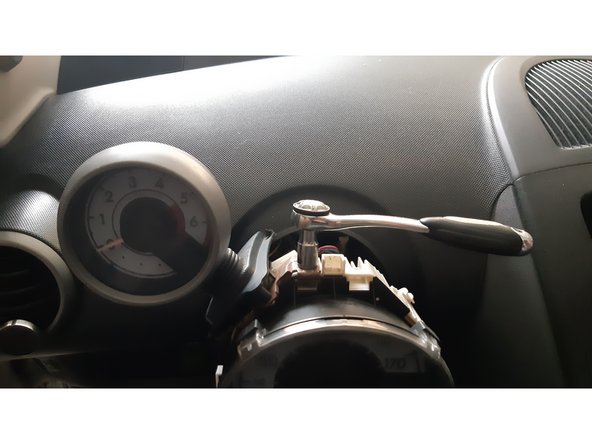
Installation du compte-tour et de sa vis de maintien.
-
Serrage de la vis avec une douille de 10.
-
-
-
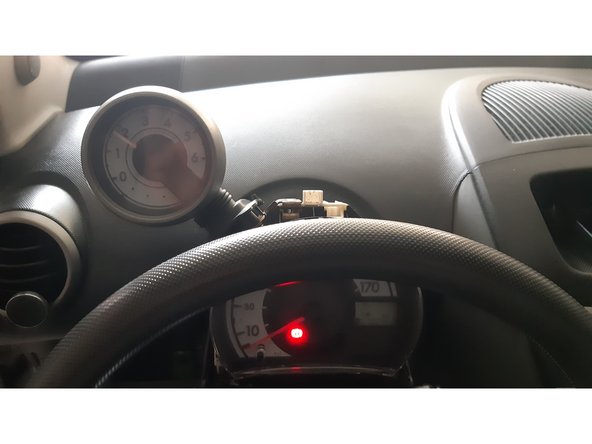
Démarrage du moteur pour vérifier le fonctionnement.
-
Ralentit environ 800 tr/min.
-
Petit coup d'accélérateur, 2000 tr/min.
-
Ok on remonte le capot.
-
-
-
Pour faciliter le remontage, j'ai déclipser l'enjoliveur avant du capot afin de faciliter le passage avec le compte-tour.
-
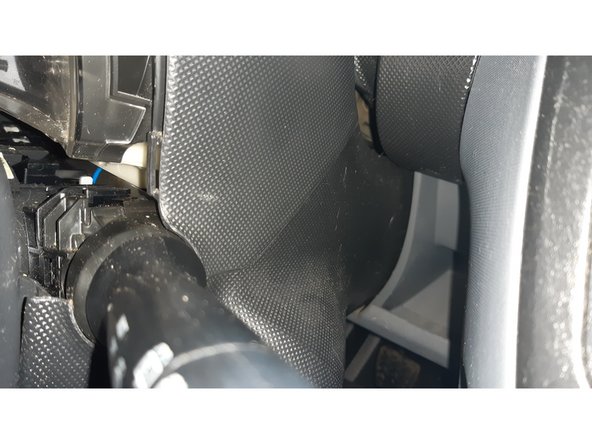
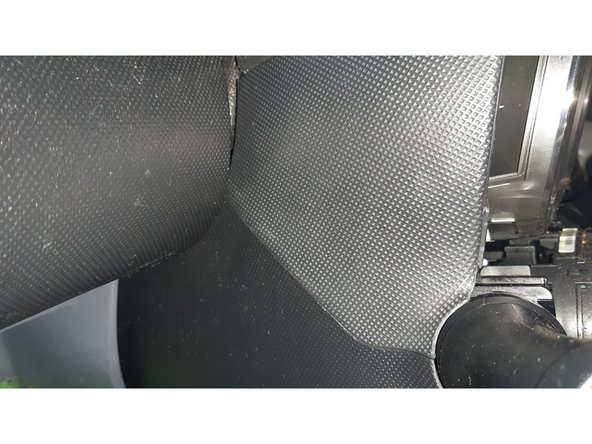
Ajustement des plastiques à droite.
-
Ajustement des plastiques à gauche.
-
Remontage de l'enjoliveur avant du compteur kilométrique.
-


Équipe
