Introduction

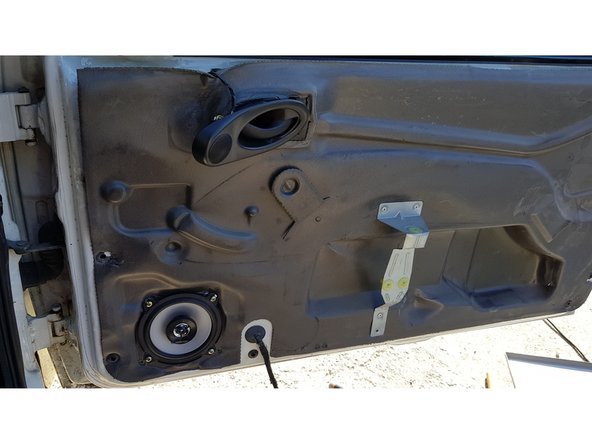
Work carried out on a Ford Fiesta 1.3 60hp from 2002.

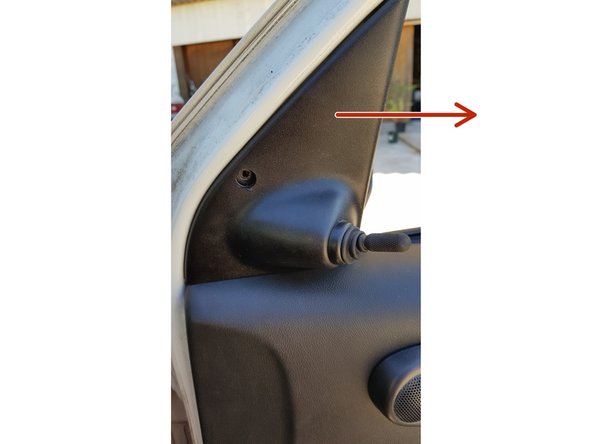
  1. There are 3 screws and 2 axles. (already removed in the photo) There are 3 screws and 2 axles. (already removed in the photo) There are 3 screws and 2 axles. (already removed in the photo)
    • There are 3 screws and 2 axles. (already removed in the photo)

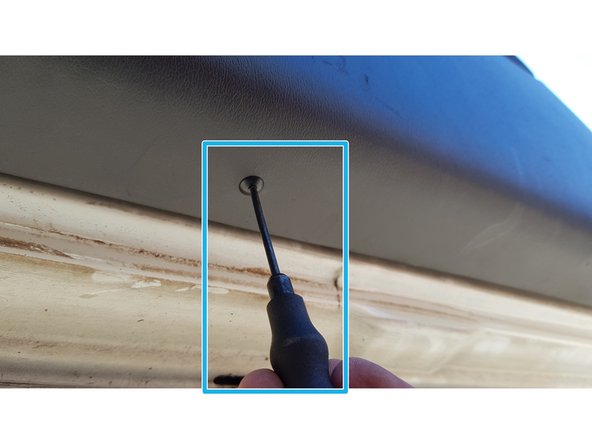
  2. It is held in place by a screw Using a small flat screwdriver (2mm wide) remove the cap. Using a small flat screwdriver (2mm wide) remove the cap.
    • It is held in place by a screw

    • Using a small flat screwdriver (2mm wide) remove the cap.

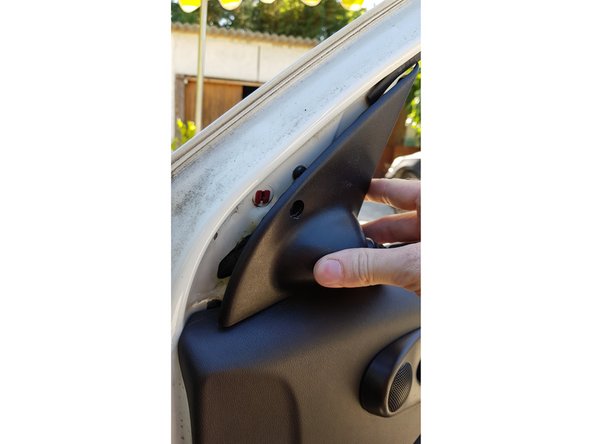
  3. Using a Pozidriv 2 screwdriver, remove the screw and then the cover by pulling it to the right. Using a small pin punch, remove the 2 pins located under the panel. Using a small pin punch, remove the 2 pins located under the panel.
    • Using a Pozidriv 2 screwdriver, remove the screw and then the cover by pulling it to the right.

    • Using a small pin punch, remove the 2 pins located under the panel.

  4. Remove the 3 panel mounting screws. Pull the panel up and then towards you. Do not pull too hard or you risk tearing the electrical cables.
    • Remove the 3 panel mounting screws.

    • Pull the panel up and then towards you.

    • Do not pull too hard or you risk tearing the electrical cables.

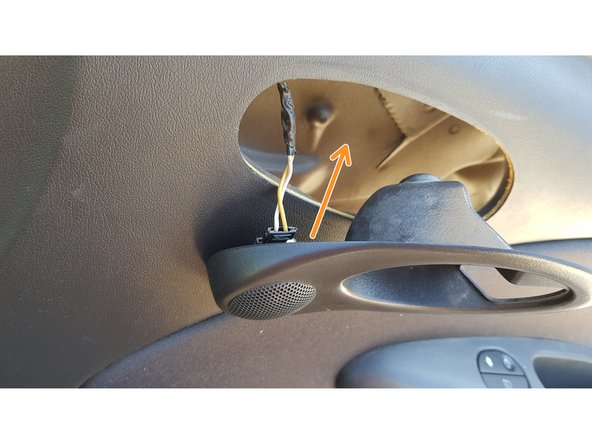
    • Pass the handle cover through the hole.

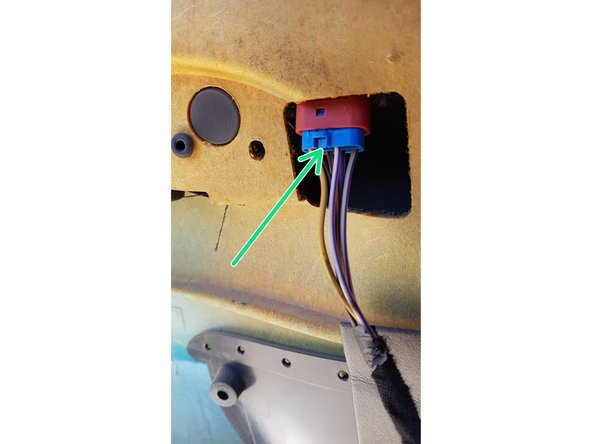
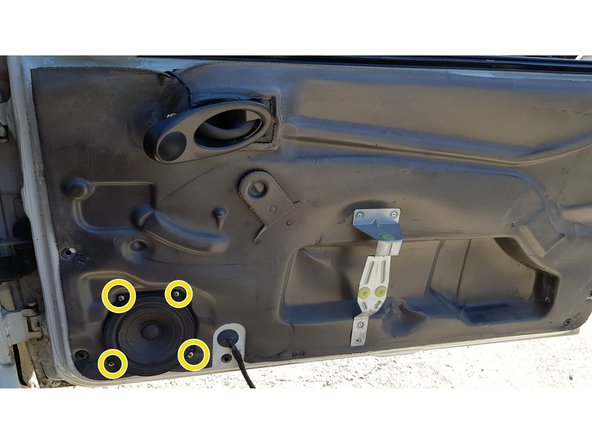
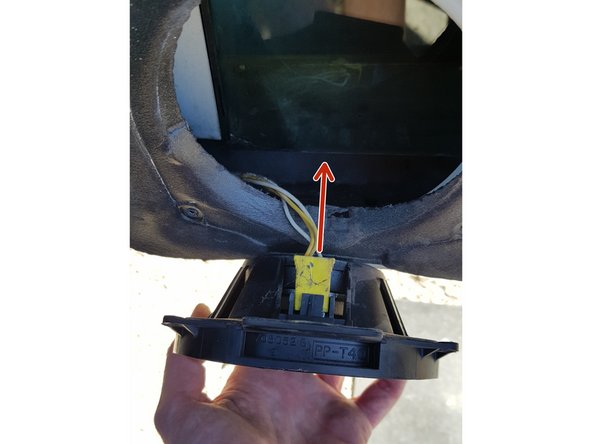
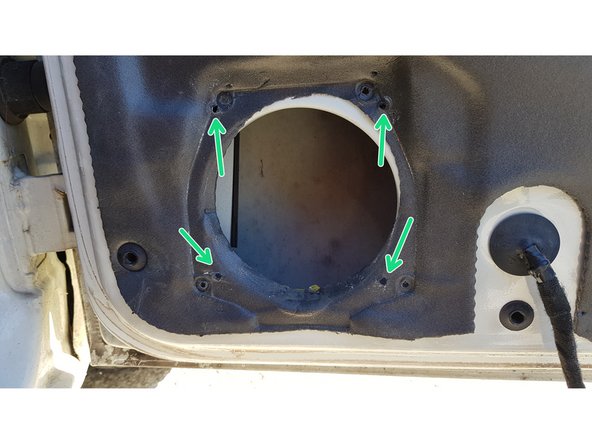
  5. Start by rolling up the window if it is not already done. Press the tab then pull the connector to disconnect it. Remove the 4 screws from the speaker .
    • Start by rolling up the window if it is not already done.

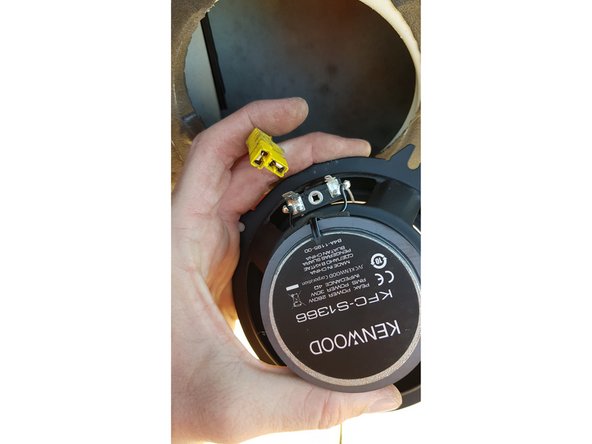
    • Press the tab then pull the connector to disconnect it.

    • Remove the 4 screws from the speaker .

    • Pull the connector to disconnect it.

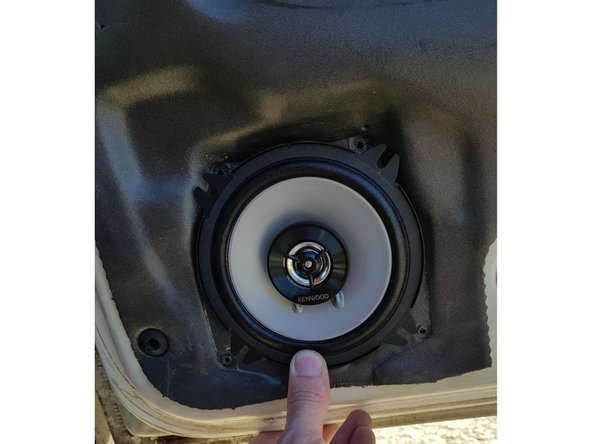
  6. Old speaker (reference FORD 96FP 18808 AA) The original holes were not aligned for the new speaker so I had to drill others (ø4mm). The original holes were not aligned for the new speaker so I had to drill others (ø4mm).
    • Old speaker (reference FORD 96FP 18808 AA)

    • The original holes were not aligned for the new speaker so I had to drill others (ø4mm).

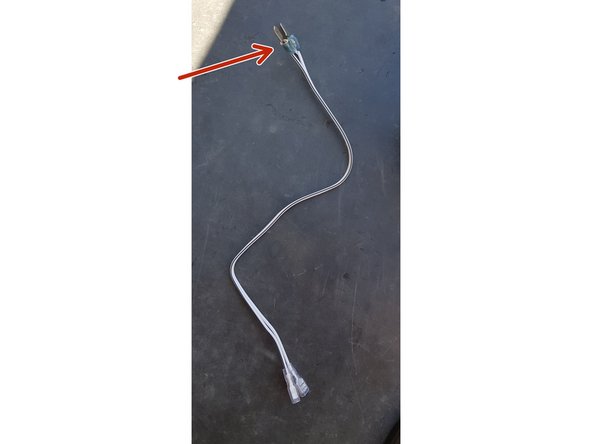
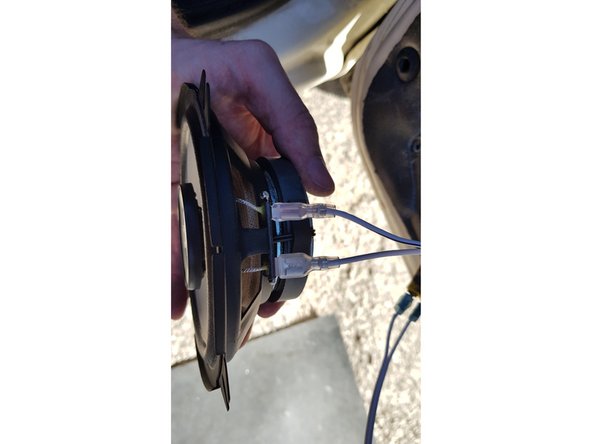
  7. Prepare the cables by putting the 2 male terminals (which are not supplied) then connect everything. Prepare the cables by putting the 2 male terminals (which are not supplied) then connect everything. Prepare the cables by putting the 2 male terminals (which are not supplied) then connect everything.
    • Prepare the cables by putting the 2 male terminals (which are not supplied) then connect everything.

  8. Since the 2 holes at the top are in a hollow, I put washers behind the fixing legs so that the plastic does not bend and break. The rest of the reassembly is carried out in reverse order. The rest of the reassembly is carried out in reverse order.
    • Since the 2 holes at the top are in a hollow, I put washers behind the fixing legs so that the plastic does not bend and break.

    • The rest of the reassembly is carried out in reverse order.

Finish Line

One other person completed this guide.

laurent.immo13003

Member since: 03/03/2016

12,942 Reputation

155 Guides authored

0 Comments

Add Comment

View Statistics:

Past 24 Hours: 0

Past 7 Days: 8

Past 30 Days: 58

All Time: 6,211