


Difficulté
Modérée
Étapes
18
Temps nécessaire
01:00:00

Ce tutoriel a été créé par la communauté
User contributed
-
-
Lever le véhicule et le mettre sur chandelles
-
Démonter les roues
-
Braquer le disque pour accéder plus facilement au vis
-
-
-
Ouvrir le bocal de liquide de frein
-
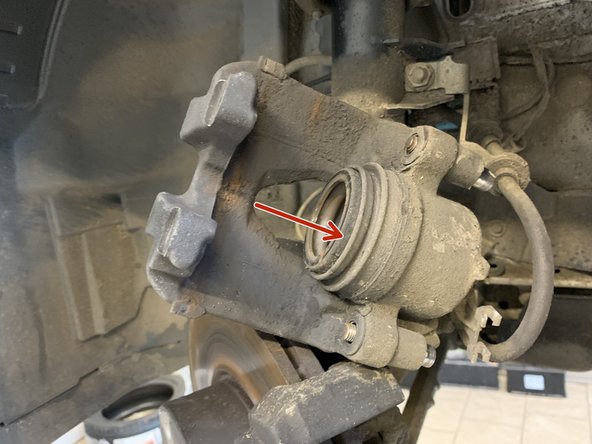
Repousser le piston à l'aide d'un tournevis plat.
-
-
-
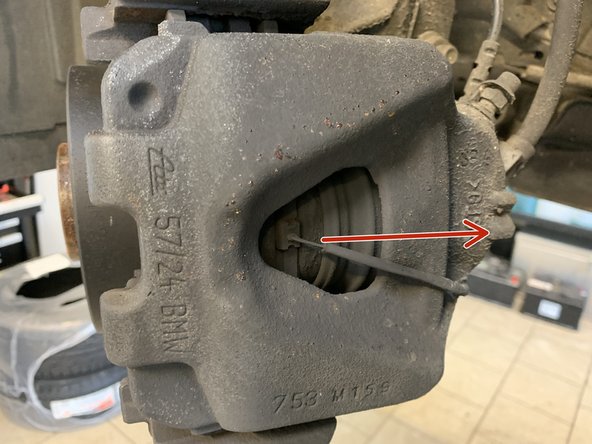
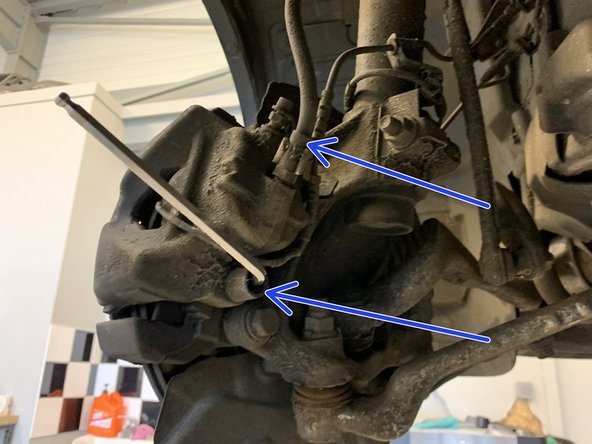
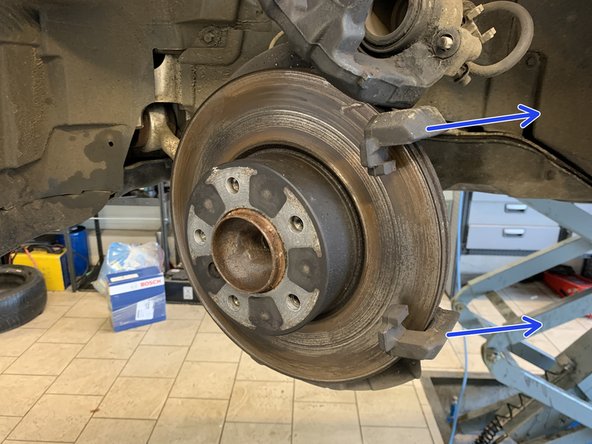
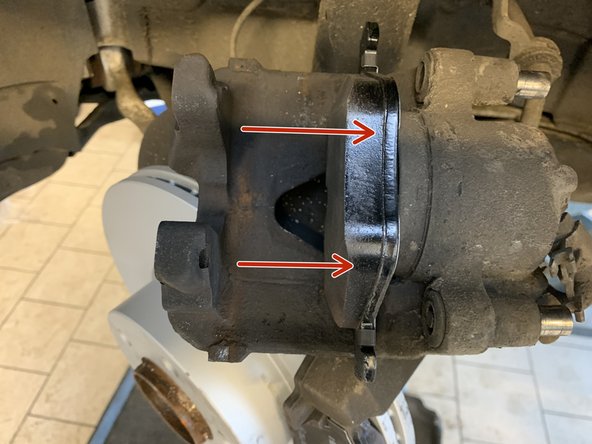
Retirer les deux caches de l'étrier
-
Déviser les deux vis l'étrier à l'aide de la BTR de 7
-
-
-
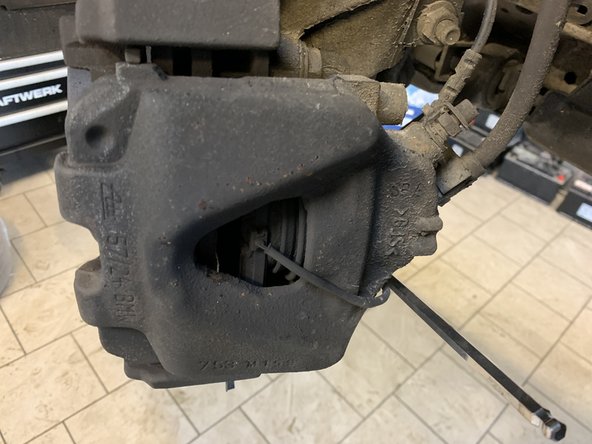
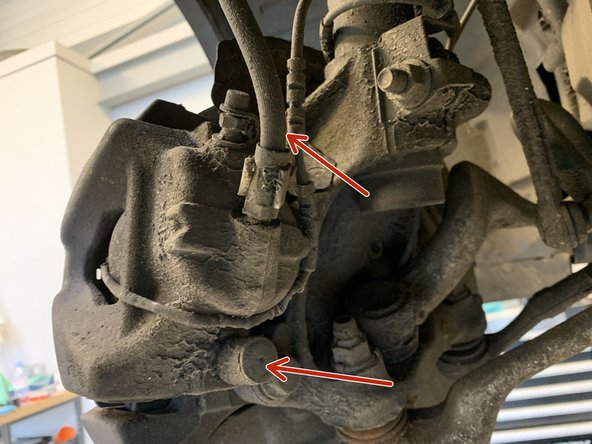
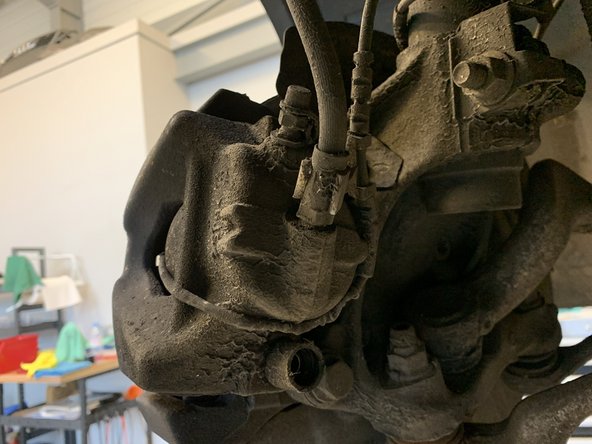
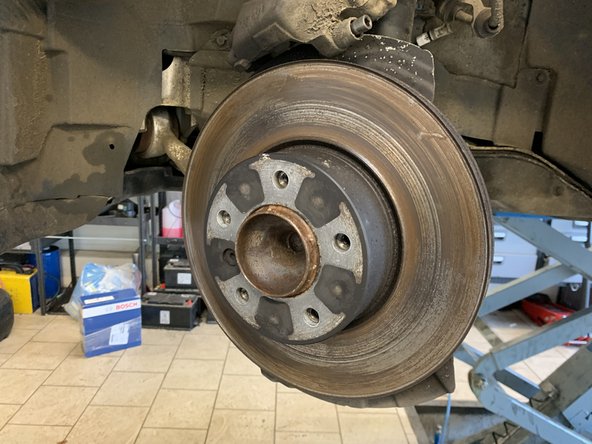
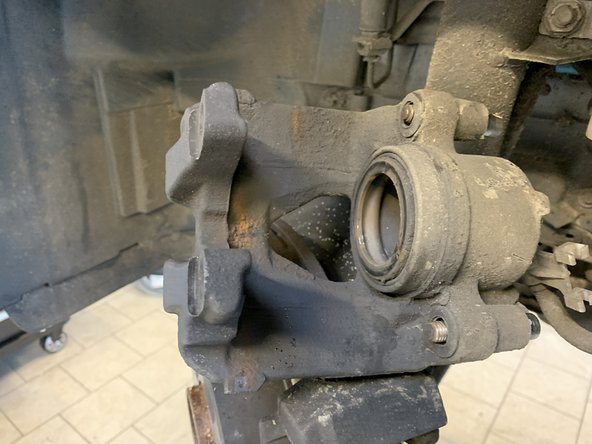
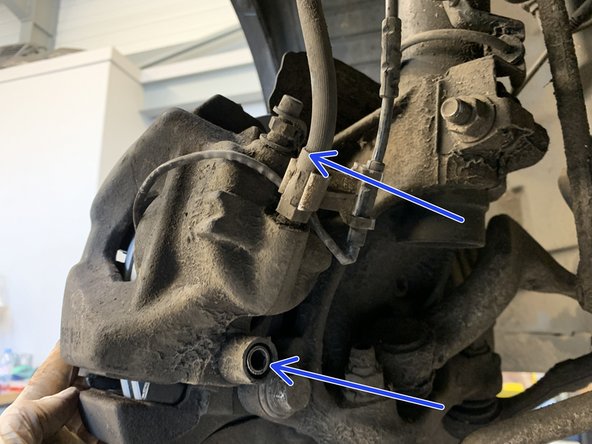
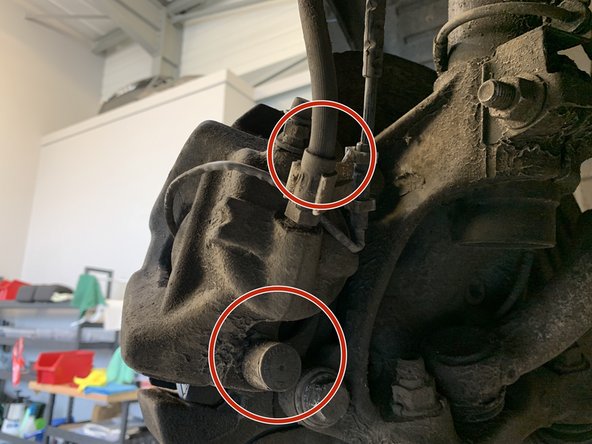
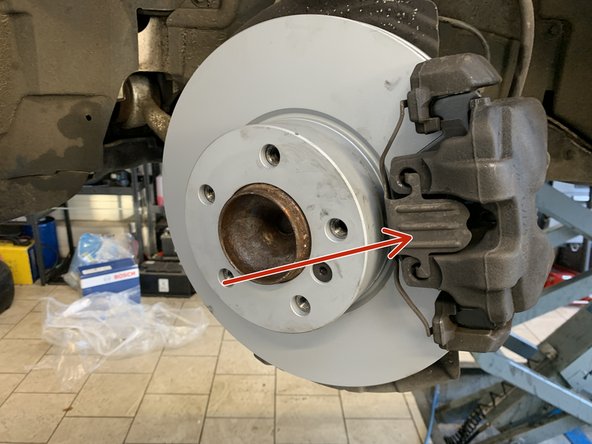
Démonter l'étrier
-
Faite attention aux flexible de frein. Celui ci ne doit jamais être en contrainte
-
-
-
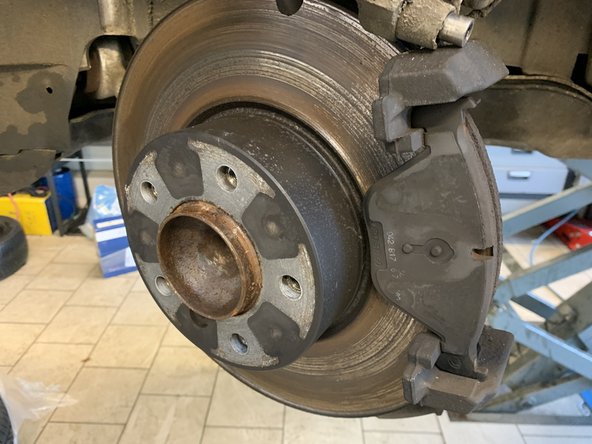
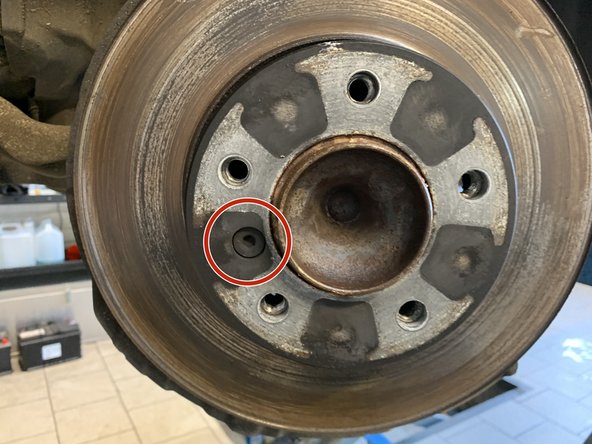
A l'aide du cliquet et de l'embout BTR 6 dévissé la vis qui maintient le disque en place
-
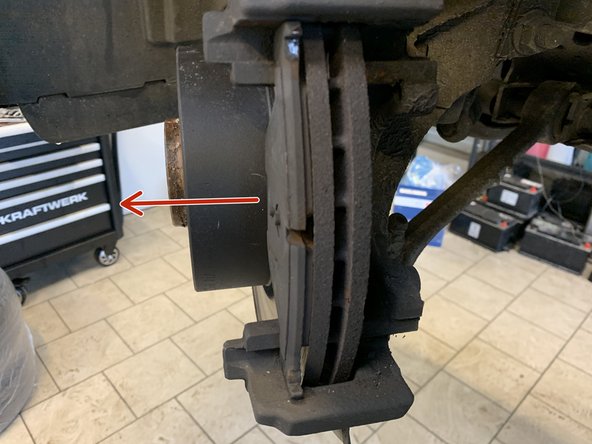
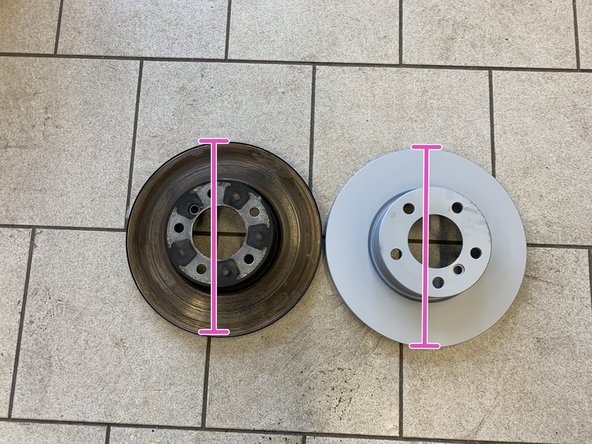
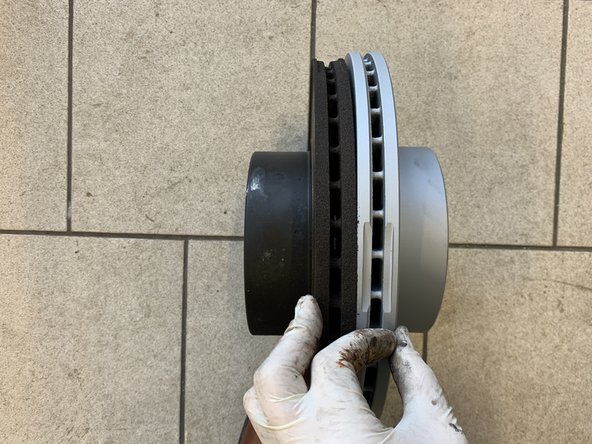
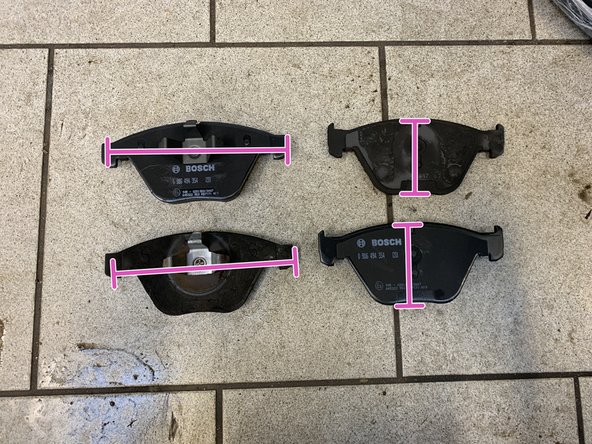
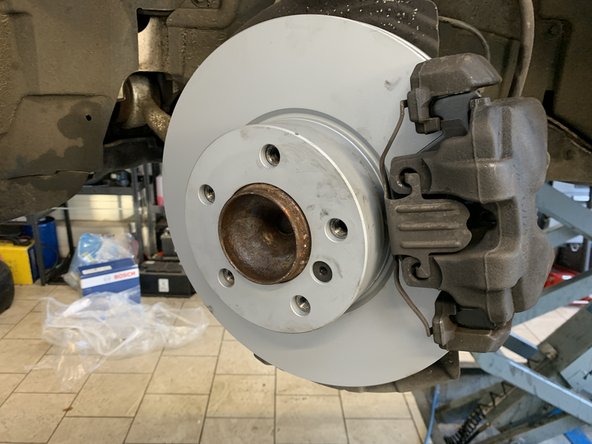
Retirer l'ancien disque, si besoin aidée vous d'un marteau
-
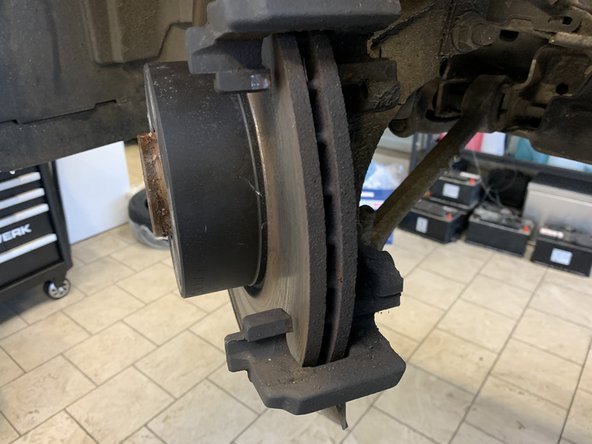
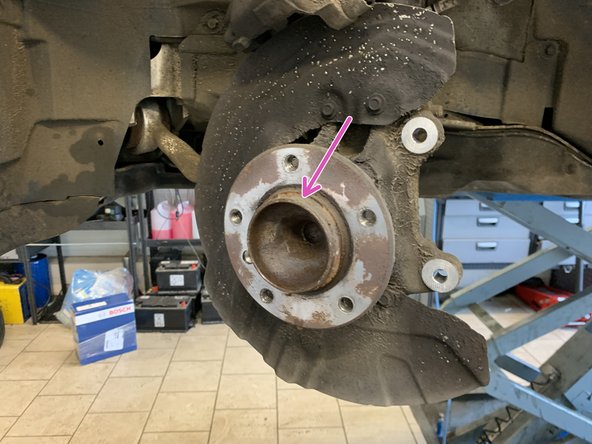
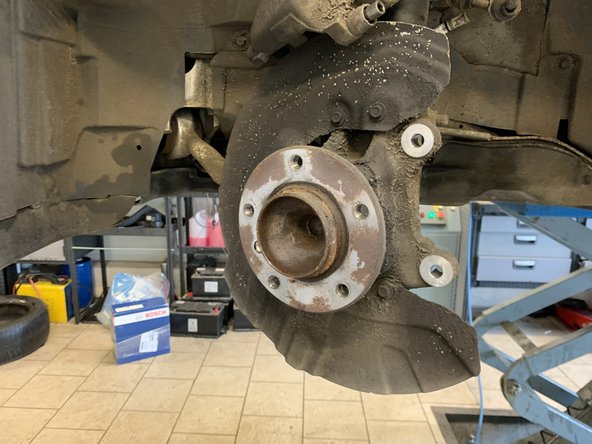
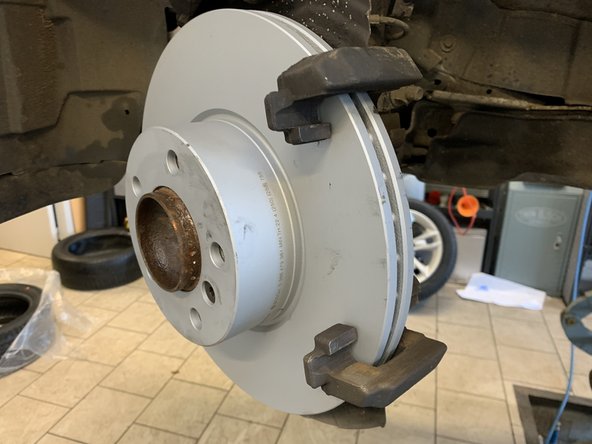
Nettoyer la porté du moyeu à l'aide de papier a poncer ou d'une brosse métallique
-
-
-
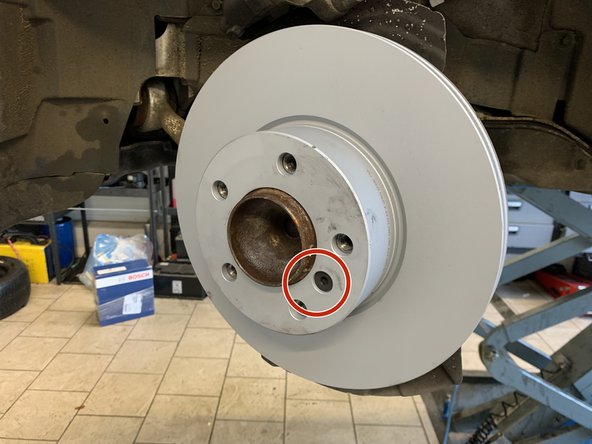
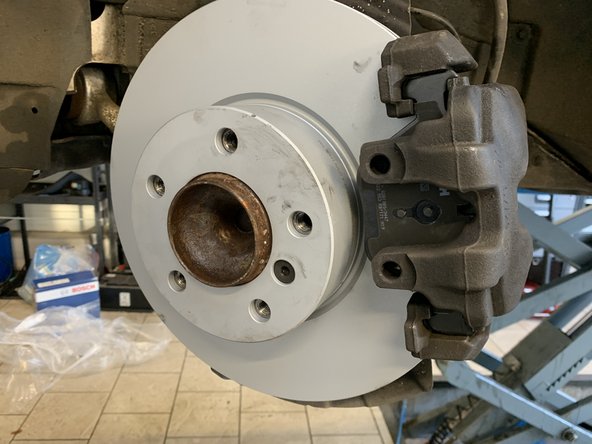
Remonter la roue
-
Faite de même pour l'autre coté
-
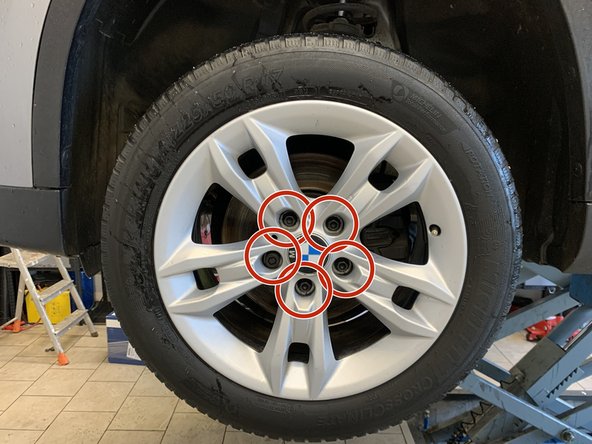
Remonter les roues en respectant les couples de serrage
-
Reposer le véhicule au sol
-
Pomper plusieurs fois sur la pédale de frein
-
Vérifier le niveau de liquide de frein qui doit ce trouver entre le mini et le maxi
-
Les premier freinage doivent être effectué a faible allure pour déglacer les frein
-


Il est nécessaire d'effectuer un rodage de 500 km après le remplacement des frein avant.
Il est nécessaire d'effectuer un rodage de 500 km après le remplacement des frein avant.
Annulation : je n'ai pas terminé ce tutoriel.
5 autres ont terminé cette réparation.
3 commentaires
Attention à bien dégraisser vos disques ! A aucun moment ce n'est marqué dans le tuto ! Vous courrez droit à l'accident si vous ne le faite pas avec de nettoyant frein.
De plus une fois le disque retiré et le moyeu nettoyé je recommande d'appliquer de la graisse cuivré tout autour, cela évitera la rouille pour les prochains démontages ;)
Dommage qu'il n'y ai pas les couples de serrages préconisé.
jeremy_110 - Résolu à la publication Réponse
Bonjour,
Merci pour ce tuto.
J’ai le code CC-ID 71 au tableau de bord de mon X1.
comment savoir s’il faut changer les plaquettes, les disques et la plaquettes ou les plaquettes, les disques et la sonde d’usure
Merci d’avance
Philippe POPLIMONT - Résolu à la publication Réponse
Bjr.
Manque juste la façon précise d’enlever le cache récalcitrant et le cas de la sonde d’usure de plaquettes. et peut être aussi le couple de serrage des vis de roue , a part cela , nickel
Allain BOBINEAU - Résolu à la publication Réponse