


Difficulté
Très facile
Étapes
6
Temps nécessaire
00:15:00

Ce tutoriel a été créé par la communauté
User contributed
Outils

Pièces
-
-
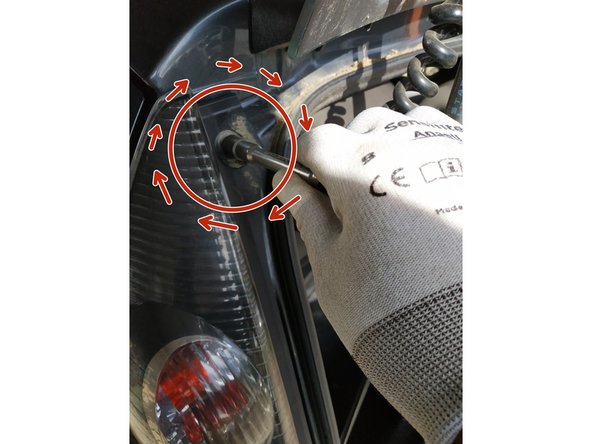
dévisser les 2 vis qui maintiennent le feu avec une clé de 10mm
-
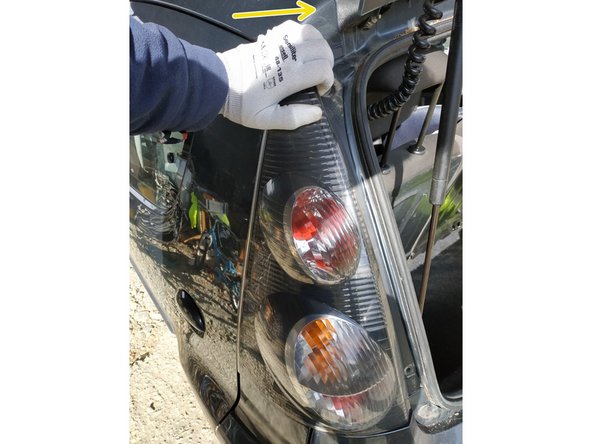
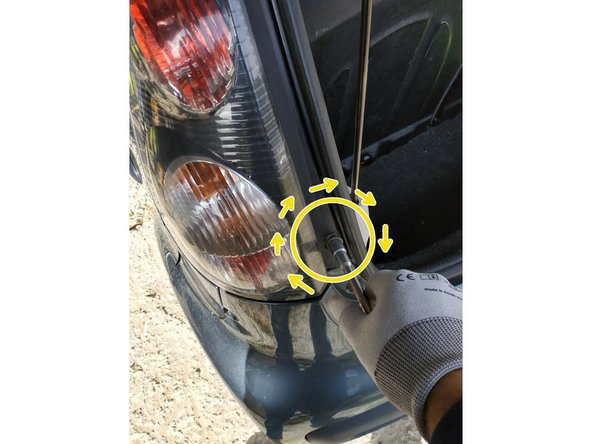
tirer délicatement le feu vers l'extérieur du véhicule pour le déloger de ses supports
-
il y a un support en haut et un support en bas
-
garder le même écartement que sur la photo 3
-
Ne pas tirer sur le feu car celui-ci est encore connecté.
-
-
-
il y a une une languette au milieu de la prise du feu
-
appuyer dessus avec un petit tournevis plat et tirer en même temps
-
la prise doit s'enlever
-
-
-
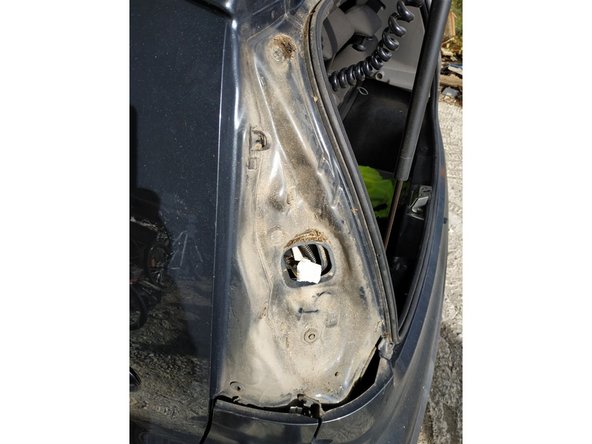
Retirer le feu
-
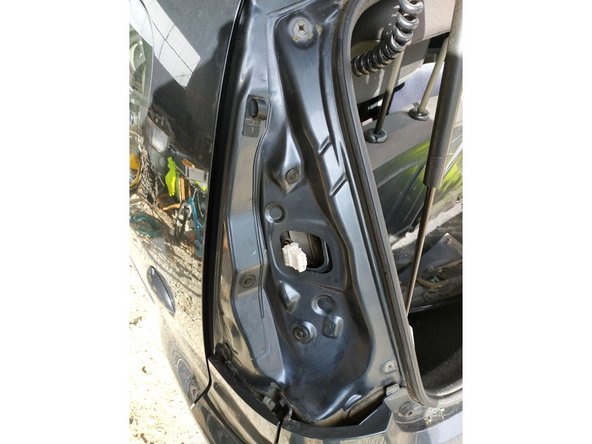
Nettoyer
-
-
-
présenter le nouveau feu, connecter la prise jusqu'à entendre le "clic"
-
avant de continuer, on peut vérifier que toutes les ampoules fonctionnent
-
-
-
le feu a des pions de centrage qu'il faut rentrer dans les trous de la carrosserie
-
il faut donc le présenter par le côté
-
une fois que les pions de centrage sont alignés, enfoncer la partie haute
-
puis la partie basse
-
-
-
visser la vis du haut
-
visser la vis du bas
-
Les écrous dans lesquels vont les vis sont en plastique donc serrer modérément
-





Annulation : je n'ai pas terminé ce tutoriel.
Une autre personne a terminé cette réparation.

2 commentaires
Bonjour Monsieur merci beaucoup pour votre explication très claire.
Pouvez vous m'indiquer la couleur du fil de masse.
Merci
Bonne journée
Louste AARMC - Ouvert Réponse