


Difficulté
Modérée
Étapes
9
Temps nécessaire
01:00:00 - 02:00:00

Ce tutoriel a été créé par la communauté
User contributed
Introduction
Ce Tutoriel est un ensemble de bonnes pratiques, de conseils et de recommandations afin de remplacer ses freins. L'auteur de ce post ne pourra en aucun cas être responsable de toute panne mécanique ou accident corporel survenu a la suite de l'operation
-
-
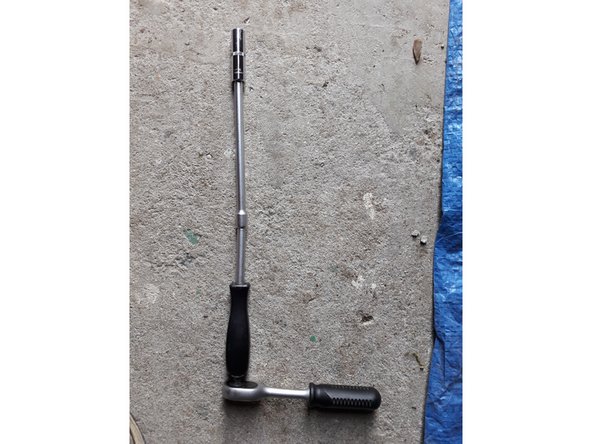
Photo du matériel que j'ai utilisé.
-
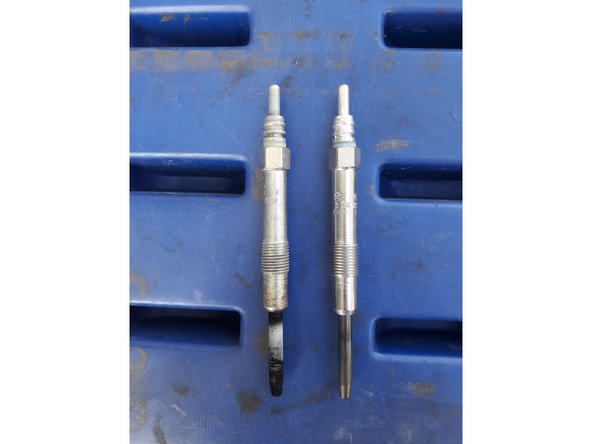
Les 4 Bougies Neuves.
-
En général quand le message d'erreur apparait une seule bougié est HS. Selon le kilométrage il est préférable de remplacer les 4 bougies simultanément (ce que nous allons faire ici).
-
Il est préférable de déconnecter la batterie du véhicule avant d'effectuer la manipulation.
-
-
-
Dévisser la vis indiqué par la flèche a l'aide de la clef alen de 5mm.
-
Puis tirez doucement le cache plastique qui est fixe au 3 autres extrémités à l'aide de 3 parties en caoutchouc à emboitement.
-
Les bougies sont placées assez profondément a l'arrière du moteur. L'accès n'est pas très aisé.
-
-
-
A l'arrière de la vanne EGR vous avez 3 vis (flèche rouge). Il faut les dévisser a l'aide du cliquet et de la douille 13mm.
-
Dégagez le support métallique (flêche verte) en écartant légèrement la vanne EGR.
-
-
-
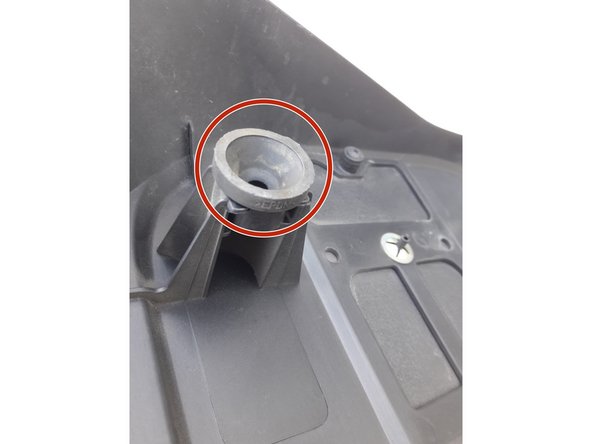
Lever le verrou jaune de la prise du capteur de" pression''
-
En appuyant sur le crochet noir ,déconnecter le capteur
-
-
-
De gauche à droite, voici les photos des connecteurs des 3 premières bougies.
-
-
-
La photo 1 représente le connecteur de la 4e bougie.
-
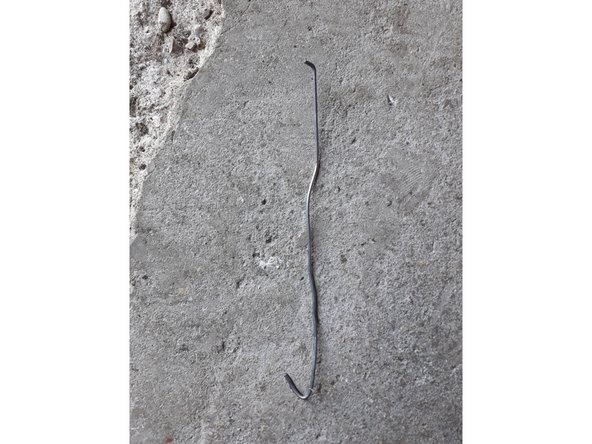
En utilisant le bout de cintre tordu comme sur la photo.
-
Déconnecter les connecteurs des 4 bougies. Leur forme est en "L". Il faut tirer sur la partie plastique, jamais sur le fil !
-
Vous pouvez vous aider en utilisant la pince et la cale de bois pour faire levier
-
Procéder de la même façon pour les 4 connecteurs
-
-
-
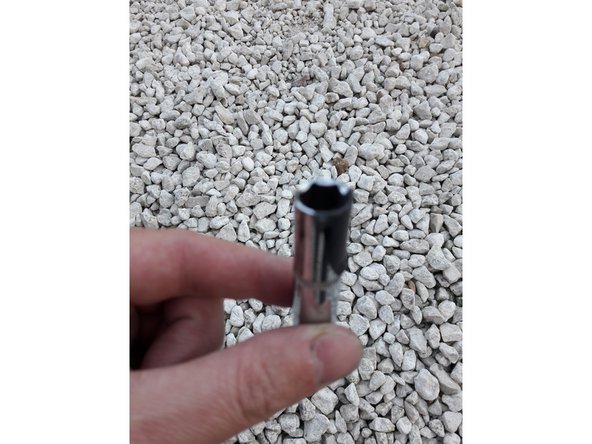
Pour dévisser les bougies utilisez le cliquet, les 2 rallonges, et la douille longue de 10mm
-
Afin que la bougie sorte avec la douille vous pouvez mettre un bout d'isolant électrique sur la douille. De cette manière une fois dévissée la bougie ne tombera pas de la douille lors du retrait.
-
Procéder de la même manière pour les 4 bougies.
-
-
-
Revissez les bougies de la même manière. Vous insérez d'abord la bougie dans la douille avec le bout de ruban isolant sur le cote afin qu'elle ne tombe pas.
-
Vous l'introduisez avec précaution dans son emplacement.
-
Attention à ne pas foirer le pas de vis! Il ne faut surtout pas forcer au début du vissage. La bougie doit se visser avec peu de resistance, si tel n'est pas le cas c'est que vous l'avez mal positionnée.
-
Une fois vissée, serrez avec modération!
-
Il ne vous reste plus qu'a reconnecter les connecteurs.
-
Pour les mettre en place vous pouvez vous aider de la tige que vous avez utilisé pour les retirer et en appuyant avec la rallonge du cliquet pour l'enclencher
-
On sent un leger "clic" quand le connecteur est bien enclenché
-
N'oubliez pas de remonter le support de la vanne EGR et de reconnecter le capteur de pression de turbo
-
-
-
Vérifiez que les clips en caoutchouc sont restes sur le cache et non sur le moteur. Si ce n'est pas le cas décrochez les du moteur et replacez les sur le cache.
-
Positionnez et enclenchez le cache en appuyant légèrement dessus au niveau des clips.
-
Veillez a ce que les clips soient positionnes au bon endroit
-
Revisser la vis du cache et c'est terminé !
-
Le message d'erreur du tableau de bord disparaît au bout de 3 démarrages du véhicule. Vous pouvez également effacer le message d'erreur a l'aide d'un diagnoseur ODB si vous en possédez un.
-


Peu de matériel nécessaire mais quelques outils qui vous seront indispensables
Peu de matériel nécessaire mais quelques outils qui vous seront indispensables
Annulation : je n'ai pas terminé ce tutoriel.
3 autres ont terminé cette réparation.
6 commentaires
Bonjour pour la grande Punto 1.9 jtd 120 de 2006 c'est le même principe ? Merci.
gael prevot - Résolu à la publication Réponse
Bonsoir ,
Merci pour ton tuto super bien expliqué , premier remplacement des bougies de préchauffage sur Alfa Romeo 159
je travaille plus souvent sur des Allemandes , sur l'Alfa on pourrait croire que tout est fait pour que le possesseur
de la voiture ne puisse le faire soi-même et capitule et direction garage Alfa ou réparateur toutes marques bon c'est
fait mais j'ai quand même mis presque 2heures ,tes explications sont nickel , bravo à toi 10/10
Tout grand merci , Dominique
Noterman Dominique - Résolu à la publication Réponse