


Difficulté
Difficile
Étapes
24
Temps nécessaire
03:00:00

Ce tutoriel a été créé par la communauté
User contributed
Introduction
Montage d'un attelage sur un Renault Master de 2014.
Ce tutoriel vient en complément de la notice de montage fourni avec votre attelage et votre faisceau, certains détails peuvent différer.
Privilégié les instructions données sur votre notice de montage !!!
-
-
Commencer par trier les pièces et vérifier qu'aucune n'est manquantes
-
-
-
Dévisser les deux vis de 16
-
Retirer l'anneau de remorquage
-
Celui-ci ne sera plus utilisé
-
-
-
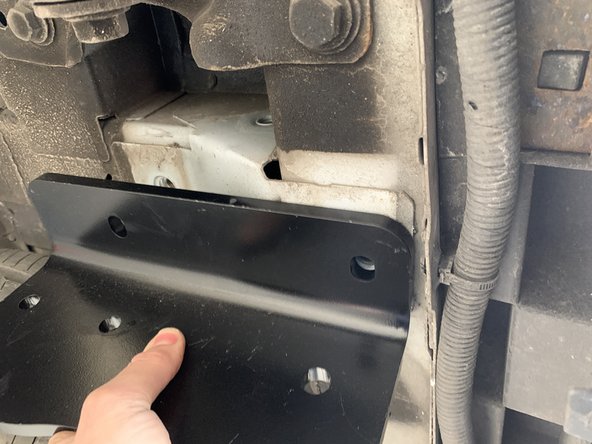
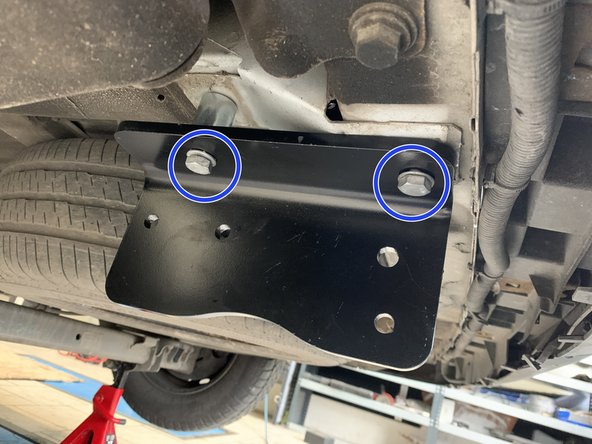
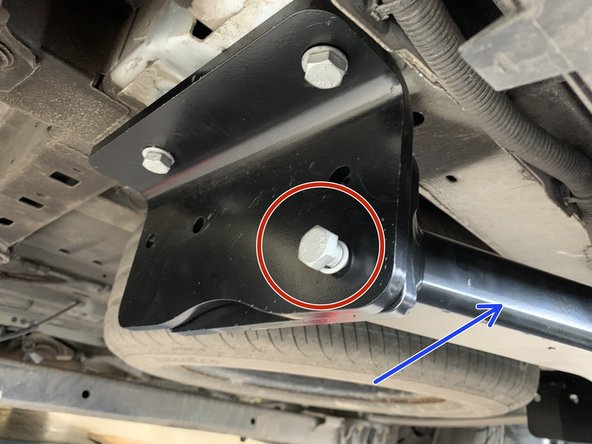
Installer la 1er pate de fixation avec l'entretoise
-
Serrer les deux vis de 16
-
-
-
Installer la 2eme pate de fixation avec l'entretoise
-
Serrer les deux vis de 16
-
-
-
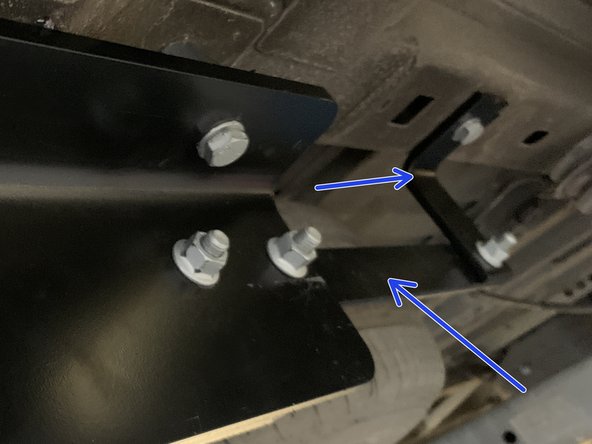
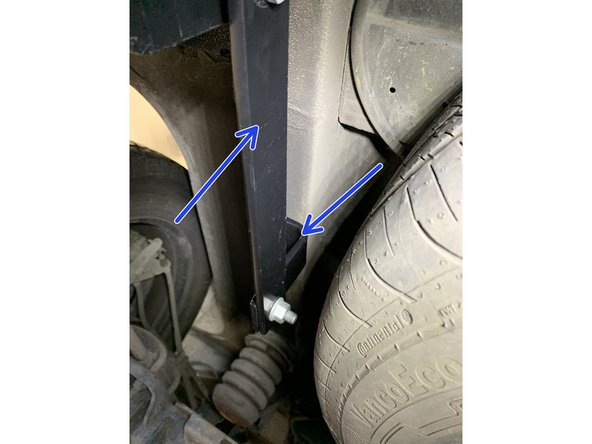
Installer la 1er barre de renfort et l'équerre
-
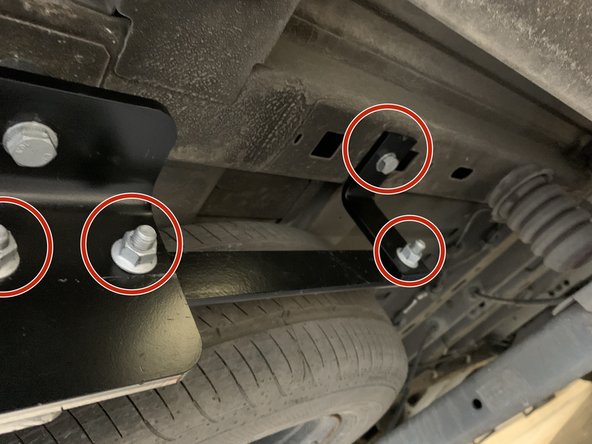
Serrer les 4 vis
-
-
-
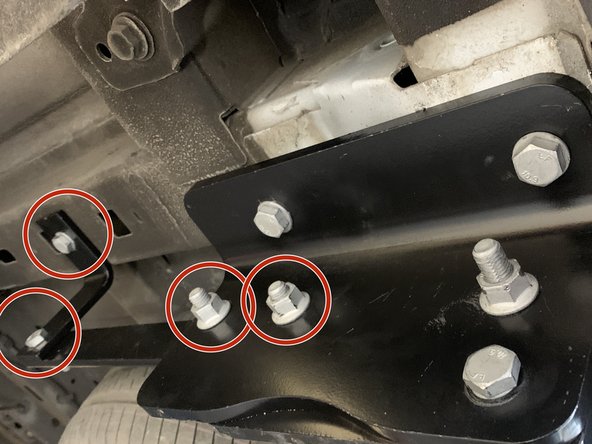
Installer la 2eme barre de renfort et l'équerre
-
Serrer les 4 vis
-
-
-
Serrer toute les vis au couple de serrage indiqué sur la notice de montage
-
-
-
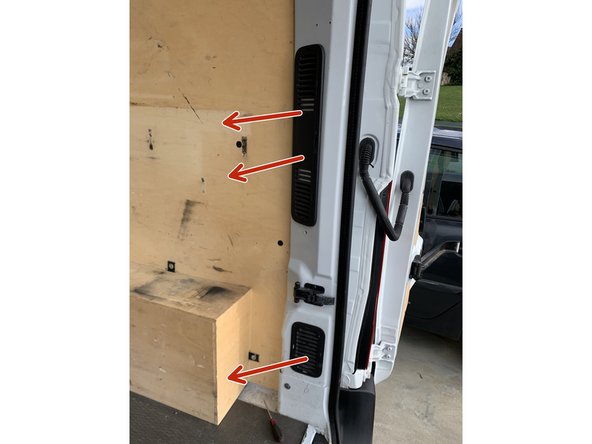
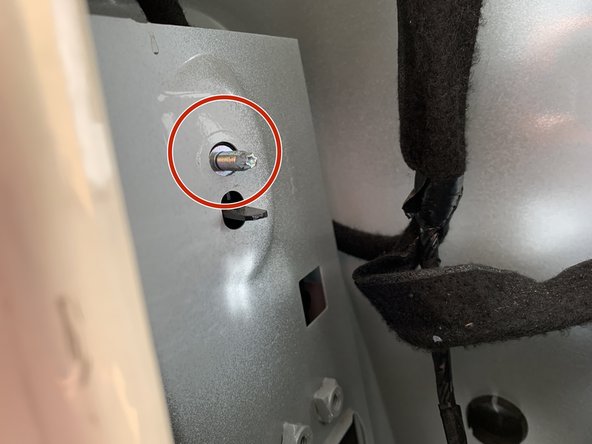
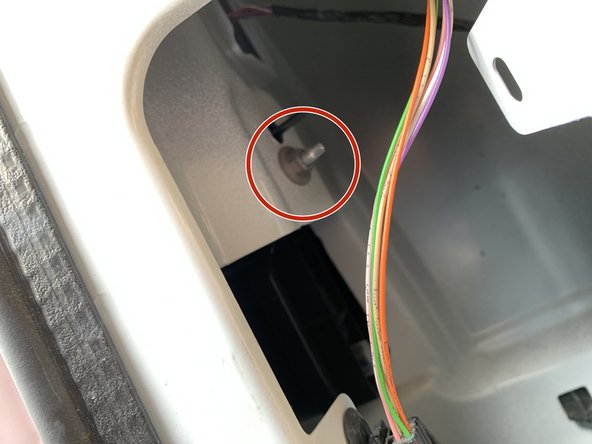
Dévisser les deux écrous de 10 à l'intérieur de la caisse pour retirer les deux feux arrière
-
-
-
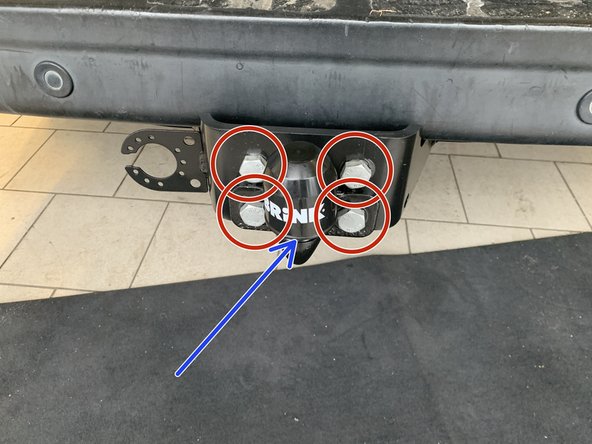
Installer la prise sur l'attelage
-
Passer la câble le long de l'attelage
-
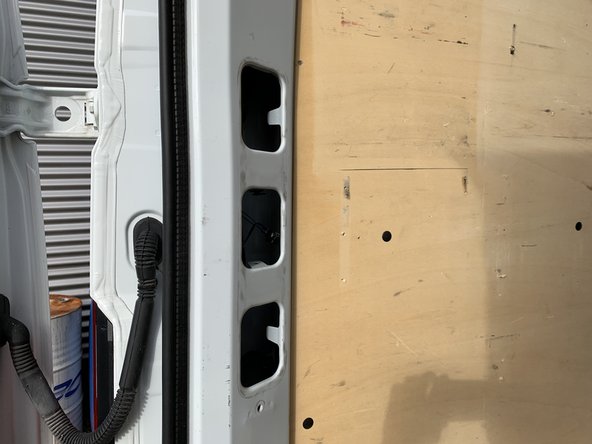
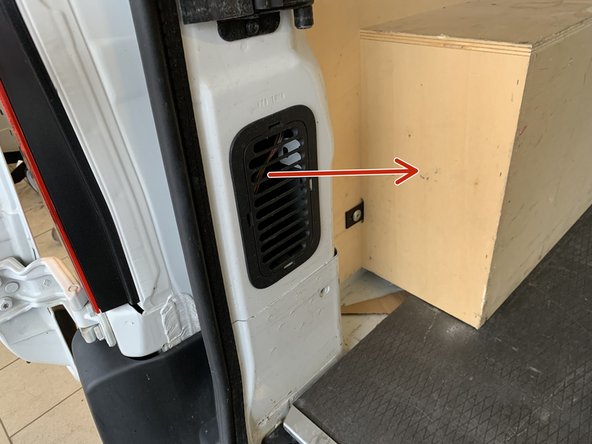
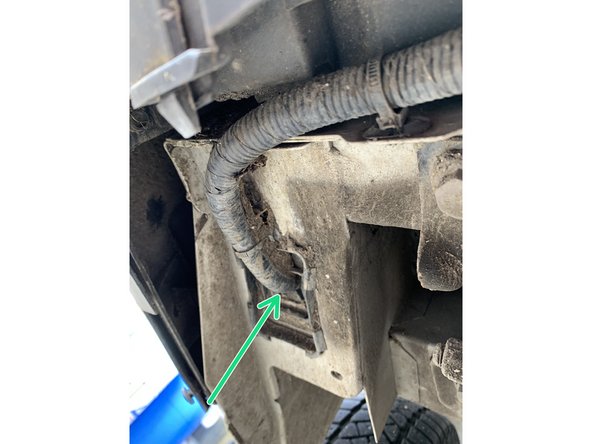
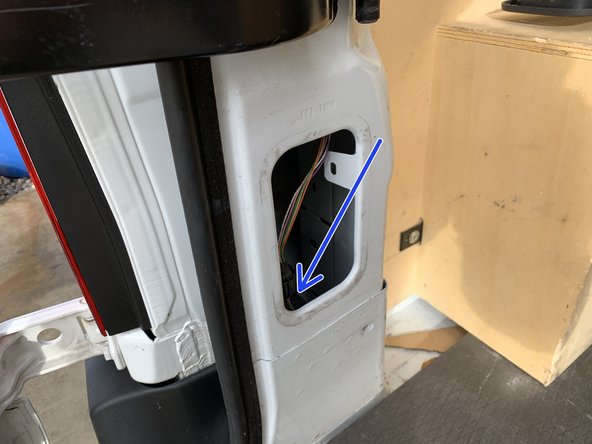
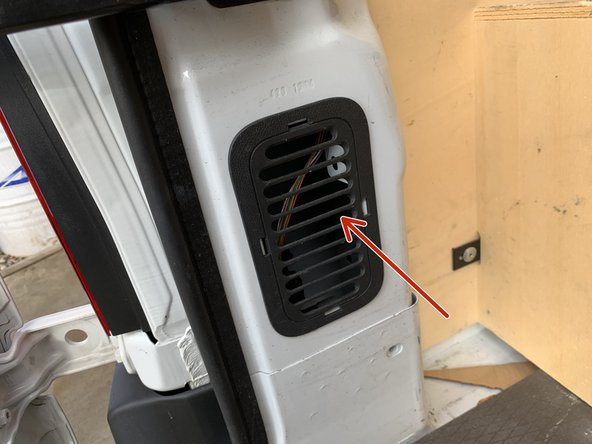
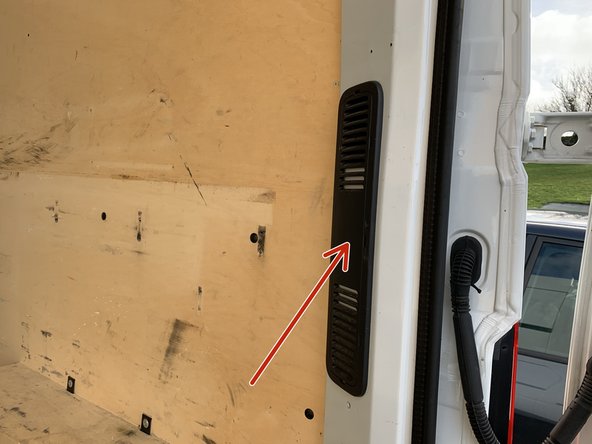
Faire entrer le câble dans la caisse part le coté gauche du véhicule par l'emplacement prévue à cette effet
-
-
-
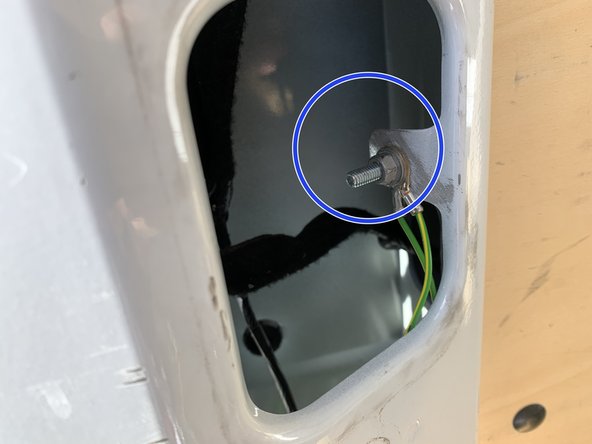
Brancher la lampe témoin à la masse du véhicule
-
Ce référer à la notice de montage du faisceau d'attelage pour le branchement celui-ci
-
-
-
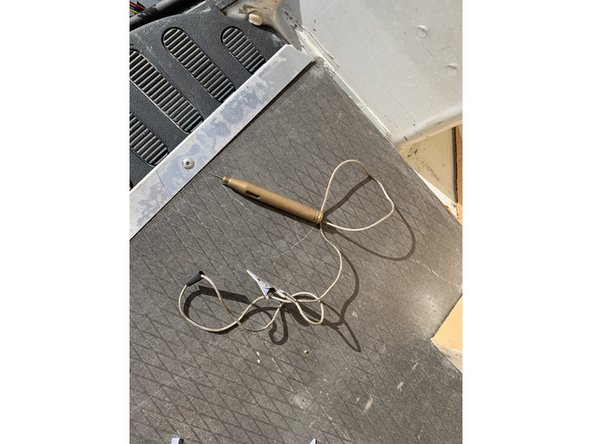
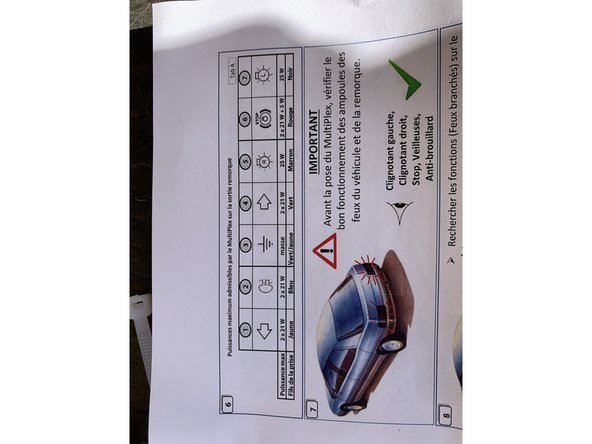
À l'aide d'une lampe témoin, rechercher sur la prise du véhicule les veilleuses, clignotant, stop et antibrouillards
-
Raccorder les à l'aide des clips fourni au faisceau de la attelage en suivant le schéma dans la notice de montage
-
Isoler le tout a l'aide de chatterton
-
-
-
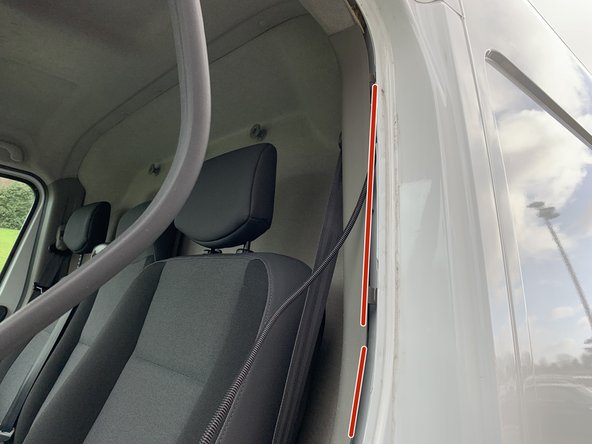
Tirer le câble du plus permanent en suivant le longeron jusqu'a la batterie se trouvant sous le repose pied conducteur
-
Prenez soin de passer le cable dans une gaine pour que celui-ci ne vienne pas en contact avec la carrosserie et fasse sauter le fusible
-
-
-
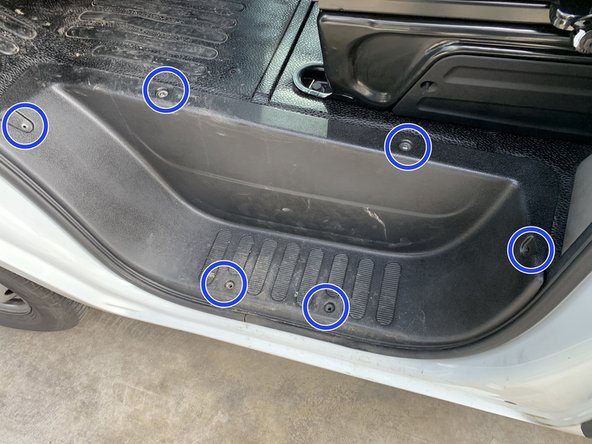
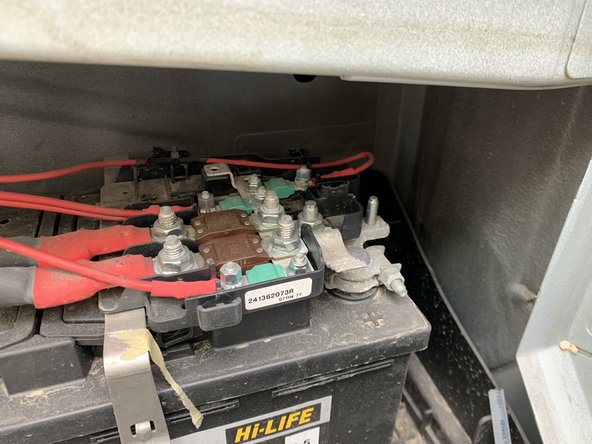
Retirer la marche pied pour acceder a la batterie
-
Localiser le PLUS
-
-
-
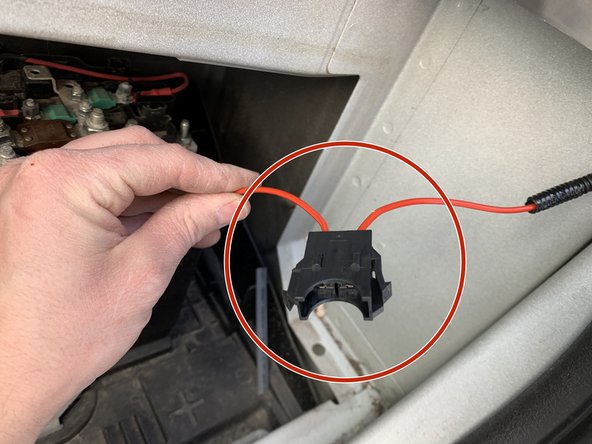
Installer le porte fusible
-
inserrer le fusible fourni
-
Isoler le tout
-
Remonter le marche pied
-
-
-
Brancher les prises au boitier du faisceau
-
Positionner le faisceau dans la caisse et fixer le à l'aide du double face fourni
-


Veuillez à tester l'attelage avant de prendre la route
Veuillez à tester l'attelage avant de prendre la route
Annulation : je n'ai pas terminé ce tutoriel.
2 autres ont terminé cette réparation.