


Difficulté
Facile
Étapes
6
Temps nécessaire
00:40:00 - 01:00:00

Ce tutoriel a été créé par la communauté
User contributed
Introduction
Remplacement des deux biellettes avant Ford KA II de 1.2 69ch de 2009
-
-
Piéces ; 2 biellettes de barre stabilisatrice
-
Outils : Clé plate de 16mm
-
Clé Allen de 5 mm
-
-
-
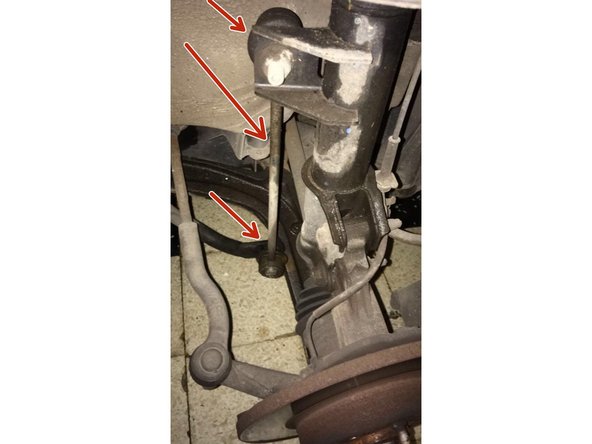
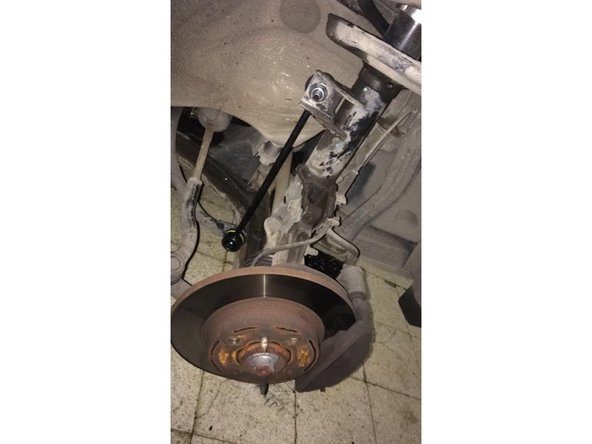
Mettre le véhicule sur chandelles et enlever la roue (4 boulons de 18mm)
-
Mettre le véhicule sur chandelles des deux coté, car sinon vous ne pourrai pas enlever la biellette qui sera en pression avec l'amortisseur.
-
-
-
Une fois la roue enlever nous avons une vu sur la biellette
-
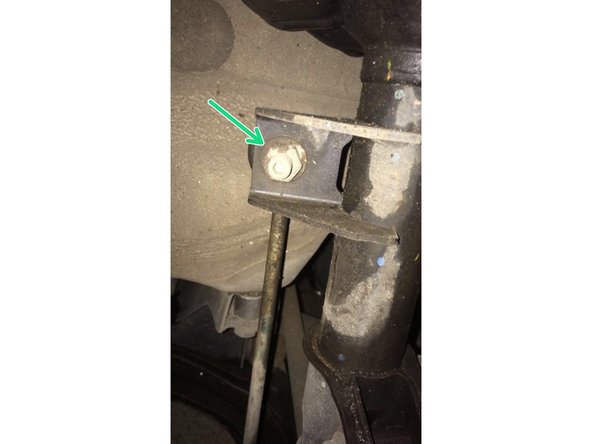
Ecrou de 16 mm. Il y a une empreinte hexagonale sur l axe de la rotule afin d'éviter qu'elle ne tourne sur elle mêmes lors du desserrage
-
-
-
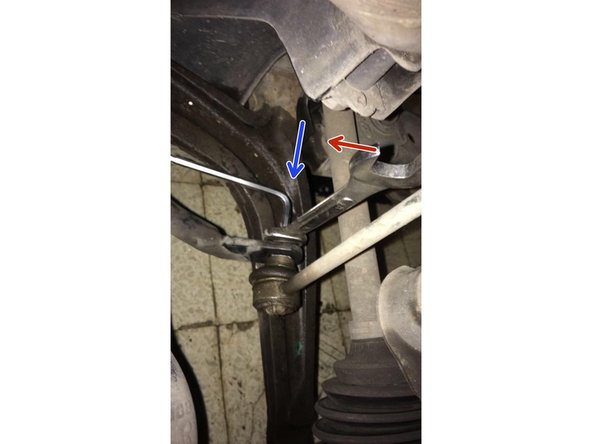
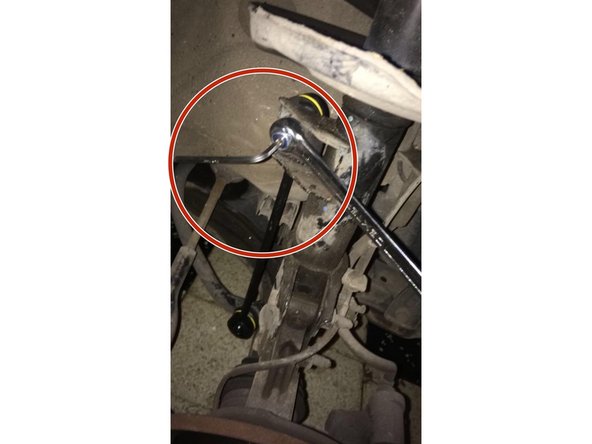
il faut maintenrt l'axe de la rotule avec une cle BTR de 5mm afin d'éviter que la rotule ne tourne sur elle mêmes
-
Maintenir la cle BTR
-
et desserrer avec la clé plate sur la partie inférieur et supérieur de la biellette
-
-
-
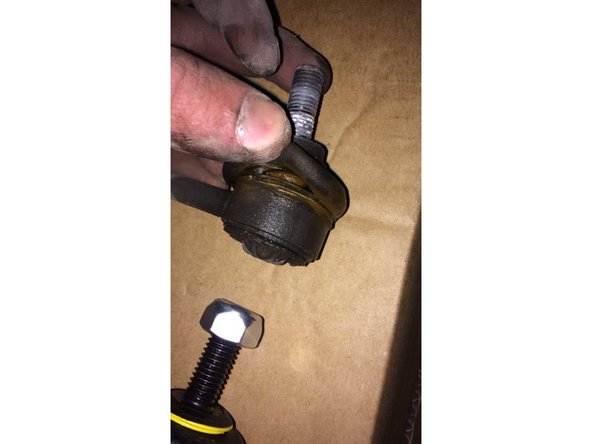
Biellette sortie
-
Placer la nouvelle biellette puis serrer les deux écrou en maintenant l 'axe de la routule avec une cle BTR de 5 mm
-
Replacer la roue pour terminer.
-
La procédure est la mêmes sur le coté passager et conducteur
-


Annulation : je n'ai pas terminé ce tutoriel.
Une autre personne a terminé cette réparation.