Introduction
Remplacement vanne EGR sur Mercedes type 203:W203, CL203, S203, Berline, Break, Coupé : 220CDI
Outils
Pièces
-
-
Tirer la manette rouge située sous le volant. Le capot va légèrement se soulever.
-
Tirer la manette noire située à l'avant du capot pour procéder à son ouverture complète.
-
-
-
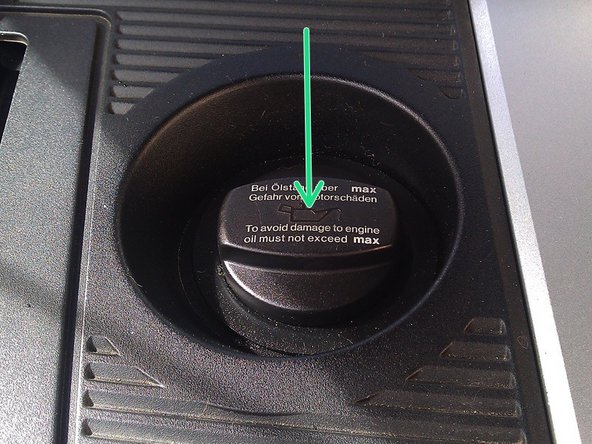
Localiser le bouchon d’huile.
-
Attention : La position peut varier d’une motorisation à l’autre mais le principe sera toujours le même.
-
Dévisser le bouchon d’huile d’un quart de tour, puis le retirer.
-
Dé-clipper le cache moteur en le soulevant fermement.
-
Revisser le bouchon d’huile.
-
-
-
Localiser la vanne EGR
-
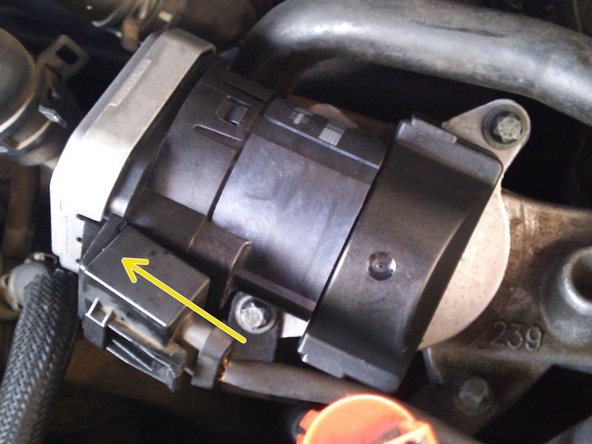
Appuyer sur la languette marquée en jaune.
-
Tout en maintenant la languette appuyée, tirer la prise dans la direction de la flèche.
-
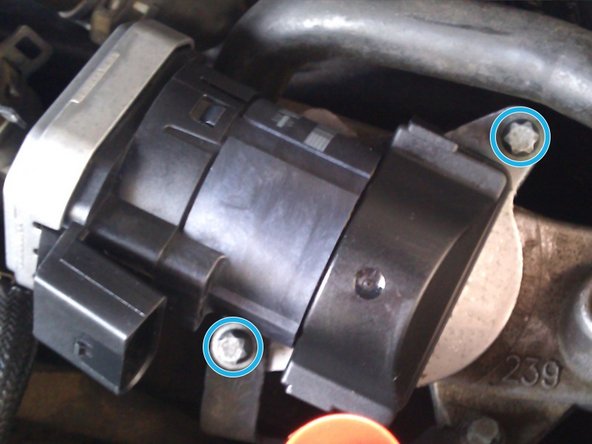
A l'aide de la clé à pipe de 8mm, retirer les deux boulons marqués en orange.
-
-
-
La vanne EGR est maintenant désolidarisée du reste du moteur. Cependant il est difficile de sortir la vanne à cette étape car elle est généralement « collée » par les résidus de combustion.
-
A l'aide d'une calle en bois et d'un marteau, taper le vanne à l’endroit indiqué, ceci afin de la faire tourner sur son axe.
-
Après qu’elle a tourné de quelques centimètres, la faire tourner dans le sens opposé. La vanne devrait progressivement se décoller et être retirable à la main.
-
Retirer la vanne en la tirant vers le haut.
-
-
-
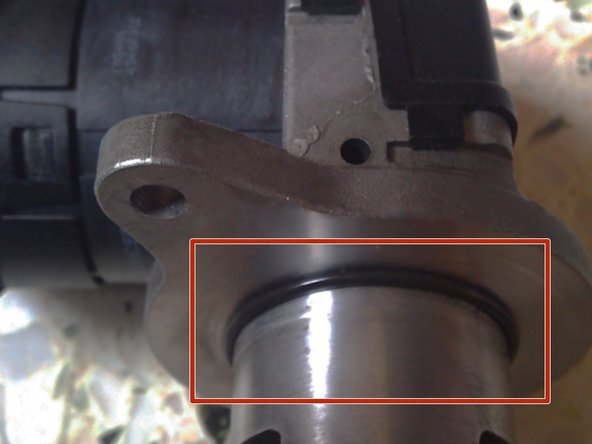
Sur la nouvelle vanne EGR, graisser légèrement le joint pour faciliter la mise en place.
-
Positionner la nouvelle vanne EGR. A l'aide de la clé à pipe de 8mm, revisser les deux boulons de maintien.
-
Reconnecter la prise.
-
La vanne neuve est maintenant installée.
-
-
-
Dévisser le bouchon d’huile, il se soulève après l’avoir tourné d’un quart de tour.
-
Clipper le cache moteur en appuyant dessus fermement.
-
Revisser le bouchon d’huile.
-
Fermer le capot l’intervention est terminée.
-
Annulation : je n'ai pas terminé ce tutoriel.
11 autres ont terminé cette réparation.
9 commentaires
La vanne résiste. Il faut faire la manipulation plusieurs fois. J’ai démarré le moteur au ralenti pour faire chauffer la pièce. Dès que j’ai senti que la vanne était libérée, j’ai stoppé le moteur et le j’ai ôtée. Le tutoriel est très bien fait. Attention néanmoins à la durite de chauffage en métal. En prenant appui, je l’ai légèrement déformée.
eric.escalayole - Résolu à la publication Réponse
Bonjour ! Merci pour ce tuto très simple, mais faut-il refaire un apprentissage calculateur après pose d’une vanne neuve?
Car j’ai monté une vanne egr neuve avec effacement du défaut moteur, la voiture connaît des à coups à 2000tr qui disparaissent quand je la débranche !
Merci!
Samir Afiri - Résolu à la publication Réponse
bonjour
on peut faire un arrache, avec de tiges filetés, déplacer la vanne avec une barre alu en tapant avec un marteau a hauteurs de vis.quand le vanne est deplacé ,enfiler les tiges filletés avec leurs écrous ,au préalable percer des deux trous dans un morceau de fer ,y passer les tiges fileté avec deux écrous supplémentaire
Mettre un liteaux en travers du moteur est visser,ne pas mettre du w’40 pour l’instant .
Le W40 fait fondre la suie ,elle s”acumule sur les paroies ,donc plus d”épaisseur
.
Unknown Unknown - Résolu à la publication Réponse
Si la vanne ne sort pas, il suffit de tourner la vanne pour que l’un des trous de fixation soit dans le vide, passer un coup de taraud M8x1.25 .
Tourner de nouveau la vanne dans l’autre sens pour avoir le second trou dans le vide, tarauder le second ( pas besoin de percer plus grand).
Positionner la vanne en la tournant pour que les trous soient au dessus d’une partie pleine du support ( pas au dessus des taraudages d’origine du support).
Visser 2 vis M8, alterner les 2 serrages des vis. Et la vanne sort.
c’est tout. À vous.
thierry colleau - Résolu à la publication Réponse


