Introduction
Changement d'embrayage avec extraction du moteur.
Des différences peuvent apparaître sur les photos, mon véhicule n'est plus tout à fait d'origine, mais les étapes sont identiques
-
-
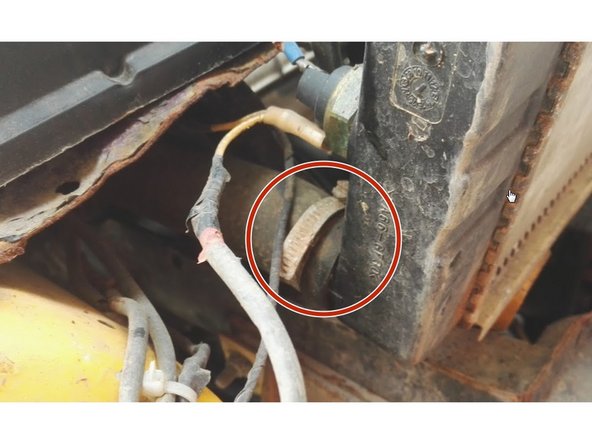
Commencer par déconnecter les feux (3 cosses + 1 broche) des deux cotés
-
La broche se situe au dos de l'ampoule (cercle vert) sur une ampoule d'origine
-
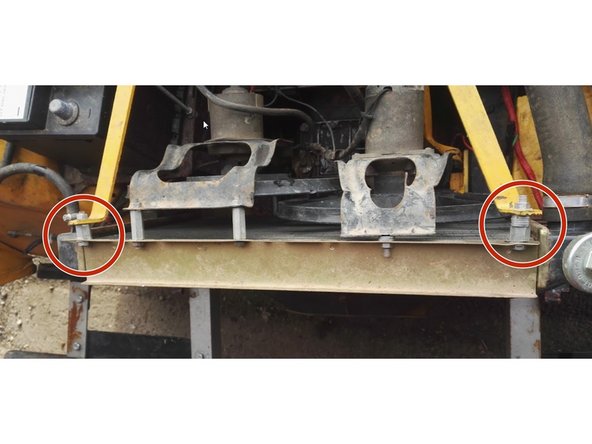
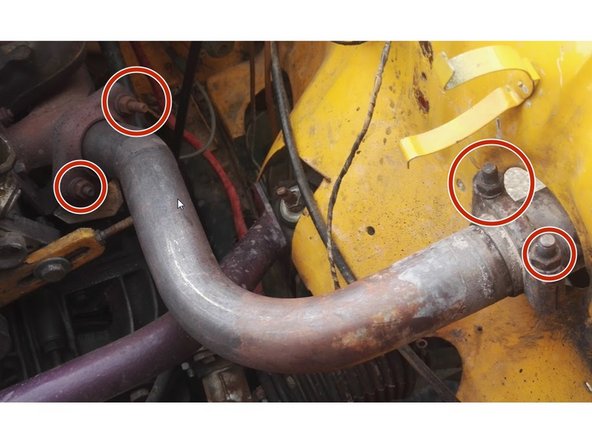
Dévissez les 2 écrous de fixation des charnières de capot
-
-
-
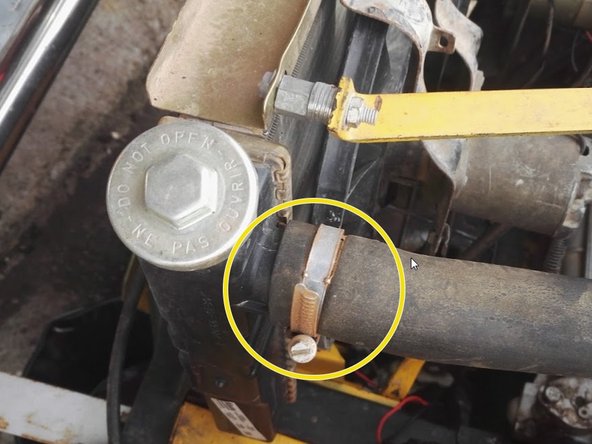
Placer une bassine de récupération sous la durite inférieure du radiateur puis déconnecter cette durite
-
-
Déconnecter également la durite supérieure
-
Ainsi que la durite provenant du vase d'expansion
-
-
-
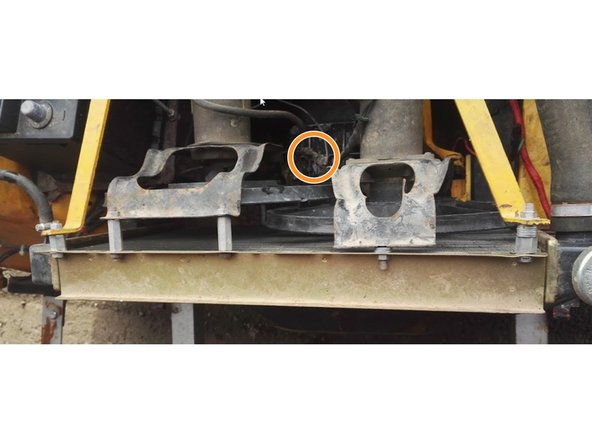
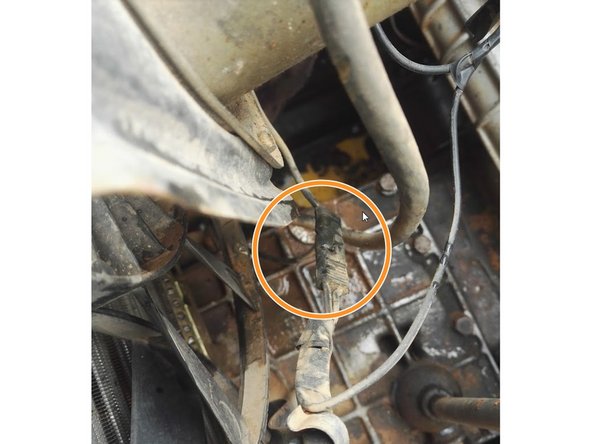
Débrancher le ventilateur
-
J'en possède 2, ne tenez pas compte du deuxième
-
-
-
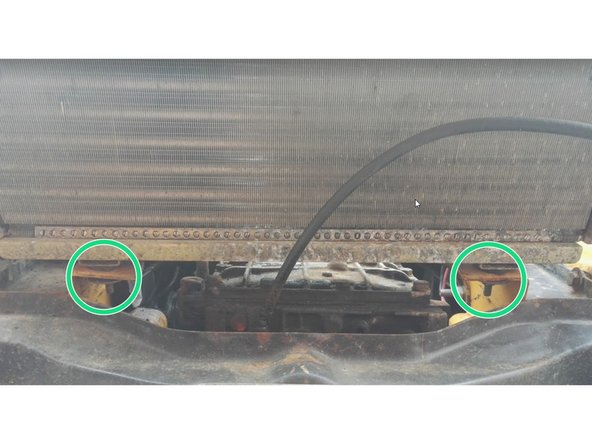
Dévisser les 2 vis de fixation supérieure
-
Dévisser les 2 écrous de fixation inférieure
-
Extraire le radiateur en le tirant doucement vers le haut
-
-
-
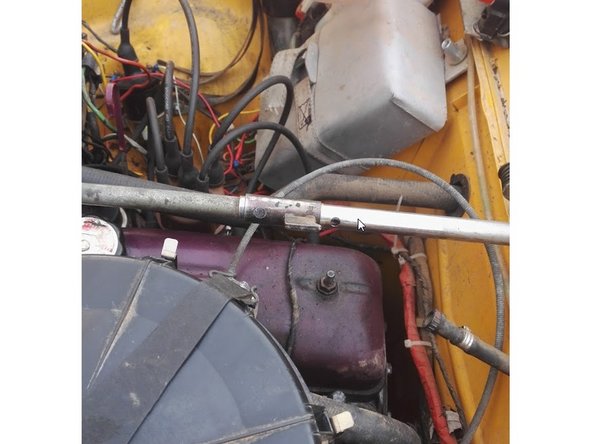
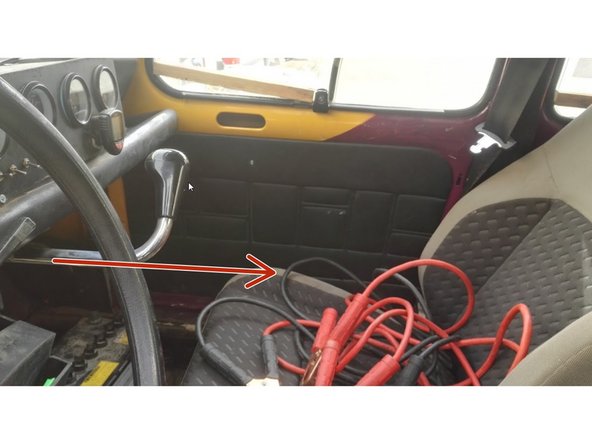
Dévisser les 2 vis de maintiens du levier
-
Extraire complètement le levier en le tirant dans l'habitacle (Comme pour passer la 4ème)
-
-
-
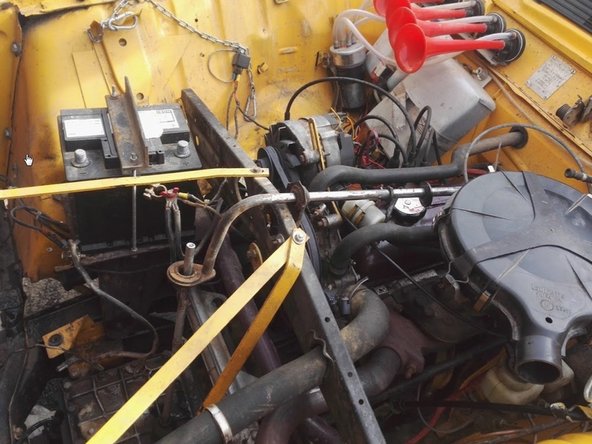
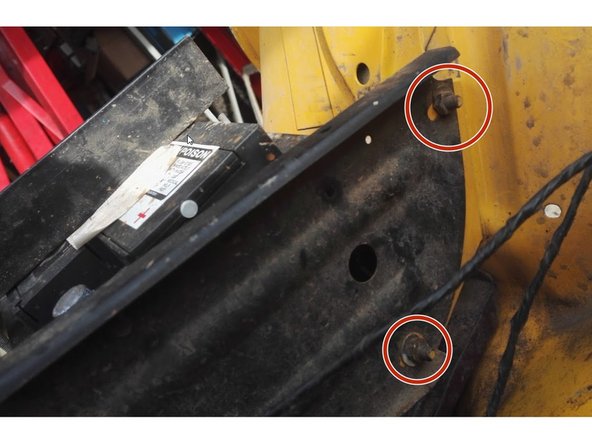
Dévisser les écrous de fixation restants
-
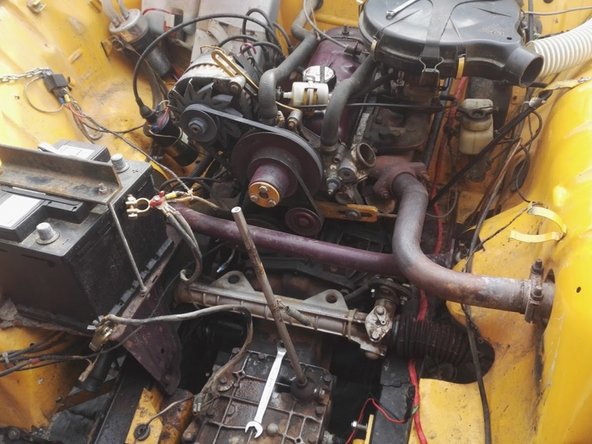
Extraire la traverse
-
-
-
Dévisser complètement la vis de maintiens du cable de compteur
-
Extraire le câble ne le tirant vers le haut
-
-
-
Dévisser les vis de maintiens du col de cygne
-
Extraire le col de cygne
-
-
-
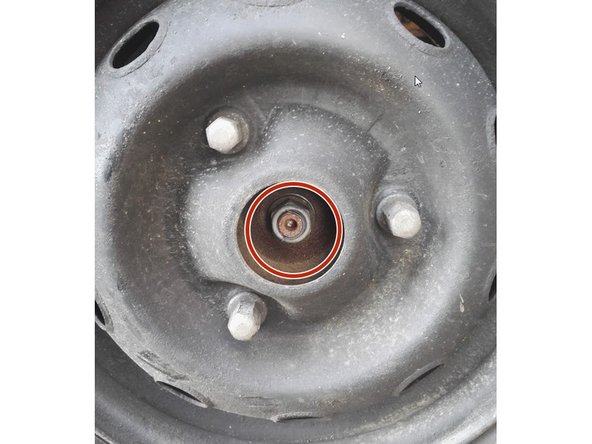
Véhicule au sol, dévisser complètement l'écrou du cardan
-
Si vos jantes sont pleines, déposer la roue, lever le véhicule et demander à quelqu'un de freiner
-
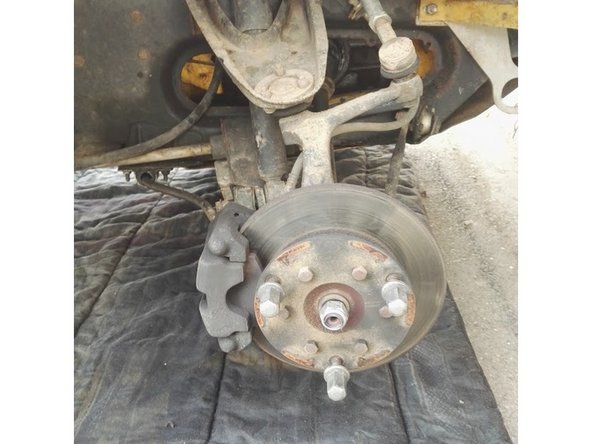
Lever le véhicule et déposer la roue
-
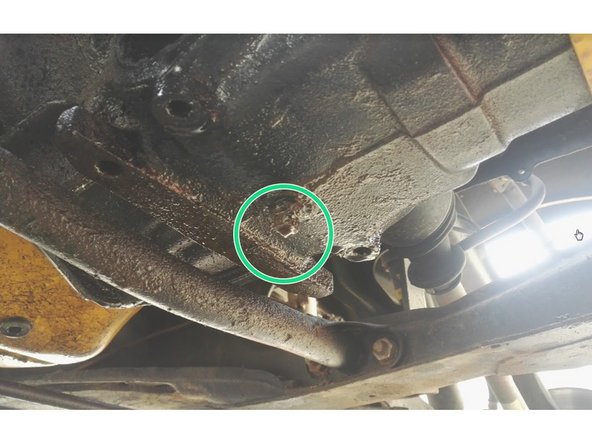
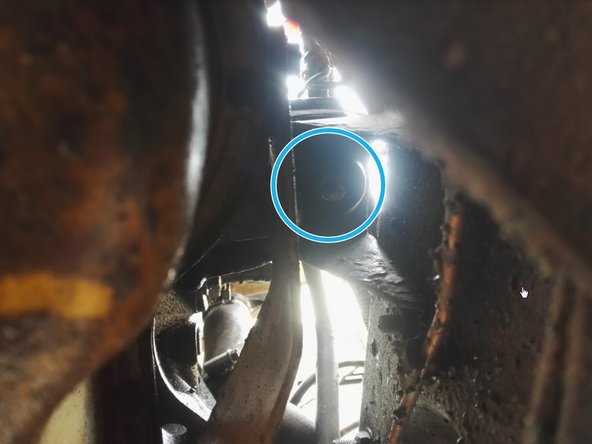
Placer une bassine sous le bouchon de vidange de boite, puis vidanger la boite de vitesse
-
-
-
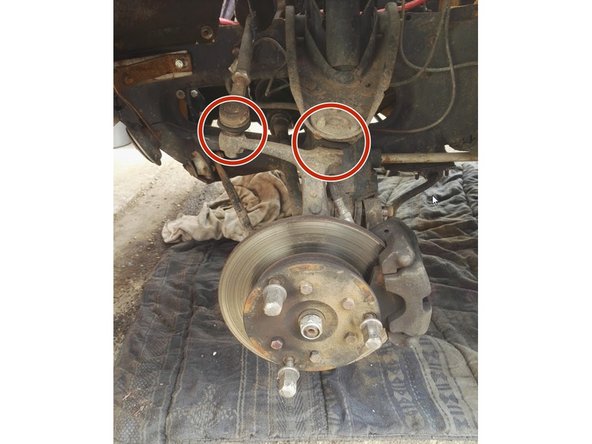
Extraire les 2 rotules supérieures (Direction et suspension)
-
-
-
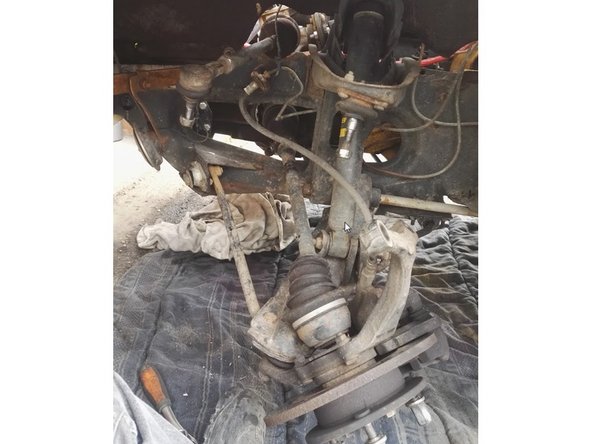
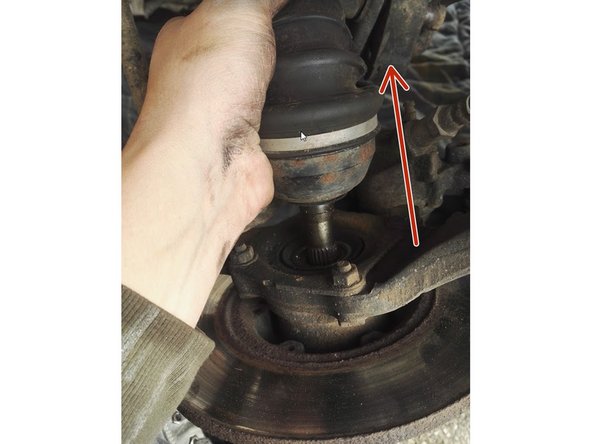
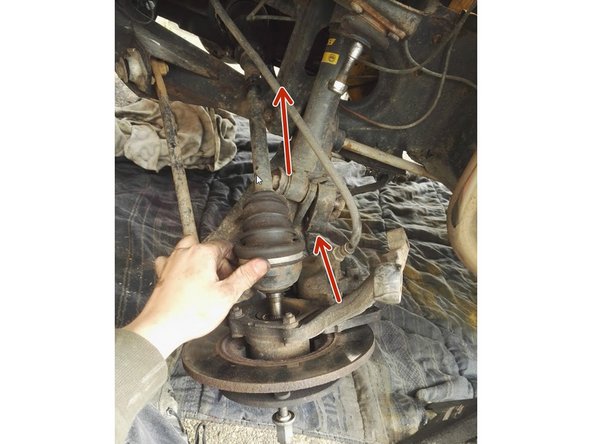
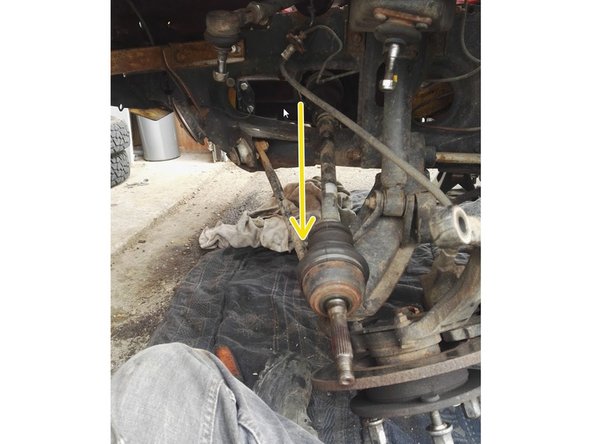
Extraire le cardan côté roue en le repoussant vers la boite
-
Cella passe au poil, il faut jouer avec l'angle du cardan
-
Puis tirer le cardan vers vous pour le déposer
-
-
-
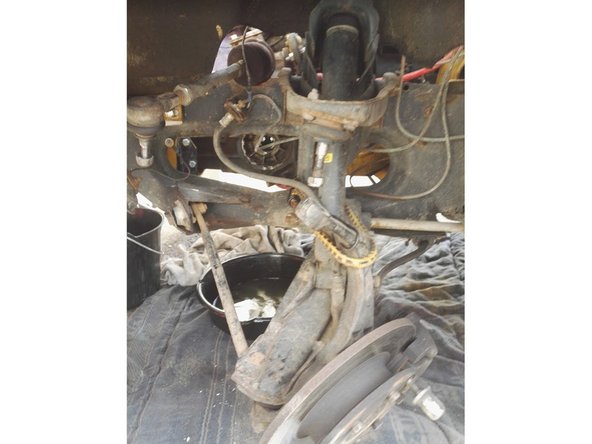
Maintenir la fusée afin d'éviter de tendre la durite de freins
-
-
-
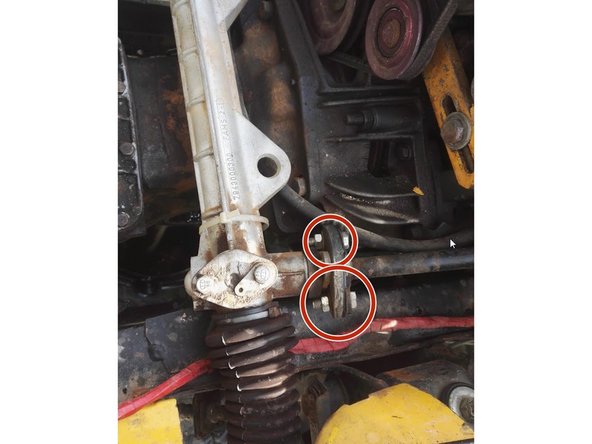
Dévisser les 2 vis de maintiens de la colonne de direction
-
Dévisser les 2 vis de fixation de la crémaillère (gauche et droite)
-
Ne pas perdre et mélanger les cales de fixation de crémaillère !
-
Extraire la crémaillère
-
-
-
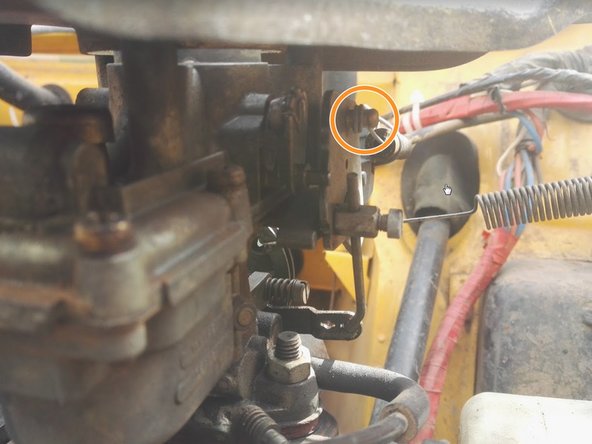
Dévisser l'écrou de maintiens du câble d'accélérateur et déconnecter le ressort de rappel
-
Déconnecter le câble de starter
-
-
-
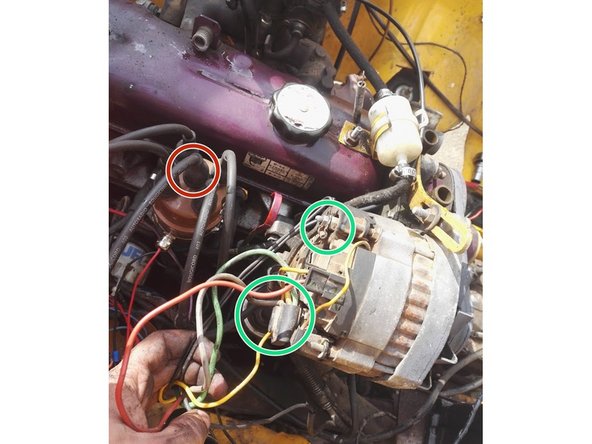
Déconnecter le faisceau électrique de l'alternateur
-
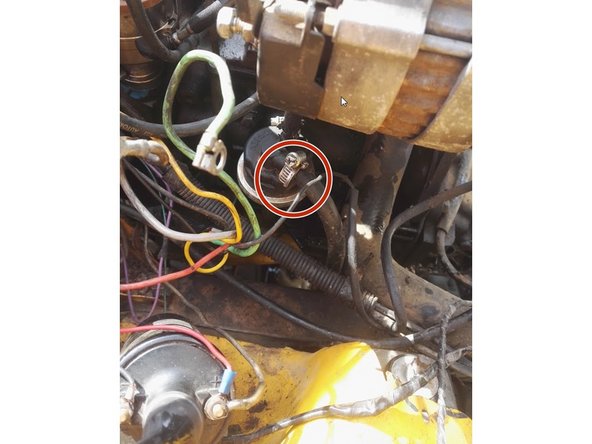
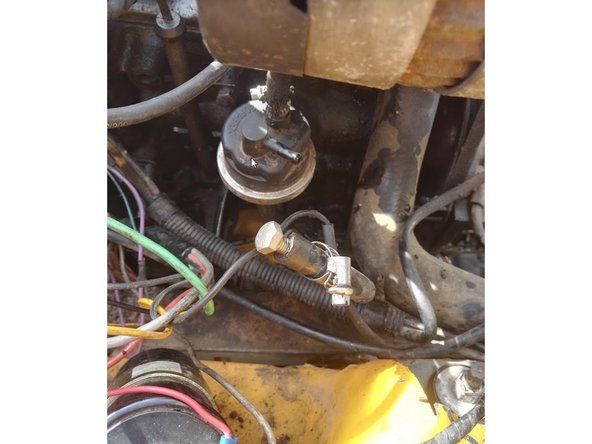
Débrancher le fil reliant la bobine à l'allumeur
-
-
-
Placer la girafe et accrocher le moteur, mettre la chaine légèrement sous tension
-
Dévisser et retirer les 2 vis de fixation supérieure de la boite de vitesse
-
Desserrer légèrement les vis inférieures
-
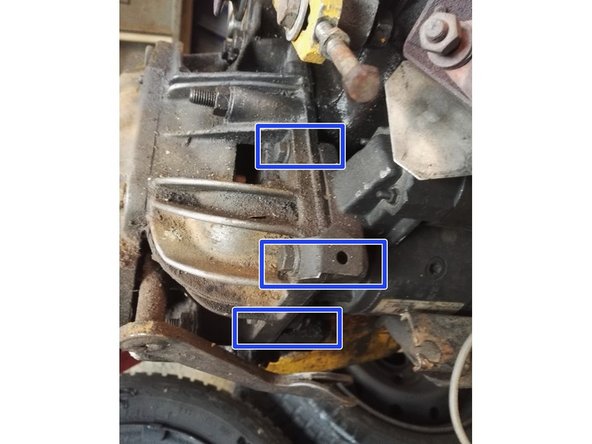
Dévisser les 2 écrous de fixation du moteur (gauche et droite)
-
Personnellement je m'accroche à la patte de fixation de l'alternateur, avec précautions
-
-
-
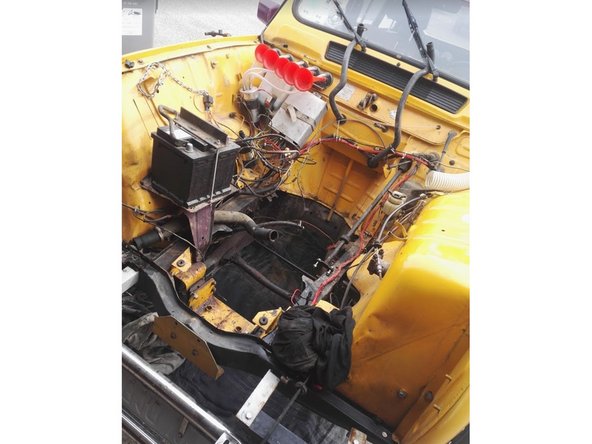
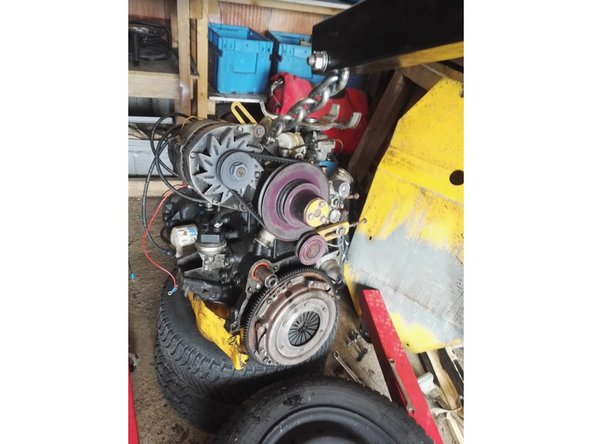
Extraire le moteur, doucement en vérifiant que rien n'a été oublié
-
-
-
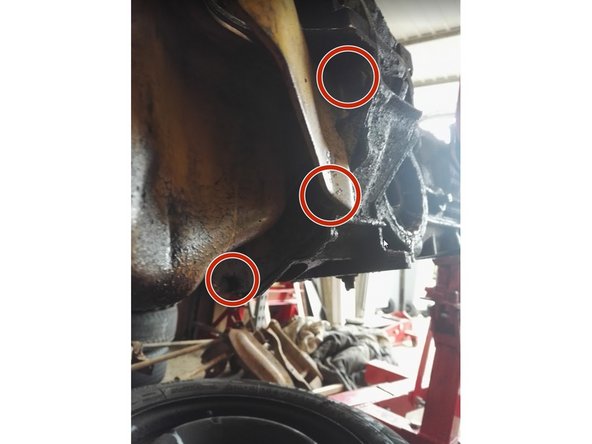
Dévisser les 5 vis de fixation de la plaque inférieure (2 de chaque côté + 1 au milieu)
-
Dévisser les 3 vis de fixation du démarreur et l'extraire
-
-
-
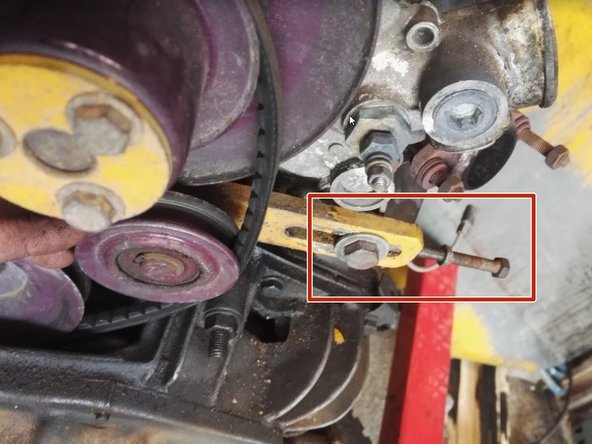
Détendre la courroie de pompe à eau en dévissant le tendeur
-
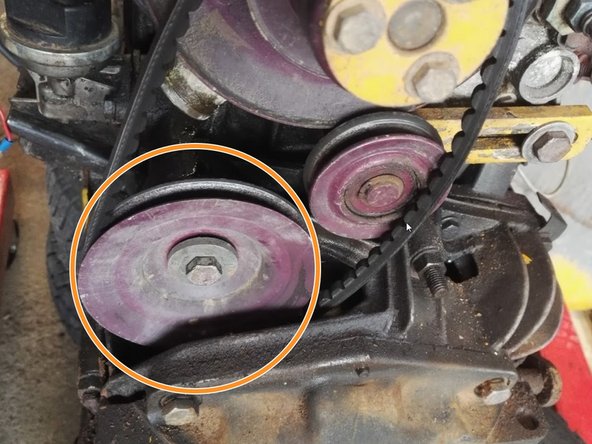
Déposer la poulie de l'arbre à came
-
-
-
Dévisser les 4 vis de fixation de la boite puis extraire la boite en la tirant dans l'axe du moteur
-
-
-
Dévisser progressivement les 6 vis de maintiens du mécanismes d'embrayage
-
-
-
Placer le nouveau disque d'embrayage et mécanisme sur le volant moteur, dans le même sens que lors de la dépose du précédent en prenant soin de bien centrer l'ensemble
-
Serrer progressivement les vis de fixation du mécanisme par quart de tour en alternant dans l'ordre indiqué, jusqu'à 15Nm.
-
Ordre de serrage : Rouge => Jaune => Bleu => Orange => Vert => Mauve; Rouge => jaune etc ...
-
-
-
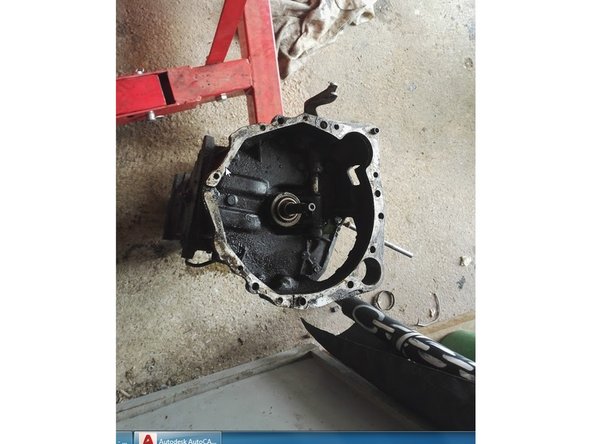
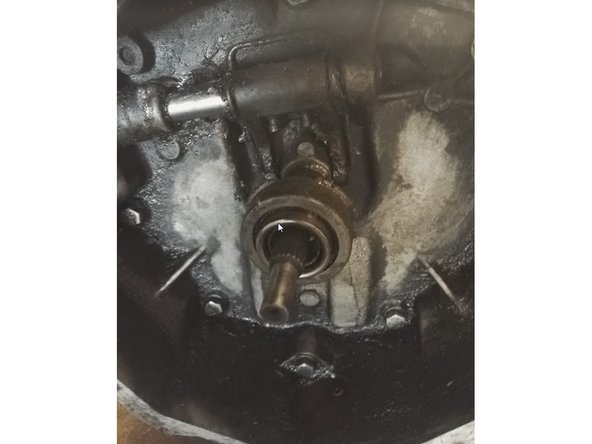
Déclipser les "ressorts" de fixation de la butée à l'aide d'un tournevis
-
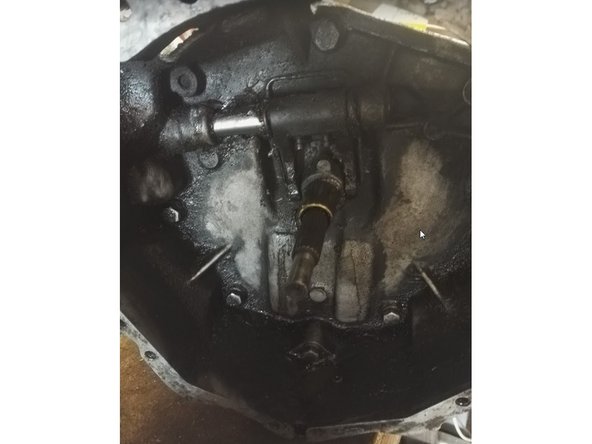
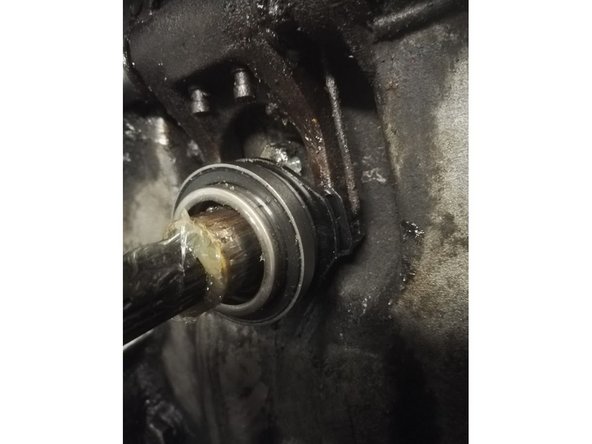
Extraire la butée et nettoyer l'axe
-
-
-
Regraisser l'axe et mettre en place la nouvelle butée, reclipser les "ressorts" à l'aide d'un tournevis également
-
-
-
Réaccoupler l'ensemble moteur-boite, si l'embrayage est bien centré cela ne devrait pas poser de soucis
-
Procéder au remontage des différents éléments dans l'ordre inverse du démontage
-
Ne pas oublier de remettre de l'huile dans la boite
-
-
Annulation : je n'ai pas terminé ce tutoriel.
6 autres ont terminé cette réparation.


