Introduction

Peugeot 307 2.0HDI 90 CV

Video Overview

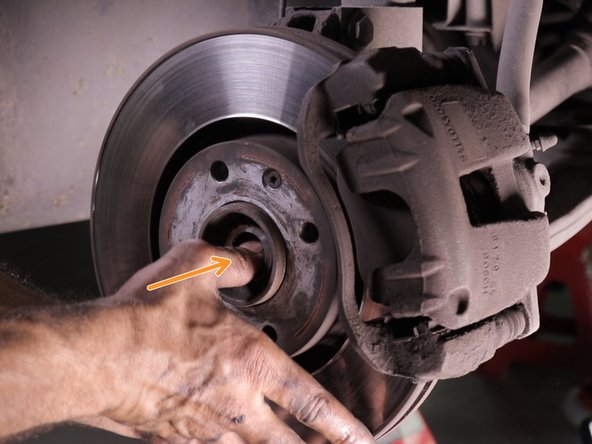
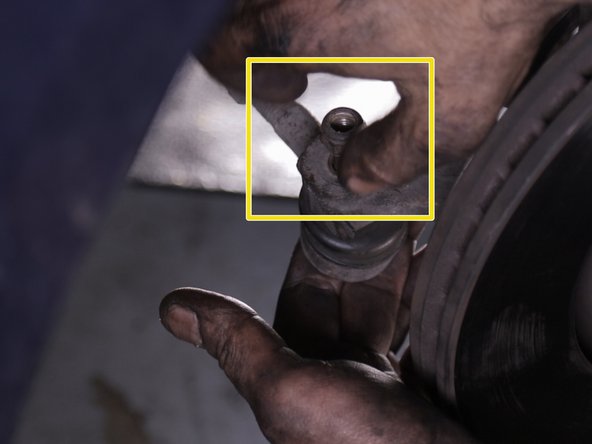
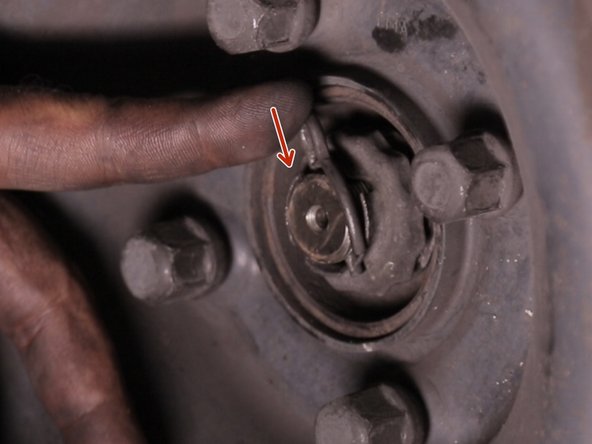
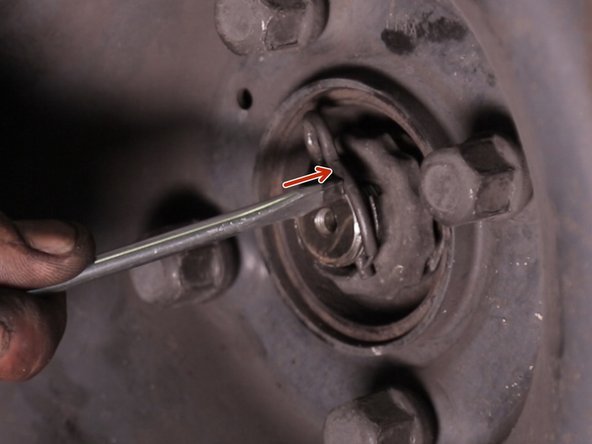
  1. Before lifting the car using a flat screwdriver remove the pin Before lifting the car using a flat screwdriver remove the pin Before lifting the car using a flat screwdriver remove the pin
    • Before lifting the car using a flat screwdriver remove the pin

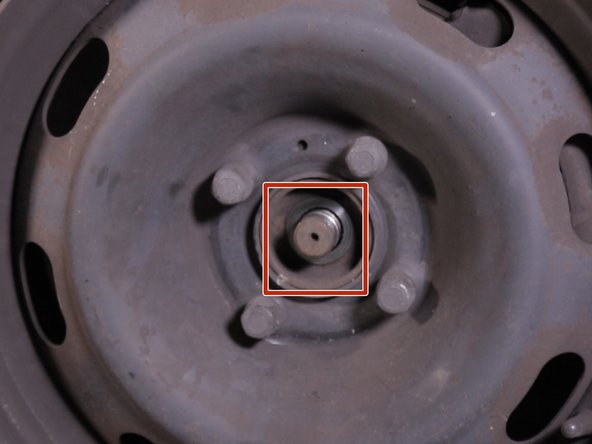
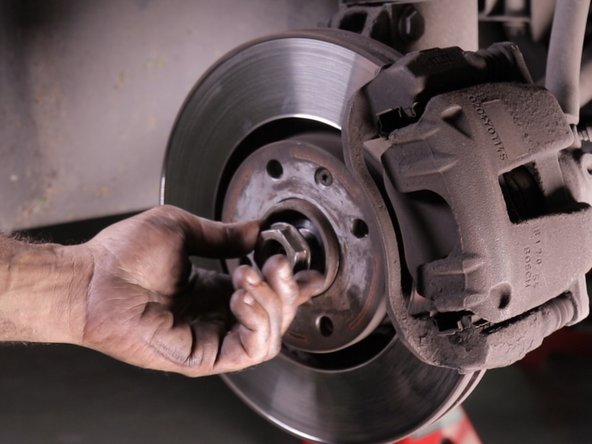
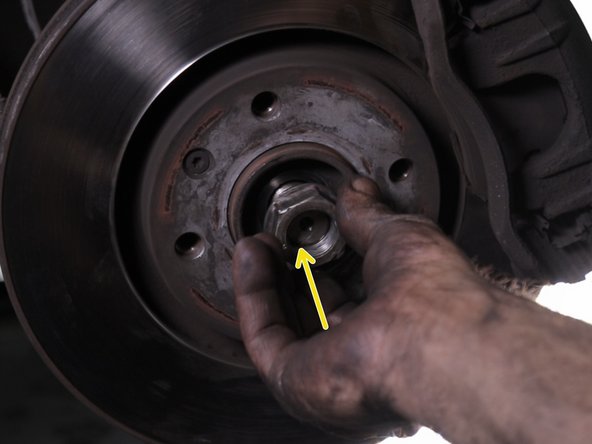
  2. Remove the cage from the universal joint nut Remove the cage from the universal joint nut Remove the cage from the universal joint nut
    • Remove the cage from the universal joint nut

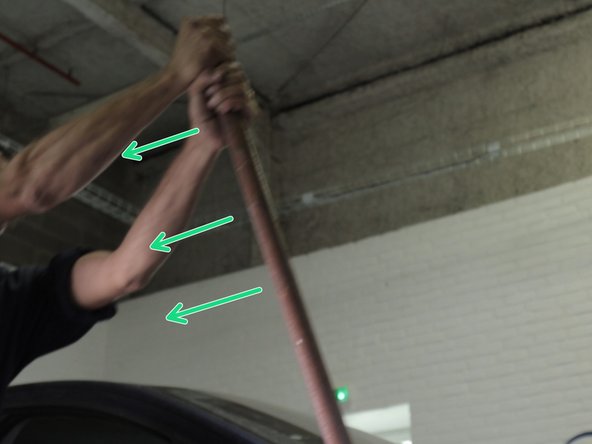
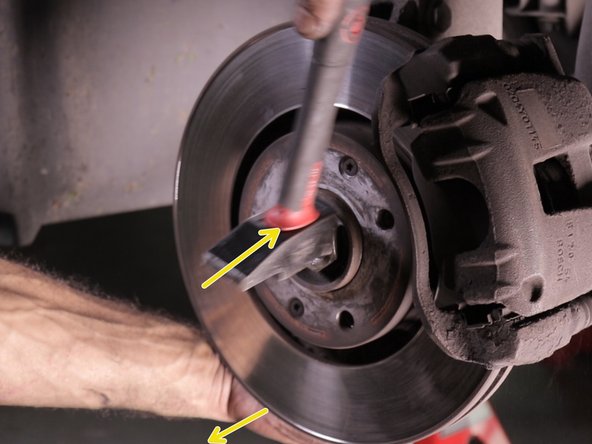
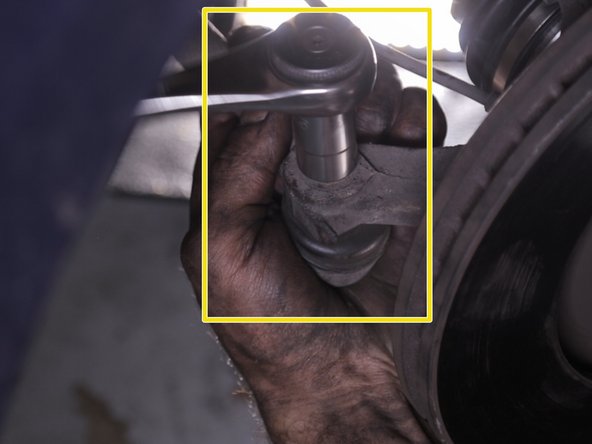
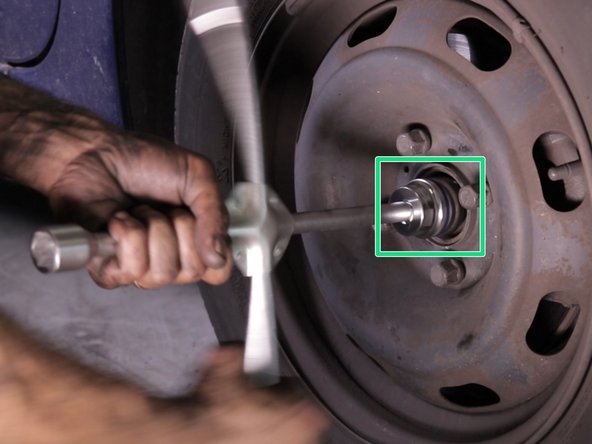
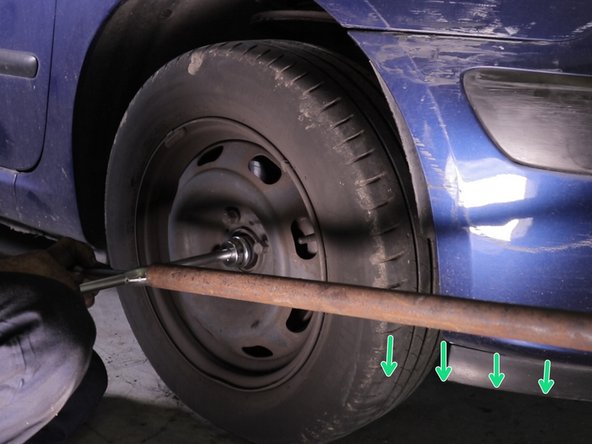
  3. Place the cross with a 36 socket on the cardan nut Loosen the cardan nut using a bar placed, for example, in an arm of the cross. Loosen the cardan nut using a bar placed, for example, in an arm of the cross.
    • Place the cross with a 36 socket on the cardan nut

    • Loosen the cardan nut using a bar placed, for example, in an arm of the cross.

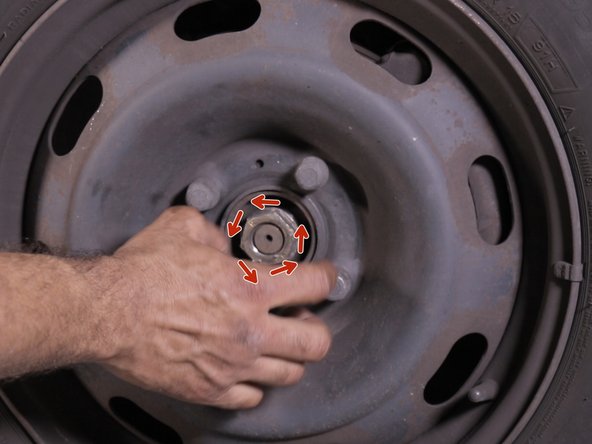
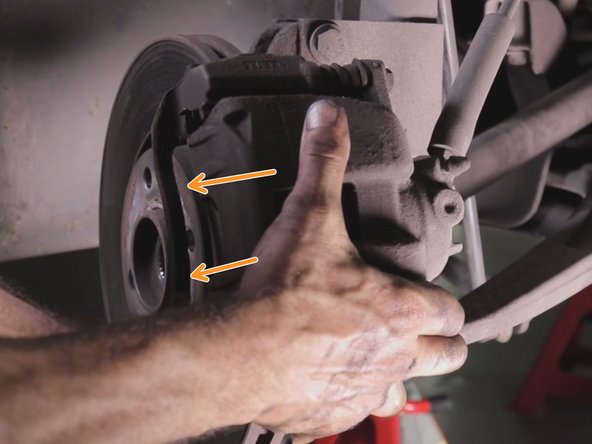
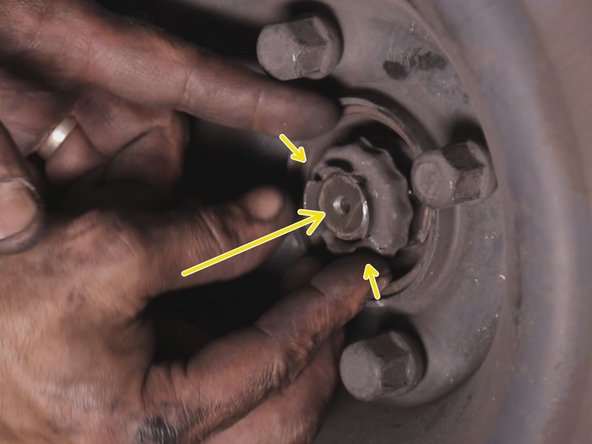
  4. Unscrew the universal joint nut by hand and remove the Unscrew the universal joint nut by hand and remove the Unscrew the universal joint nut by hand and remove the
    • Unscrew the universal joint nut by hand and remove the

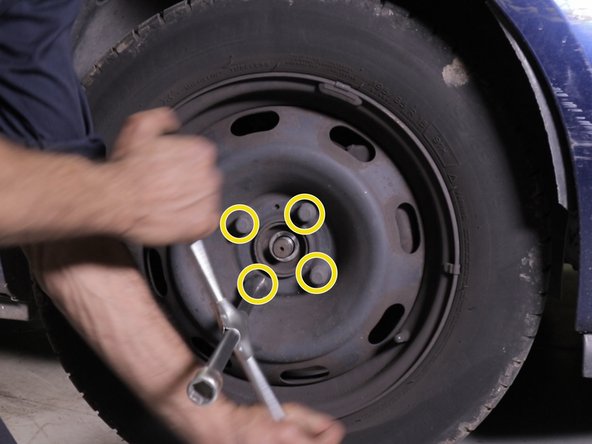
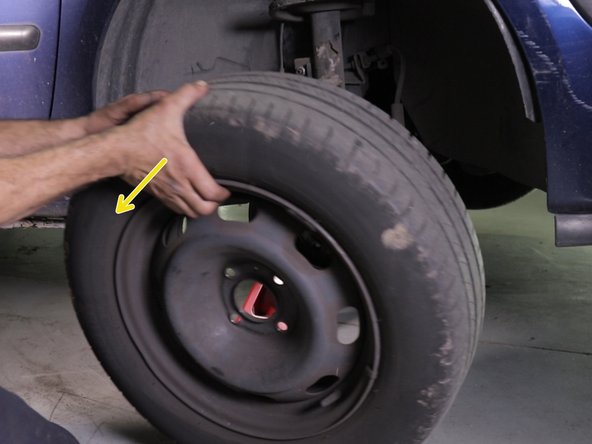
  5. Unscrew the 4 wheel bolts and remove it. Place the vehicle on a jack stand: Securing the vehicle: removing and refitting the wheel Unscrew the 4 wheel bolts and remove it. Place the vehicle on a jack stand: Securing the vehicle: removing and refitting the wheel Unscrew the 4 wheel bolts and remove it. Place the vehicle on a jack stand: Securing the vehicle: removing and refitting the wheel
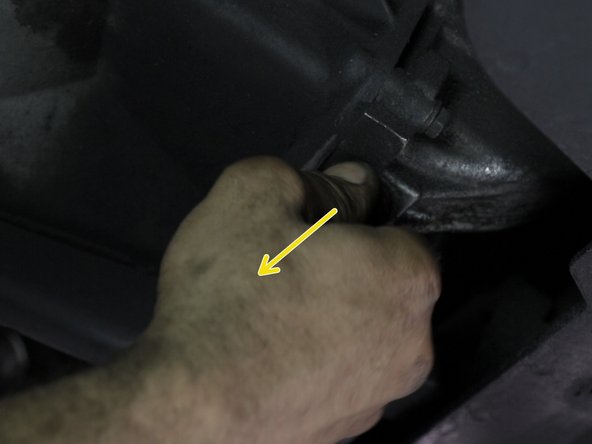
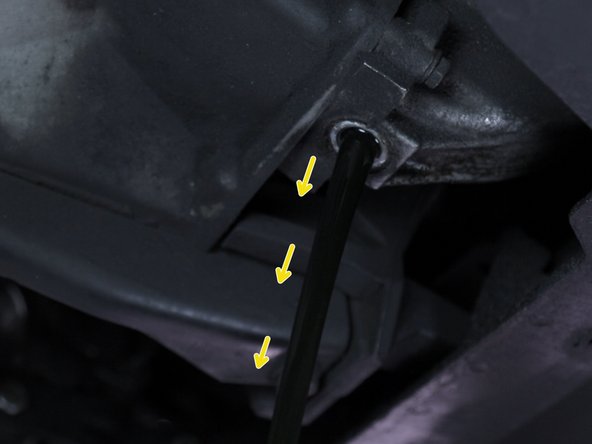
  6. Loosen the gearbox cap Place a tray under the cap Remove the plug and drain
    • Loosen the gearbox cap

    • Place a tray under the cap

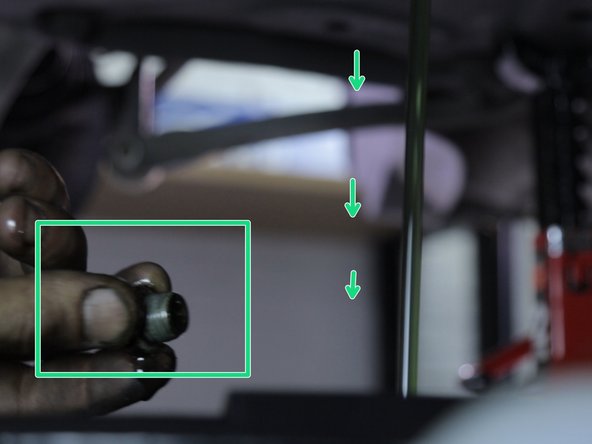
    • Remove the plug and drain

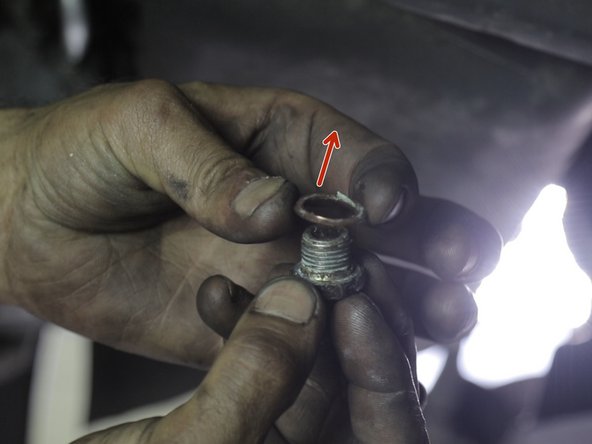
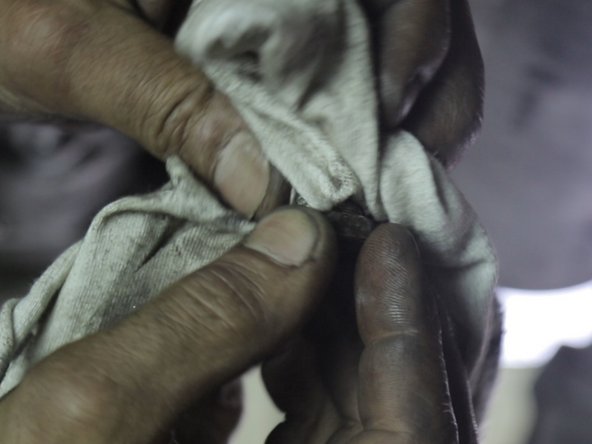
  7. Remove the cap gasket and clean the cap Remove the cap gasket and clean the cap Remove the cap gasket and clean the cap
    • Remove the cap gasket and clean the cap

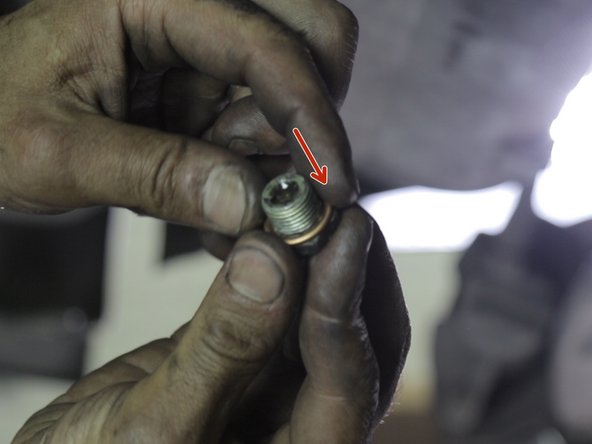
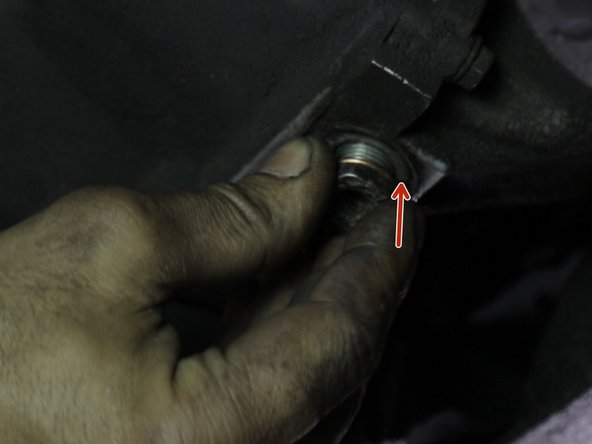
  8. Replace the new gasket on the cap Replace the cap and tighten once all the oil has drained Replace the cap and tighten once all the oil has drained
    • Replace the new gasket on the cap

    • Replace the cap and tighten once all the oil has drained

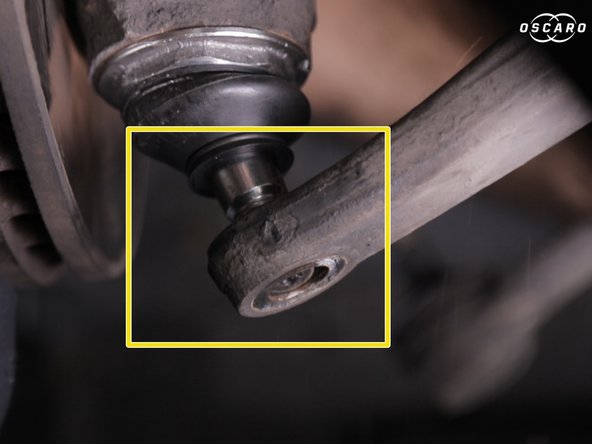
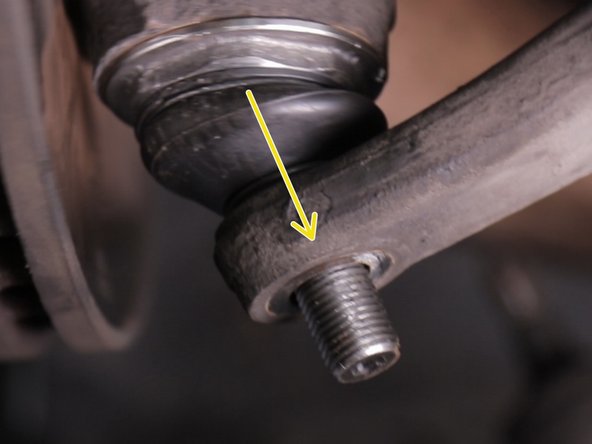
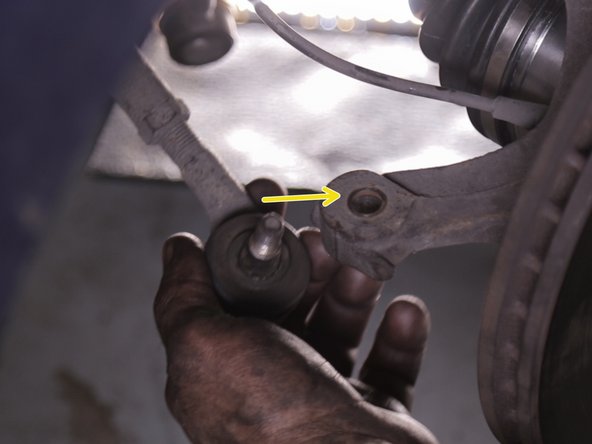
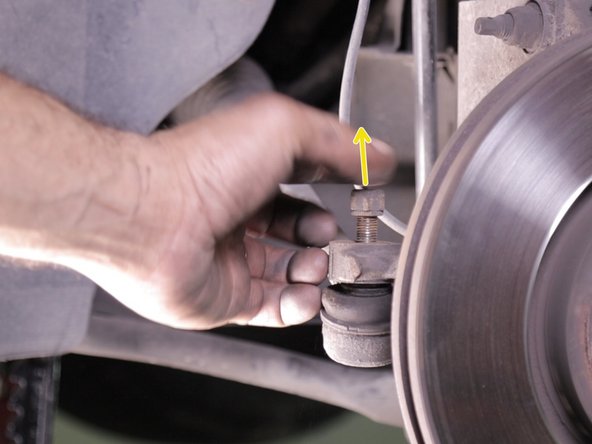
  9. Loosen the pivot ball joint nut and remove the Loosen the pivot ball joint nut and remove the Loosen the pivot ball joint nut and remove the
    • Loosen the pivot ball joint nut and remove the

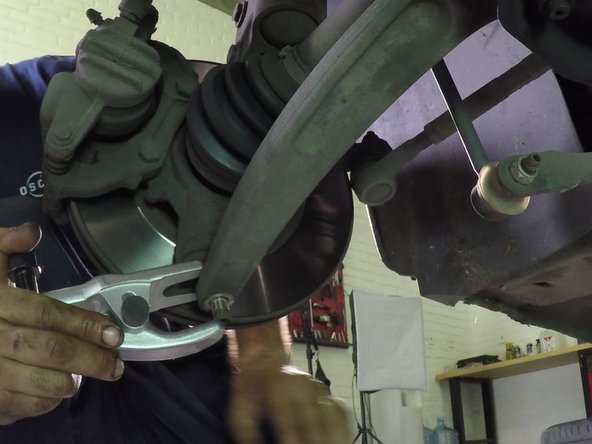
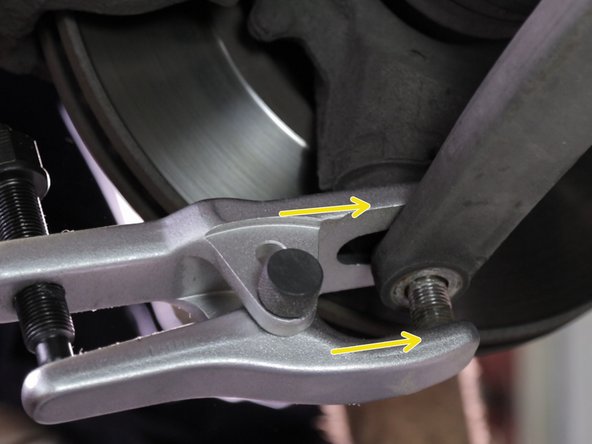
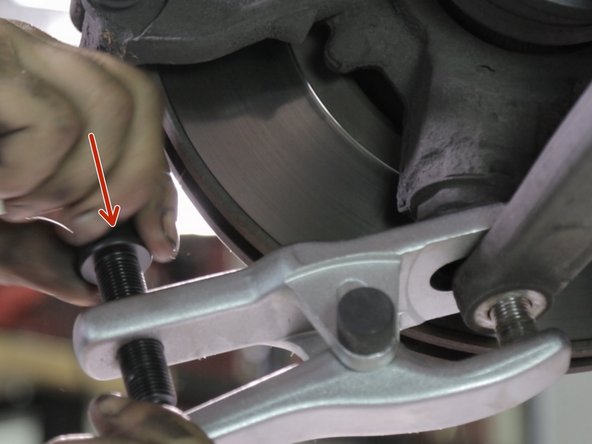
  10. Place a ball joint extractor between the wishbone and the ball joint. Tighten the extractor screw to detach the ball joint Tighten the extractor screw to detach the ball joint
    • Place a ball joint extractor between the wishbone and the ball joint.

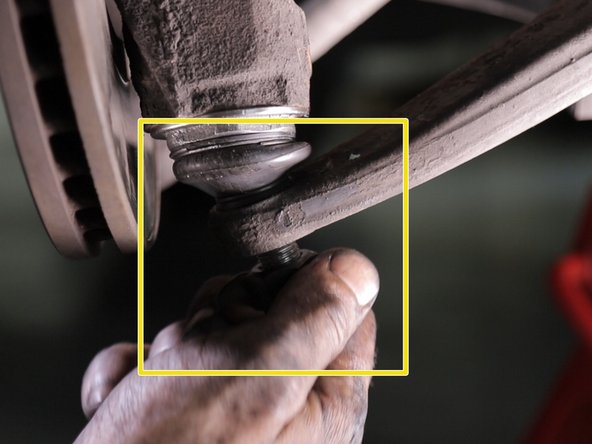
    • Tighten the extractor screw to detach the ball joint

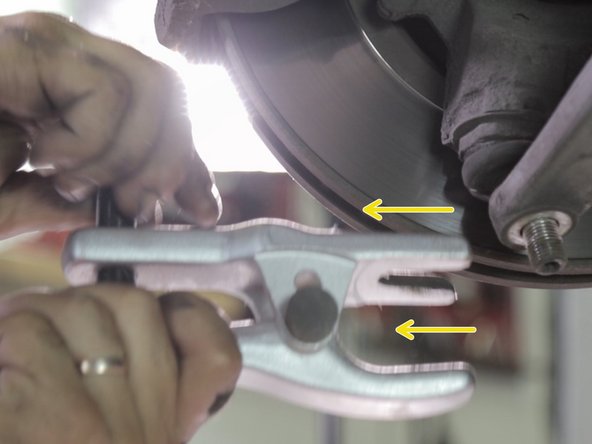
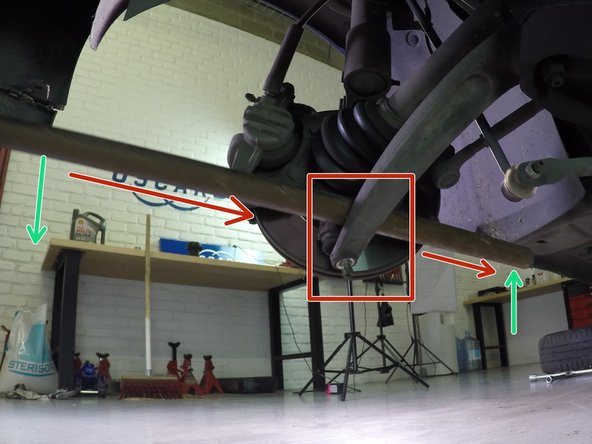
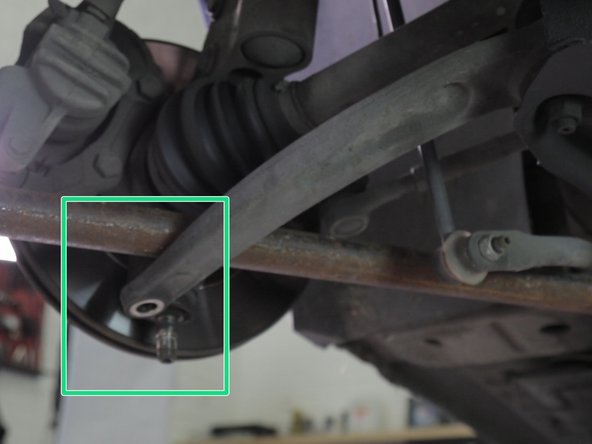
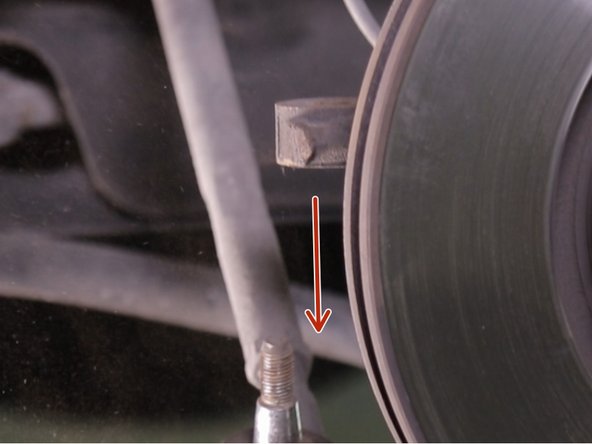
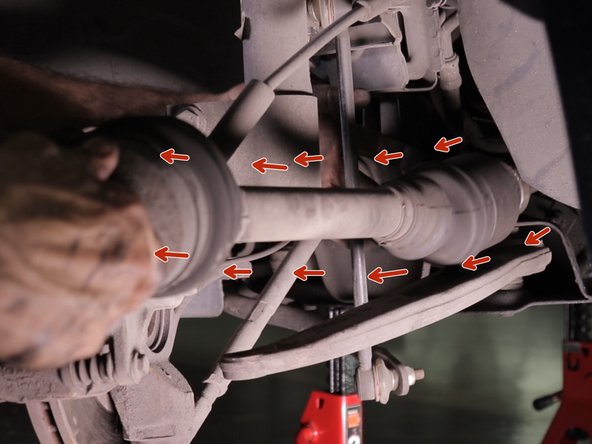
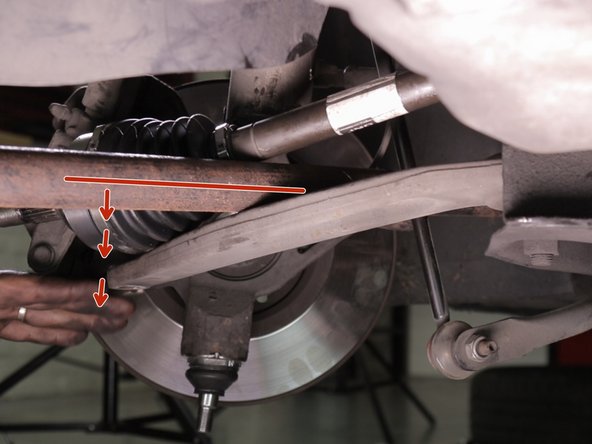
  11. Remove the extractor Slide a bar to the underbody between the universal joint and the wishbone. Release the triangle from the ball joint by levering downwards then carefully remove the bar.
    • Remove the extractor

    • Slide a bar to the underbody between the universal joint and the wishbone.

    • Release the triangle from the ball joint by levering downwards then carefully remove the bar.

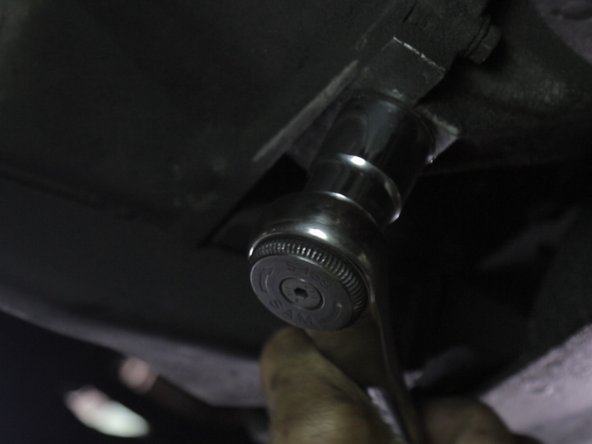
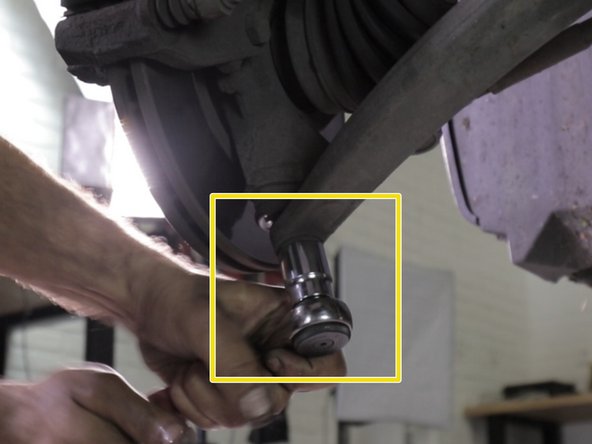
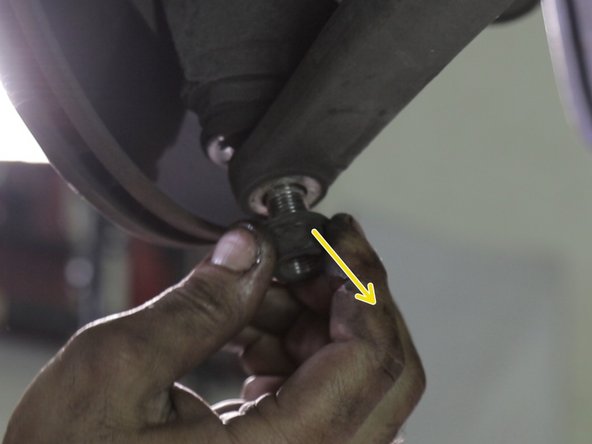
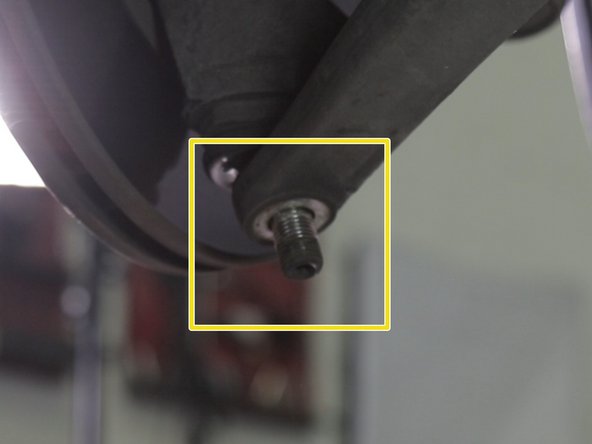
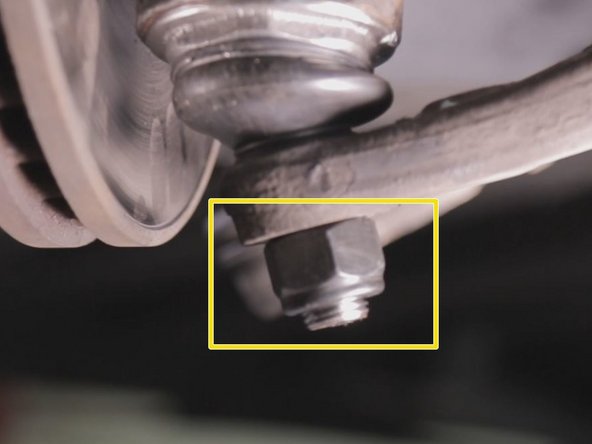
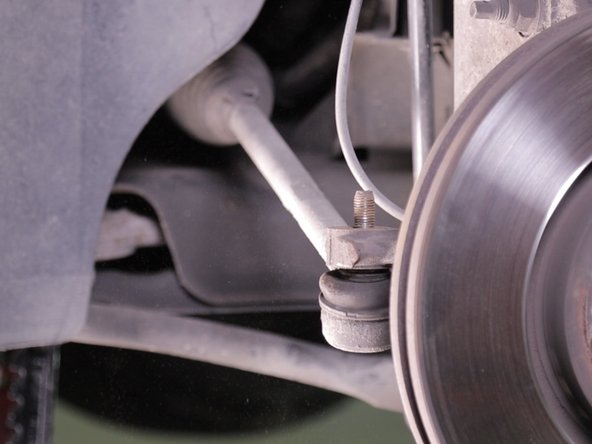
  12. Using a 16 wrench, unscrew the steering ball joint nut. Remove the nut Remove the nut
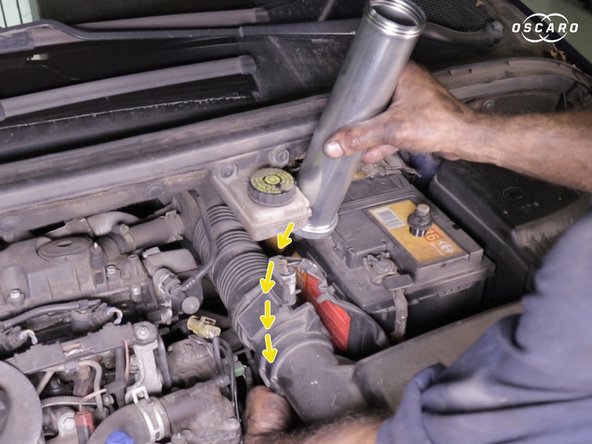
    • Using a 16 wrench, unscrew the steering ball joint nut.

    • Remove the nut

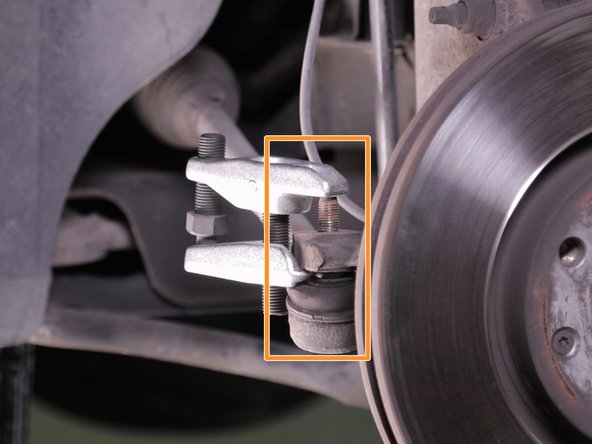
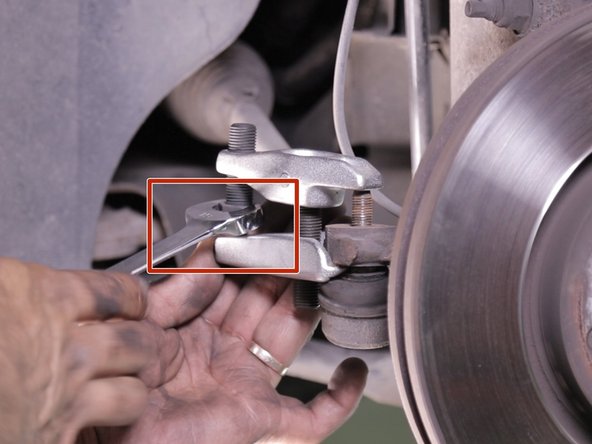
  13. Place the ball joint extractor between the ball joint and the hub carrier Tighten the extractor screw to detach the ball joint Tighten the extractor screw to detach the ball joint
    • Place the ball joint extractor between the ball joint and the hub carrier

    • Tighten the extractor screw to detach the ball joint

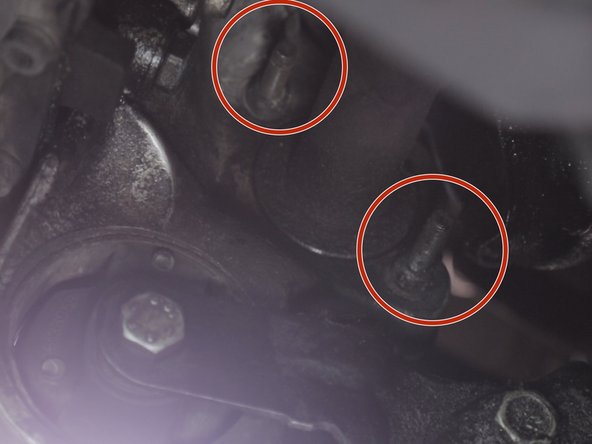
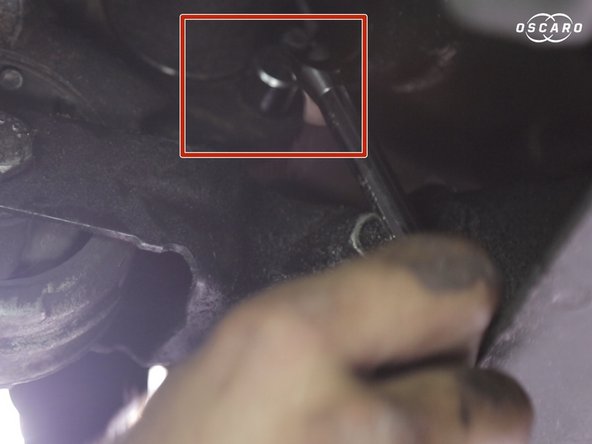
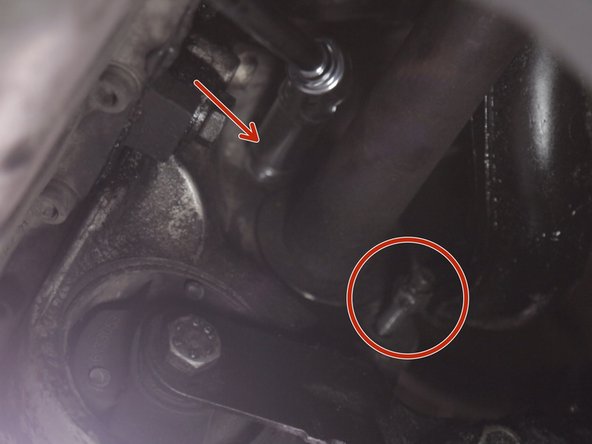
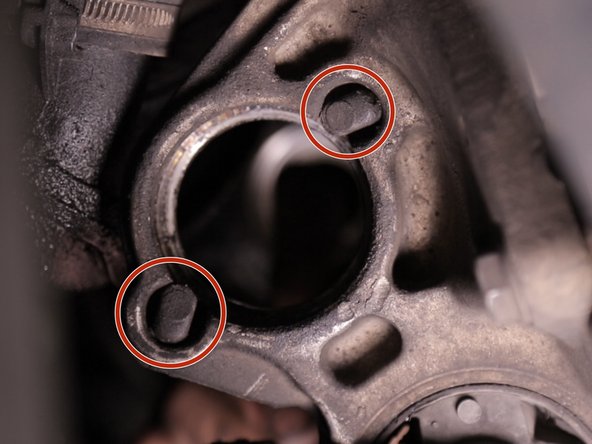
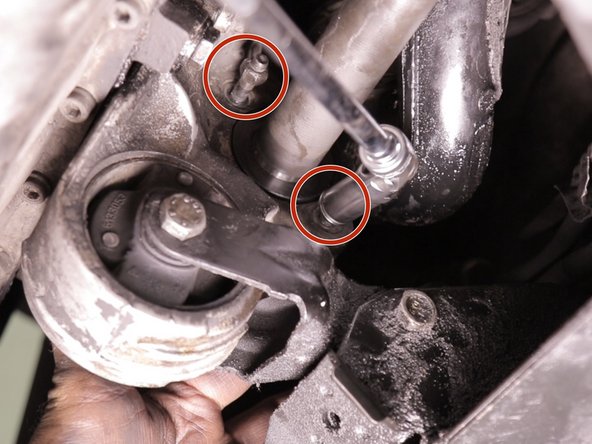
  14. Using an 11 key, loosen, without removing them, the two flange nuts of the universal joint bearing which passes through the lower engine support. Using an 11 key, loosen, without removing them, the two flange nuts of the universal joint bearing which passes through the lower engine support. Using an 11 key, loosen, without removing them, the two flange nuts of the universal joint bearing which passes through the lower engine support.
    • Using an 11 key, loosen, without removing them, the two flange nuts of the universal joint bearing which passes through the lower engine support.

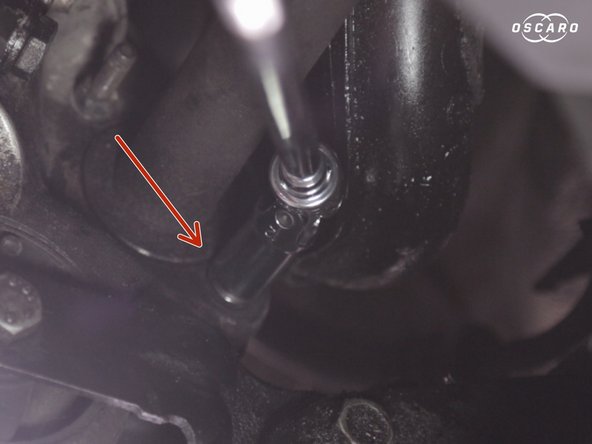
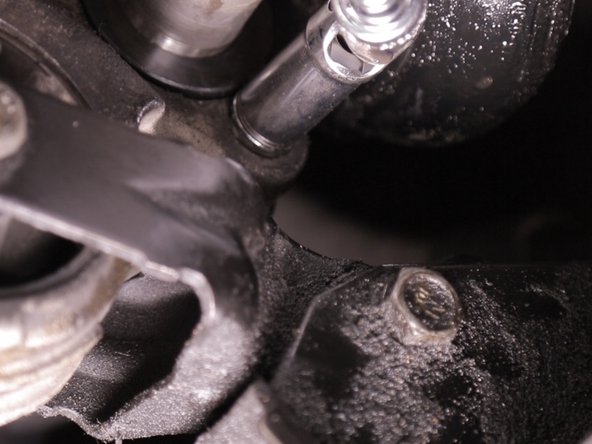
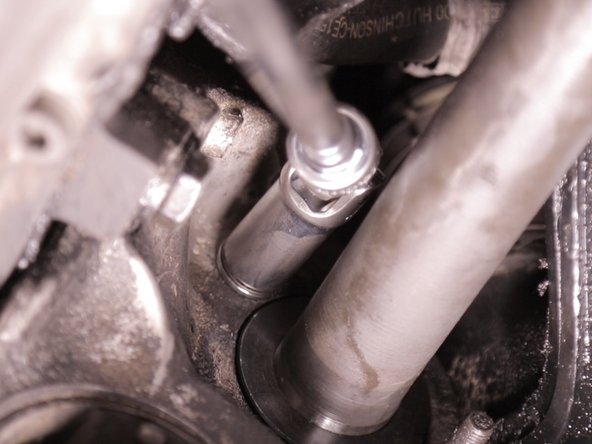
  15. Use a 11mm long socket to make the procedure easier. Use a 11mm long socket to make the procedure easier. Use a 11mm long socket to make the procedure easier.
    • Use a 11mm long socket to make the procedure easier.

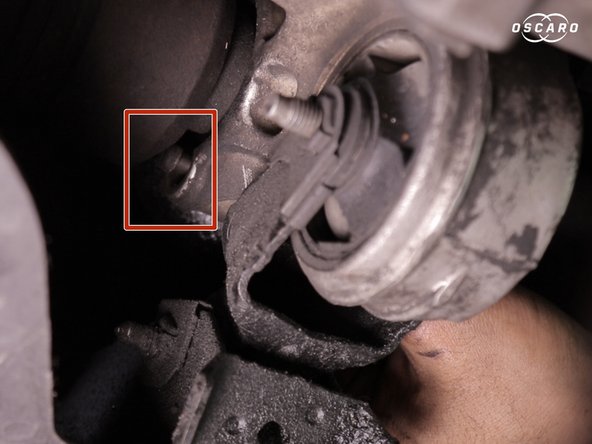
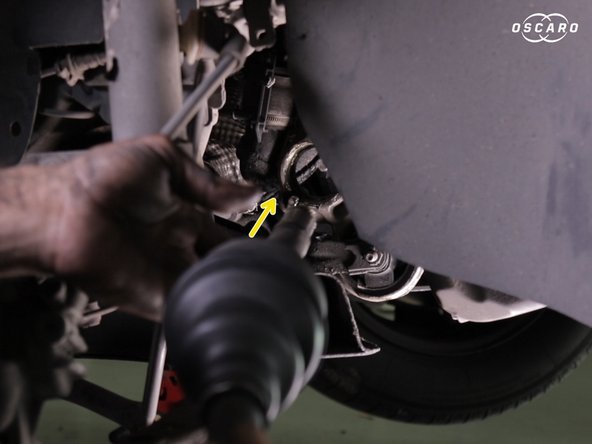
  16. Release the clamps by moving them back and then rotating them 180 degrees. Release the clamps by moving them back and then rotating them 180 degrees. Release the clamps by moving them back and then rotating them 180 degrees.
    • Release the clamps by moving them back and then rotating them 180 degrees.

  17. Spread the hub of the universal joint to release it If the universal joint is stuck, reposition the nut and tap with the hammer If the universal joint is stuck, reposition the nut and tap with the hammer
    • Spread the hub of the universal joint to release it

    • If the universal joint is stuck, reposition the nut and tap with the hammer

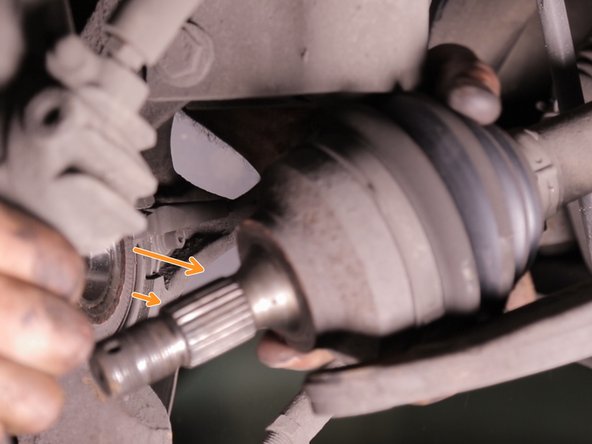
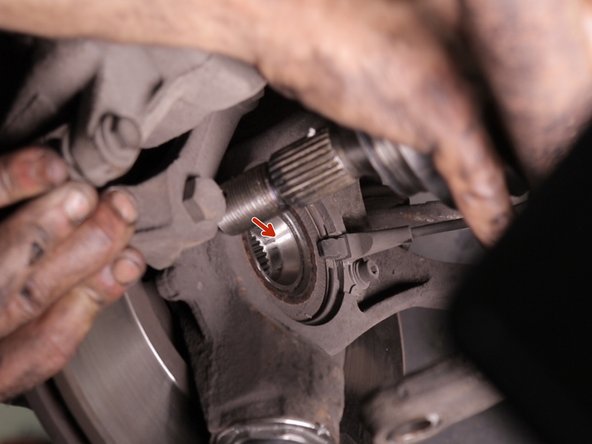
  18. Rotate the hub and remove the end of the cardan. Remove the gimbal by pulling gently towards you Remove the gimbal by pulling gently towards you
    • Rotate the hub and remove the end of the cardan.

    • Remove the gimbal by pulling gently towards you

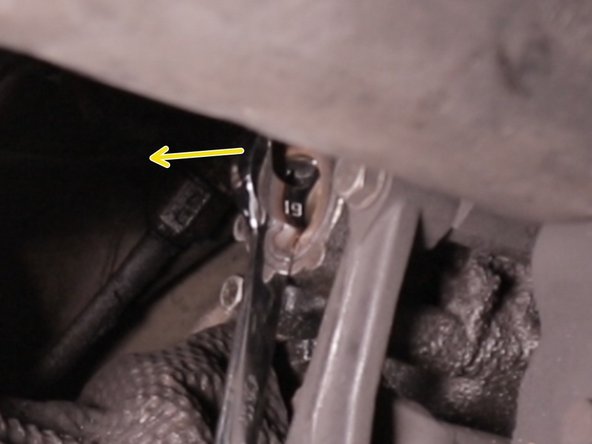
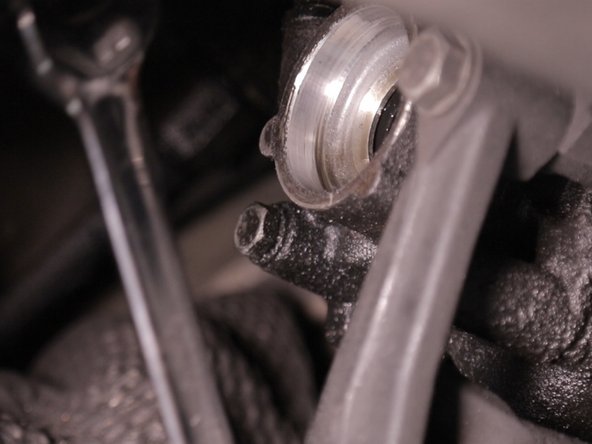
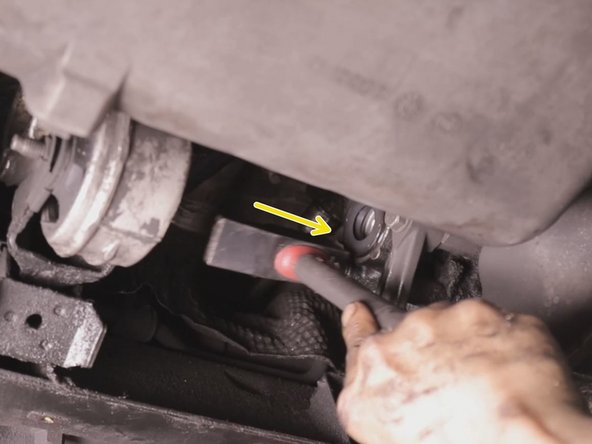
  19. Place a 19 mm flat wrench in the universal joint on the gearbox. Leverage with the key to extract it Leverage with the key to extract it
    • Place a 19 mm flat wrench in the universal joint on the gearbox.

    • Leverage with the key to extract it

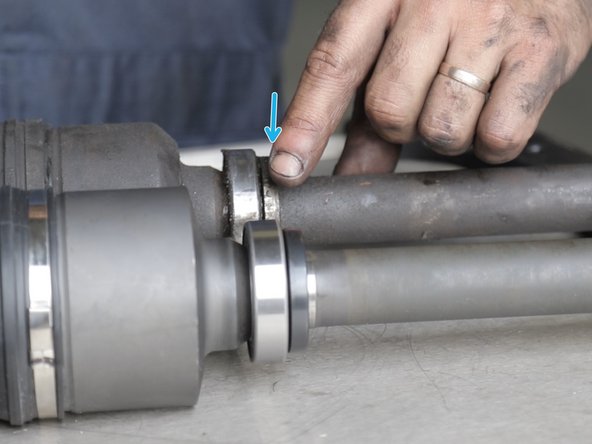
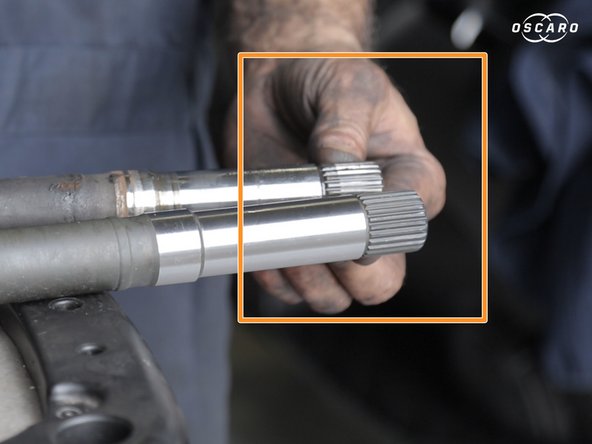
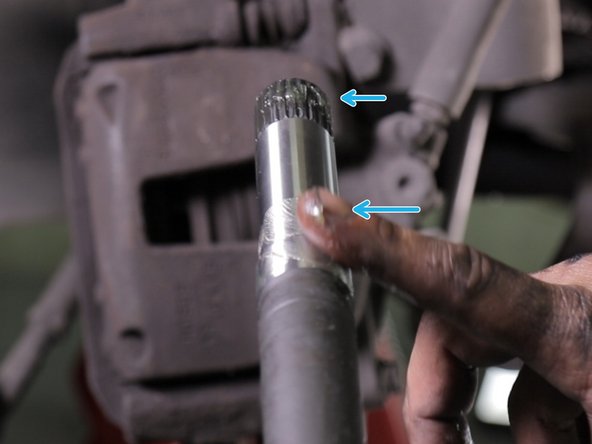
  20. Compare old and new cardan (dimensions) length through hub The location of the bearing
    • Compare old and new cardan (dimensions)

    • length through hub

    • The location of the bearing

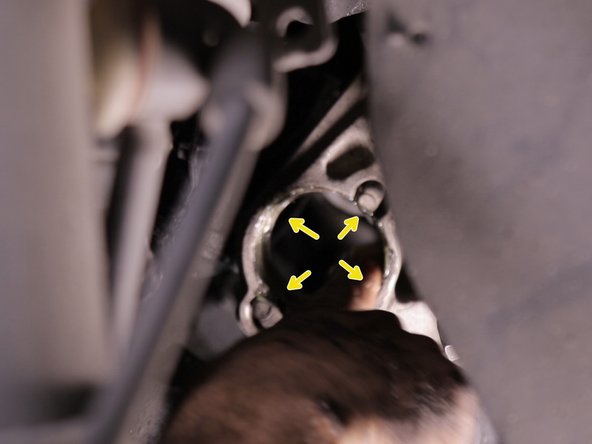
    • the grooves on the universal joint on the gearbox side

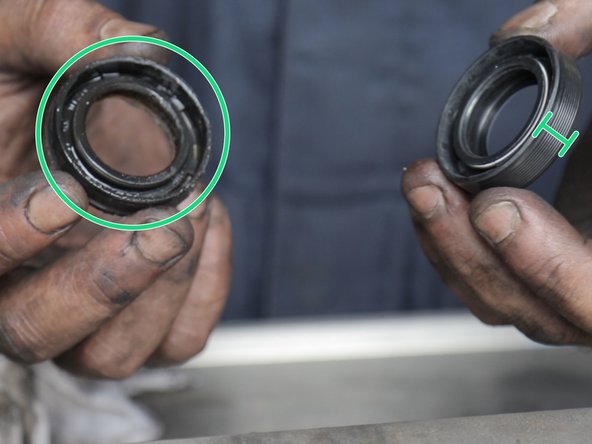
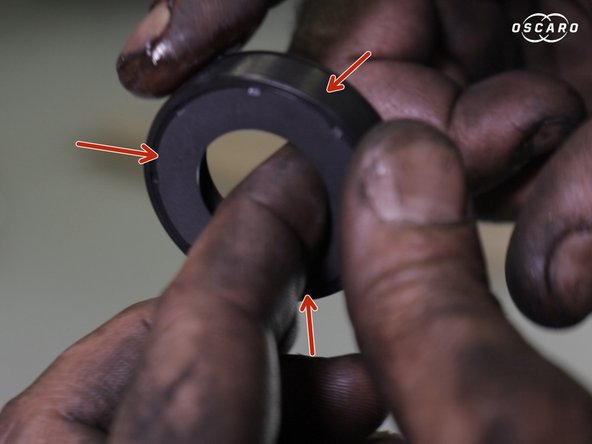
  21. Before refitting in some cases the nut is offered with the cardan shaft remove the Compare the old and new gasket (diameters and thickness)
    • Before refitting in some cases the nut is offered with the cardan shaft remove the

    • Compare the old and new gasket (diameters and thickness)

  22. Lubricate the seal with oil Reposition the seal and tap with the hammer to fit it, being careful not to push it further into the edge of the gearbox. Reposition the seal and tap with the hammer to fit it, being careful not to push it further into the edge of the gearbox.
    • Lubricate the seal with oil

    • Reposition the seal and tap with the hammer to fit it, being careful not to push it further into the edge of the gearbox.

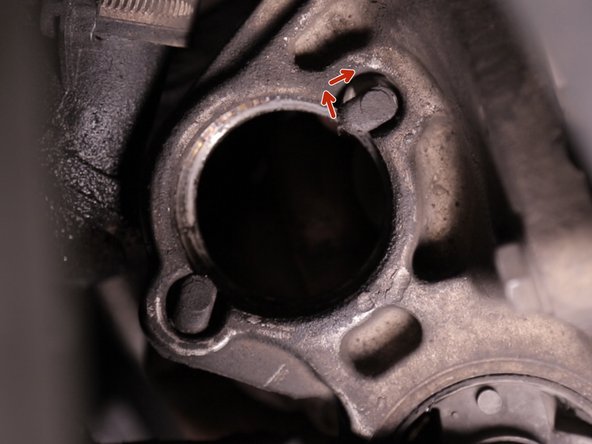
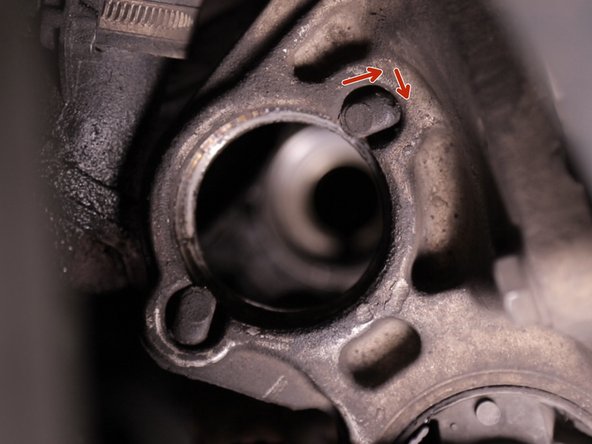
  23. Clean and then grease the bearing surface Grease the cardan shafts Make sure the flanges are in the correct position before inserting the universal joint.
    • Clean and then grease the bearing surface

    • Grease the cardan shafts

    • Make sure the flanges are in the correct position before inserting the universal joint.

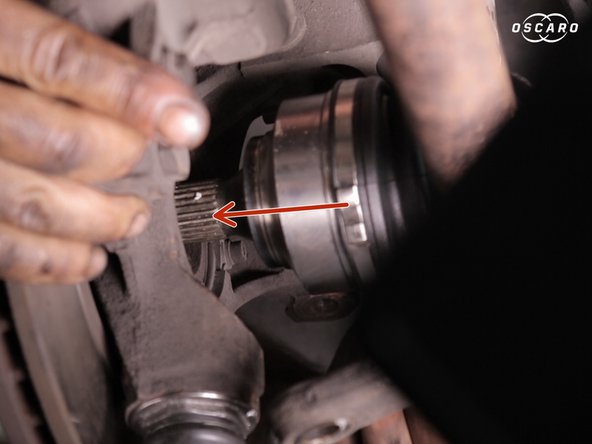
  24. Carefully insert the universal joint, guiding the gearbox inlet and then up to the bearing stop. Carefully insert the universal joint, guiding the gearbox inlet and then up to the bearing stop. Carefully insert the universal joint, guiding the gearbox inlet and then up to the bearing stop.
    • Carefully insert the universal joint, guiding the gearbox inlet and then up to the bearing stop.

  25. Reposition the bar to spread the triangle to fit the end of the cardan into the hub As a precaution, carry out this operation in pairs. As a precaution, carry out this operation in pairs.
    • Reposition the bar to spread the triangle to fit the end of the cardan into the hub

    • As a precaution, carry out this operation in pairs.

  26. Hold the bar in position to insert the ball joint into the triangle Hold the bar in position to insert the ball joint into the triangle Hold the bar in position to insert the ball joint into the triangle
    • Hold the bar in position to insert the ball joint into the triangle

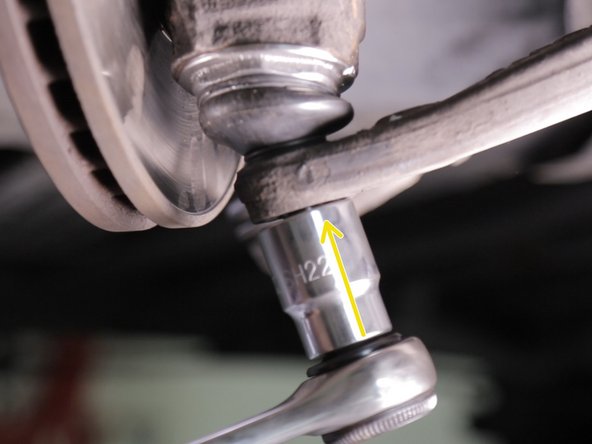
  27. Tighten the wishbone ball joint with a 22 socket. Tighten the wishbone ball joint with a 22 socket. Tighten the wishbone ball joint with a 22 socket.
    • Tighten the wishbone ball joint with a 22 socket.

  28. Reposition and tighten the two universal joint bearing flanges Reposition and tighten the two universal joint bearing flanges Reposition and tighten the two universal joint bearing flanges
    • Reposition and tighten the two universal joint bearing flanges

  29. Reposition and tighten the steering ball joint with the 16 socket. If tightening is not possible because the ball joint is rotating freely, place a jack under the ball joint to block it. If tightening is not possible because the ball joint is rotating freely, place a jack under the ball joint to block it.
    • Reposition and tighten the steering ball joint with the 16 socket.

    • If tightening is not possible because the ball joint is rotating freely, place a jack under the ball joint to block it.

  30. Pull the cardan nut as close as possible Lower the vehicle to the ground and tighten the 4 wheel bolts Lock the cardan nut with a bar if necessary
    • Pull the cardan nut as close as possible

    • Lower the vehicle to the ground and tighten the 4 wheel bolts

    • Lock the cardan nut with a bar if necessary

  31. Replace the nut cage respecting the pin holes Replace the pin using a screwdriver Replace the pin using a screwdriver
    • Replace the nut cage respecting the pin holes

    • Replace the pin using a screwdriver

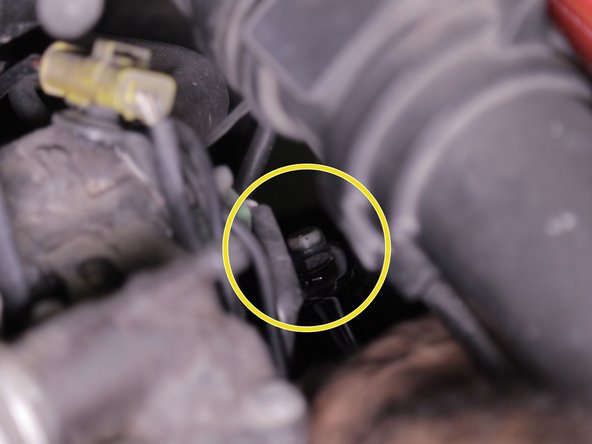
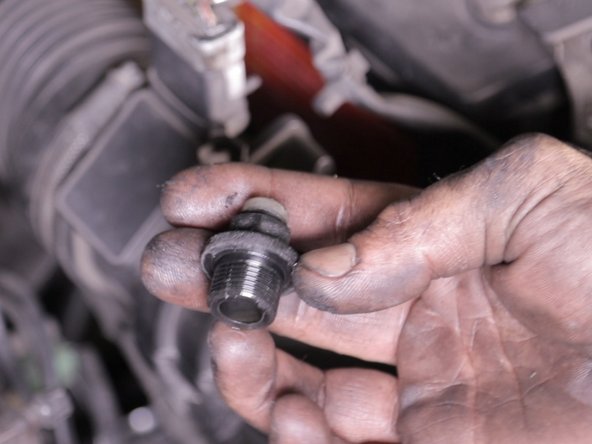
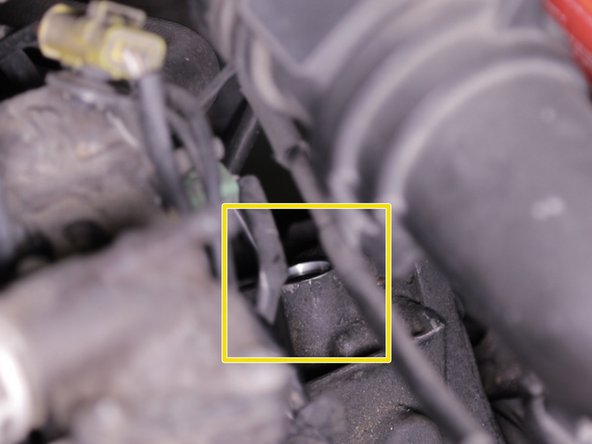
  32. Remove the air vent cap above the gearbox using a 17mm wrench. Remove the air vent cap above the gearbox using a 17mm wrench. Remove the air vent cap above the gearbox using a 17mm wrench.
    • Remove the air vent cap above the gearbox using a 17mm wrench.

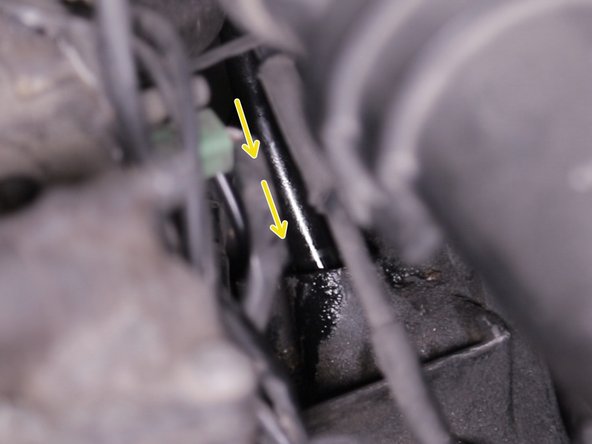
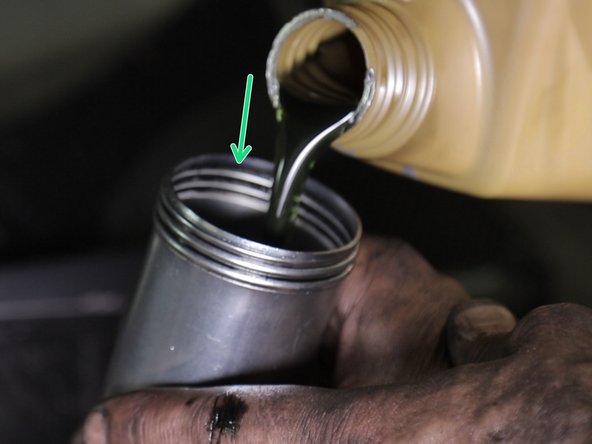
  33. Place the syringe tube into the hole for filling Pour 1.9 liters of gear oil with the syringe (75w80) Close the gearbox cap
    • Place the syringe tube into the hole for filling

    • Pour 1.9 liters of gear oil with the syringe (75w80)

    • Close the gearbox cap

Finish Line

7 other people completed this guide.

thibaut.ansaldi

Member since: 11/23/2014

83,933 Reputation

196 Guides authored

Team

Oscaro Team Member of Oscaro Team

4 Members

101 Guides authored

7 Comments

Well, to be more constructive than critical...

Tightening torques:

Transmission nut: 325 Nm

Wheels with 90 Nm steel rim(s)

Wheels with 100 Nm aluminum rim(s)

(source https://www.ntn-snr.com/sites/default/fi... Assembly and disassembly recommendations_FR.pd)

and thanks for the tutorial!

renaudsub - Reply
Hello, thanks for the tutorial,

I have the nut cover washer, with the pin (Step 1) which has play, and which makes a slight noise when I ride (even when stopped while turning the wheel), the pin shifts a little from its axis.

Do you know if it is possible to find only this washer? I have reshaped it a little to avoid the noise with the pliers but it will certainly not last, and I imagine that it is strongly advised not to remove it.

Thank you in advance for your reply,

toms64310 - Reply
very good good tutorial Thank you

emmanuel.charaudeau123 - Reply
Thank you very much for dedicating your time to this tutorial full of well-explained images…

nico.r91 - Reply
Add Comment

View Statistics:

Past 24 Hours: 5

Past 7 Days: 28

Past 30 Days: 163

All Time: 19,400