


Introduction
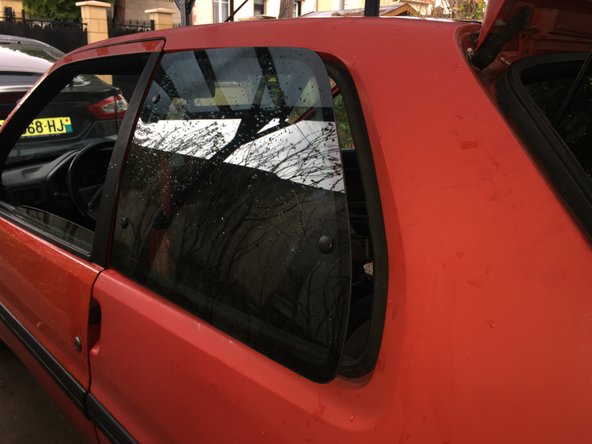
Comment changer la vitre arrière ou custode ouvrante sur Peugeot 106. Compatible avec les véhicules suivants en configuration 3 portes : Citroën Saxo, AX, Peugeot 106 et 205
-
-
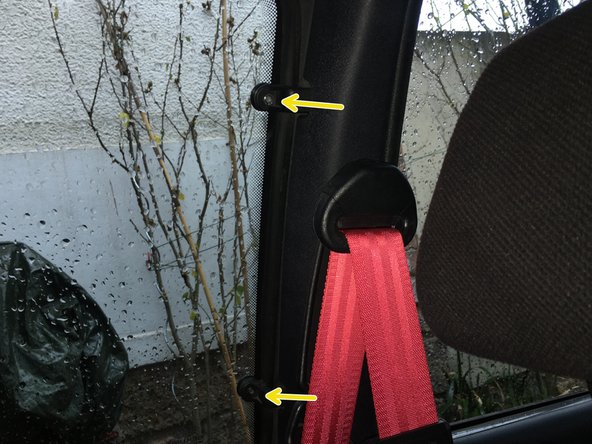
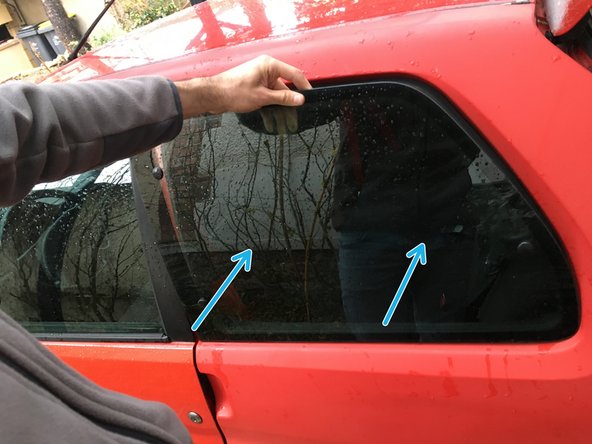
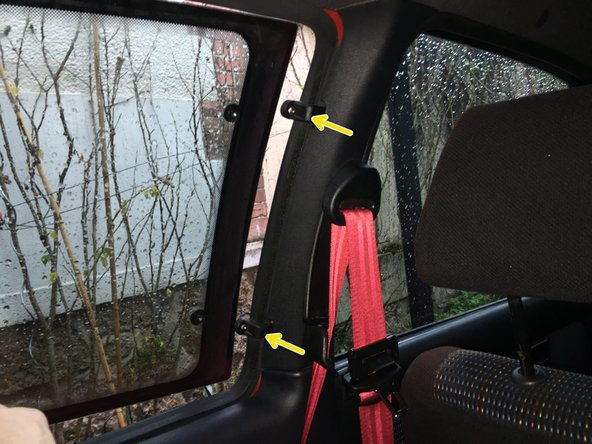
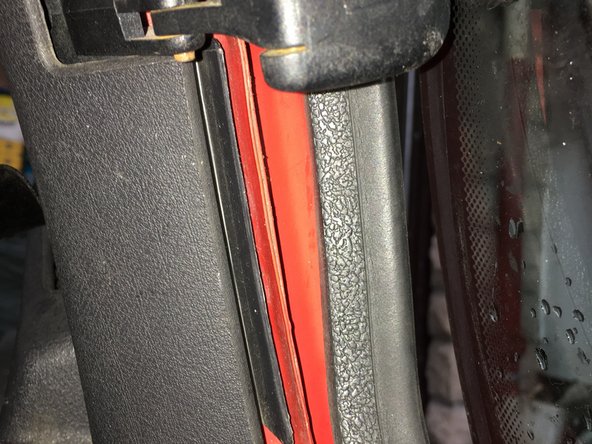
La custode est retenue par trois points d'accroche
-
Deux sur le montant de la voiture
-
et un dernier sur le système d'ouverture de la vitre
-
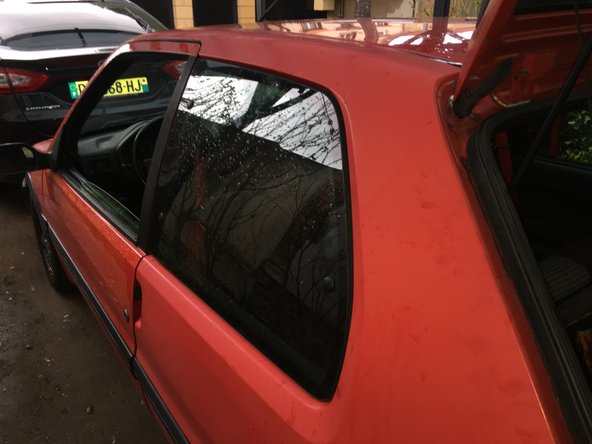
Je vous montre comment changer la vitre avec son système d'ouverture, passez directement à l'étape 8 pour la dépose de la vitre sans son système d'ouverture
-
-
-
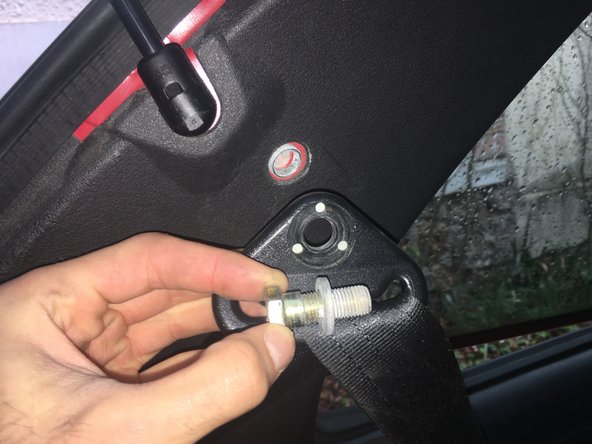
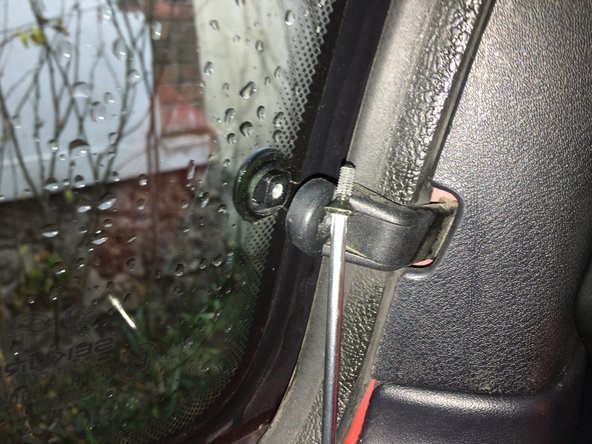
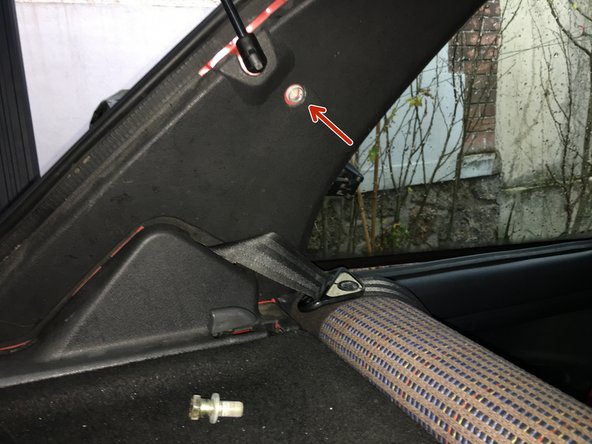
Dévisser à l'aide d'une douille de 17 la vis de la ceinture arrière
-
Retirer la ceinture, la vis et la rondelle.
-
La vis peut-être cachée par un chapeau en plastique
-
-
-
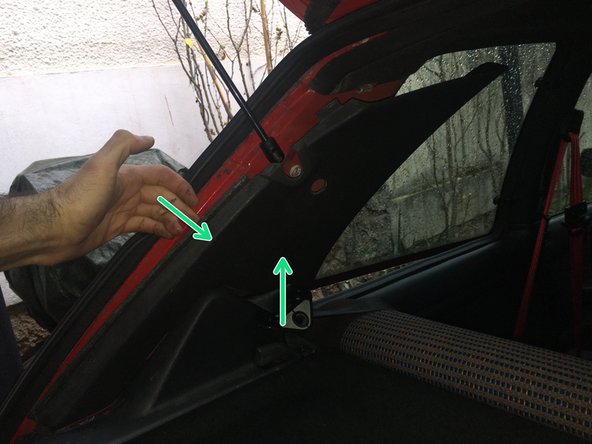
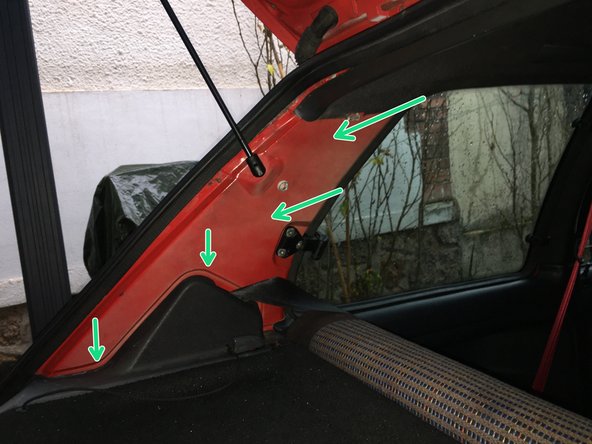
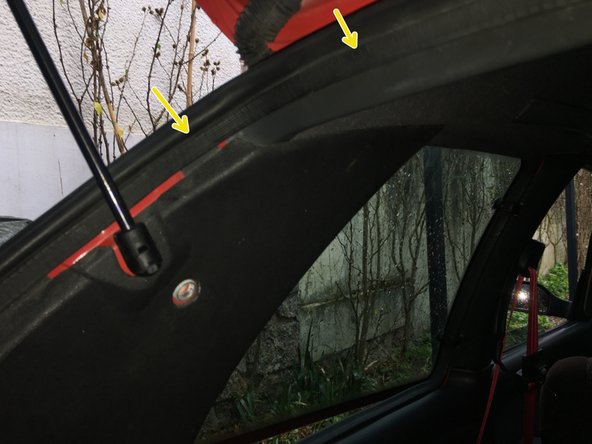
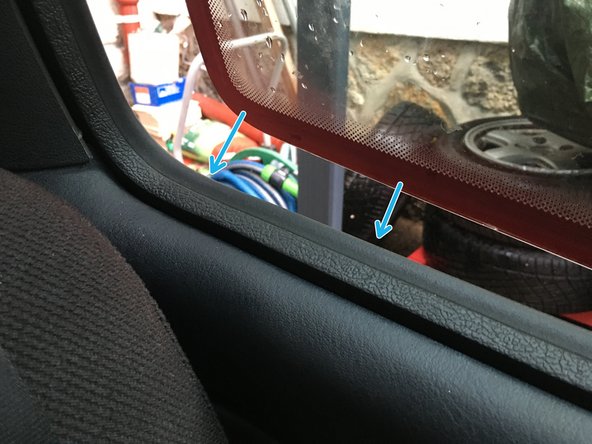
Pour accéder à la fixation du système d'ouverture de la vitre, retirer l'habillage du montant arrière
-
Tirer sur le joint du hayon pour libérer l'habillage plastique
-
Ecarter l'habillage plastique et tirer vers le haut pour le détacher
-
-
-
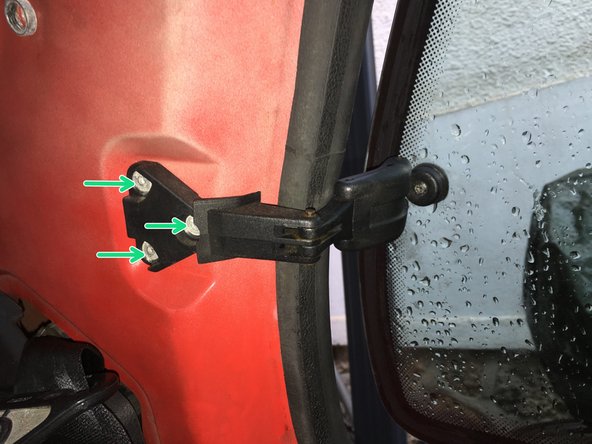
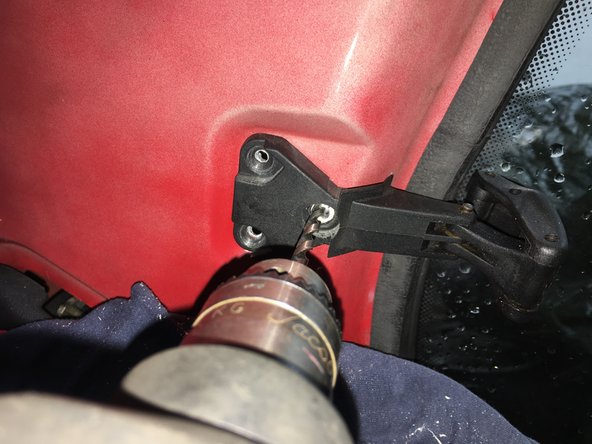
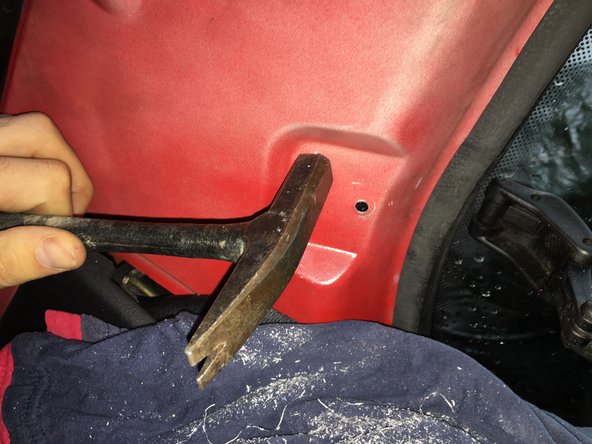
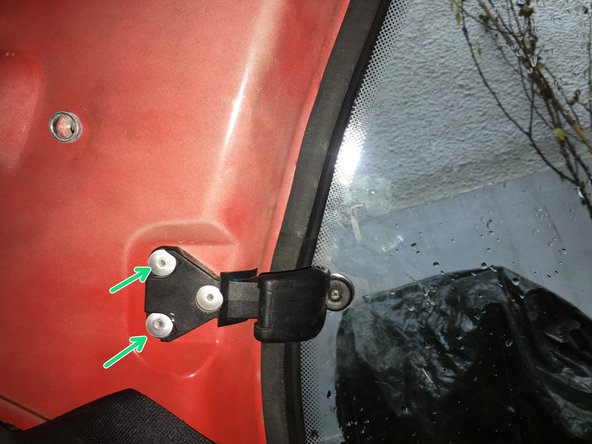
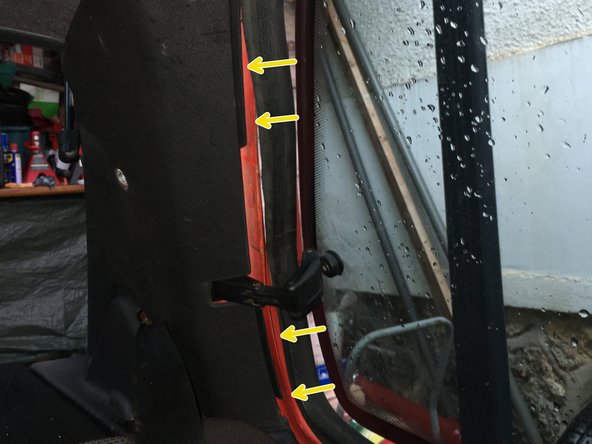
Le système d'ouverture est maintenu par trois rivets sur la carrosserie
-
Utiliser une perceuse et des forêts de 4 & 5
-
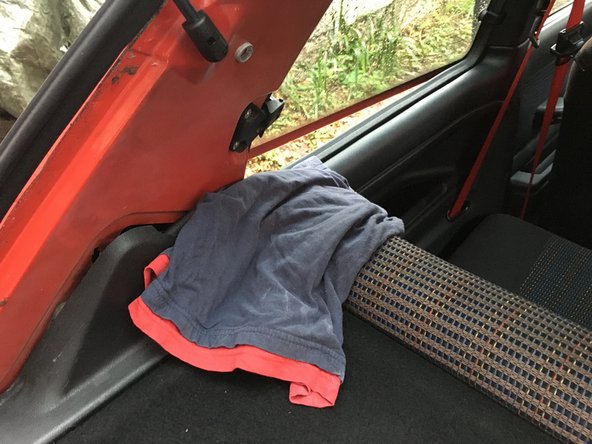
Placer un chiffon sous le système d'accroche pour protéger les sièges
-
-
-
Percer les trois rivets avec un forêt de 4mm puis de 5mm pour y aller progressivement
-
Attention à bien être droit, perpendiculaire au rivet
-
Attention à ne pas taper l'aile une fois le rivet percé, au risque de marquer l'extérieur de l'aile
-
-
-
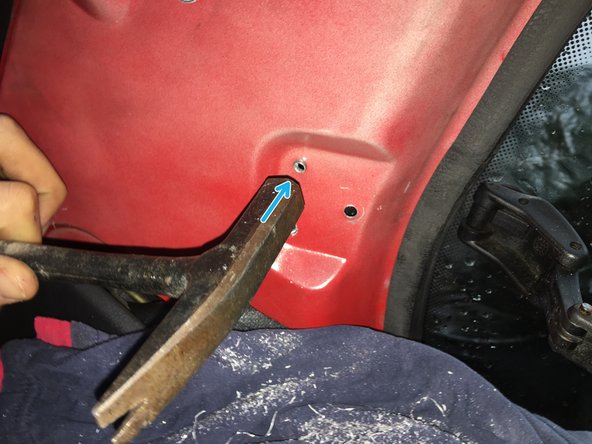
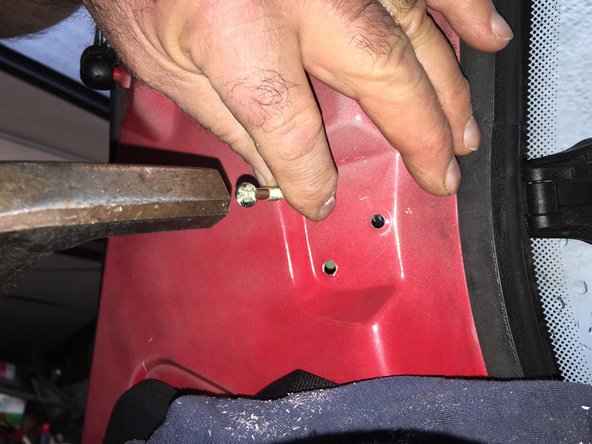
Tapoter gentiment avec un marteau sur les morceaux de rivets restants dans la carrosserie
-
Essayer avec une tige ou un pointeau si cela ne fonctionne pas
-
-
-
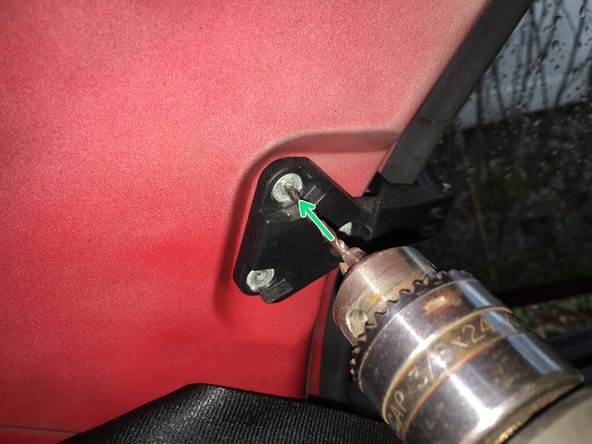
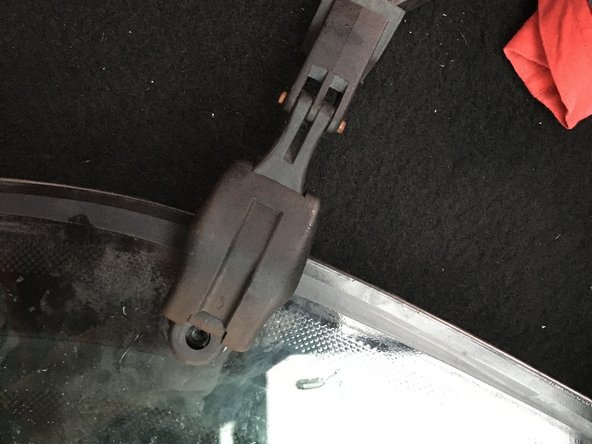
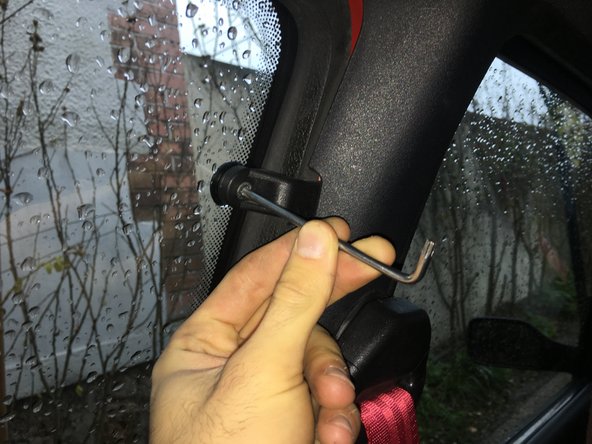
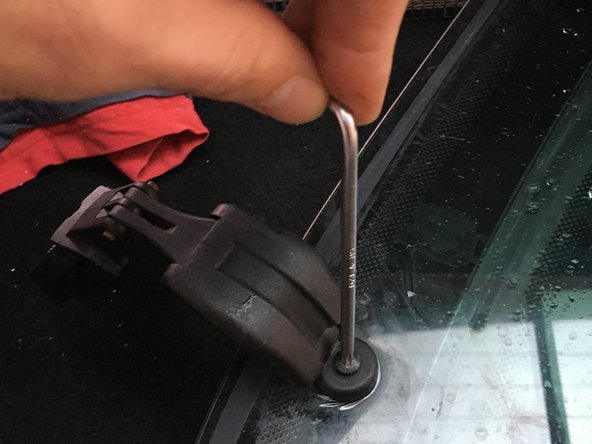
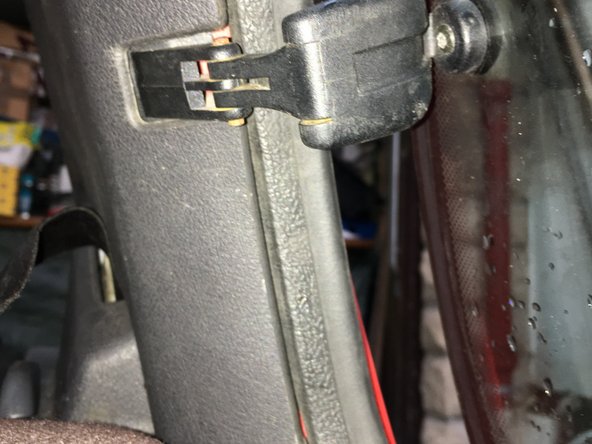
Dévisser la vis de maintient du système d'ouverture avec une clé Torx T20
-
-
-
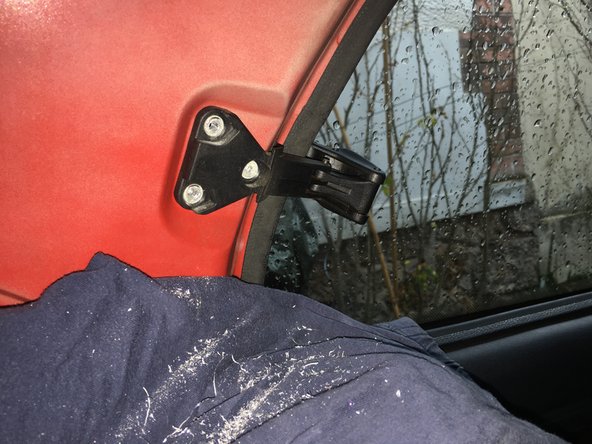
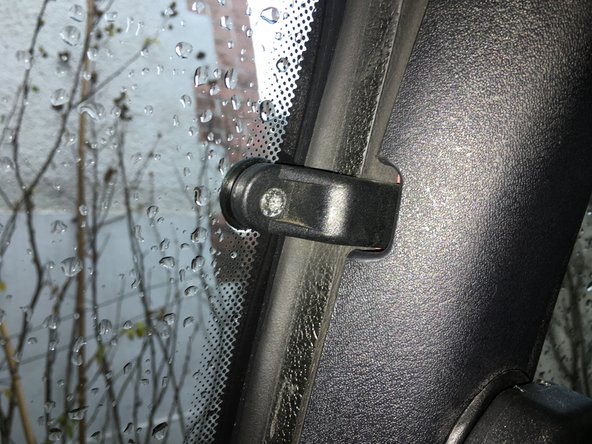
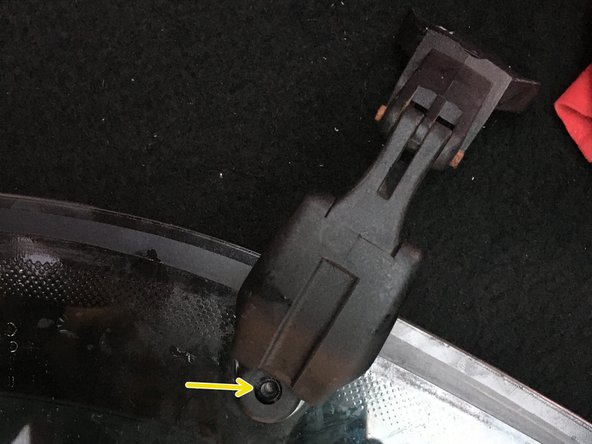
Une fois le système d'ouverture libre ou décroché de la vitre
-
Dévisser les deux accroches du montant avec une clé Torx T20
-
-
-
Placer une main sous la vitre ou aidez-vous d'une personne pour maintenir la vitre
-
Retirer les deux vis pour libérer la custode
-
-
-
Comparer les dimensions de la nouvelle vitre avec l'ancienne
-
Comparer le système d'accroche si acheté avec
-
-
-
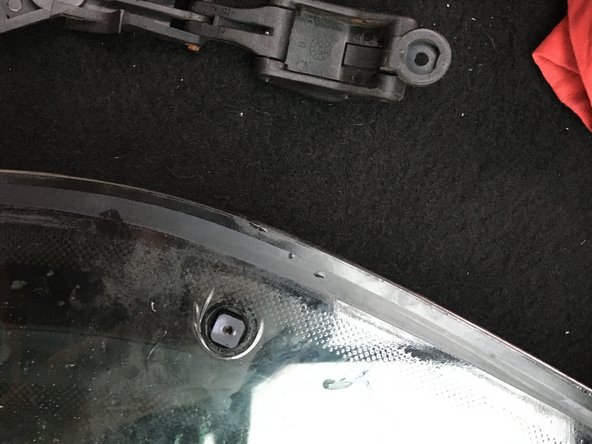
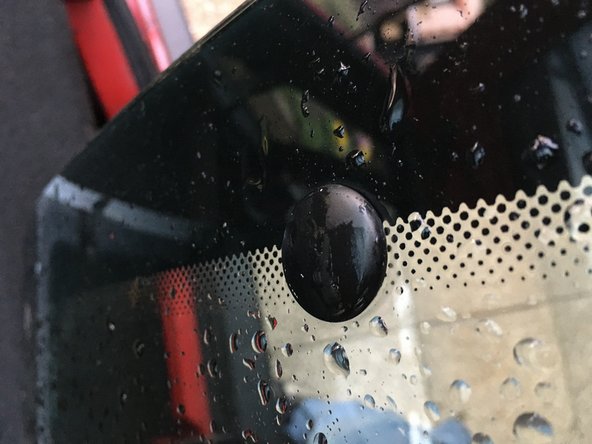
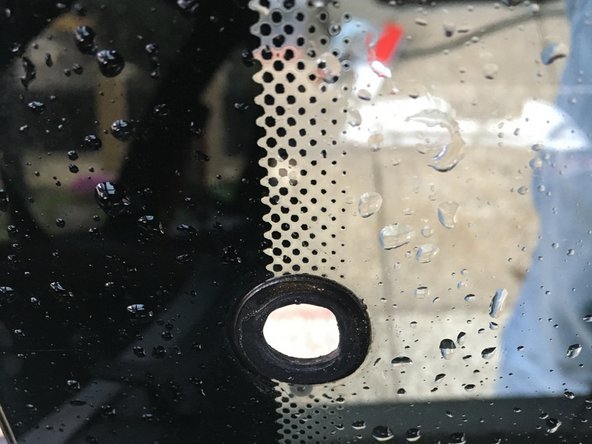
Faire bien attention à ne pas perdre les trois prisonniers et les trois joints présents sur la vitre
-
-
-
Présenter la vitre par l'extérieur (aidez-vous d'une personne si besoin). Placer une main sous celle-ci pour la maintenir
-
Approcher la vitre des deux accroches du montant
-
Avec la clé Torx T20, serrer les vis des deux accroches du montant sur les boulons de la fenêtre
-
-
-
Replacer le système d'accroche sur la vitre avec la vis et une clé Torx T20
-
Passez à l'étape 19 si vous n'avez pas démonté le système d'ouverture
-
-
-
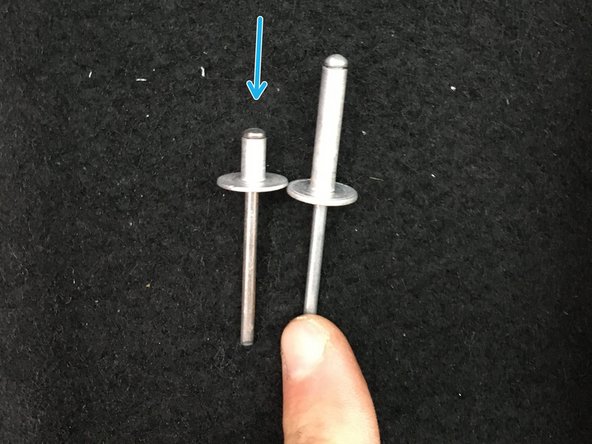
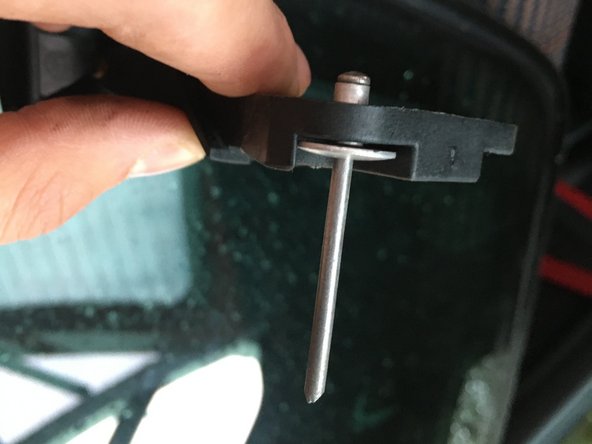
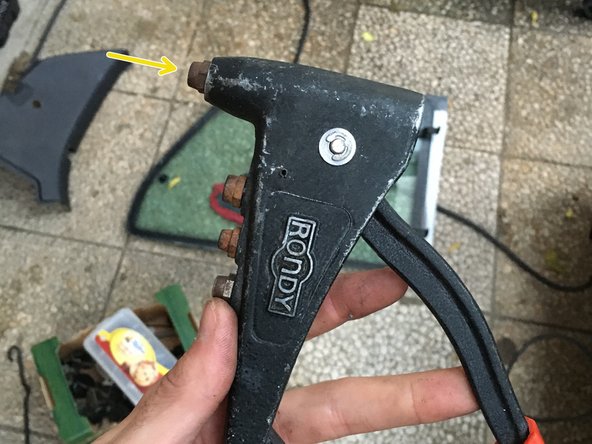
J'ai choisis des rivets standards avec une tête courte car suffisant pour se prendre dans la carrosserie assez fine
-
-
-
Une fois les deux vis serrés
-
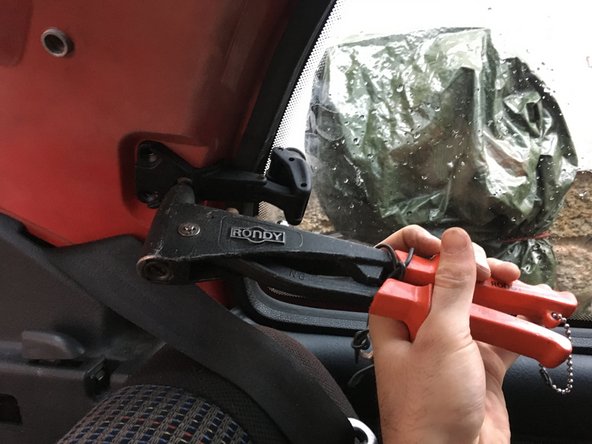
Installer un rivet dans la pince à rivet
-
-
-
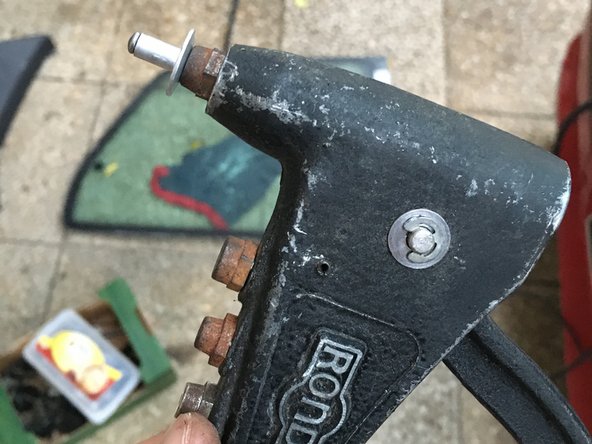
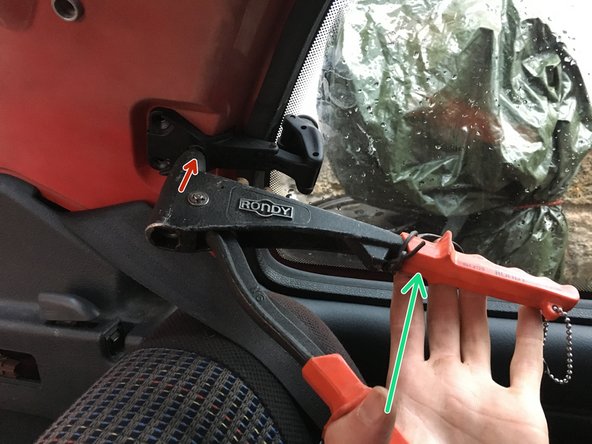
Placer la tête du rivet dans un des trous de la pate du système d'ouverture
-
Serrer la pince à rivet jusqu'à casser le rivet
-
La tête du rivet rempli parfaitement la pate du système d'ouverture et se prend dans la carrosserie
-
-
-
Récupérer la tige du rivet dans la pince
-
Répéter l'opération pour les deux autres rivets
-
-
-
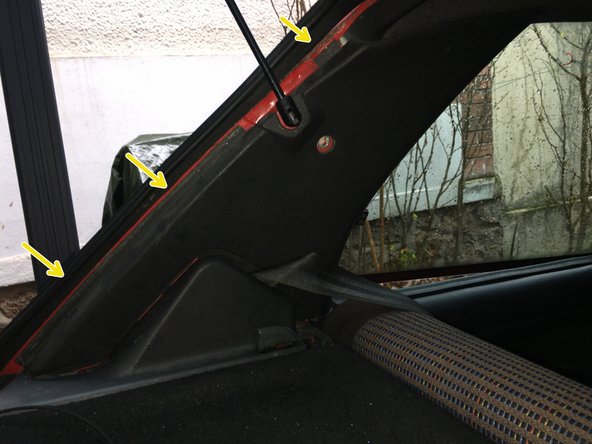
Replacer l'habillage du montant arrière
-
Replacer le joint de hayon sur le plastique
-
-
-
Côté vitre, retirer le joint de la vitre et le replacer sur l'habillage plastique
-
-
-
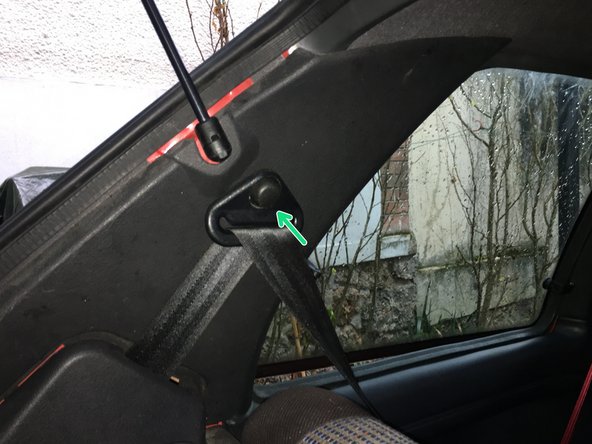
Emplacement de la boucle de ceinture
-
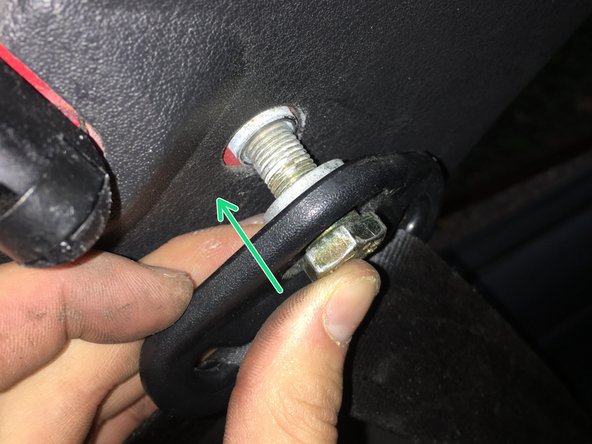
Placer la vis dans la boucle de la ceinture
-
Placer la rondelle de l'autre côté de la boucle, côté carrosserie
-
Placer le tout dans le pas de vis sur le montant
-
-
-
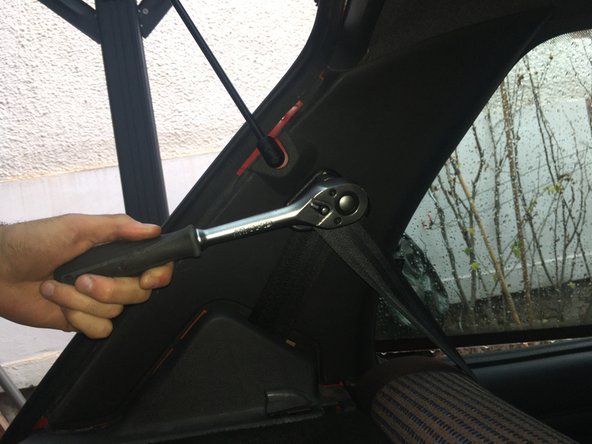
Resserrer la vis avec un cliquet et une douille de 17
-
Replacer le petit cache plastique sur la vis
-
-
-
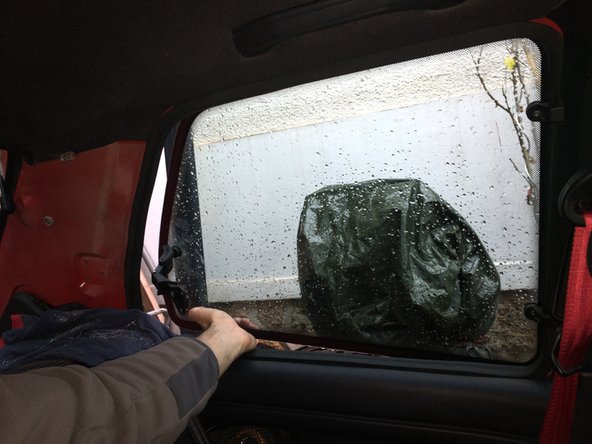
Vérifier depuis l'intérieur que la vitre colle bien le joint d'étanchéité
-
Parfait
-


Équipe
