-
-
Avant de lever le véhicule débloquer la roue.
-
Ensuite lever le avec le cric et installer une chandelle pour votre sécurité. Vous pouvez enlever la roue.
-
-
-
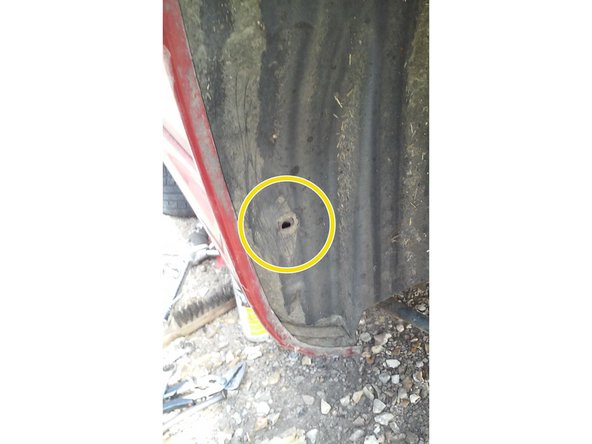
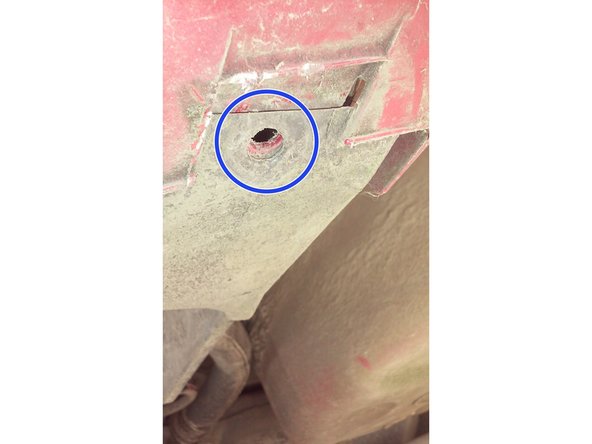
Celui là se trouve en dessous du par-choc
-
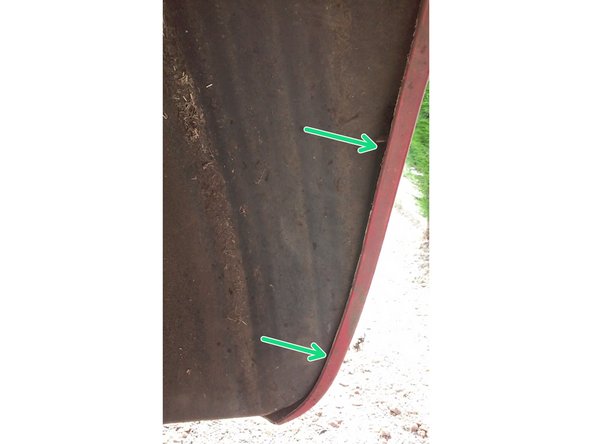
il se trouve à l’intérieur de l'aile.
-
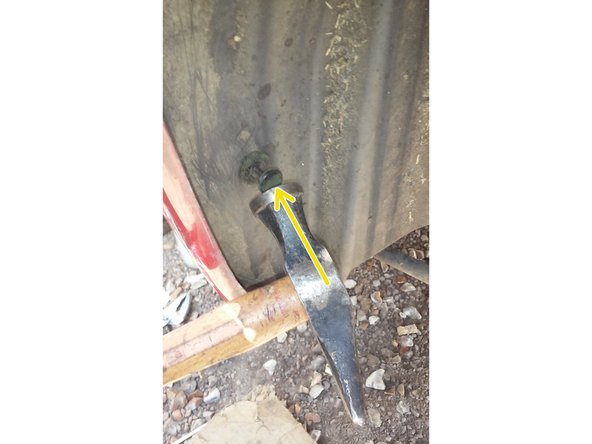
Et les deux dernier se trouvent de chaque coté de l'amortisseur
-
Passer un coup de brosse métallique sur les clips.
-
-
-
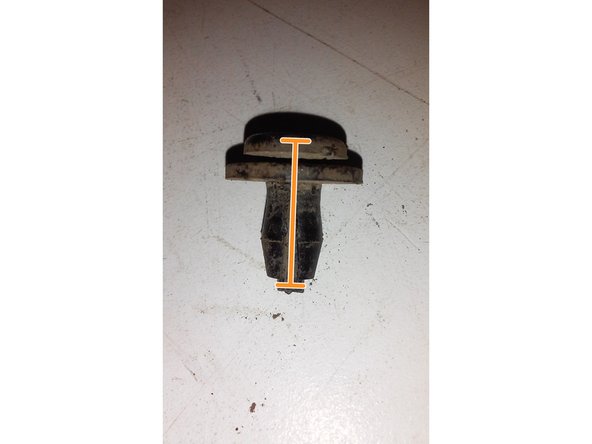
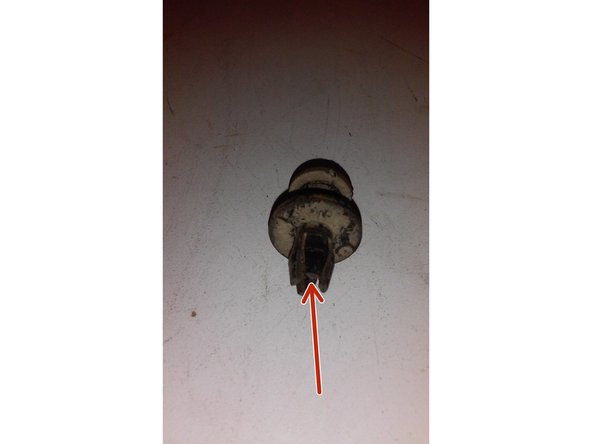
Clips en position fermé, la partie du centre est rentrée et gonfle les parties extérieur. Dans cette position on ne peut pas le démonter.
-
Position ouverte la partie du centre est sortie, les parties extérieur peuvent se rapprocher entre elle et dans cette position on peut le démonter.
-
-
-
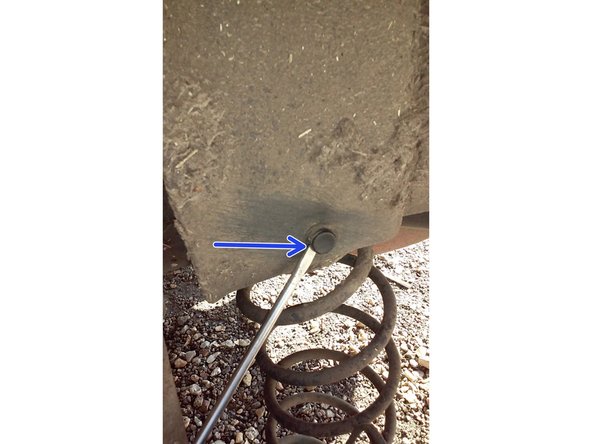
Avec le tournevis plat décoller la partie du centre.
-
Comme ceci.
-
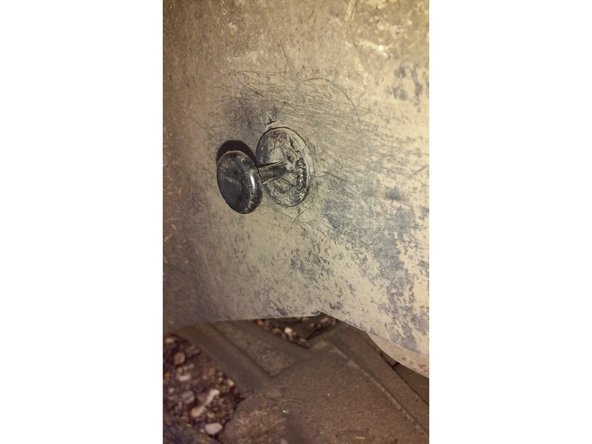
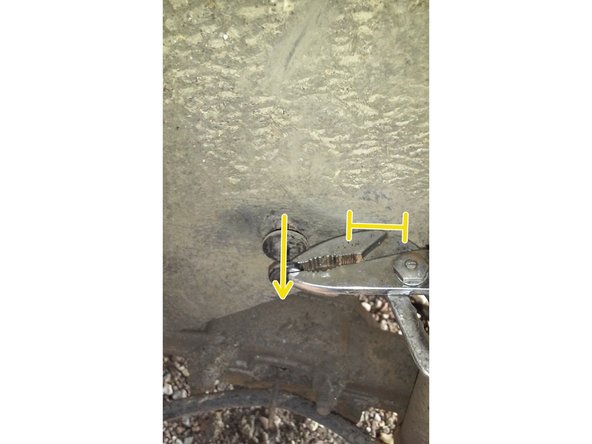
Avec la pince multiprise, mettre la pince en butée sur le pare boue et faire levier. Le clips va sortir tout seul.Répéter cette opération pour les 3 autres.
-
-
-
Passé la main sur les bords et tirer le par-boue.
-
Comme ceci, vous pouver tirer dessus s'est un plastique souple et solide.
-
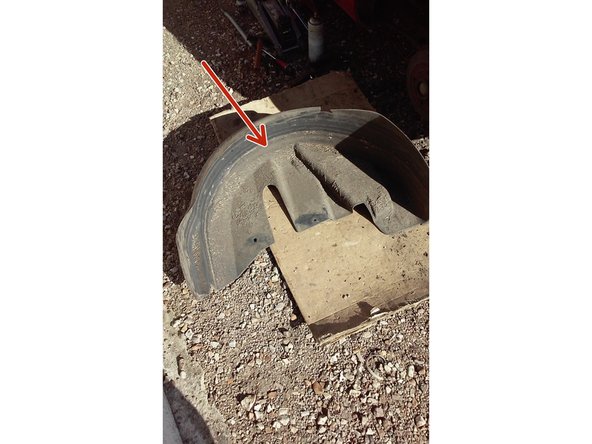
Et le voila.
-
-
-
Brosser les pas de vis et mettre du dégrippant.
-
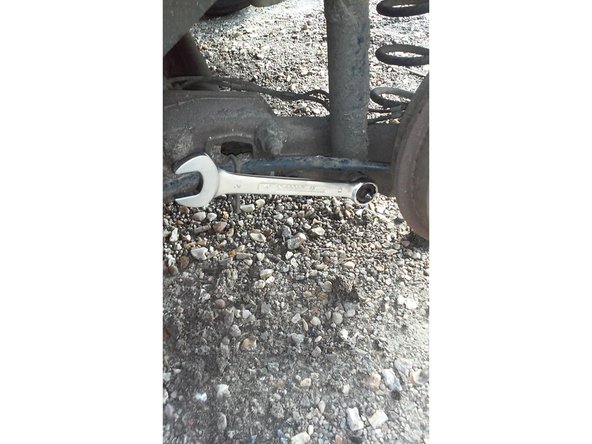
Pour le boulon du haut clé de 16 dévisser la vis et non l’écrou, il est solidaire de la caisse.Clé de 21 pour celui du bas
-
Ne pas enlever la visse du haut tout de suite
-
-
-
Placer le crique en dessous et le monter légèrement pour soulager l'amortisseur.
-
Avec un chasse goupille D12 mm et un bon marteau,taper sur la visse pour la sortir
-
Mettre une paire de gants et donner des bon coup de marteau + dégrippant.
-
Et voila la vis comme vous pouvez le voir s'est la rouille qui l' empêche de sortir.Bien retirer la rouille pour la remonter.
-
-
-
Maintenant vous pouvez dévisser complètement la vis du haut et enlever l'amortisseur.
-
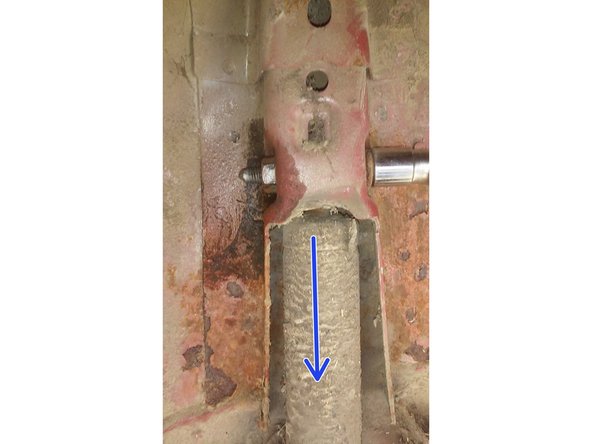
Faite descendre l'amortisseur pour l'enlever.
-
-
-
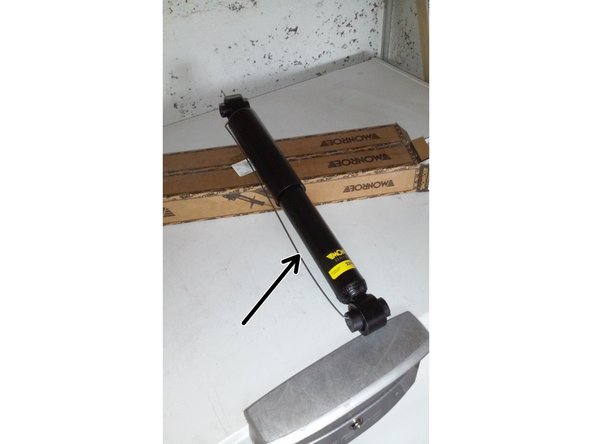
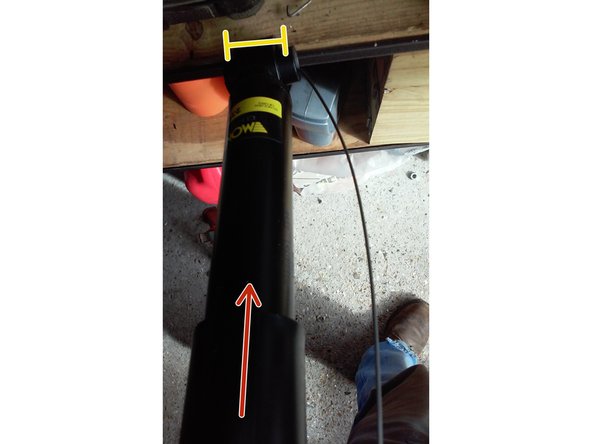
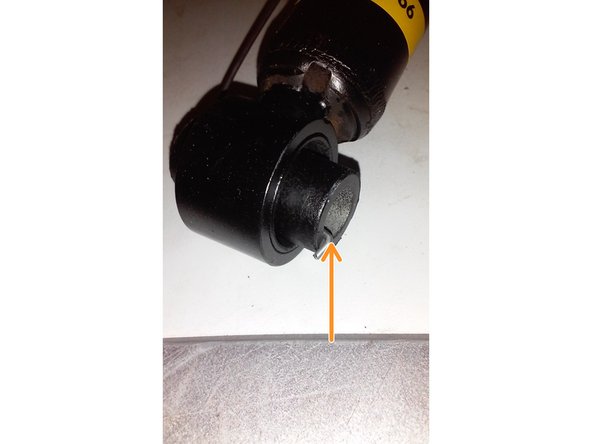
Enlever la petite tige d'acier.
-
Mettre le pied d'amortisseur en butée contre l'établie par exemple, et comprimer le ce n'est pas dur.
-
Décrocher la tige
-
-
-
Passer le pied de l'amortisseur derrière le câble de frein à main.
-
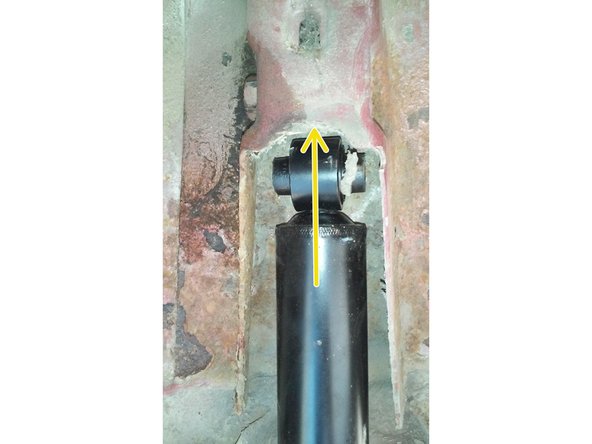
Enfiler le haut de l'amortisseur dans son emplacement et mettre la vis.
-
Mettre la vis du bas et la bloquer ainsi que celle du haut.
-
Mettre de la graisse dessus si un jour vous auriez besoin de démonter à nouveau.
-
-
-
Enfiler le par boue de façon à se qu'il reprenne sa place d’origine
-
Aligner le trou pour pouvoir mettre le clips.
-
Bien passer le par boue derrière le par choc.
-
-
-
Replacer les 4 clips
-
Un petit coup de marteau dessus et s'est remonté
-
Ne pas oublier celui qui se trouve en dessous du par choc.
-
-
-
Vous pouvez remonter votre roue, retirer chandelle et crique et bloquer la.
-
Il vous reste à faire l'autre coté.
-
Ne pas oublier de les remplacer tout les 60 à 80 000 kms, quand on voie le prix que sa vos ne pas hésiter.
Ne pas oublier de les remplacer tout les 60 à 80 000 kms, quand on voie le prix que sa vos ne pas hésiter.
Annulation : je n'ai pas terminé ce tutoriel.
8 autres ont terminé cette réparation.
8 commentaires
Bonjour , très bien présenté et simple à comprendre , même une personne qui n’a jamais fait de la mécanique sera fier de lui .
Petit conseil que je peut donner pour la visse du bas on peut la chauffer au chalumeau et si vous avez pas acheté une petite lampe à souder et chauffer bien pour que ça décolle la rouille qui colle la visse et ça viendra tout seule petite précaution prévoir chiffon bien mouillé pour éteindre le Silentbloc qui lui et en caoutchouc.
Merci de permettre de mettre se petit message .
Jaco 42 . 🤓 le 12/11/2022
Juste ajouter petit truc concernant sécurité les roues avant il faut caler
Bonjour, super bien expliqué. Merci beaucoup
Bonjour,
Merci pour ce tuto, j’ai réussi à faire le changement des 2 amortisseurs non sans mal…
Il fallait VRAIMENT taper fort sur la vis du bas pour la sortir. La rouille avait fusionnée le boulon avec l’amortisseur. 1 litre de WD40 et des coups de massettes et c’est sorti mais je ne pensais pas que cela me prendrais tant de temps. J’ai mis 4h alors que j’avais déjà fait un changement il y a quelque années.


