


Difficulté
Facile
Étapes
11
Temps nécessaire
00:30:00

Ce tutoriel a été créé par la communauté
User contributed
Introduction
Tutoriel expliquant le remplacement des amortisseurs arrières sur Renault Scénic 3 à 7 places
-
-
Tout d'abord, mettre une vitesse au véhicule et vérifier la bonne mise en place du frein à main.
-
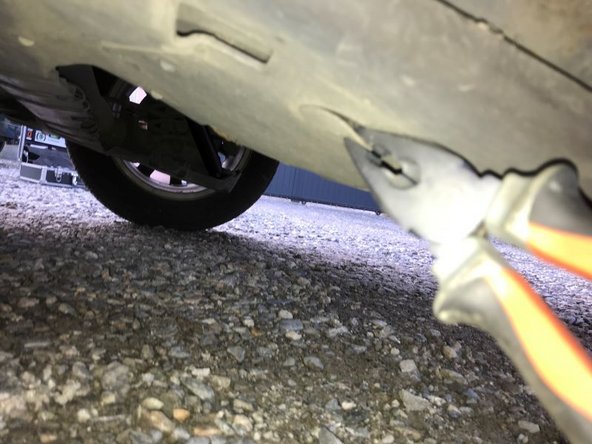
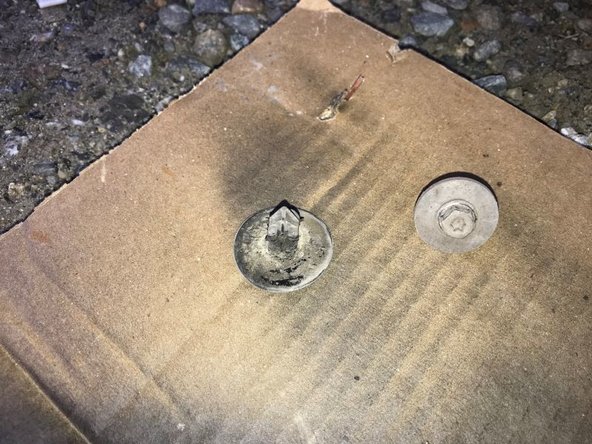
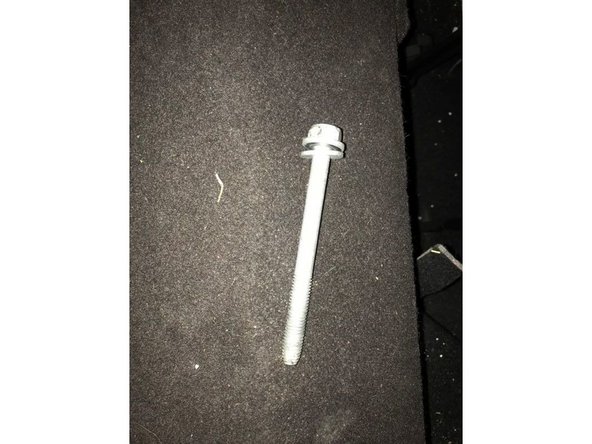
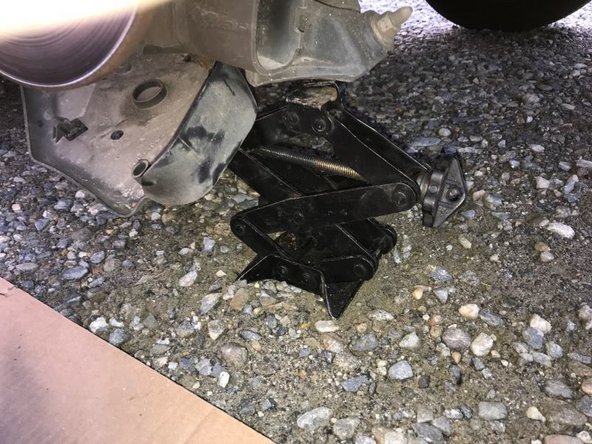
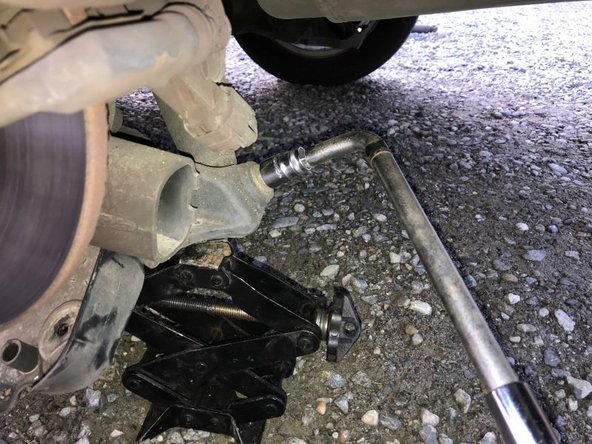
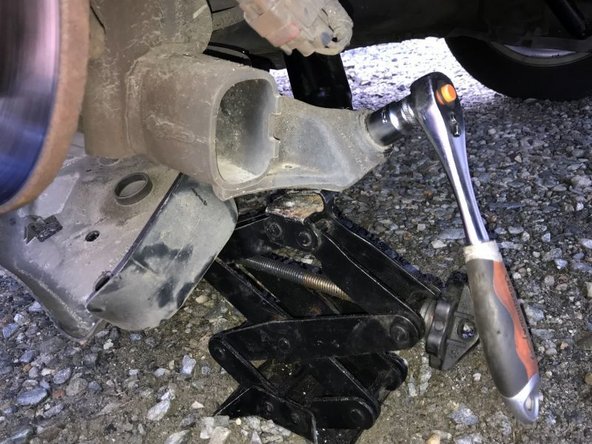
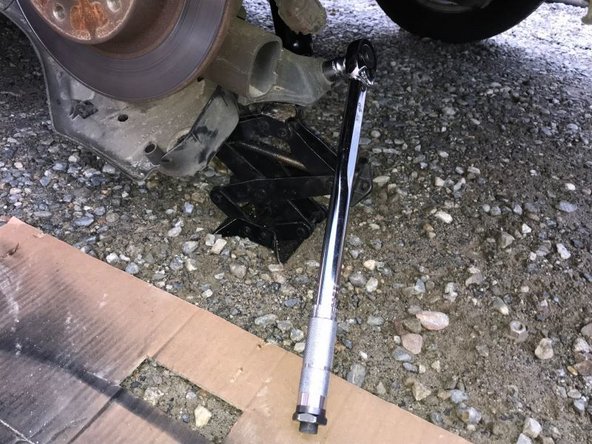
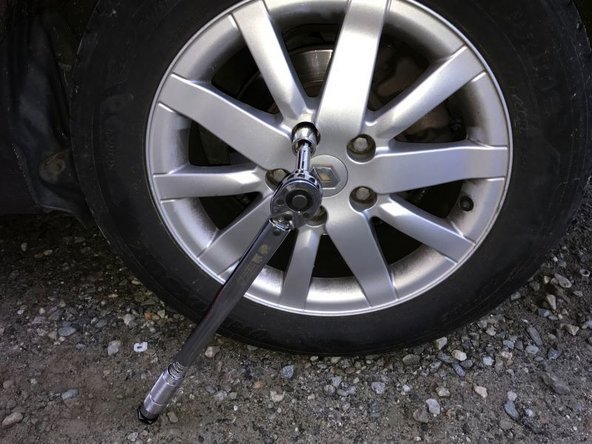
Desserrer les boulons de la roue arrière droite puis lever la voiture et bien la caler puis enlever la roue.
-


Annulation : je n'ai pas terminé ce tutoriel.
3 autres ont terminé cette réparation.
7 commentaires
Slt,
Attention, mettre la voiture au sol avant de serrer les 2 fixations d'amortisseurs, sinon les silenbloc seront en contrainte permanente et sa sera une usure prématuré
seisme1428 - Résolu à la publication Réponse
Merci beaucoup le partage et les photos ce genre de Tuto ce perd malheureusement. Merci à vous en tout cas 👍
sebastienvek - Résolu à la publication Réponse
Sur Scenic II phase 2: Tous les tutos vidéo montrent de rebaisser la voiture avant de serrer fort. Du coup, on ne voit pas trop l’intéret de mesurer les 432.5 ( mm !?!?) indiqués ci-dessus. Et il faudrait placer l’amortisseur à 0.5mm prés ?! pas très crédible…
Personnellement, je préfère laisser les 4 roues en place. Je soulève tout de même avec le cric pour détendre un peu la suspension, mais je ne suis meme pas sur que ce soit nécessaire. Au pire, ça aide à passer sous la voiture…
Attention pour le dévissage/revissage de l’écrou de l’étape 6-8 ci dessus: la douille standard Facom 18 n’est pas assez profonde. Impossible de dévisser avec. J’ai du passer par une clé plate. Mais ca ne convient pas si on veut re-serrer à la clé dynamométrique à douille…
Des tutos et des notices des certaines marques indiquent qu’il faut aussi faire fonctionner l’amortisseur verticalement quelques coups avant de le monter, pour chasser un possible air pris dans le liquide, dû au stockage à plat.
xavierpblc - Résolu à la publication Réponse
Attention ! Il convient d’ajuster la longueur de l’amortisseur (mesuré entre ses points de fixation) à 432.5 avant de serrer les fixations au couple prescrit. 6 en haut et 10 en bas (Dan.M).
Omettre de le faire va contraindre exagérément les silent blocs qui finiront par se déchirer.
Bonjour
Quelle est la force de serrage des écrous?
Merci
Philippe La Selve - Résolu à la publication Réponse