Introduction
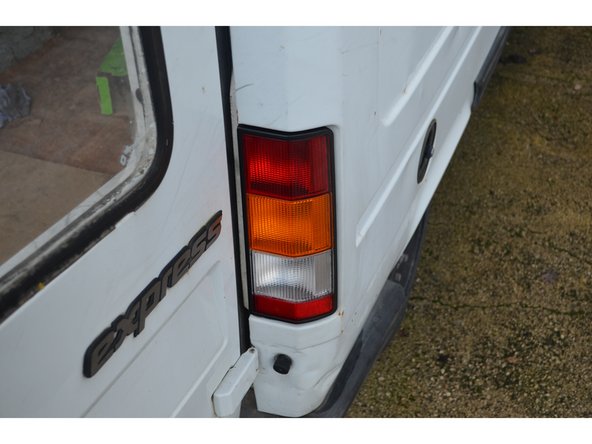
Le modèle présenté est un Renault Express phase 1.
Tools
Non tools spécifié.
Parts
-
-
Le Joint est fourni mais n'est pas monté c'est à vous de le faire.
-
De la colle est posée à l'intérieur du joint, une fois monté vous ne pourrez plus l'enlever.
-
-
-
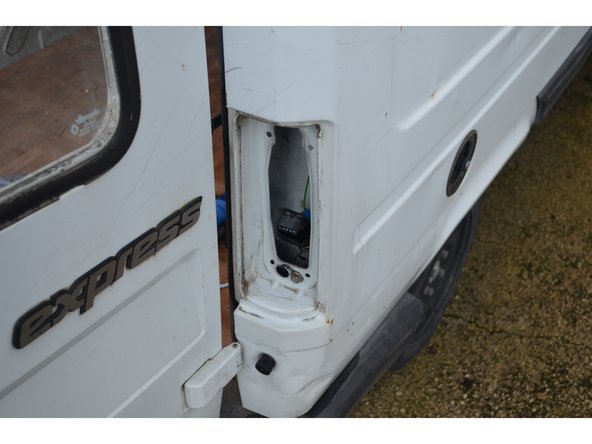
Il est situé à l'arrière droit du véhicule.
-
Ouvrez la porte.
-
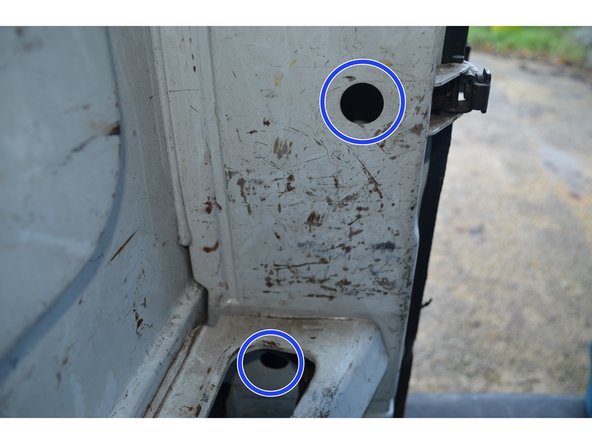
Derrière le feu à l'intérieur du véhicule, soulevez le carter plastique pour accéder à la 2ème vis de fixation du feu.
-
Les 2 vis de fixation sont maintenant accessibles.
-
-
-
Retirez les 2 vis de fixation en les desserrant à la main.
-
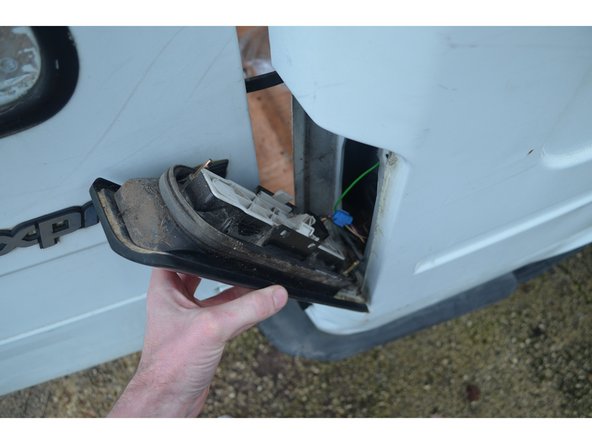
Faites basculer le feu en tirant doucement dessus.
-
Le feu est toujours branché ne tirez pas trop fort dessus au risque de sectionner un câble.
-
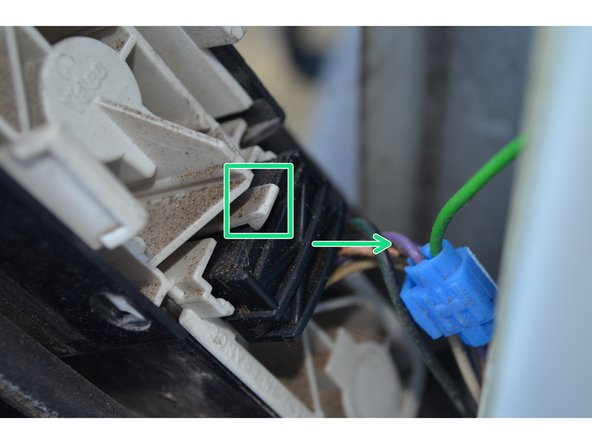
Pour débrancher le feu, soulevez le crochet puis tirez sur la connectique.
-
-
-
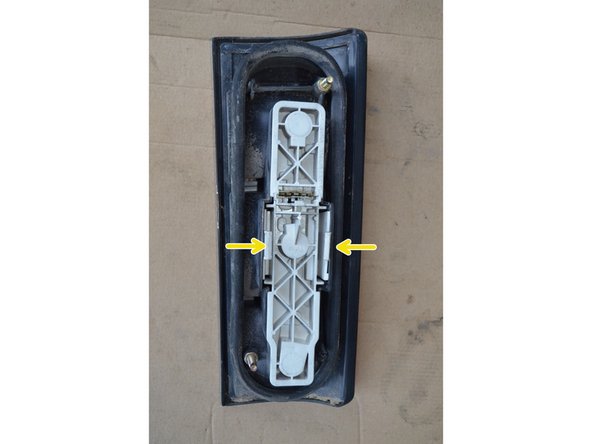
Pour retirer la platine il suffit d'exercer une pression sur les 2 crochets puis de tirer.
-
Pour poser la platine sur le feu neuf il faut la présenter puis la pousser.
-
Annulation : je n'ai pas terminé ce tutoriel.
Une autre personne a terminé cette réparation.


