


Introduction
Ce tutoriel vous explique comment réaliser le changement des roulements arrières sur Volkswagen Polo III 1.3 i 55cv

Vidéo d'introduction
-
-
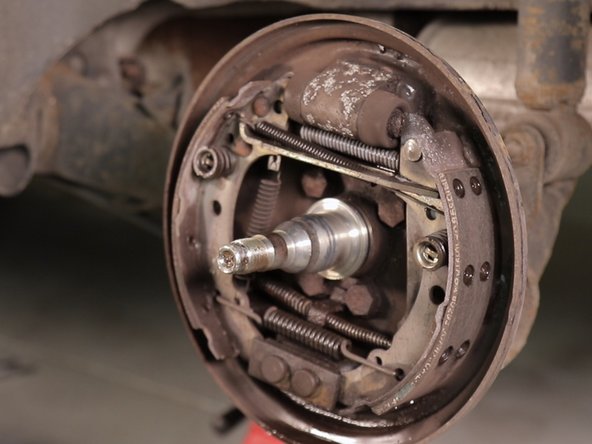
Retirez votre roue pour accéder aux freins à tambours
-
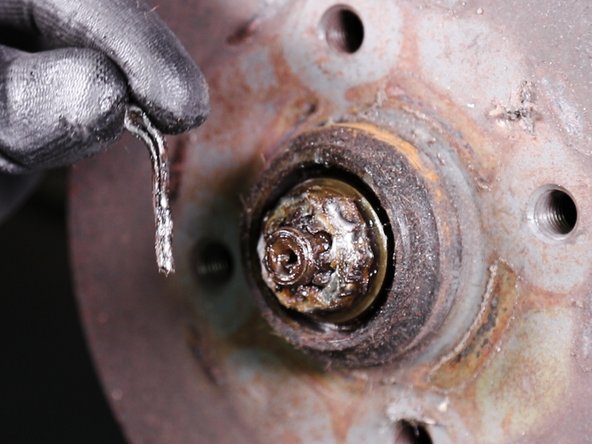
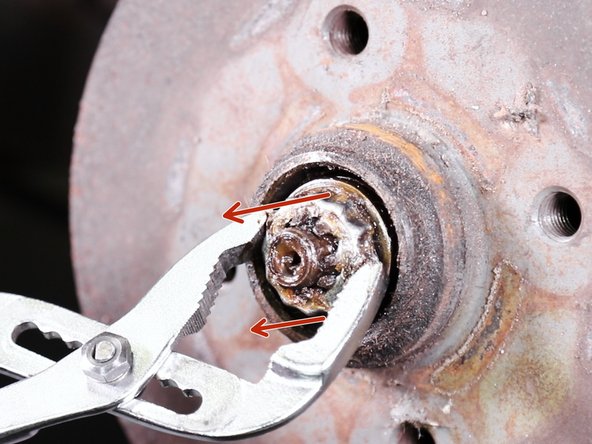
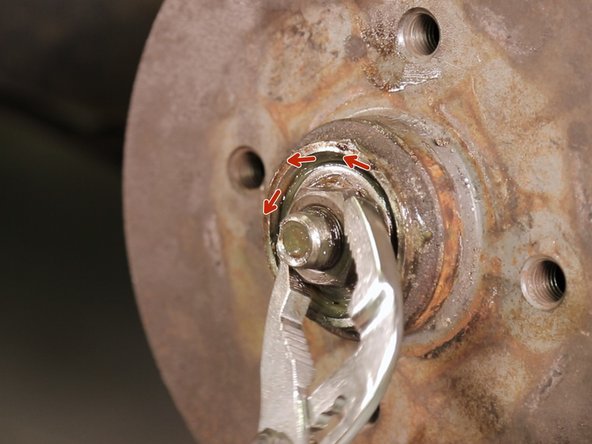
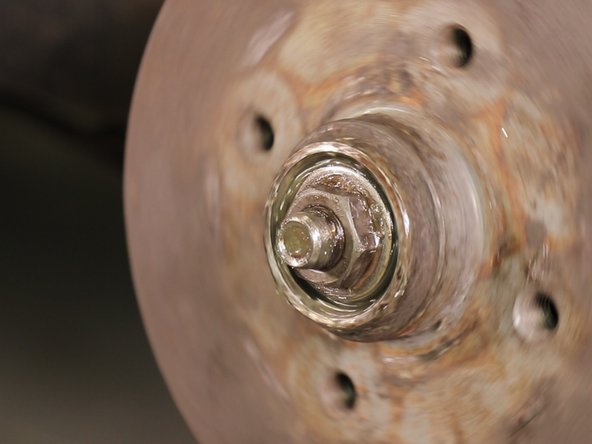
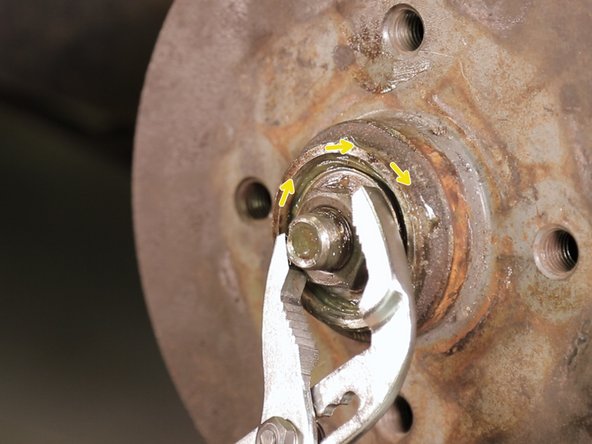
Retirez le cache poussières à l'aide d'une pince multiprise
-
-
-
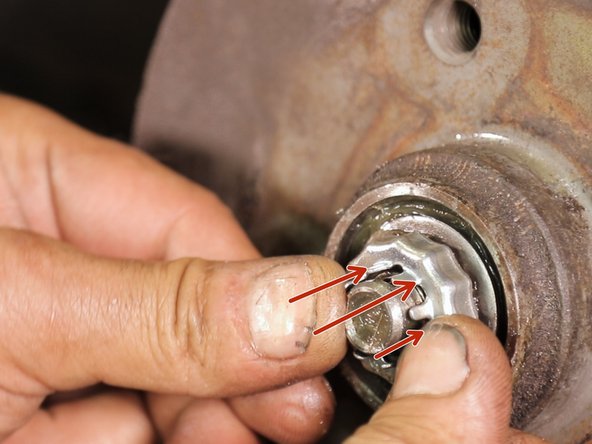
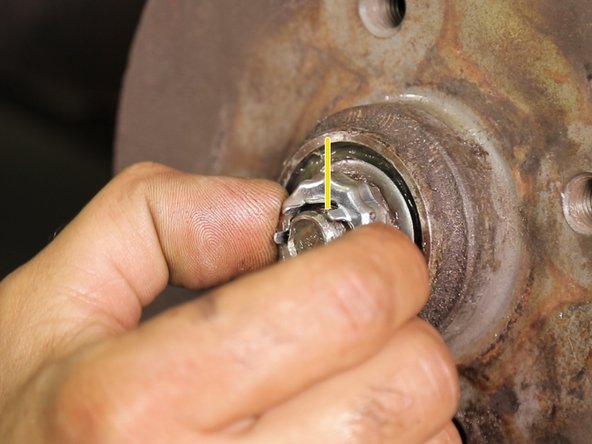
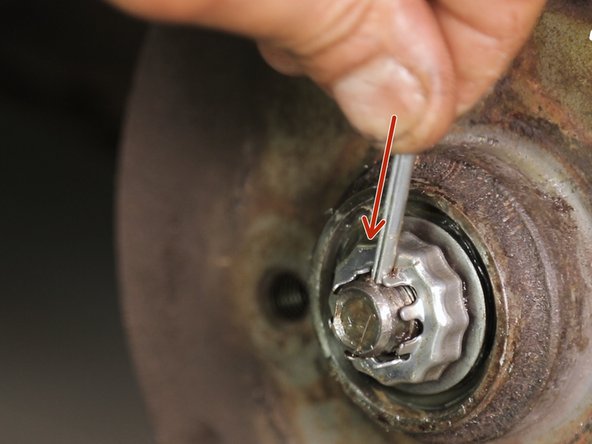
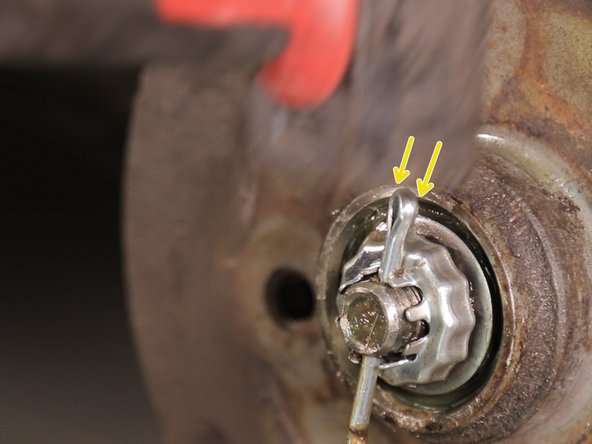
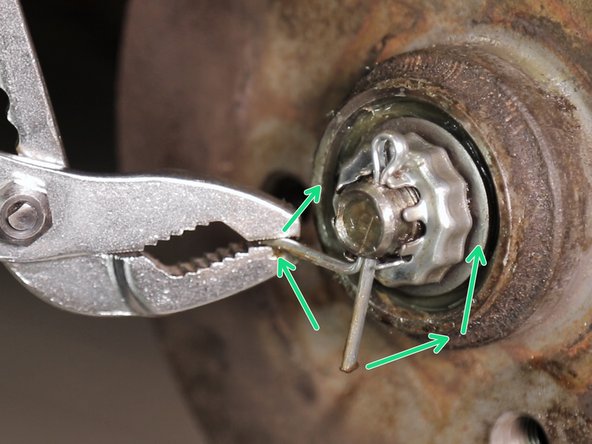
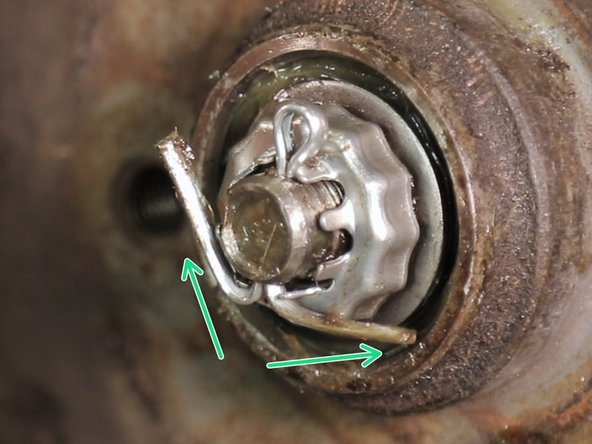
Retirez la goupille en commençant par écarter les deux extremités avec un tournevis plat et d'une pince
-
Retirez la à l'aide d'une pince
-
-
-
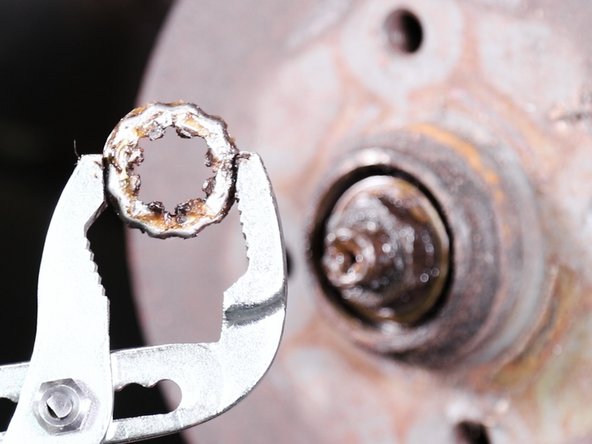
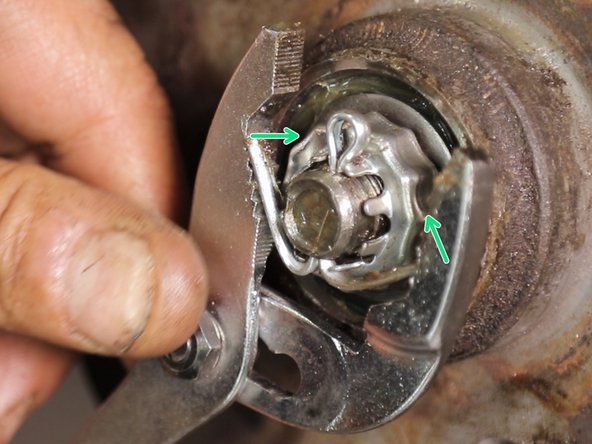
Retirez la bride de l'écrou à l'aide d'une pince
-
-
-
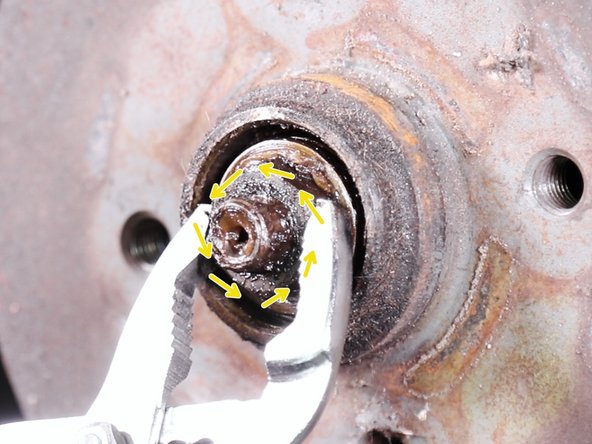
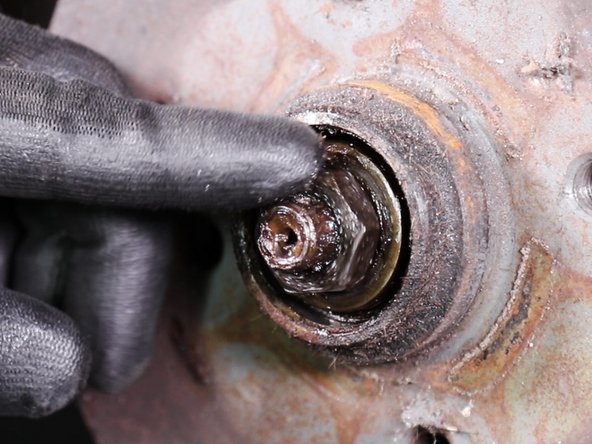
Desserrez l'écrou à l'aide de la pince multiprise
-
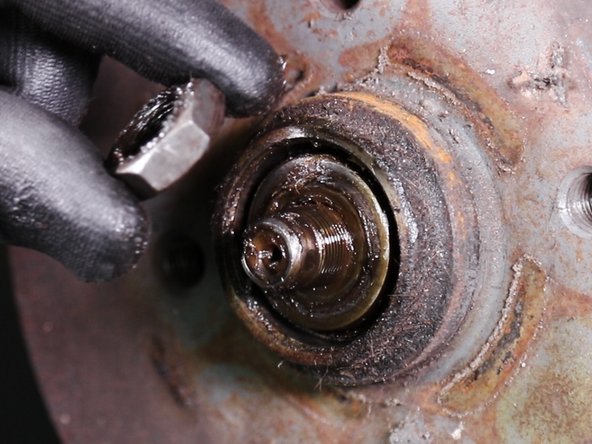
Dévissez le et retirez le à la main
-
l’écrou n'est pas bloqué
-
-
-
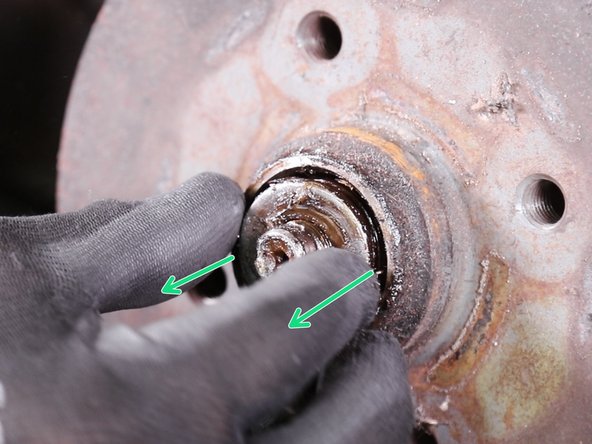
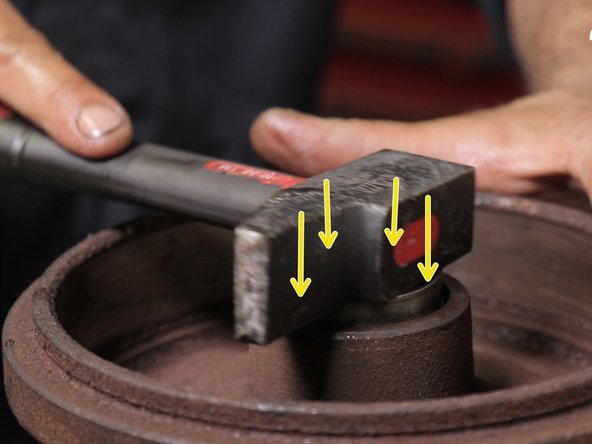
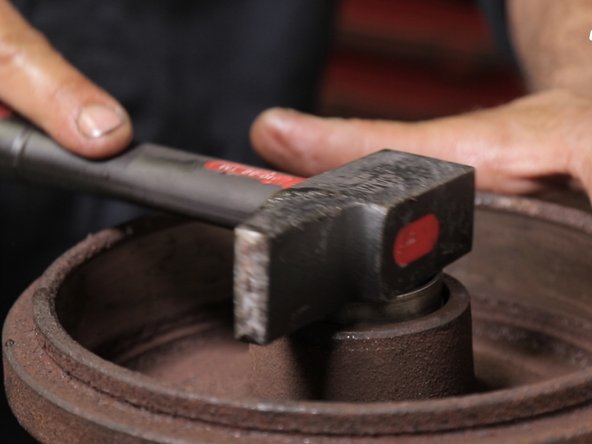
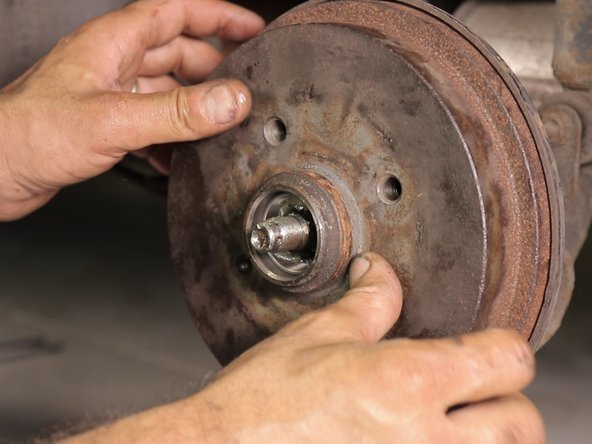
Frappez sur le tambour pour faire reculer le roulement et la rondelle
-
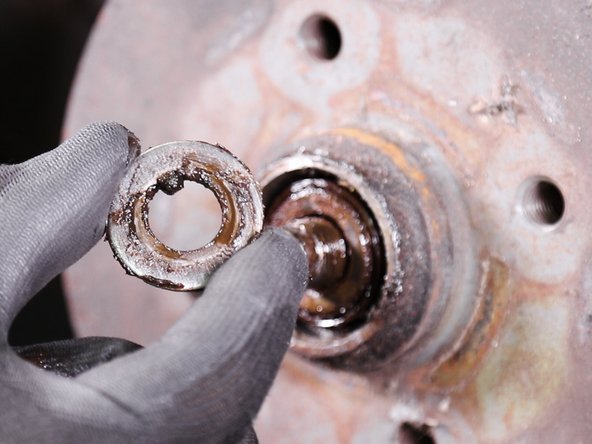
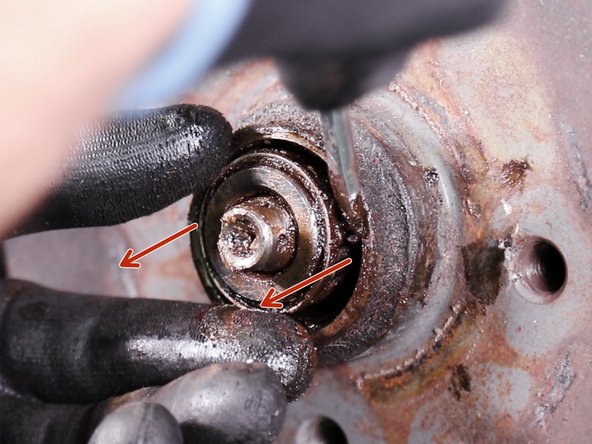
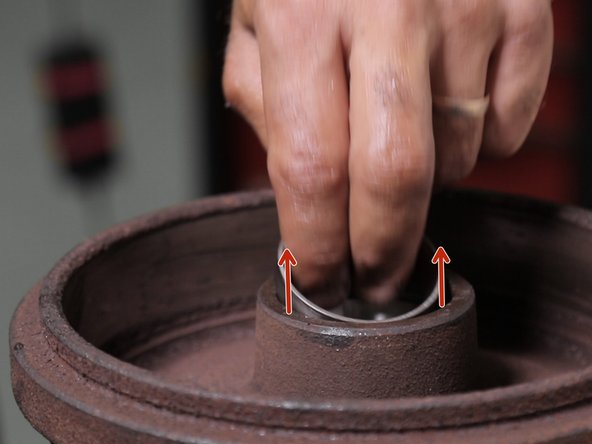
Retirez la rondelle avec vos doigts
-
-
-
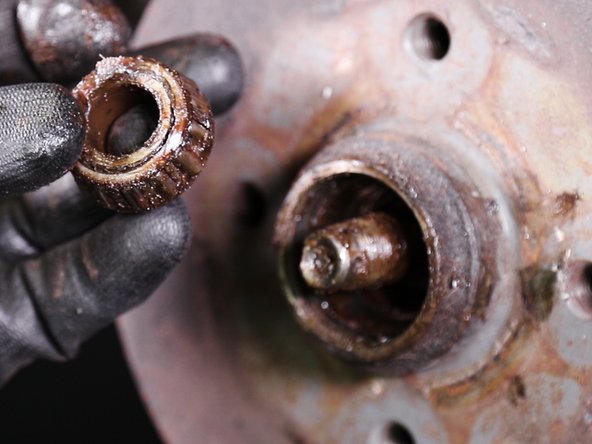
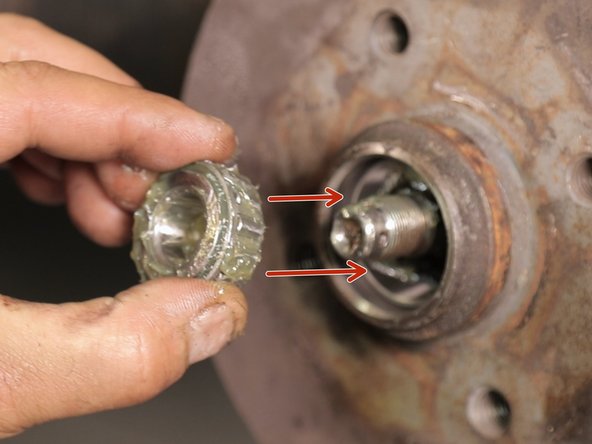
Sortez le roulement extérieur du tambour à l'aide d'un tournevis plat ou de la pince multiprise
-
-
-
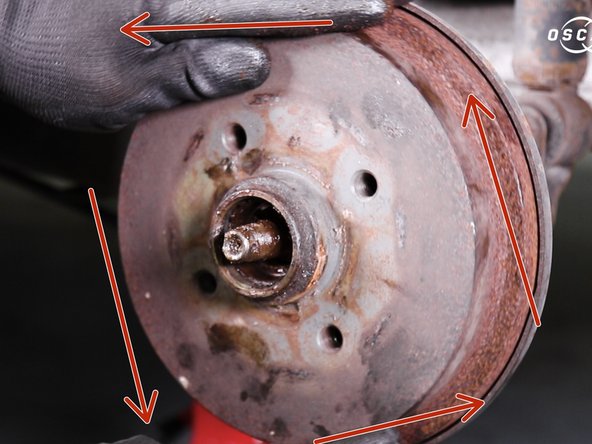
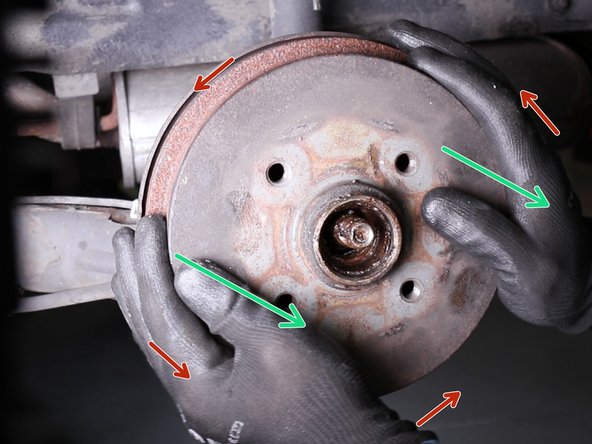
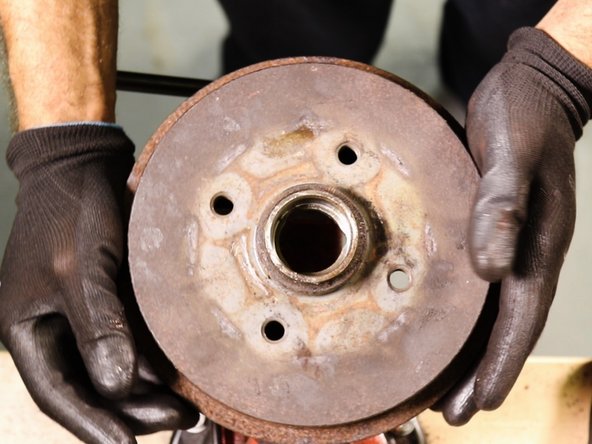
Tournez le tambour en tirant dessus pour le sortir
-
Ne forcez pas trop, si il ne sort pas c'est que le tambour est creusé et que les mâchoires de frein l’empêche de sortir
-
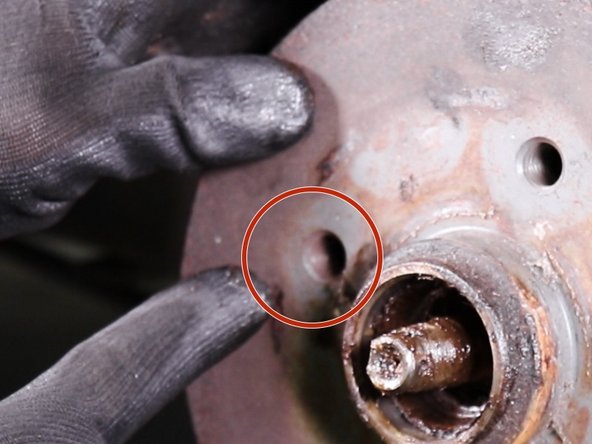
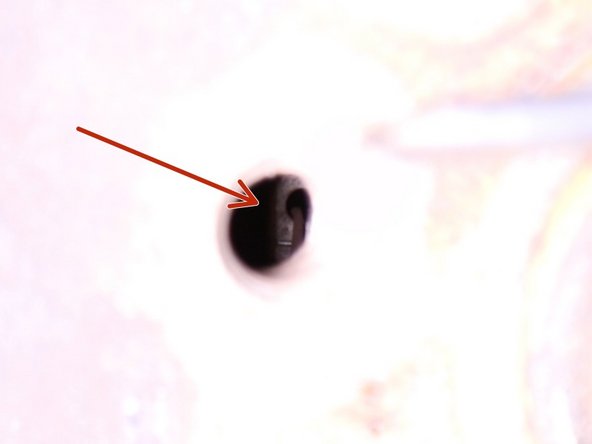
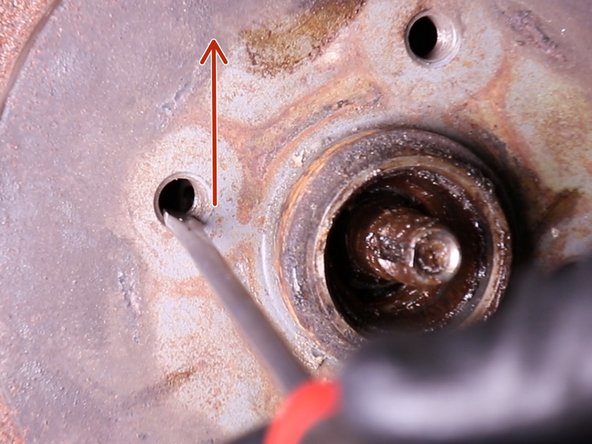
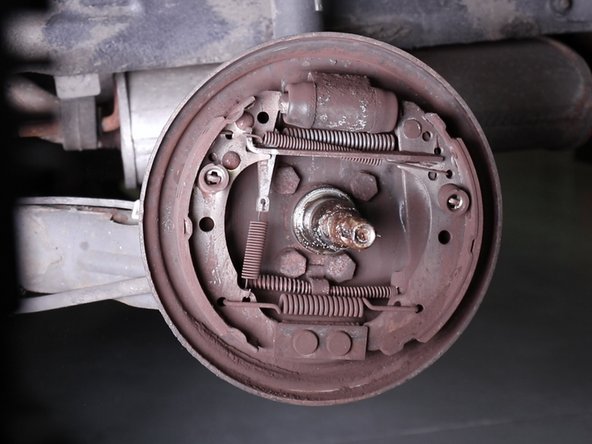
Présentez un des trou devant le levier du rattrapage automatique des mâchoires de frein, il est placer du côté gauche (environ à 10h00) pour la roue arrière gauche et à droite (environ à 2h00) pour la roue arrière droite, utilisez de la lumière pour y voir plus clair
-
-
-
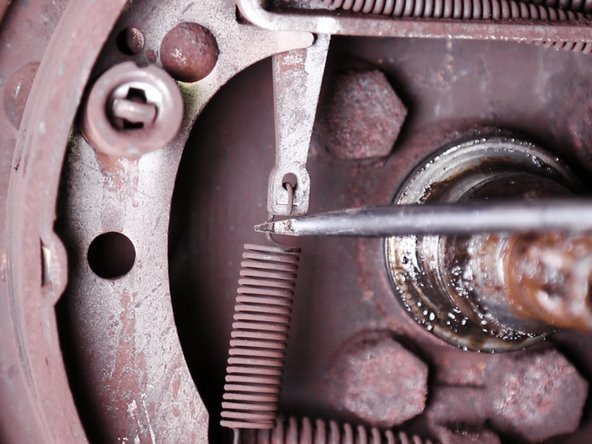
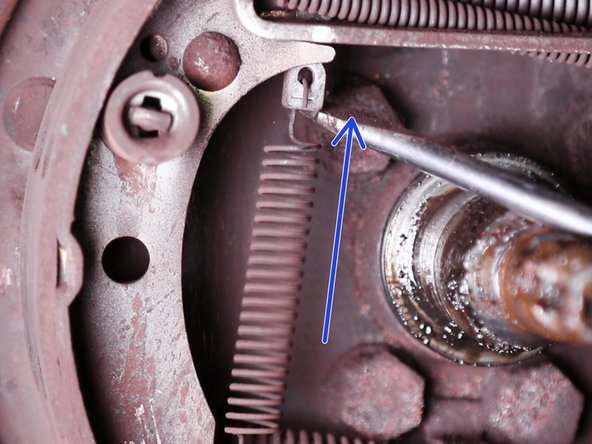
Avec un tournevis plat, remontez le levier jusqu'en haut afin de réduire l'écartement des mâchoires de frein
-
Voilà ce qui se passe de l'autre côté du tambour
-
-
-
Tournez tout en tirant vers vous pour retirer le tambour
-
-
-
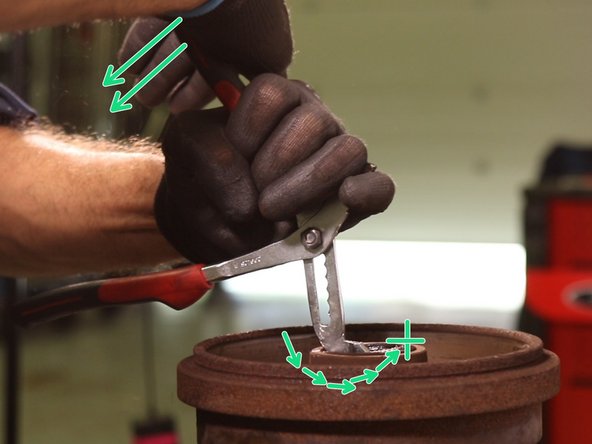
Coincez le tambour dans un étaux si vous en possédez un
-
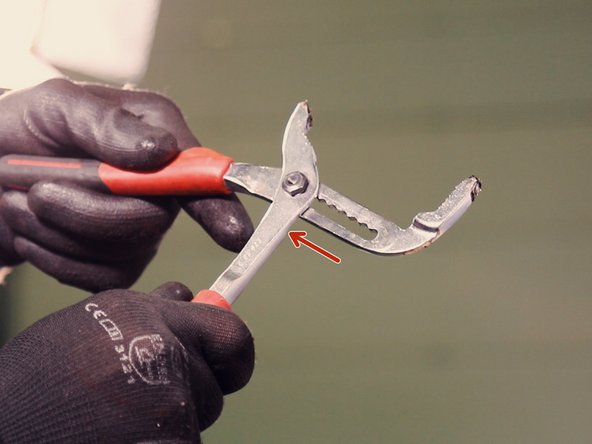
Positionnez votre pince multiprise sur le dernier cran
-
Utilisez-la pour faire levier en placent le bec sous le joint côté intérieur du tambour
-
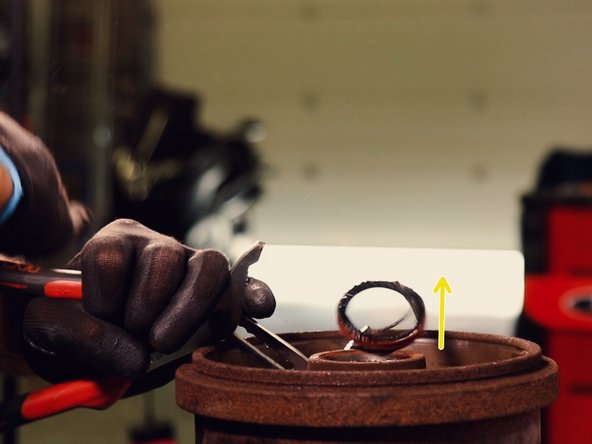
Exercer une pulsion sur la pince pour extraire le joint
-
-
-
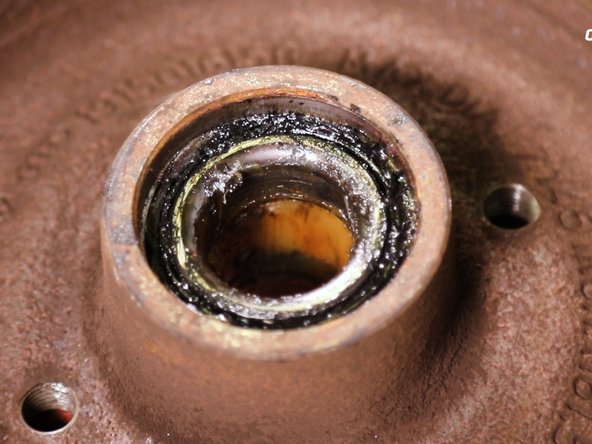
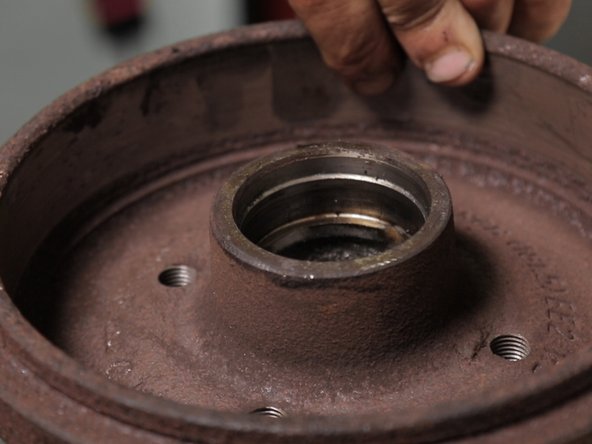
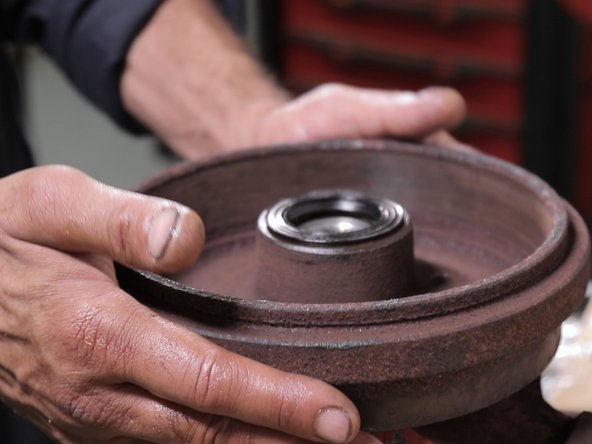
Vous avez maintenant accès au roulement intérieur (le plus grand)
-
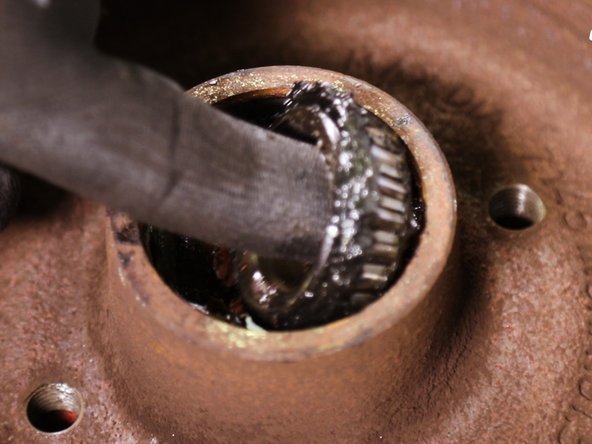
Retirez le simplement à la main
-
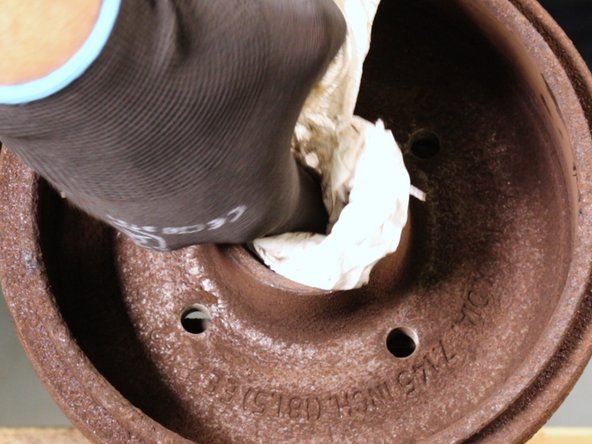
Nettoyez la graisse déposé par le roulement
-
-
-
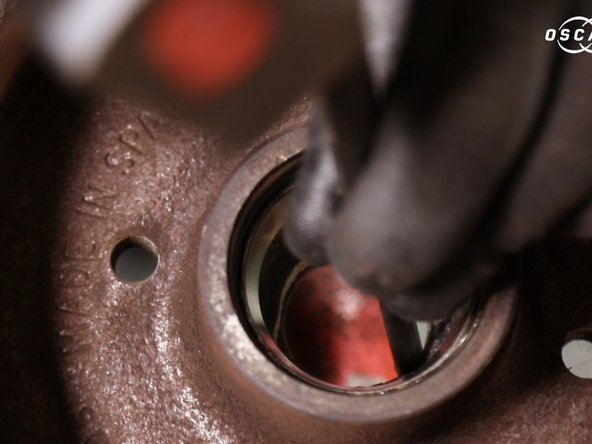
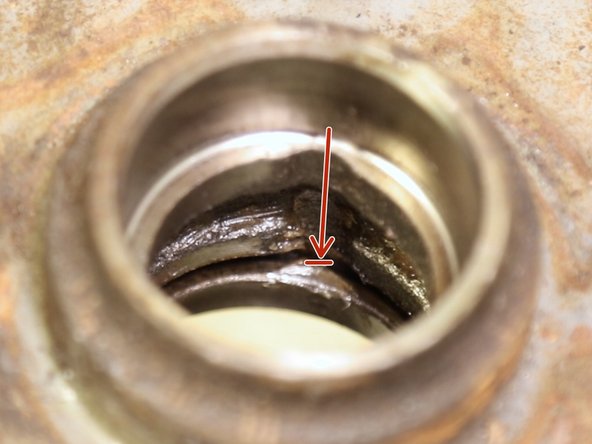
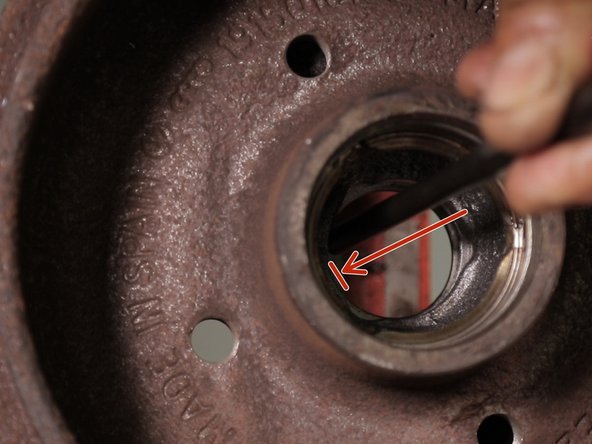
A l'aide d'un chasse goupille et d'un marteau chassez la cages du roulement extérieur (petit)
-
3 petits emplacements sont dédiés à l'utilisation du chasse goupilles
-
Frappez modérément avec le marteau sur le chasse goupille pour extraire la cage du roulement extérieur
-
Frappez doucement quand la cage est presque arrivé au bout, placé un chiffon dessous pour réceptionner son éjection
-
-
-
Retournez le tambour
-
-
-
Placez votre chasse goupilles sur l'un des 3 emplacements dédiés pour chasser la cage du roulement intérieur (grand)
-
Frappez au marteau pour chasser la cage du roulement
-
-
-
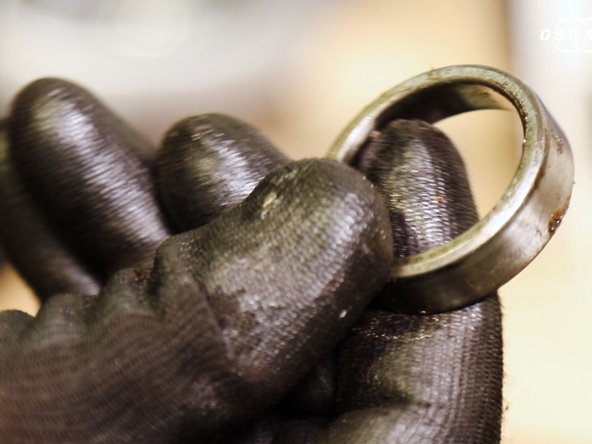
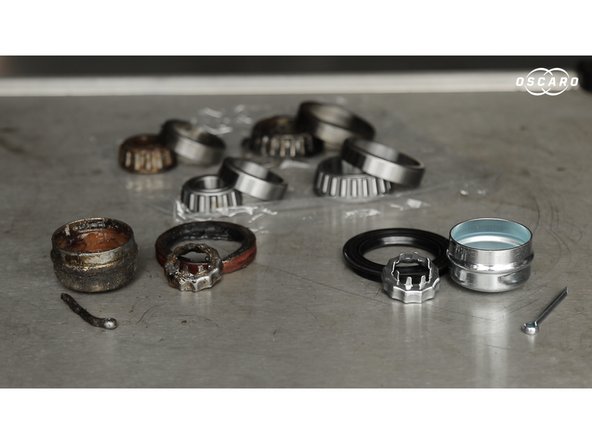
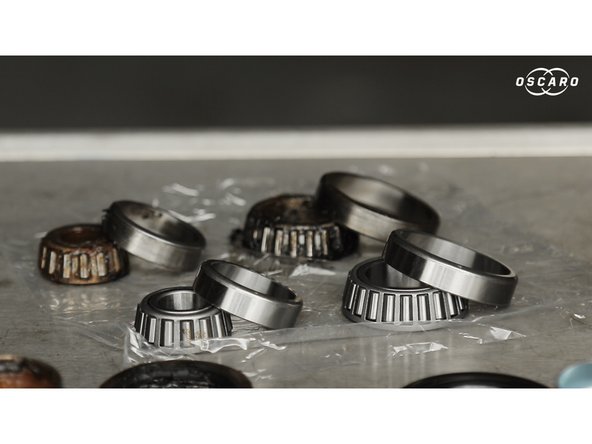
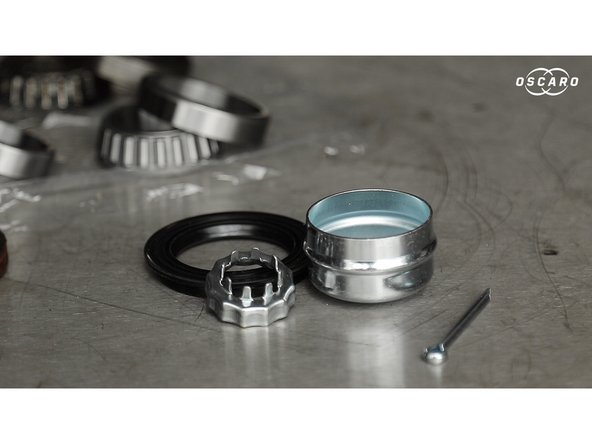
Comparez les anciennes et les pièces neuves pour vous assurez que celles-ci correspondent
-
-
-
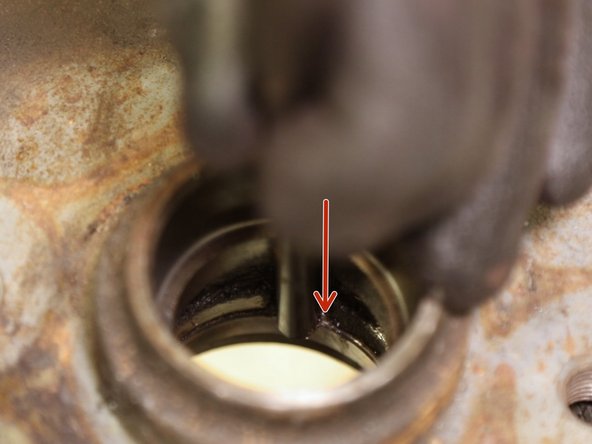
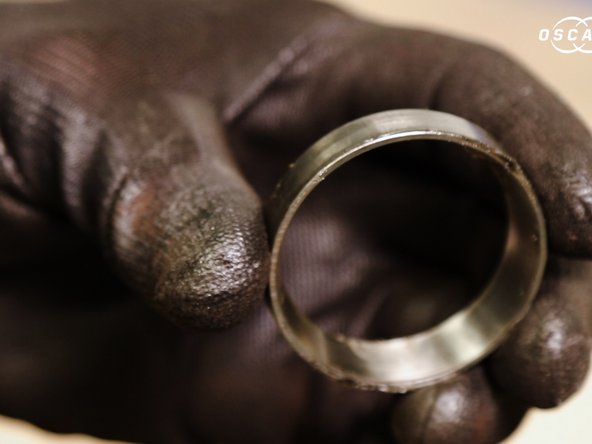
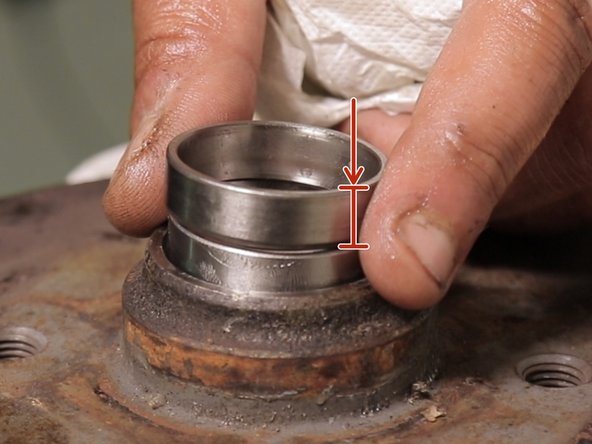
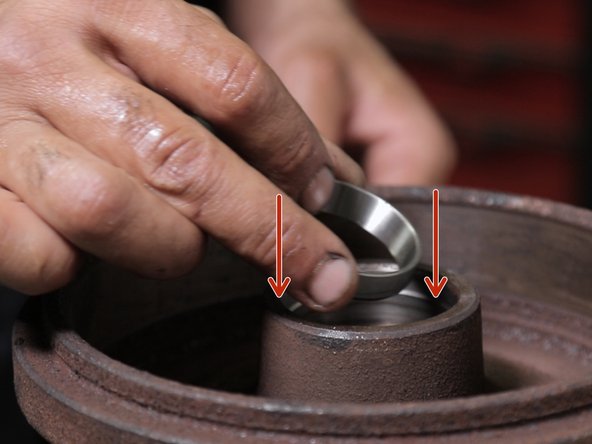
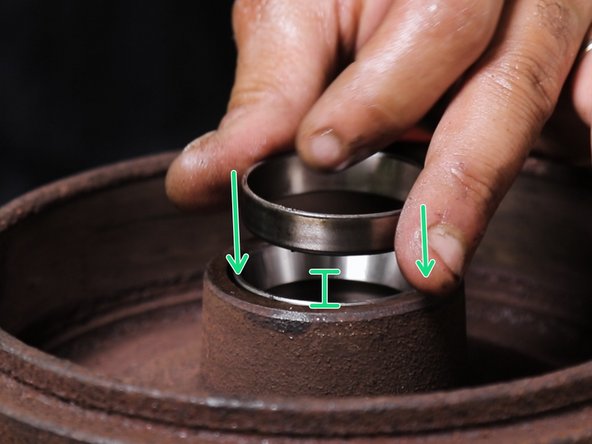
Déposez la nouvelle cage sur son emplacement (le bord le plus large vers l'intérieur), il faut la faire rentrer de force, utiliser l'ancienne cage du même diamètre pour ne pas la frapper directement avec le marteau et facilité son entrée bien droit
-
placer l'ancienne cage également avec le bord plus large en bas par dessus de la nouvelle
-
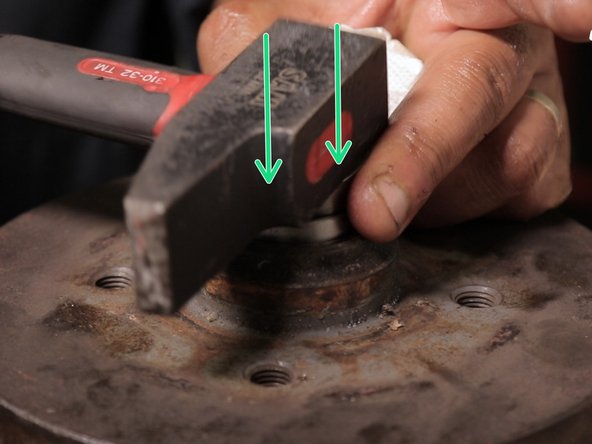
Frappez modérément au marteau en surveillant après chaque coup que la cage ne rentre pas de travers
-
Attention à vos doigts avec les coups de marteau, pour ce faire tapez avec le côté du marteau
-
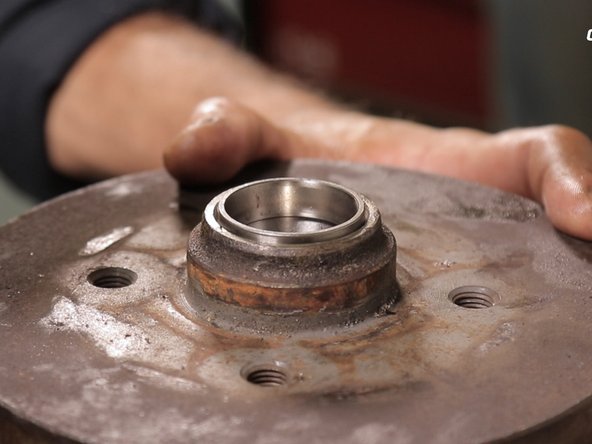
L'entretoise sera arrivée en butée dans son emplacement une fois que vous entendrez un bruit plus métallique que les précédents
-
-
-
Votre nouvelle cage est maintenant dans son emplacement, mais vous ne pouvez pas retirer l'ancienne cage, pour ce faire vous devez la chasser au chasse goupilles
-
Retournez le tambour
-
Placez votre chasse goupilles sur le bord large de l'ancienne cage et frappez au marteau pour la chasser
-
-
-
Insérez la grande cage toujours le bord le plus large au fond
-
Tout comme la première cage, aidez vous de l'ancienne du même diamètre
-
Placez l'ancienne cage
-
Frappez au marteau pour faire entrer la nouvelle cage dans son emplacement
-
-
-
La cage sera arrivée dans son emplacement une fois que vous entendrez un bruit plus métallique que les précédents
-
Cette fois-ci pas besoin de chasser l'ancienne cage, retirez la simplement avec vos doigts
-
-
-
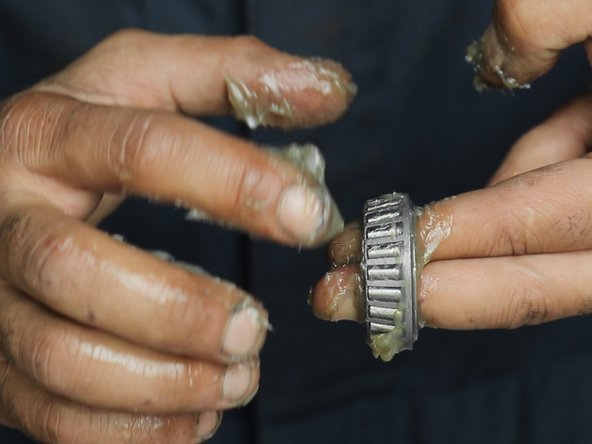
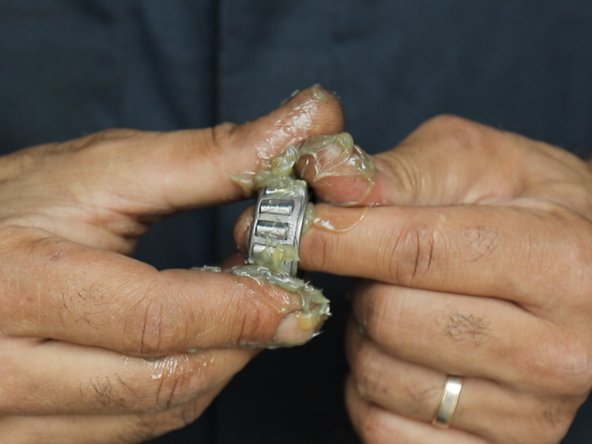
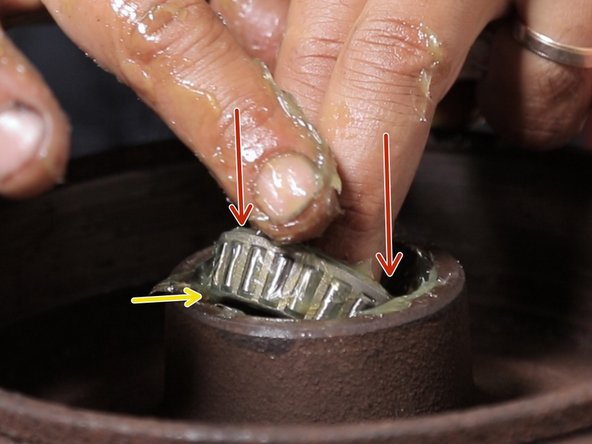
Graissez les nouveaux roulements
-
N'hésitez pas à en mettre beaucoup
-
-
-
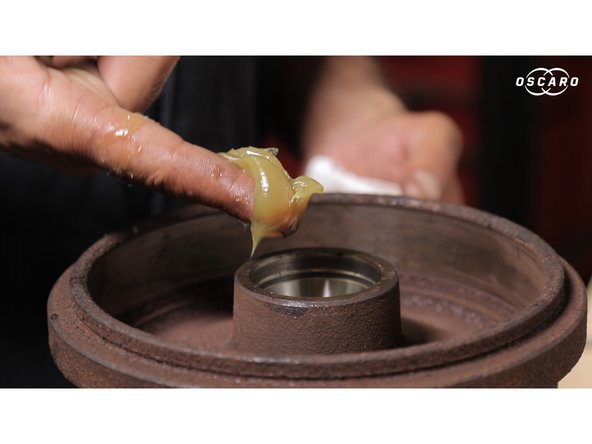
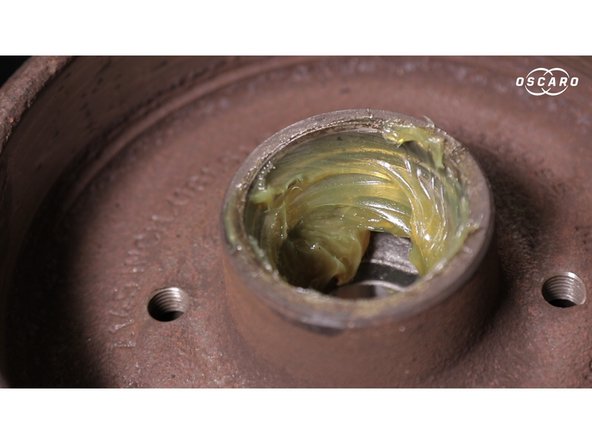
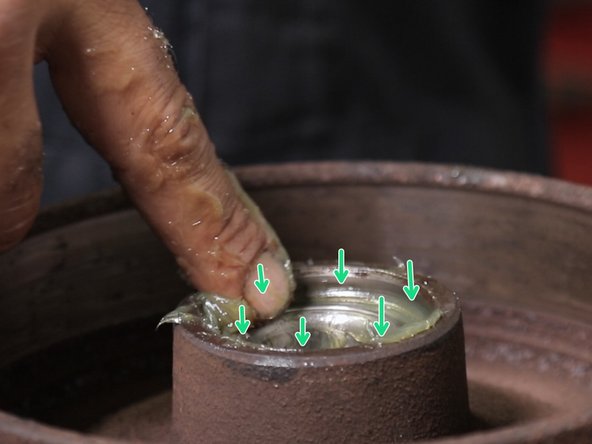
Avant d'accueillir les roulements vous devez graisser les cages et l'emplacement des roulements
-
-
-
Posez votre nouveau roulement (le plus grand) dans son emplacement simplement avec vos doigts
-
Le côté du roulement possédant le plus petit diamètre se place vers le bas
-
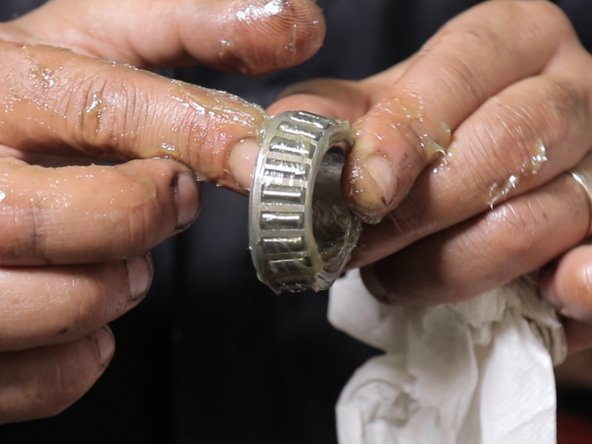
Etalez la graisse restante sur le roulement
-
-
-
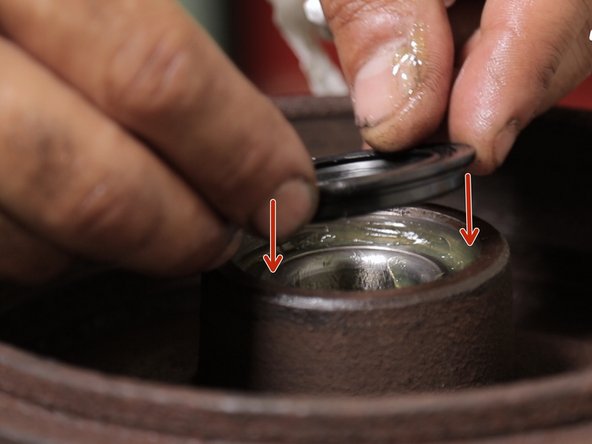
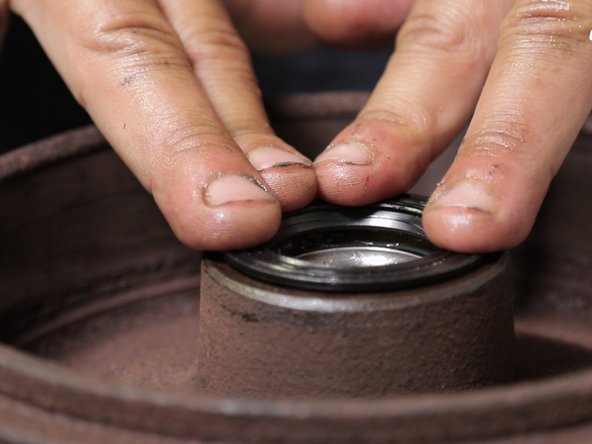
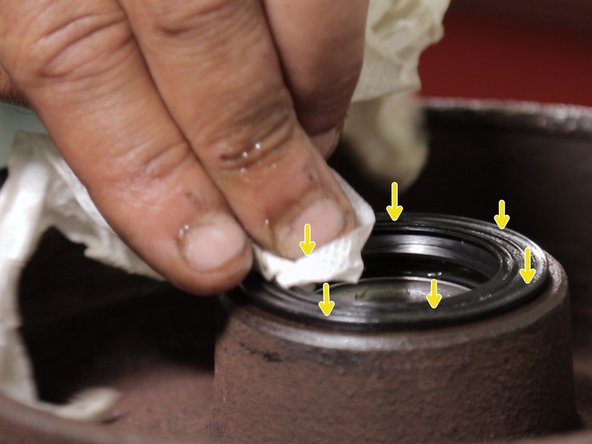
Posez le nouveau joint au dessus du roulement il rentre facilement
-
Essuyez le joint au cas-où de la graisse se serait étalé sur le dessus
-
-
-
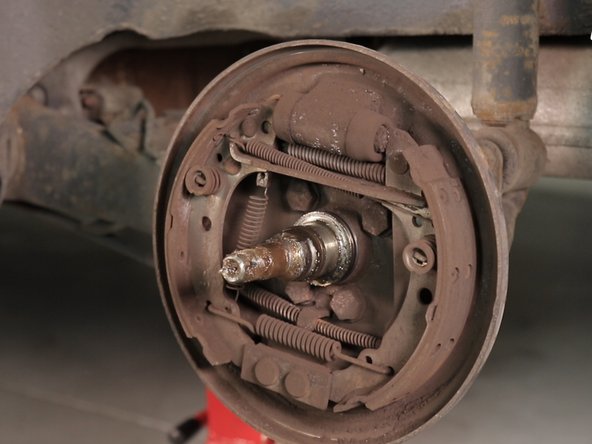
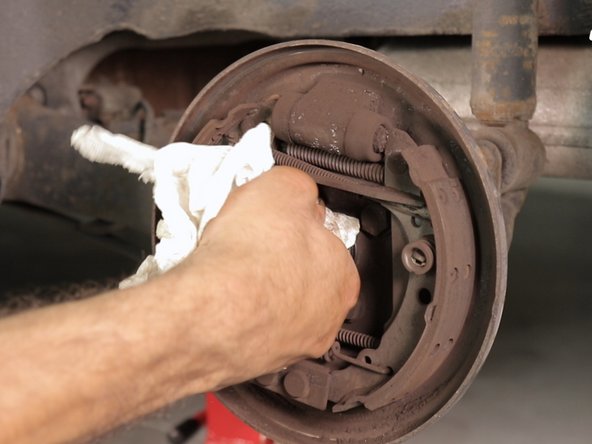
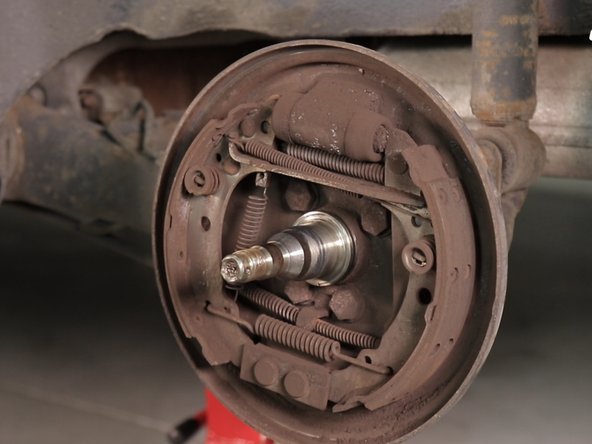
Nettoyez la graisse restante sur la fusée d'essieu
-
-
-
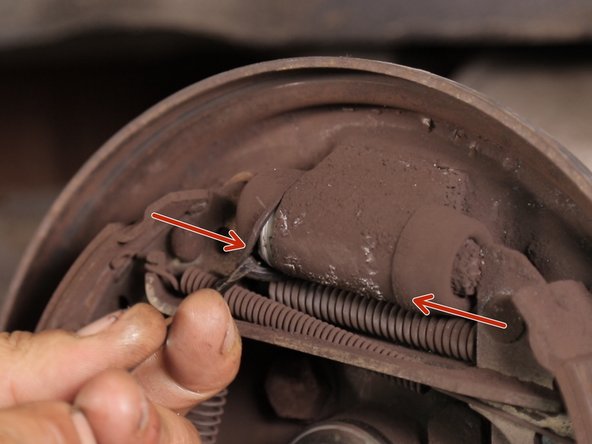
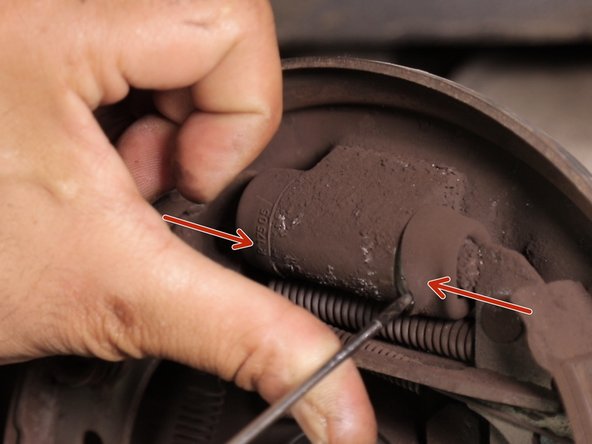
Vérifier que vous n'avez aucune fuite de liquide de frein au niveau des caoutchoucs du cylindre de roue
-
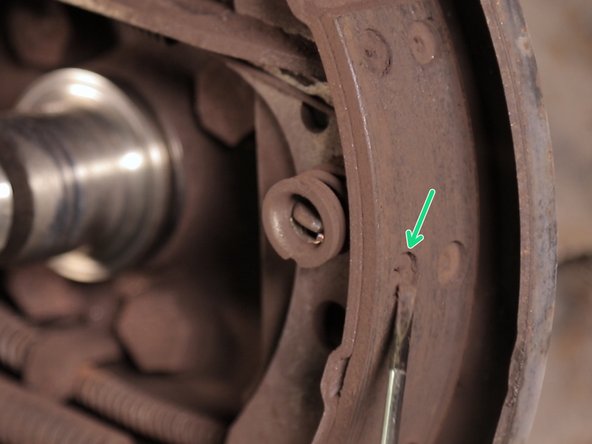
Vérifier si il reste de la matière sur vos mâchoires pour une bonne utilisation du freinage, si le rivet est au niveau de la mâchoire cela veux dire que ces dernières sont usées. Dans le cas contraire tout est normal.
-
Utilisez un petit tournevis plat
-
-
-
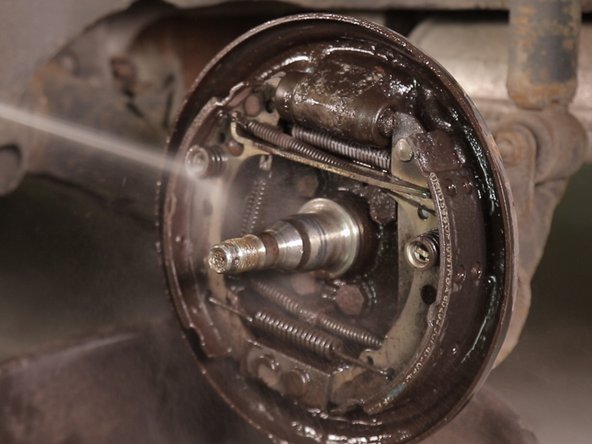
Nettoyez votre système de freinage ainsi que le tambour avec du nettoyant frein
-
Ne pas mettre de nettoyant freins sur les roulements et le joint du tambour
-
-
-
Reposez le tambour délicatement en guident le roulement intérieure sur la fusée d'essieu
-
-
-
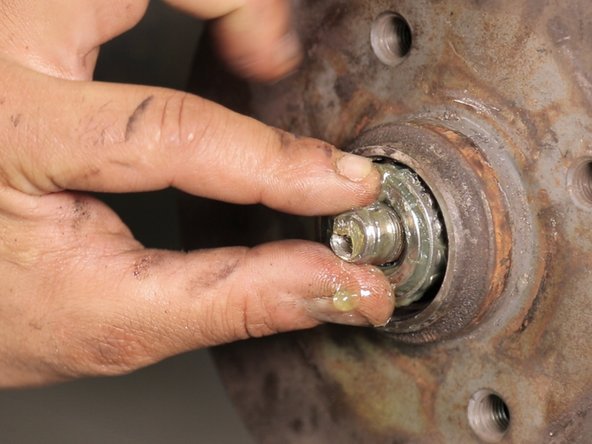
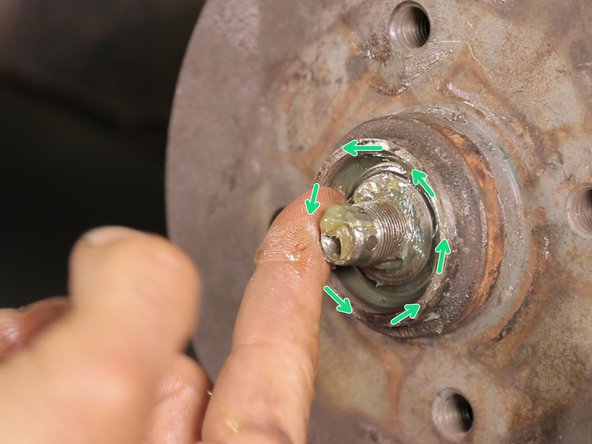
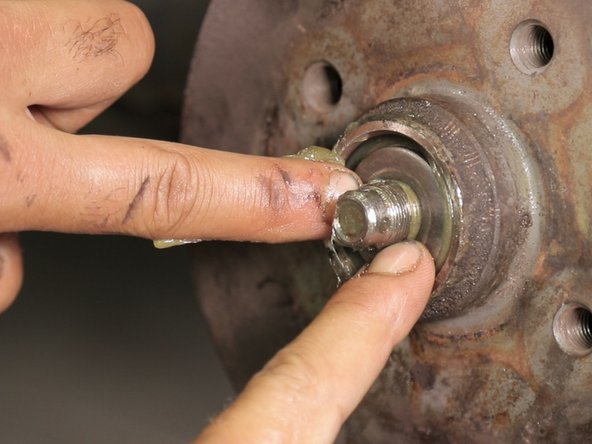
Posez le petit roulement sur l'essieu de fusée et pousser
-
Etalez la graisse sur le roulement
-
-
-
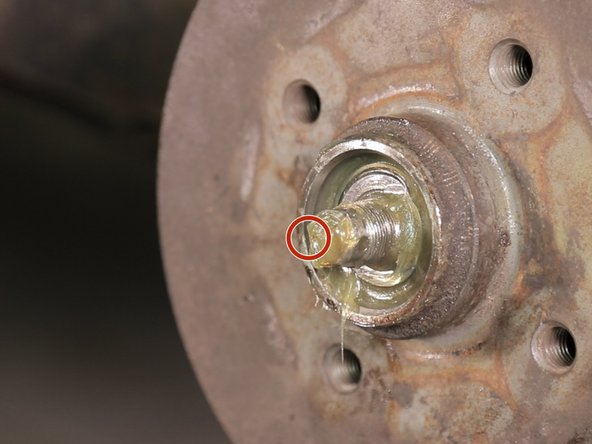
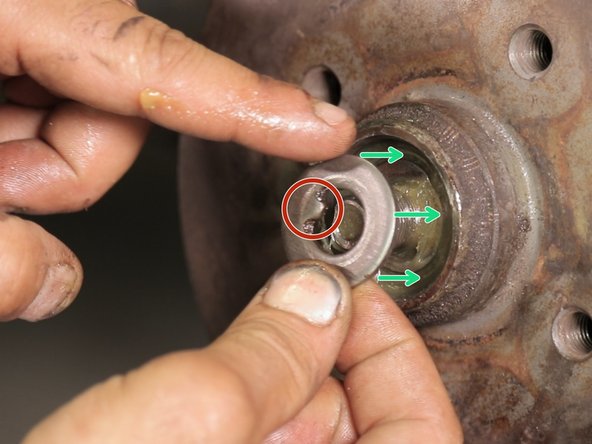
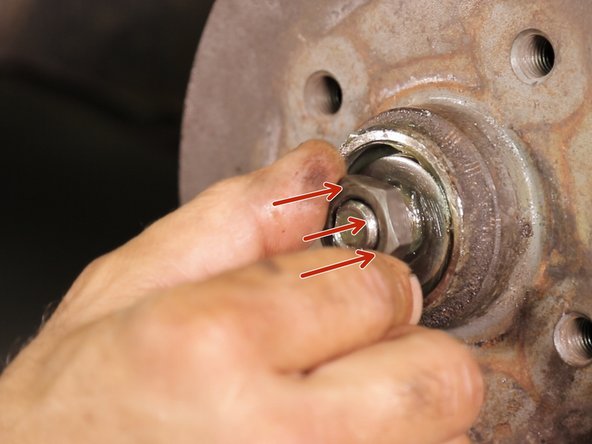
La fusée d'essieu possède une tranche pour accueillir la courbure de la rondelle, vous devez les alignez pour poser la rondelle
-
Reposez la rondelle sur la fusée d'essieu
-
-
-
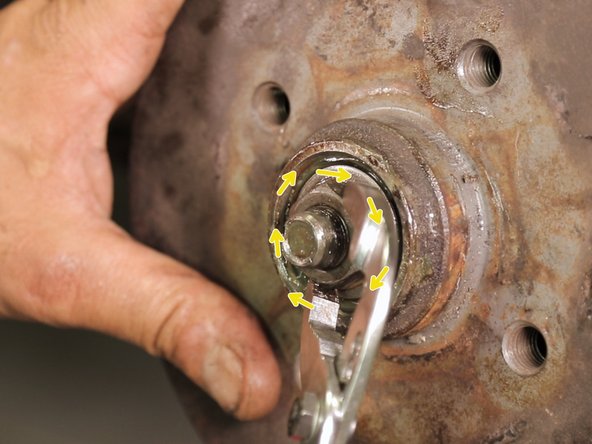
Reposez l'écrou sur la fusée d'essieu
-
Serrez modérément le à l'aide de la pince multiprise
-
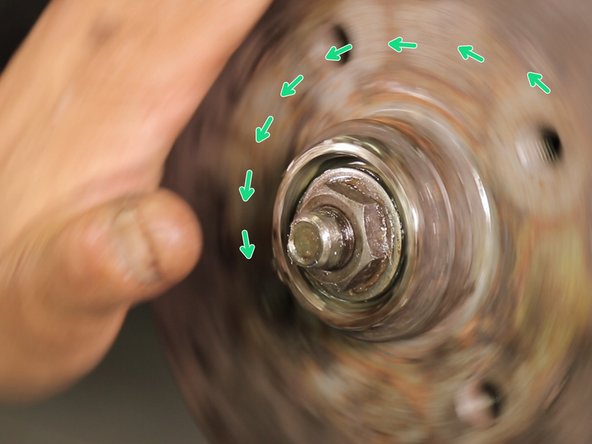
Faites tourner le tambour pour étaler la graisse qui se trouve sur les roulements
-
-
-
Desserrez légèrement jusqu'à entendre un bruit de frottement au moment où vous faites tourner le tambour
-
Resserrez le jusqu'à ne plus entendre ce bruit
-
Ce type de roulement conique ne ce bloque pas au serrage, il est ajustable a la main sans forcer
-
-
-
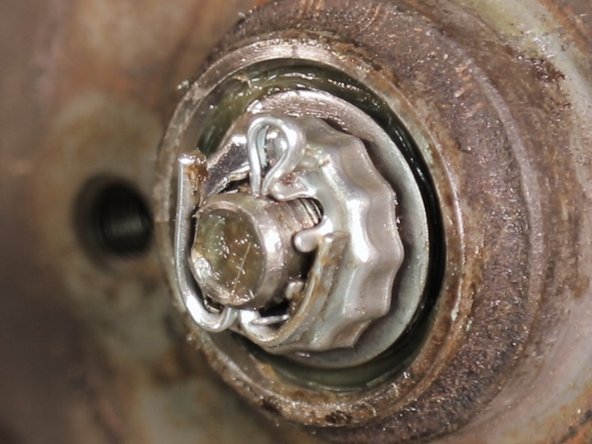
Placez la cage de verrouillage sur l'écrou
-
La fusée d'essieu possède un trou sur le haut, alignez un des trou de la cage pour pouvoir passer la goupille par la suite
-
-
-
Passez la goupille dans le trou de la fusée d'essieu
-
Tapez légèrement sur la goupille avec un marteau si l'alignement n'est pas parfait
-
Repliez la goupille avec une pince
-
-
-
Resserrez les extrémités sur la rondelle à l'aide d'une pince multiprise, elle sert a retenir la cage pour que l'écrou ne se dessert pas
-
-
-
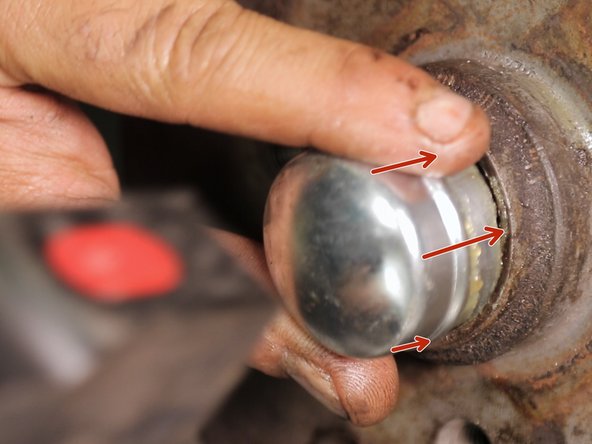
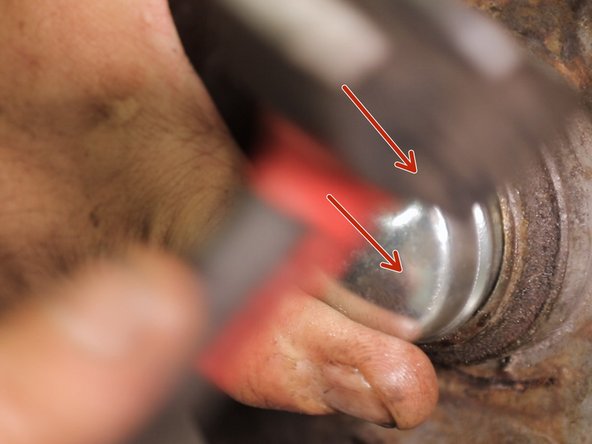
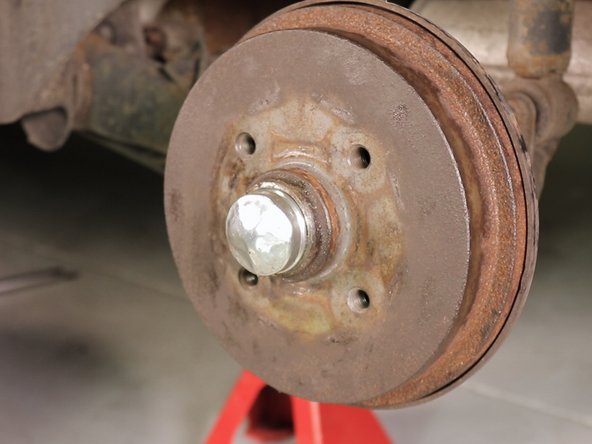
Reposez le capuchon en tapant dessus à l'aide d'un marteau si vous ne possédez pas la cloche spécial qui évite ça déformation
-
-
-
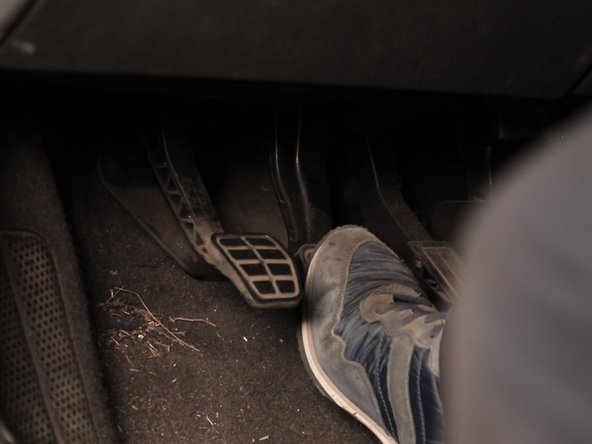
Appuyez sur la pédale de frein à répétition pour rapprocher les mâchoires du tambour avant de prendre la route
-







Annulation : je n'ai pas terminé ce tutoriel.
Une autre personne a terminé cette réparation.

Équipe

3 commentaires
Normalement il faut respecter un couple de serrage 110Nm pour les roulement conique et desserrer légèrement l’écrou manuellement de telle sorte qu’il soit tout juste possible de déplacer la rondelle d’appui dans le sens radial, par une simple pression du doigt ou avec l’extrémité d’un tournevis, sans faire levier
Samir Bouguerra - Résolu à la publication Réponse
super tuto je trouve ca vraiment genial acheter des pieces et avoir un tuto pour les monter vraiment chapeau heureusement que dans la vie il y a des gents qui ne dorment pas sur leurs lauriers merci encore oscaro et longue live
didier gay - Résolu à la publication Réponse