


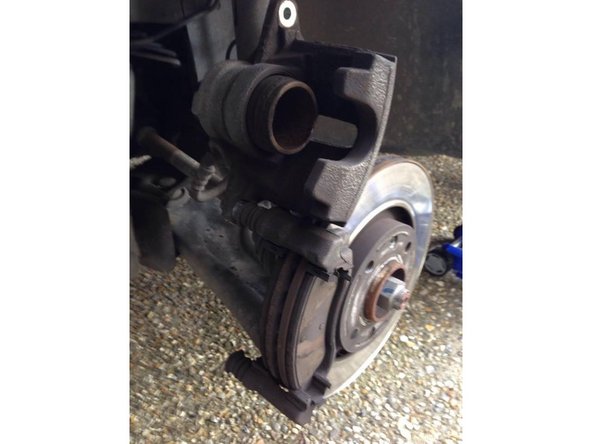
Introduction
Vous souhaitez changer vos plaquettes et disques de freins avant sur Peugeot 207+ 1.4 HDi FAP 68 cv
-
-
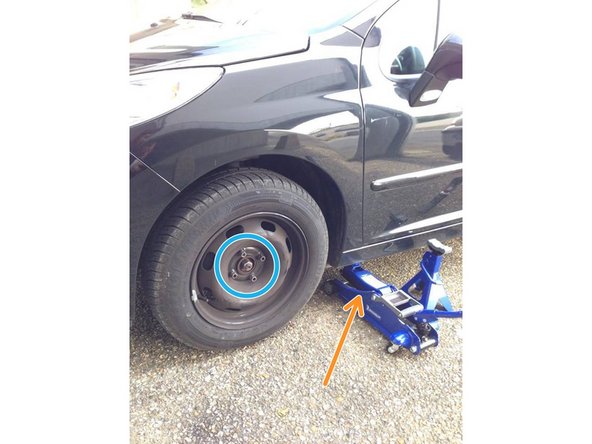
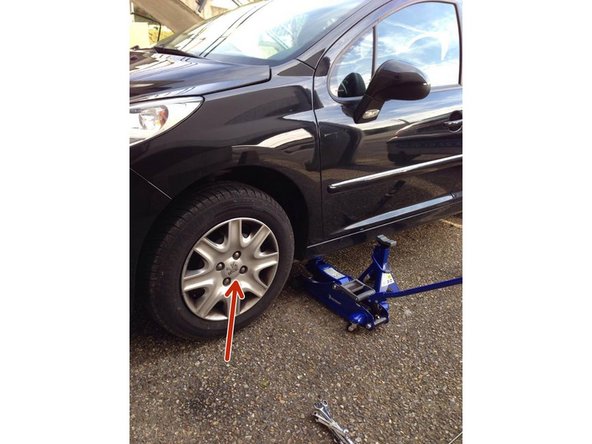
Pour pouvoir démonter votre roue :
-
Enlevez votre enjoliveur si vous en avez un, en tirant simplement dessus délicatement pour le déclipsser.
-
- Utilisez une croix ou regarder dans votre coffre en enlevant la moquette, vous y trouverez une clé prévu pour desserrer vos 4 écrous, sans les retirer entièrement.
-
- Utilisez un cric pour lever l'avant de votre véhicule.
-
Pensez à sécurises votre véhicule en utilisant des chandelles ou autres.
-
- Maintenant vous pouvez enlever vos 4 écrous qui tienne la roue puis enlevez la en tirant dessus.
-
Vous pouvez ensuite ouvrir votre capot moteur et dévisser en retirant le bouchon du remplissage de liquide de frein.
-
-
-
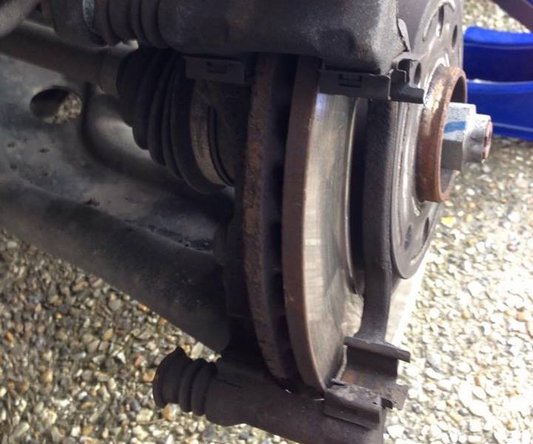
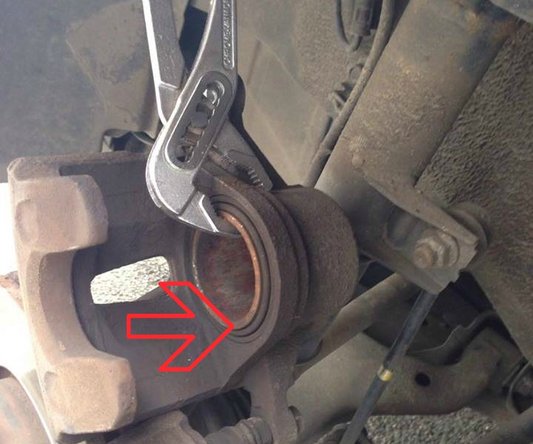
Pour pouvoir repousser le piston, utilisez un gros tournevis plat, Insérez votre tournevis au niveau du cercle rouge juste entre la plaquette et le piston puis poussez fortement en faisant levier dessus car celui ci est très dur donc n'hésitez pas.
-
Avant de repousser le piston il est conseiller d’ouvrir son bocal réservoir de liquide de frein pour éviter que celui-ci ne se mettent sous pression.
-
-
-
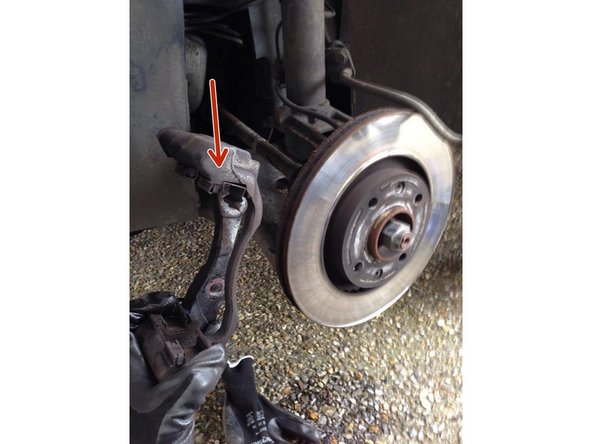
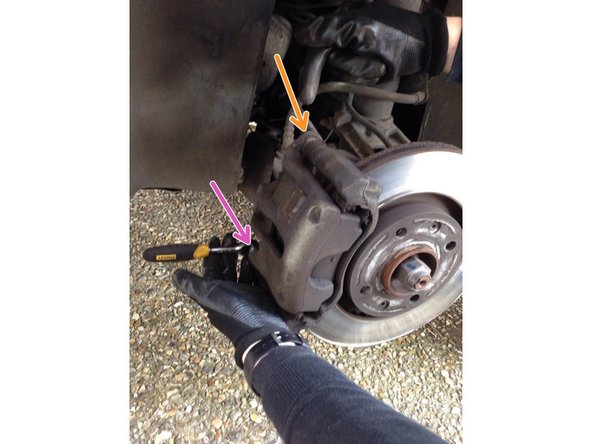
Pour changer vos plaquettes vous devrez dévissé votre étrier et le basculer vers le haut pour y avoir accès.
-
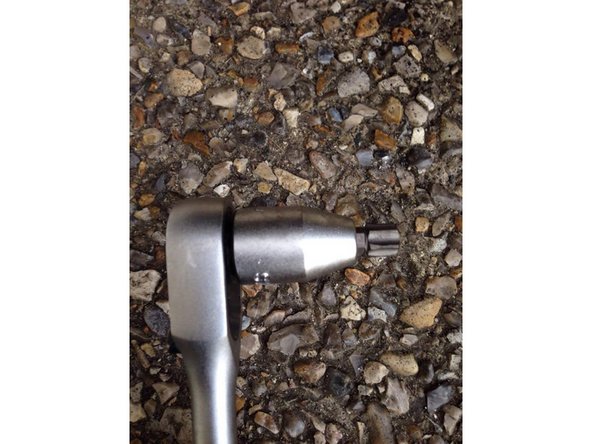
Vous aurez besoin d'un cliquet avec une douille de 17 pour dévisser l'étrier.
-
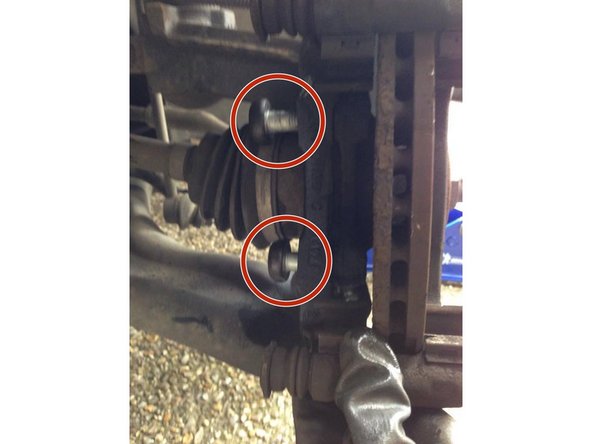
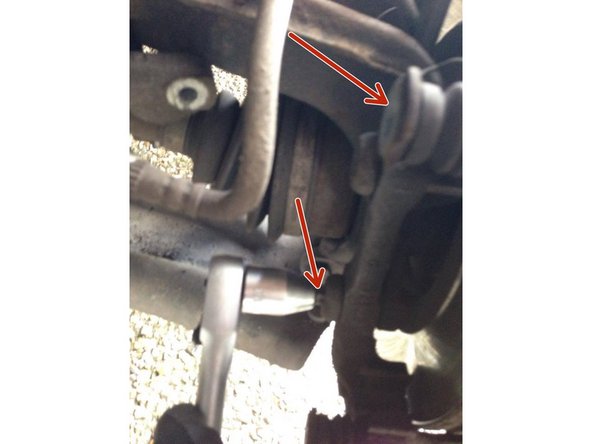
Sur la partie du haut : L'écrou doit être dévisser mais pas au maximum car vous ne devez pas l'enlever, celui ci doit toujours être un minimum vissé dessus.
-
Sur la partie du bas : L'écrou doit être entièrement dévisser et enlever pour que vous puissiez ensuite faire levier vers le haut.
-
-
-
Pour enlever vos plaquettes de freins, utilisez un tournevis plat puis mettez le derrière chaque plaquettes pour ensuite faire levier et la retirer simplement à la mains.
-
En bleu : Plaquettes neuves.
-
En orange : Plaquettes usagées.
-
-
-
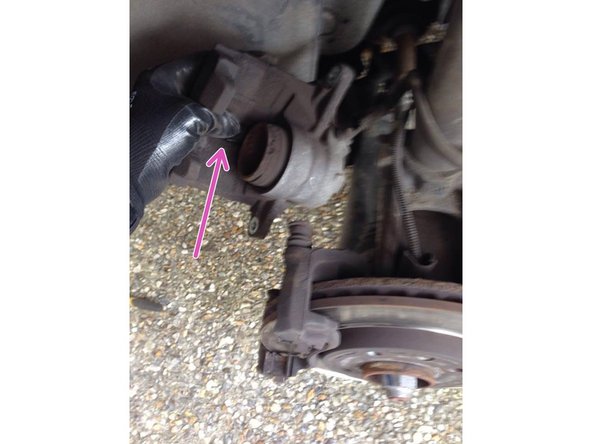
Vous devrez enlevé entièrement les 2 vis qui tiennent votre étrier, pour cela utilisez votre cliquet et sa douille de 17.
-
Vous pouvez maintenant retirer votre étrier en le tirant vers vous, posez le à un endroit ou il ne sera pas maintenu par les flexibles.
-
-
-
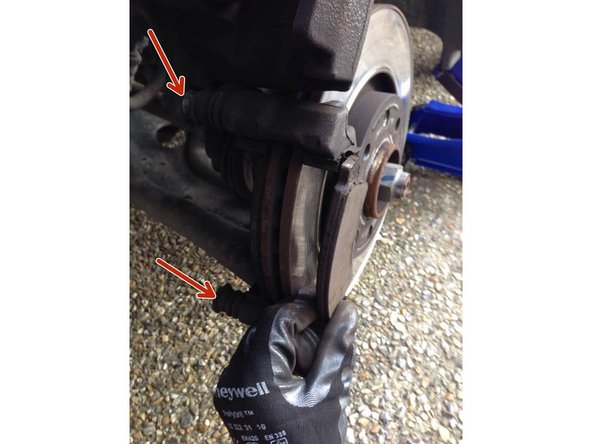
Il vous reste maintenant la deuxième partie de l'étrier, pour cela utilisez un tournevis avec un embout HW de 55 puis dévissez les 2 grosses vis qui se trouvent derrière l'étrier.
-
N'hésitez pas à forcer dessus car elles sont très bien serrées, si vous n'y arrivez pas, utilisez du dégrippant pour vous aider.
-
-
-
Vous pouvez maintenant soulevé la deuxième partie de l'étrier pour le déposer entièrement.
-
Vous avez maintenant accès à votre disque de frein.
-
-
-
Vous pouvez maintenant déposer le disque de frein en utilisant un gros tournevis cruciforme, il vous faudra enlever intégralement les 2 vis qui maintiennent celui ci.
-
Vous pouvez ensuite tirer le disque de frein vers vous pour ensuite le changer.
-
-
-
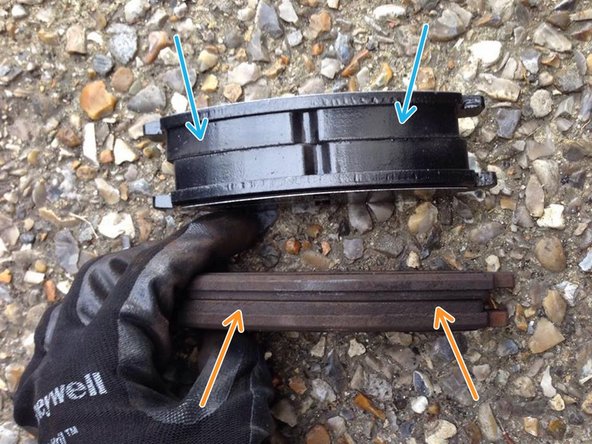
Vous pouvez maintenant comparé les dimensions des 2 disques.
-
En vert : Disque de frein neuf.
-
En bleu : Disque de frein usagé.
-
Mettez le nouveau disques en place en respectant son sens, puis remettez les 2 vis à l'aide d'un gros tournevis cruciforme.
-
-
-
Vous pouvez maintenant reposé la deuxième partie de l'étrier de frein en respectant son sens.
-
Utilisez un tournevis avec un embout HW de 55 puis vissez les 2 grosses vis qui se trouvent derrière l'étrier.
-
N'hésitez pas à forcer dessus pour qu'elles soient entièrement visser.
-
-
-
Vous pouvez maintenant remettre en place l'étrier en respectant son sens.
-
Vous devrez vissé entièrement les 2 vis qui tiennent votre étrier, pour cela utilisez votre cliquet et sa douille de 17.
-
-
-
Pour mettre vos nouvelles plaquettes de freins, vérifier le sens puis insérer les dans l'encoche du haut ainsi que sur le bas puis appuyez fortement dessus pour les enclencher.
-
Les cales anti bruit sont généralement livrés avec les plaquettes neuves et sont à remplacer ou au minimum à nettoyer à chaque remplacement de plaquettes.
-
-
-
Pour pouvoir remettre l'étier vous devrez repoussé le piston au maximum, pour cela utilisez une pince multiprise puis appuyez très fortement dessus jusqu'à ce qu'il soit entrer totalement.
-
-
-
Pour remettre votre étrier, faites le basculé vers le bas délicatement en prenant soin que la plaquette ne bouge pas et qu'elles restent bien en place.
-
Insérez la vis que vous avez retiré sur le bas de l'étier puis revisser la fortement avec votre cliquet et sa douille de 17.
-
Resserrez ensuite la vis du haut grâce à votre cliquet et sa douille de 17.
-
-
-
Vous pouvez maintenant remettre en place le bouchon sur le réservoir de liquide de frein.
-
Mettre en place et revisser les 4 écrous de votre roue.
-
Remettre votre enjoliveur en le clipsant, en appuyant fortement dessus.
-
Le travail est maintenant terminé, vous devrez vous rendre dans votre véhicule puis appuyer une dizaine de fois sur votre pédale de frein avant de prendre le volant pour que le piston se remette en place.
-


Annulation : je n'ai pas terminé ce tutoriel.
19 autres ont terminé cette réparation.

6 commentaires
bravo , bon tuto.
Je rajouterai juste trois choses et plus des différents points mentionnés plus haut :
- faire un dépoussiérage des zones polluées par la poussière de plaquette
- attention au niveau de liquide dans le bocal lorsqu’on repousse les pistons
- changer le liquide de frein si il a plus de 2 ans, car ce produit est avide d’eau (humidité) et il perd de son efficacité.
Pascal Louis - Résolu à la publication Réponse
Utiliser une pince pour repousser le piston (étape 13) peut l’endommager. Je préconise de laisser en place une ancienne plaquette et de faire appui dessus pour repousser le piston. Faire cette opération avant le remontage de l’étrier.
Dégraisser éventuellement les disques neufs si ceux-ci sont stockés “gras”.
Mettre du frein filet sur les vis de fixation de l’étrier serait en effet souhaitable sachant que certaines vis livrées avec les plaquettes neuves peuvent déjà enrobées de frein filet.
Profitez de ce démontage pour vérifier l’état des flexibles de frein et éventuellement procéder à leur échange si craqueler ou vétustes.
Marc
MARC FLODROPS - Résolu à la publication Réponse
Bravo pour le tuto et le commentaire précédent, demain j’attaque…………….
Cordialement
Alain Martelli
Alain Martelli - Résolu à la publication Réponse