Introduction
Voici un tutoriel pour changer les disques et plaquette de frein avant sur Clio 2 Clio 2 1.9D
Procédure de dépose des disques et plaquettes de frein usagées et montage des pièces neuves.
Opération à effectuer des deux cotés du véhicule.
-
-
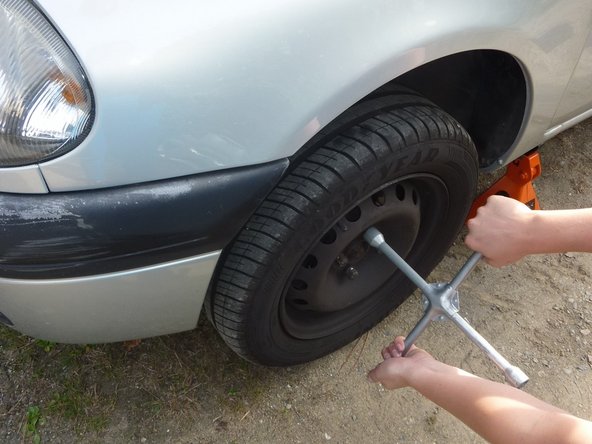
Débloquer (sans les dévisser) les vis des roues et lever l'avant du véhicule à l'aide d'un cric. Placer une chandelle de chaque coté. Pour plus de sécurité il est possible de placer des cales de bois aux roues arrières.
-
Mise en sécurité du véhicule : démontage et remontage de la roue
-
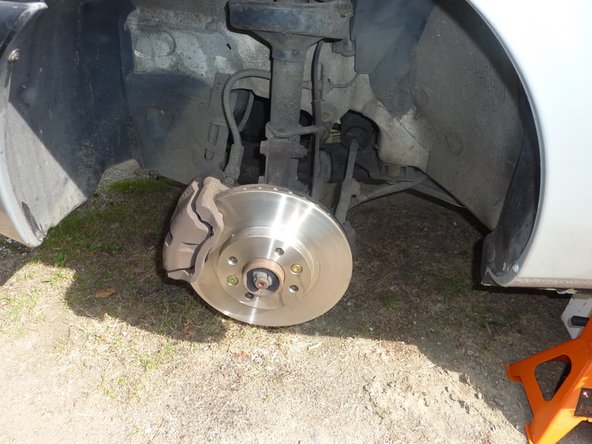
Déposer les roues
-
-
-
Placer un gros tournevis plat entre le support métallique de la plaquette de frein et le piston. Faire levier pour repousser celui-ci. Du fait de l'épaisseur des plaquettes de frein neuves, Il est important de repousser le piston au maximum.
-
Vérifier le niveau de liquide de frein, il risque de monter pendant l'opération.
-
-
-
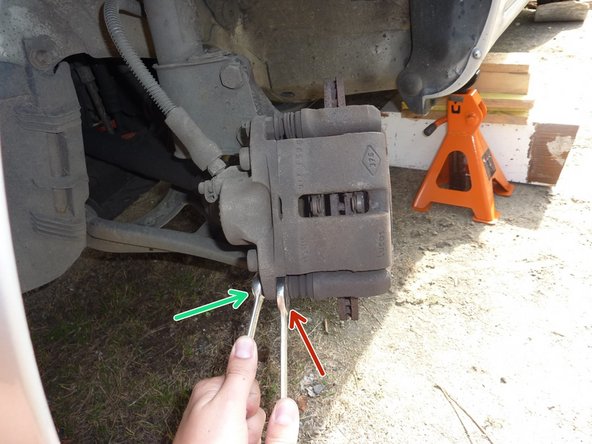
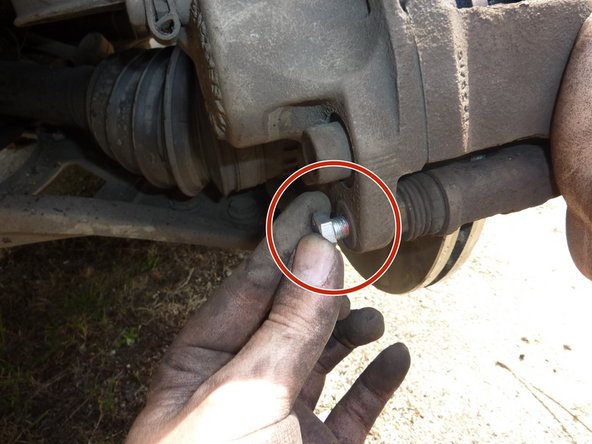
Maintenir l'écrou du coulisseau à l'aide d'une clé plate de 17. Débloquer et dévisser la vis extérieure à l'aide d'une clé plate ou à œil de 13.
-
Faire pivoter la partie supérieur de l'étrier vers le haut.
-
Notez la position repoussée du piston.
-
-
-
Tirer les plaquettes vers l'avant de l'étrier.
-
-
-
Repérer les deux vis de fixation de l'étrier de frein.
-
Débloquer et dévisser les vis à l'aide d'une clé plate ou à œil de 18.
-
Déposer l'étrier.
-
Ne pas laisser "pendre" l'étrier de frein. Cela risque de détériorer le flexible de frein. Il convient de le suspendre à l'aide d'un fil de fer au ressort de suspension.
-
-
-
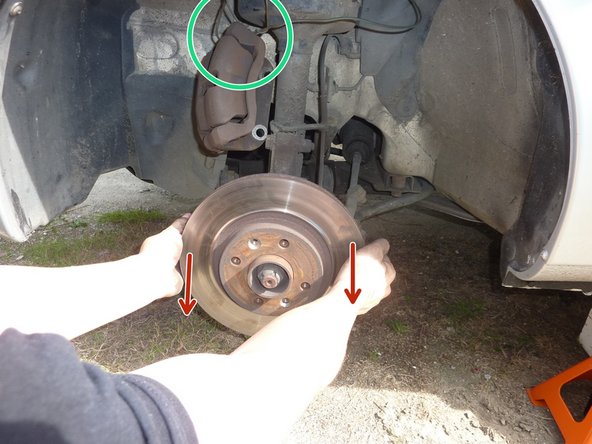
Débloquer et dévisser les deux vis torx qui maintiennent le disque à l'aide d'une clé torx de 30.
-
Notez l'étrier suspendu par le fil de fer.
-
Déposer le disque usagé en tirant vers l'avant.
-
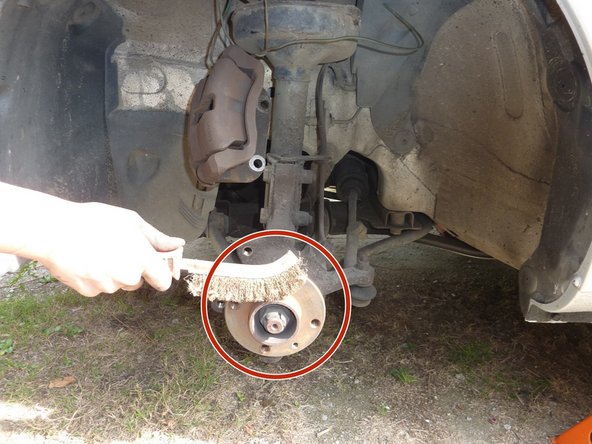
Nettoyer le moyeu à l'aide d'une brosse métallique.
-
-
-
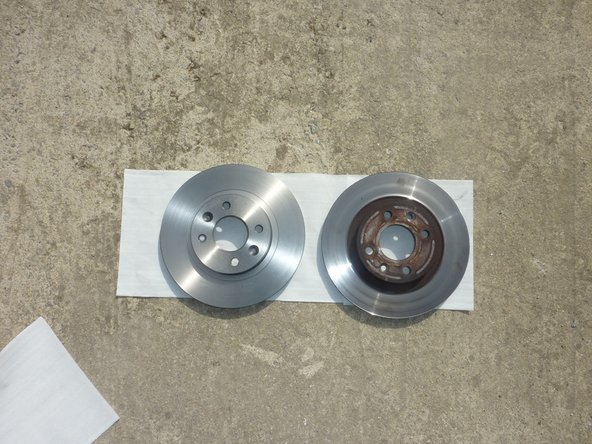
Vérifier la correspondance entre l'ancien et le nouveau disque
-
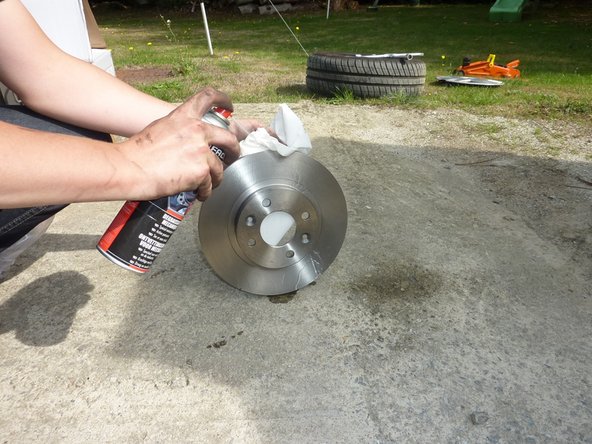
Dégraisser la nouvelle pièce à l'aide d'un dégraissant, nettoyant frein et bien essuyer. (Huile présente sur le disque pour le protéger de la corrosion pendant son stockage)
-
Mettre le nouveau disque en place, fixer celui-ci à l'aide des deux vis torx fournies. Visser et bloquer les deux vis à l'aide d'une clé torx de 30.
-
-
-
Remettre l'étrier en place.
-
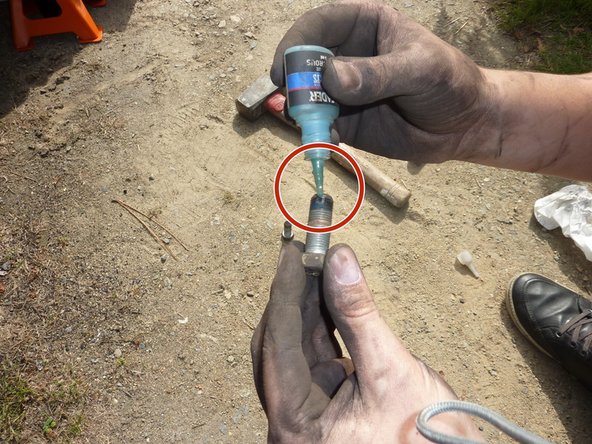
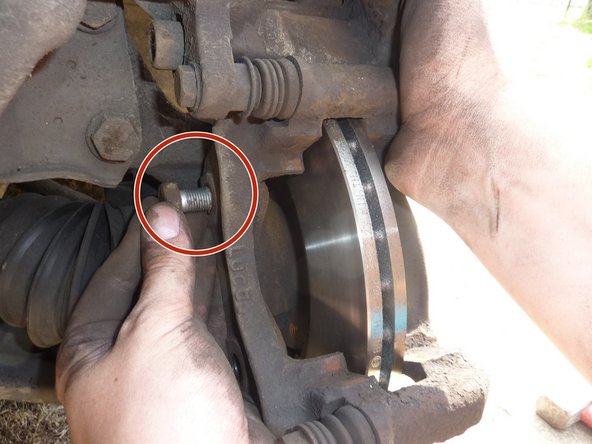
Prendre les deux vis de fixation de l'étrier et appliquer du frein filet sur celles-ci.
-
Visser et bloquer les deux vis à l'aide d'une clé plate de 18.
-
-
-
Nettoyer les quatre points de contact des plaquettes sur l'étrier à l'aide un tournevis plat.
-
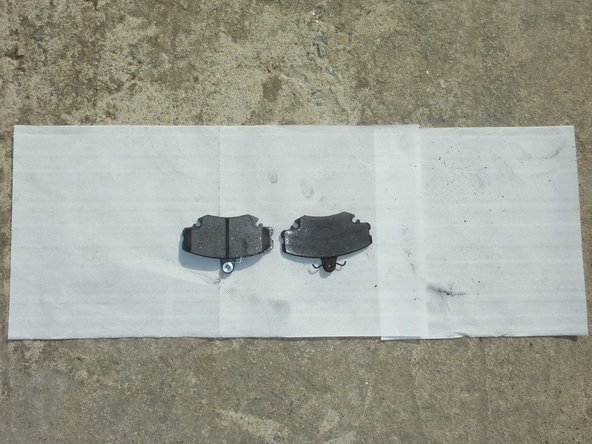
Vérifier la correspondance des nouvelles plaquettes de freins.
-
-
-
Positionner les nouvelles plaquettes dans leurs logements.
-
Faire pivoter la partie supérieure de l'étrier vers le bas.
-
Refermer l'étrier en vérifiant la position des ressorts des plaquettes, ceux-ci doivent bien être à l’intérieur de l'étrier.
-
-
-
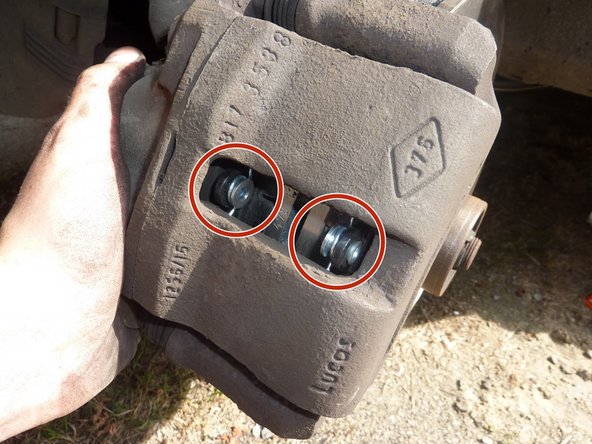
Mettre en place la vis de 13 fournie avec les plaquettes neuves. Cette vis comporte déjà du frein filet.
-
Maintenir l'écrou du coulisseau à l'aide d'une clé plate de 17. Visser et bloquer la vis extérieure à l'aide d'une clé plate ou à œil de 13.
-
Repartir à l'étape n°2 pour réaliser l'autre coté du véhicule.
-
-
-
Replacer les roues et revisser les vis au maximum. Abaisser le véhicule et bloquer les vis des roues.
-
Etape très importante! Pomper plusieurs fois sur la pédale de frein afin que les pistons reprennent une bonne position et arrêter lorsque la pédale est dure. Ne pas oublier de vérifier le niveau de liquide de frein, en ajouter si nécessaire.
-
Les nouvelles plaquettes et les nouveaux disques on besoin d'une période de rodage, il faut donc éviter tout freinages intensifs les 300 premiers kilomètres.
-
Annulation : je n'ai pas terminé ce tutoriel.
24 autres ont terminé cette réparation.
13 commentaires
Très bon tutoriel. Etant novice, j’ai bien pris mon temps et je n’ai pas rencontré de soucis J’ai pris 2bonnes heures pour le faire. Mais le changement du deuxième disque va bien plus vite. Les gestes sont plus assurés et précis!
Merci!
matthieu kern - Résolu à la publication Réponse
Bravo et félicitations pour ce tuto très bien expliqué qui m’a permis de remplacer les plaquettes de frein avant de ma Clio sans rencontrer de problèmes majeurs et dans un temps très court
Frederic BOUCHET - Résolu à la publication Réponse


