Introduction
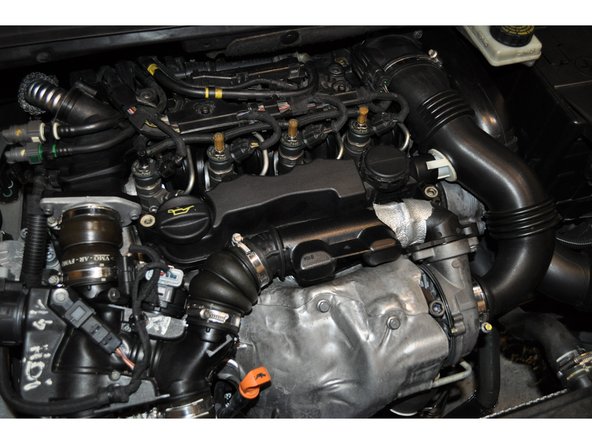
Motorisation du véhicule 1.6 HDi FAP 16V 110 cv
Parts
-
-
Le couvercle de culasse se trouve sous le cache moteur
-
Retirer le cache moteur
-
-
-
Le couvercle de culasse se trouve entre les injecteurs et la conduite d'air du turbo
-
Commencer par la dépose de la conduite d'air du turbo allant vers le résonateur / échangeur
-
-
-
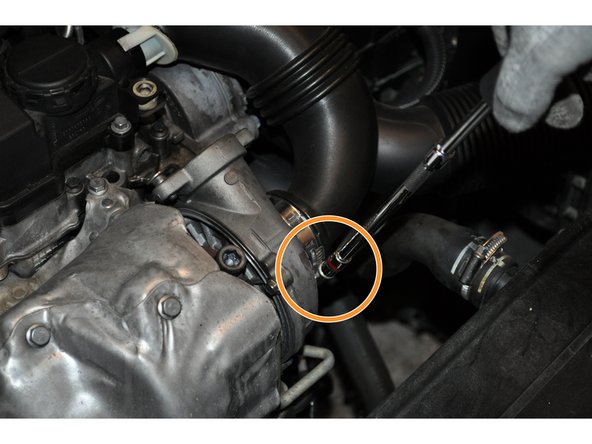
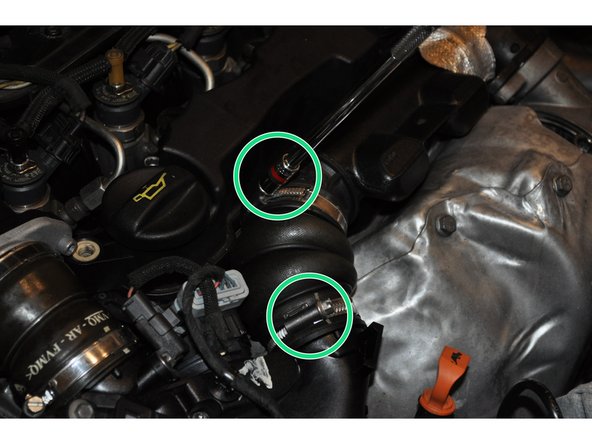
Dévisser le collier de serrage avec une douille de 8 mm
-
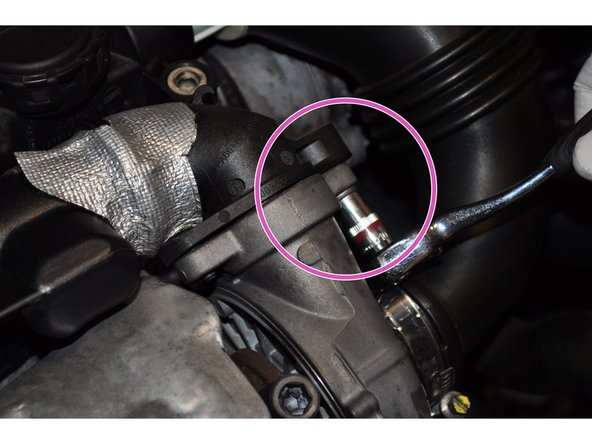
Déposer la vis de fixation du turbo sur la conduite d'air à l'aide d'une douille de 10 mm
-
-
-
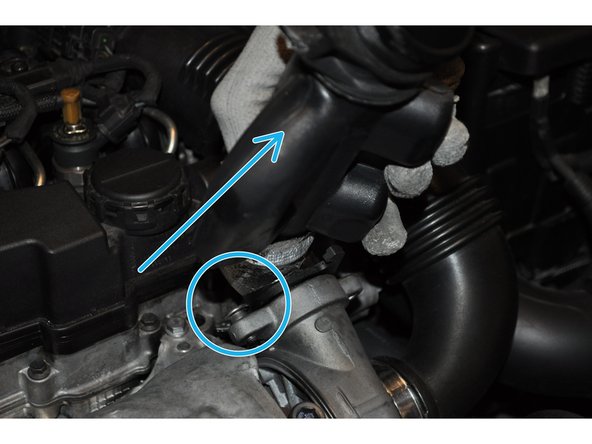
Déboîter la conduite du soufflet à gauche
-
Puis faire pivoter la conduite vers soi afin de libérer le pion de centrage du turbo
-
Retirer la conduite du turbo
-
-
-
Desserrer le second collier du soufflet afin de le déposer
-
Desserrer le collier de la conduite d'air d'admission du turbo
-
Déboîter simultanément la conduite du turbo et du couvercle de culasse
-
-
-
Déposer le collier de la conduite d'air fixée sur le débitmètre de masse d'air a l'aide d'une douille de 8 mm
-
Retirer la conduite
-
-
-
Le couvercle est maintenu par 7 vis
-
Utiliser une douille de 8 mm afin de déposer le couvercle
-
Retirer le couvercle
-
-
-
Nettoyer précautionneusement la portée de joint avec un chiffon propre et sec
-
Attention à ne rien faire tomber à l’intérieur de la culasse
-
-
-
Le joint défectueux est placé dans le couvercle
-
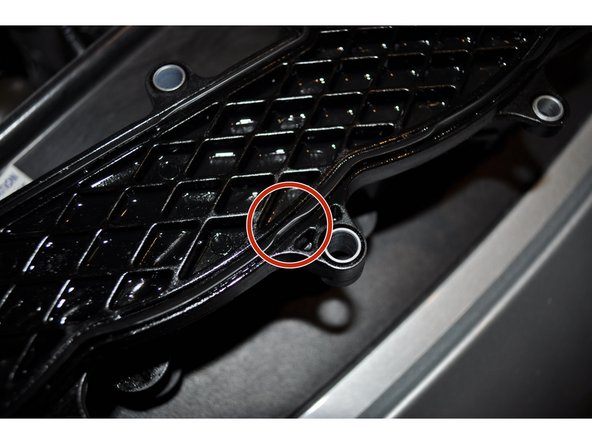
Le défaut d'étanchéité est observable à ce niveau la du joint
-
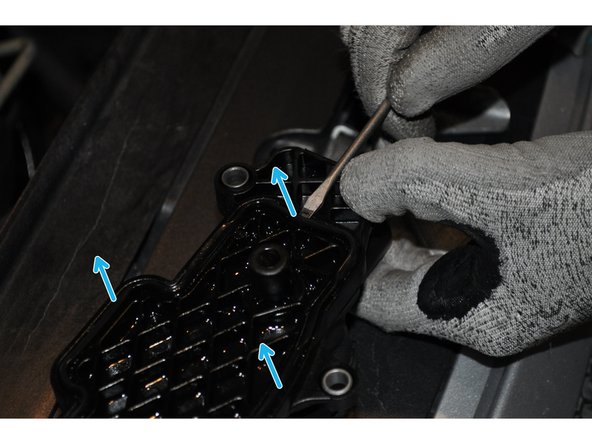
Utiliser un tire joint ou un tournevis plat afin de retirer délicatement le joint de la gorge sans abîmer cette dernière
-
-
-
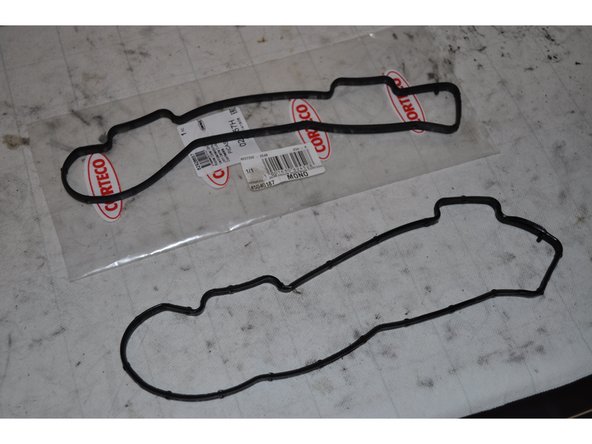
Comparer les joints
-
Nettoyer la gorge du joint sur le couvercle
-
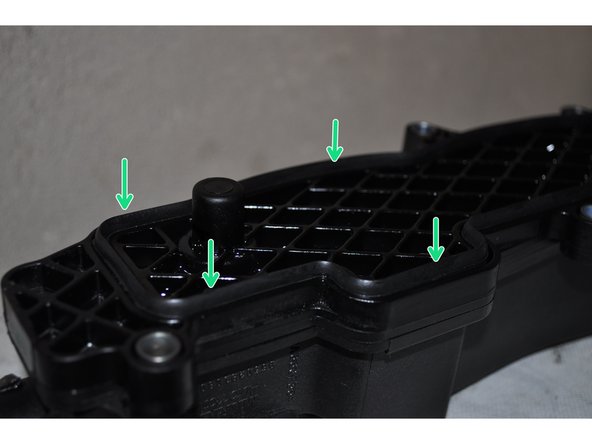
Placer soigneusement le nouveau joint dans son emplacement
-
-
-
Placer le couvercle sur le couvre culasse propre
-
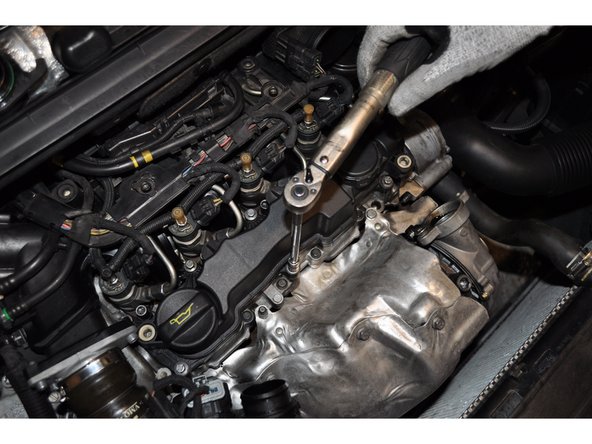
Mettre en place les vis
-
Serrer les vis à la clé dynamométrique
-
-
-
Placer le soufflet ainsi que les deux colliers de serrage
-
Mettre en place la conduite d'admission d'air
-
Vérifier le bon fonctionnement
-
Annulation : je n'ai pas terminé ce tutoriel.
2 autres ont terminé cette réparation.
4 commentaires
Bonjour je possède une 307 essence 2.0 boite automatique année 2005 pouvez vous m'envoyer svp les tutos pour changer les deux sondes lambdas au niveau de l'échappement, joints culbuteurs, capteur de température intérieur, filtre à carburant , si possible comment nettoyer un catalyseur svp merci
Johnatan Arron - Résolu à la publication Réponse
Bonjour et bravo pour ce tuto bien détaillé. Vous indiquez “Serrer les vis à la clé dynamométrique” lors du remontage du couvercle, mais pouvez-vous indiquer le couple à utiliser ?
François DE POIVRE - Résolu à la publication Réponse


