


Introduction
Déverrouiller le neiman en laissant la clé dedans pour pouvoir braquer les roues du véhicule lors du remplacement des disques et plaquettes.
Lever le véhicule et caler le avec des chandelles.
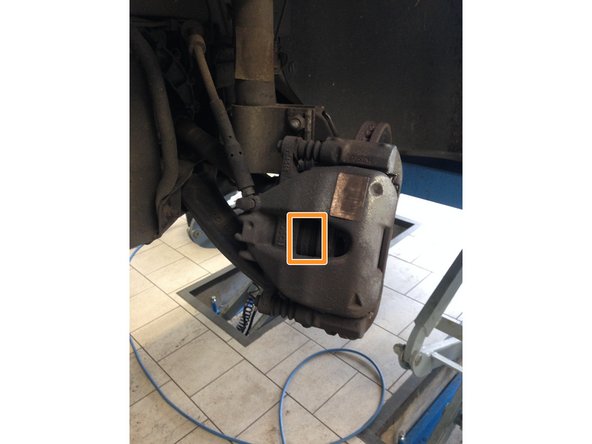
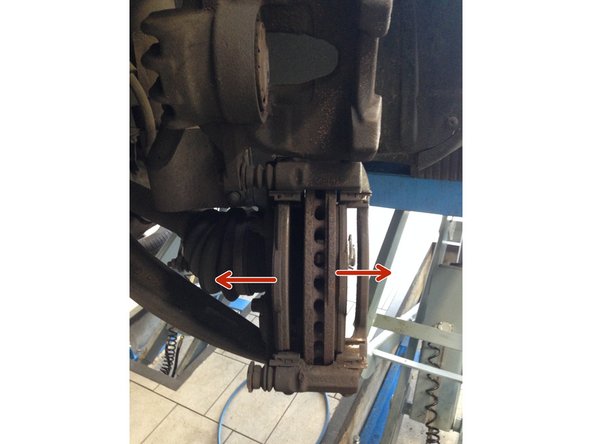
-
-
Ouvrir le bocal de liquide de frein.
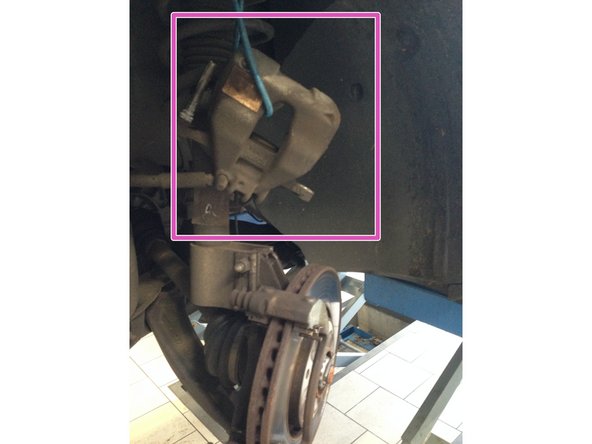
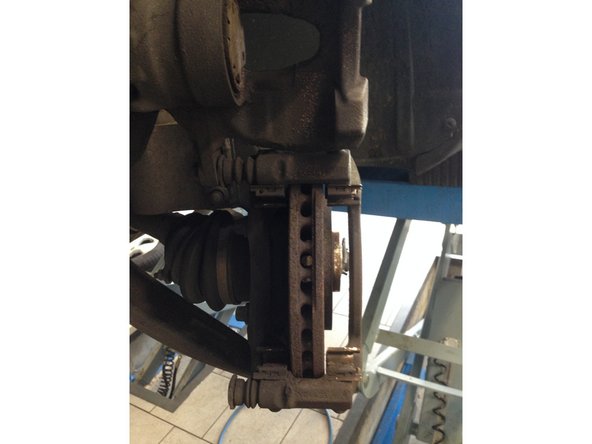
-
-
-
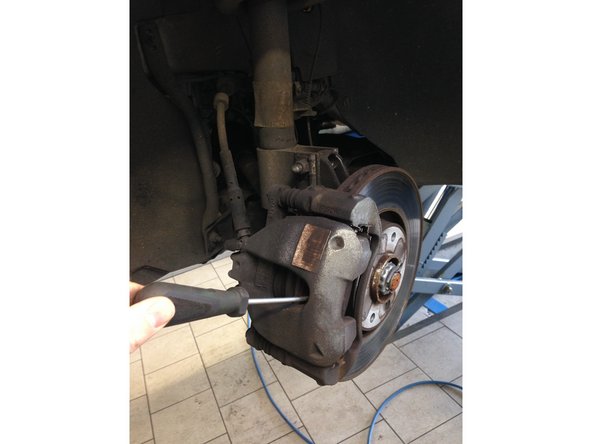
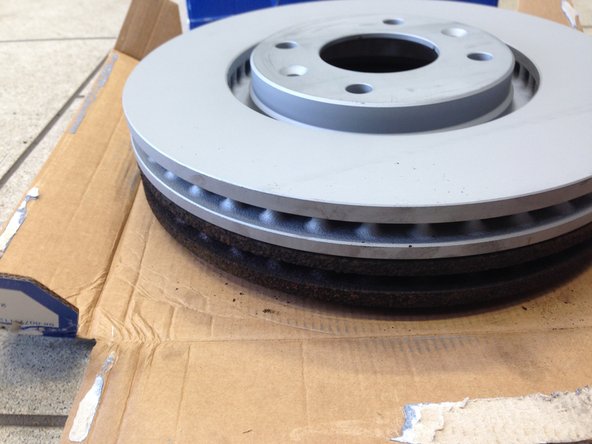
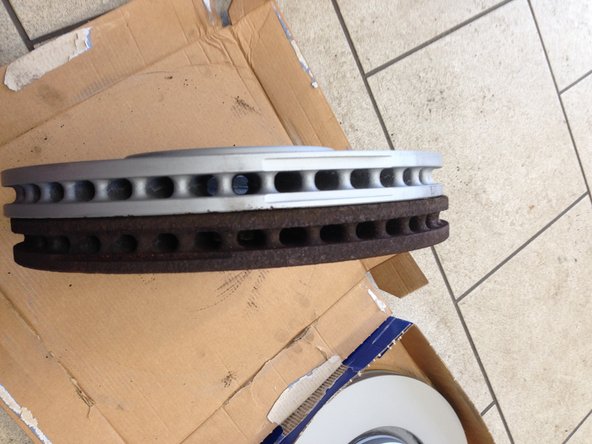
Vérifier si les nouvelles plaquettes sont identiques au anciennes.
-
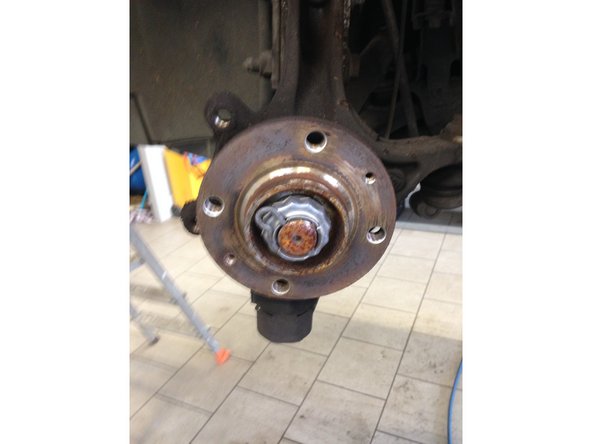
Vérifier les dimensions entre les anciens et les nouveaux disques.
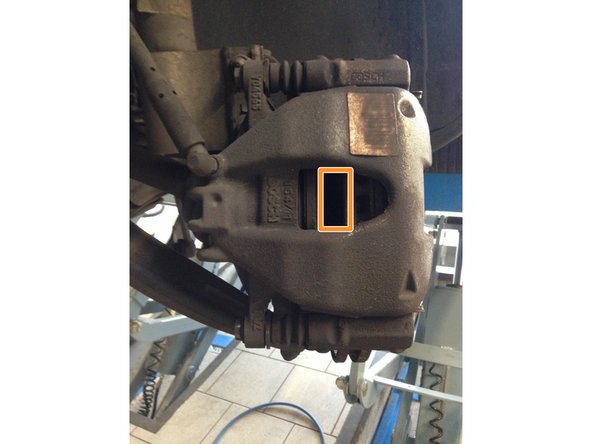
-
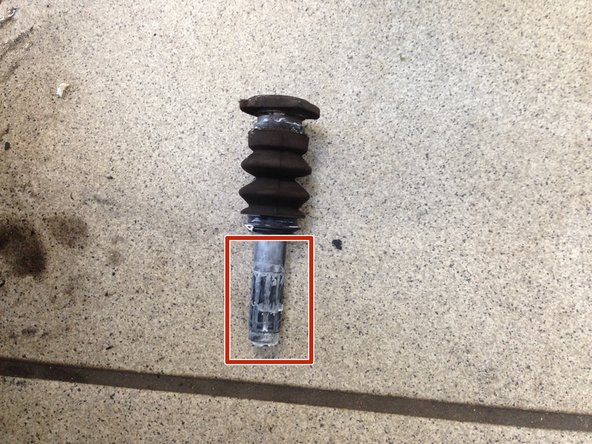
-
-
Pompé sur la pédale de frein jusqu’à ce qu'elle devienne dure, et vérifier le niveau de liquide de frein qui doit être entre le mini et maxi
-


Annulation : je n'ai pas terminé ce tutoriel.
27 autres ont terminé cette réparation.
28 commentaires
Bon tutoriel, mais au temps indiqué, il faut ajouter le temps de sortir et ranger l’outillage
André BUVAT - Résolu à la publication Réponse
bonjour, merci pour ce tuto, Pour ma part ce n’est pas une clé torx E16. mais E18 (d’ailleurs dans mon jeux de clef torx, pas de 16),
Eric Guillochin - Résolu à la publication Réponse
Grace à ce tuto j’ai put réaliser l’opération. Merci aux contributeurs !
Je rajouterais de faire attention lorsque l’on rentre le piston ,bien prendre appui sur celui ci et non pas au centre car il y a une fine plaque métallique.
J’ai mis du frein filet sur les fameuse vis Torx qui s’enlèvent grâce à la douille E16.
Passer un coup de brosse métallique pour faire rentrer la douille.
Thierry DALL'OZZZO - Résolu à la publication Réponse