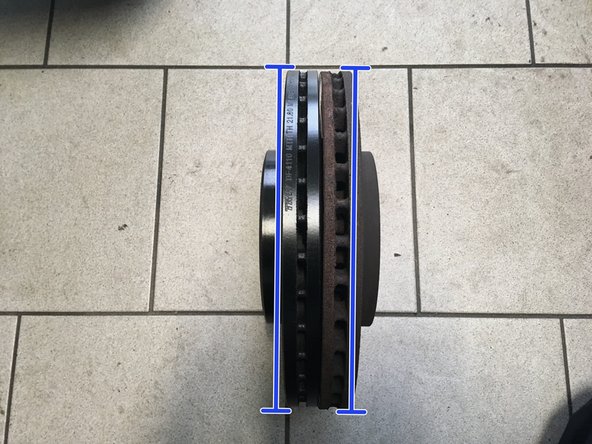
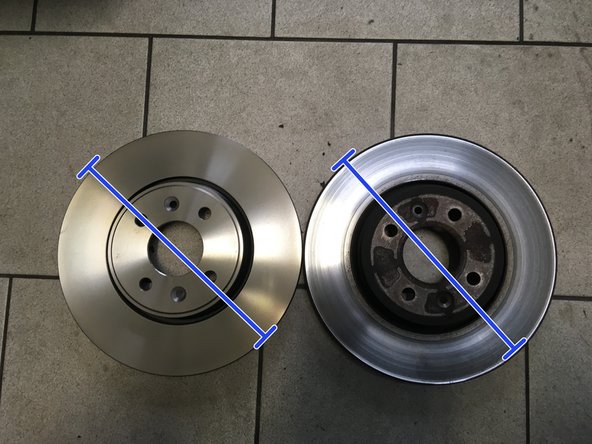
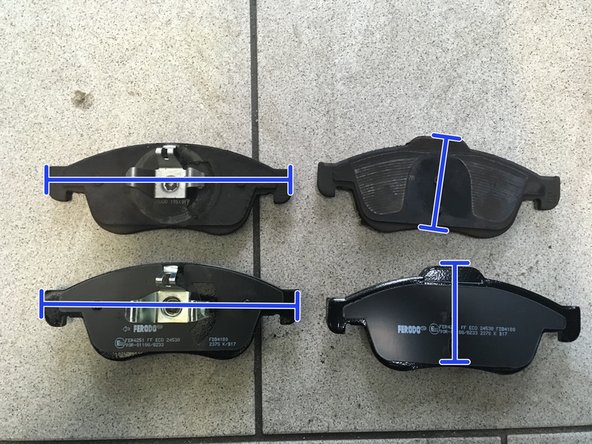
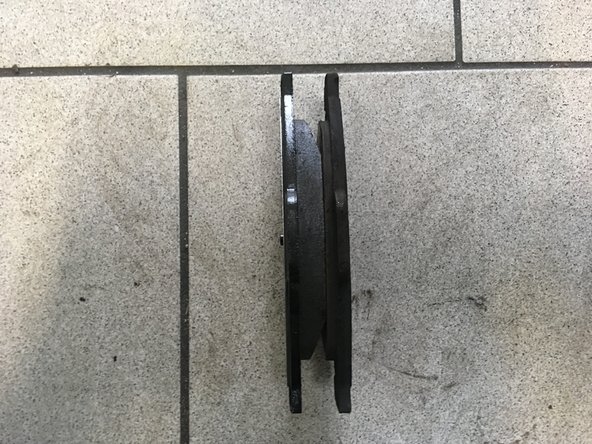
Introduction
tutoriel réalisé sur une Renault Captur 1.5 Dci 90
-
-
Lever le véhicule,et le mettre sur chandelles: Mise en sécurité du véhicule : démontage et remontage de la roue
-
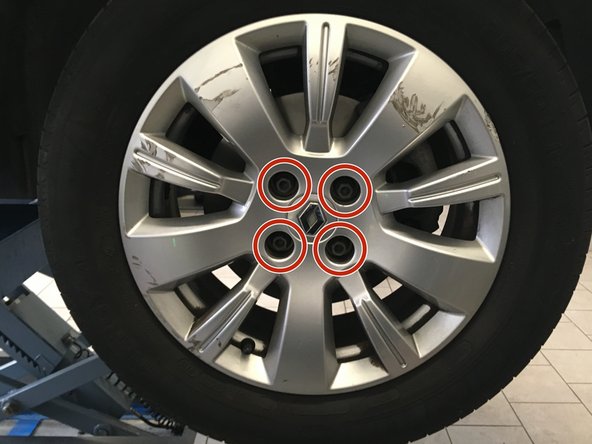
Démonter les roues à l'aide de la croix
-
Braquer le disque pour accéder plus facilement au vis
-
-
-
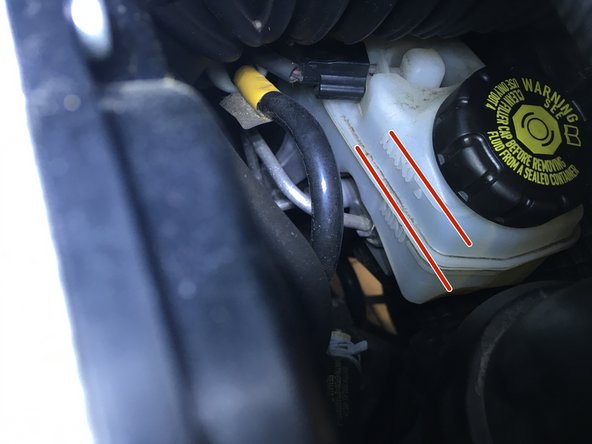
Ouvrir le bocal de liquide de frein
-
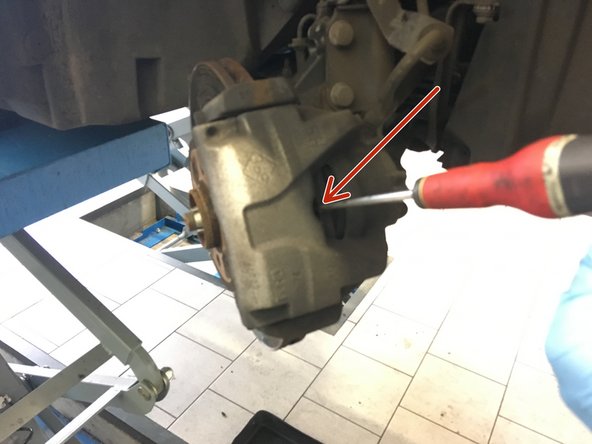
Repousser le piston à l'aide d'un tournevis plat.
-
-
-
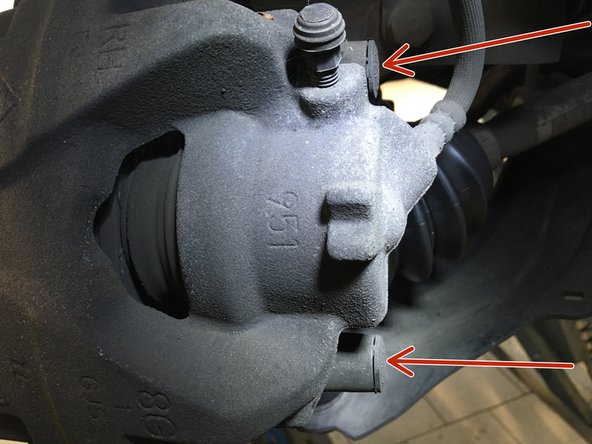
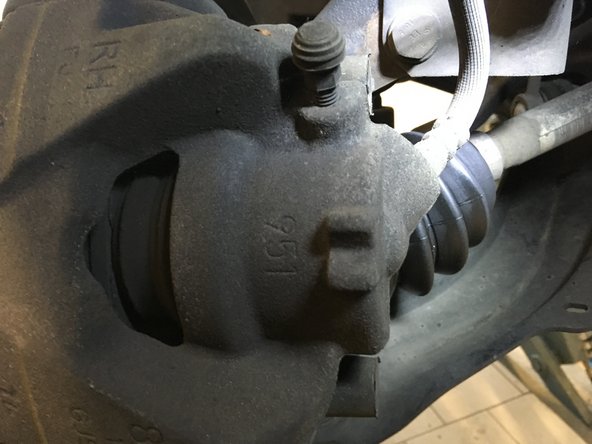
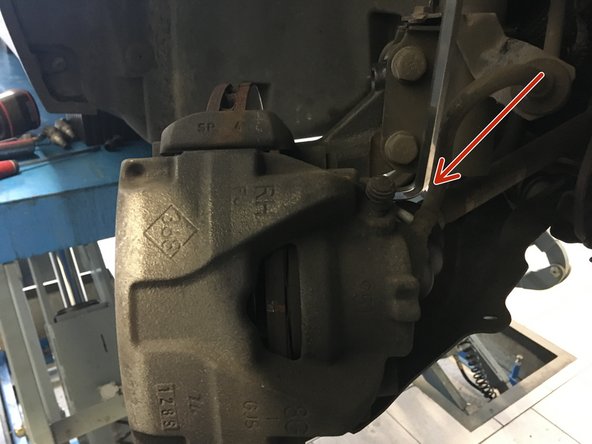
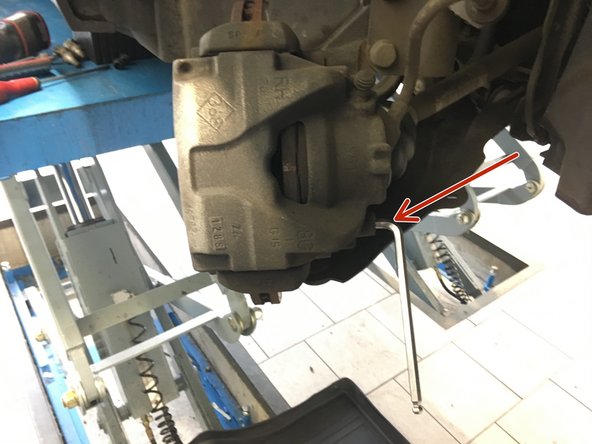
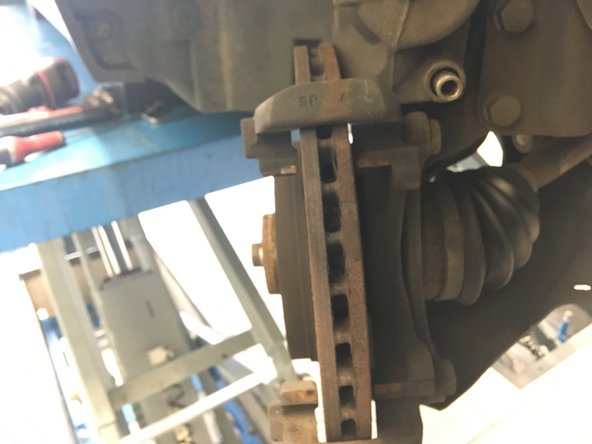
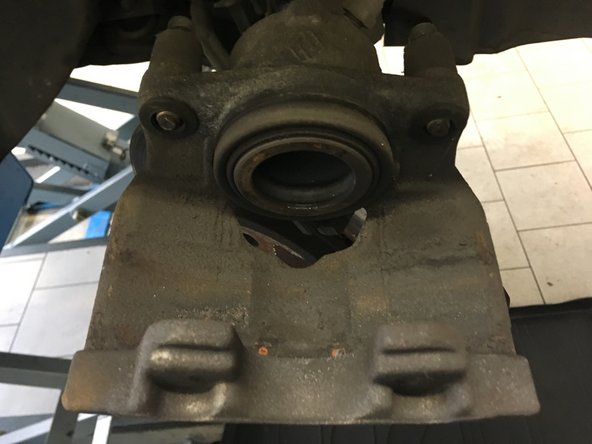
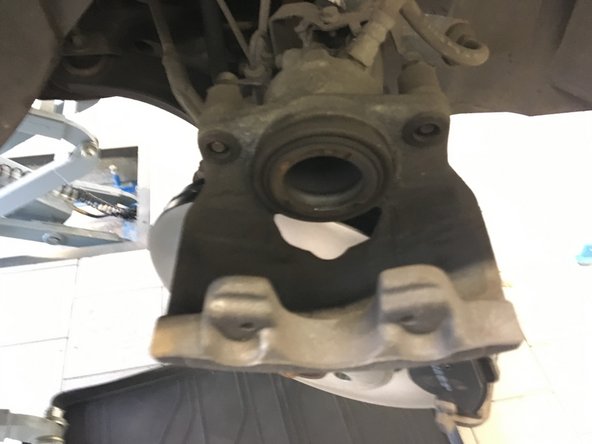
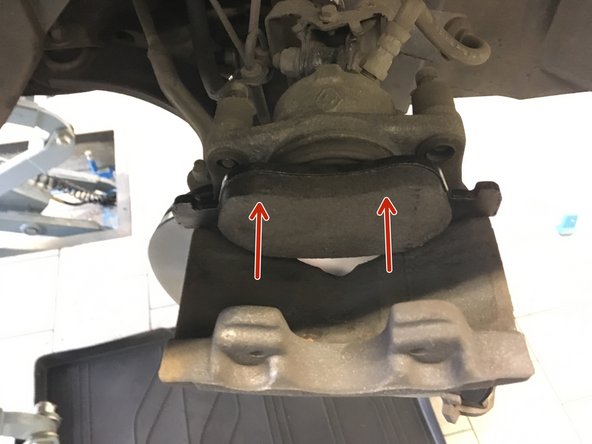
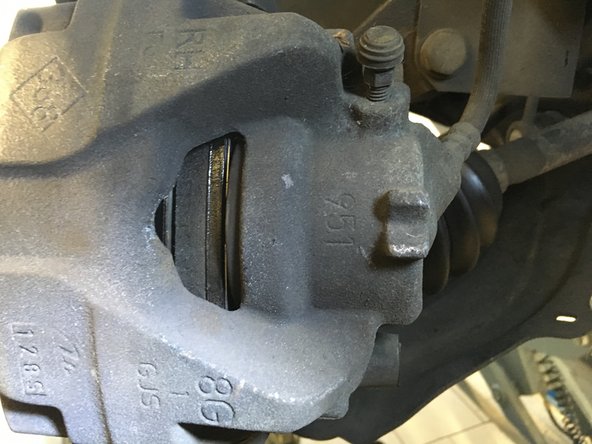
Démonter l'étrier
-
Faite attention aux flexible de frein. Celui ci ne doit jamais être en contrainte
-
-
-
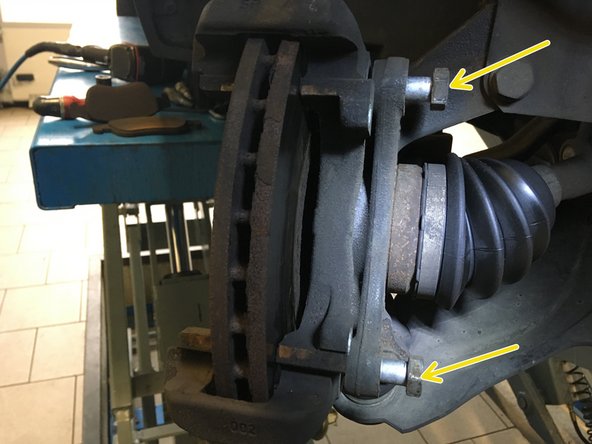
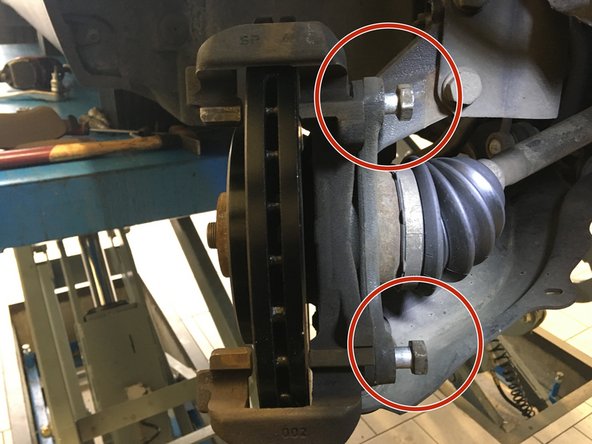
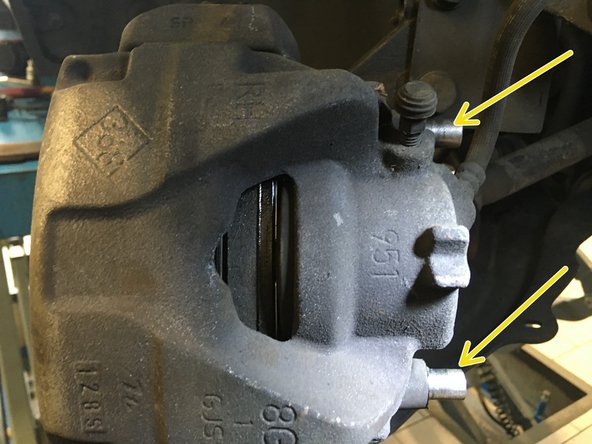
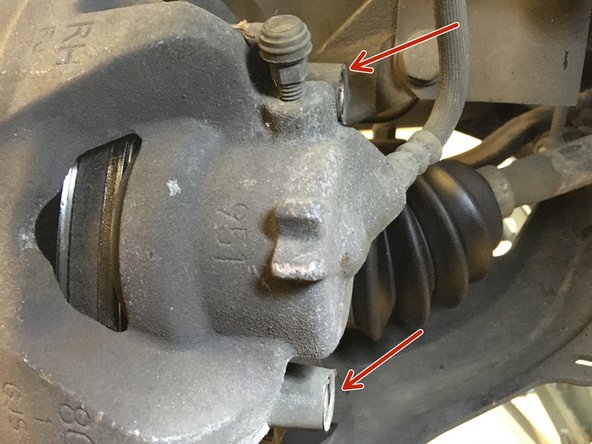
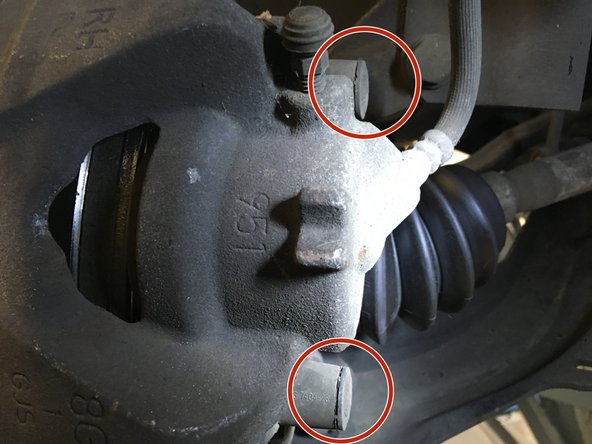
Démonter les deux vis de 18 à l'aide du cliquet et de la douille
-
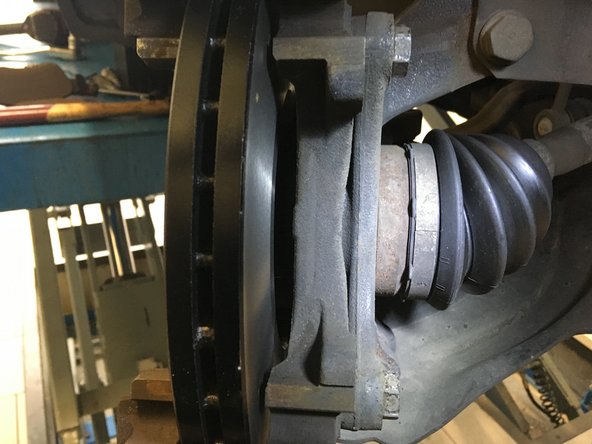
Retirer la chape
-
-
-
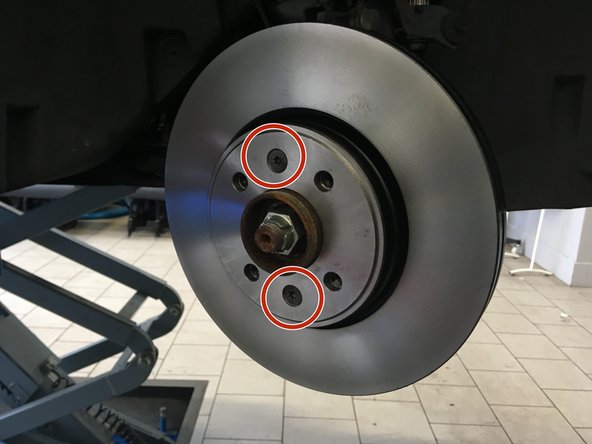
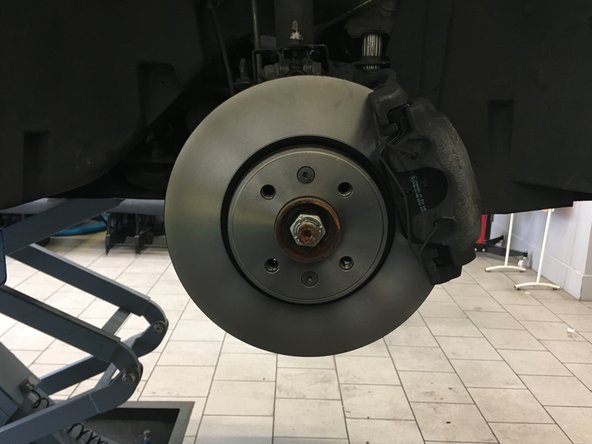
A l'aide du cliquet et de l'embout Torx T30 dévissé les deux vis de T30 qui maintient le disque en place
-
Retirer l'ancien disque, si besoin aidée vous d'un marteau
-
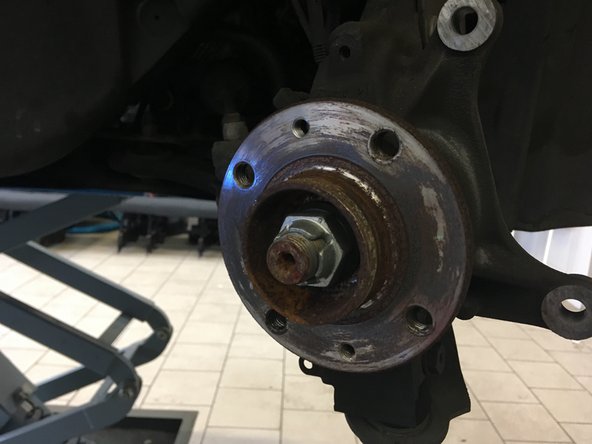
Nettoyer la porté du moyeu à l'aide de papier a poncer ou d'une brosse métallique
-
-
-
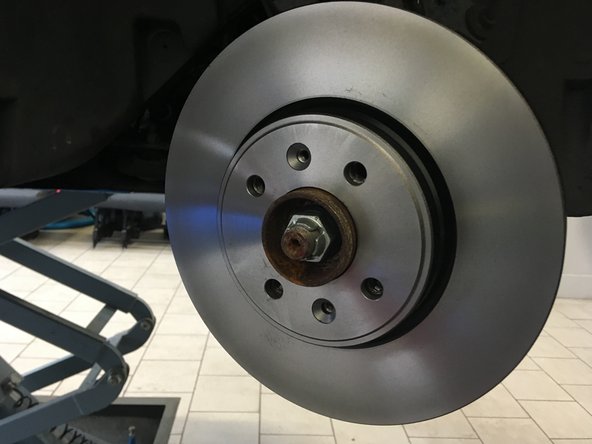
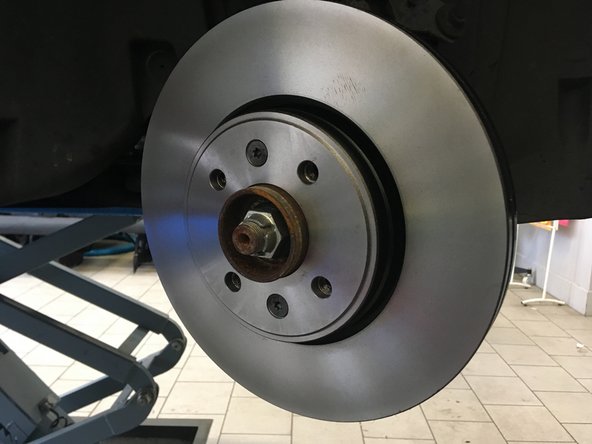
Monter le nouveau disque
-
A l'aide du cliquet et de l'embout de T30 visser les deux vis qui maintienne le disque en place
-
-
-
Remonter la roue
-
Serrer les vis au couple à l'aide de la clé dynamométrique
-
-
-
Faite de même pour l'autre coté
-
Remonter les roues en respectant les couples de serrage
-
Reposer le véhicule au sol
-
Pomper plusieurs fois sur la pédale de frein
-
Vérifier le niveau de liquide de frein qui doit ce trouver entre le mini et le maxi
-
Les premier freinage doivent être effectué a faible allure pour déglacer les frein
-
Il est nécessaire d'effectuer un rodage de 500 km après le remplacement des frein avant.
Il est nécessaire d'effectuer un rodage de 500 km après le remplacement des frein avant.
Annulation : je n'ai pas terminé ce tutoriel.
7 autres ont terminé cette réparation.
7 commentaires
Bonjour.
penser lors du remontage de la chape à mettre un peu de frein filet sur les vis
C est un embout T40 pour les vis de maintien du disque
Bonjour, vous écrivez : serrer au couple avec une clé dynamométrique. très bien mais quel couple? (même + ou -)
110N.m pour les goujons de roue
105N.m pour la chape
28N.m pour l'étrier sur la chape (colonnettes)
14N.m pour le disque (les 2 vis Torx T40)
Bonjour,
Vous ne parlez pas des capteurs d'usure? Pour quelle raison?
Cdlt
Jpvivien


