


Vidéo d'introduction
-
-
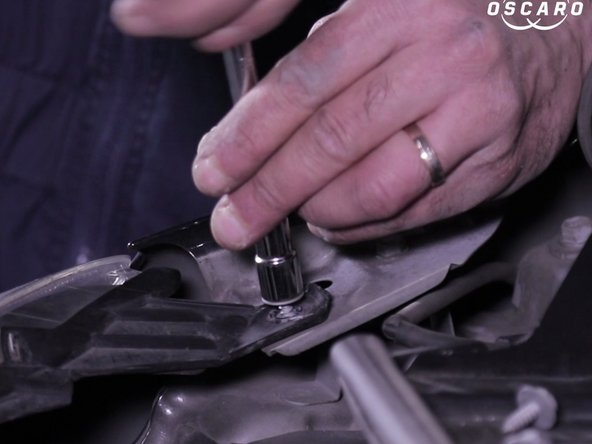
A l'aide de la clé à pipe, dévisser et retirer les 3 vis
-
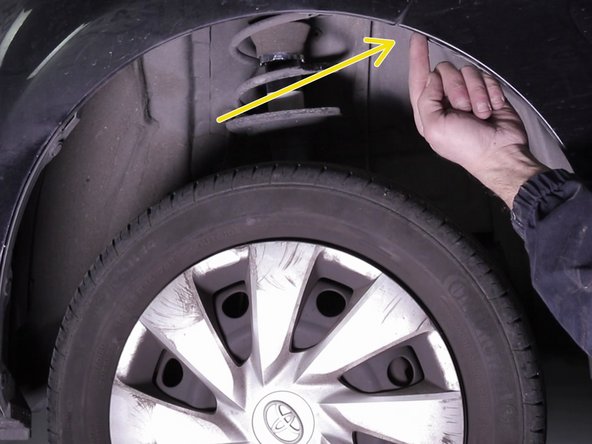
A l'aide d'un tournevis plat, soulever et retirer le clip
-
-
-
A l'aide de la clef à pipe, dévisser les 5 vis sous le pare-choc
-
-
-
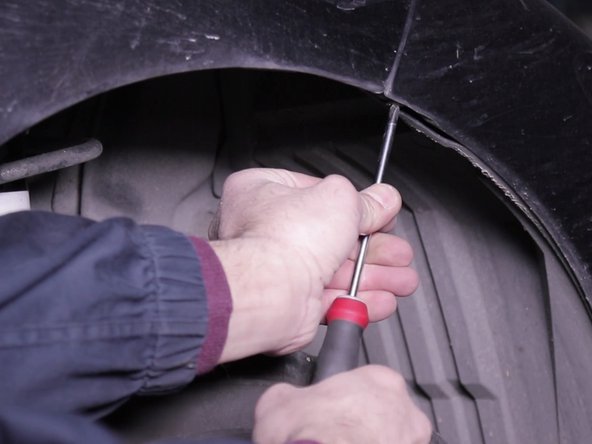
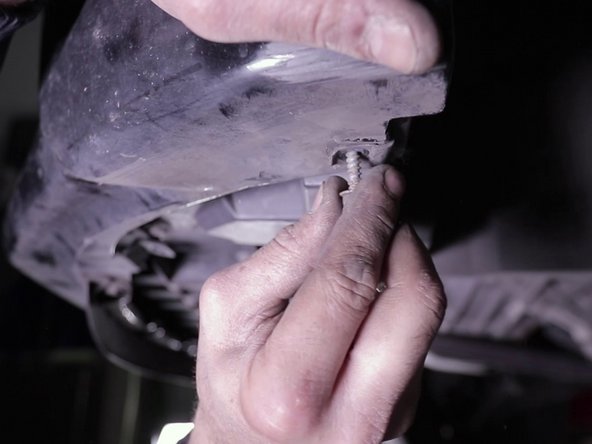
A l'aide du tournevis, dévisser la vis du pare-boue
-
Répéter l'opération de chaque côté
-
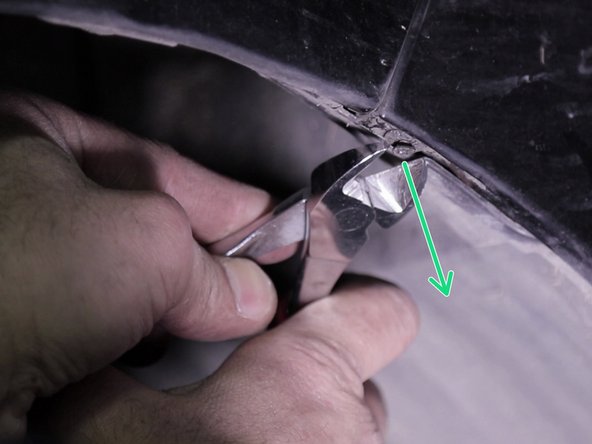
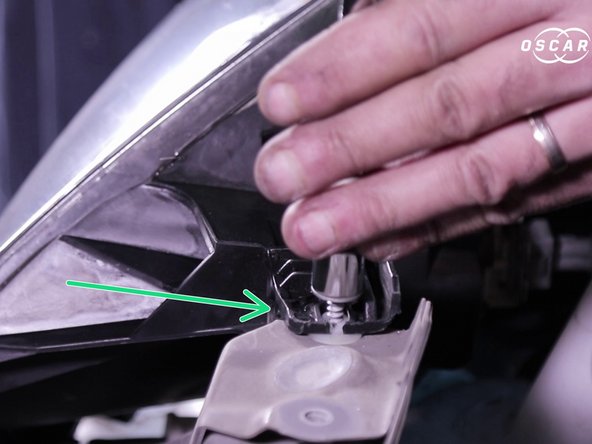
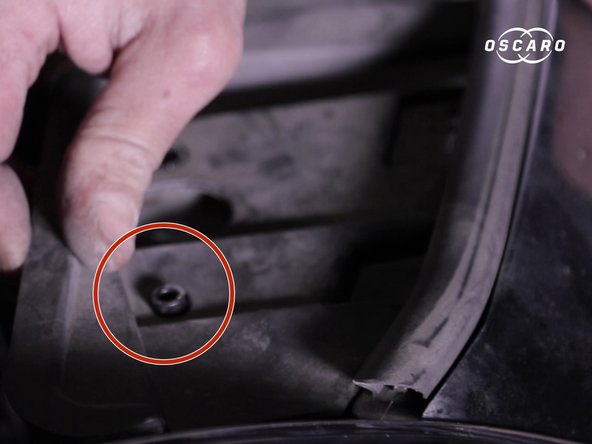
A l'aide de la pince, retirer délicatement la vis
-
-
-
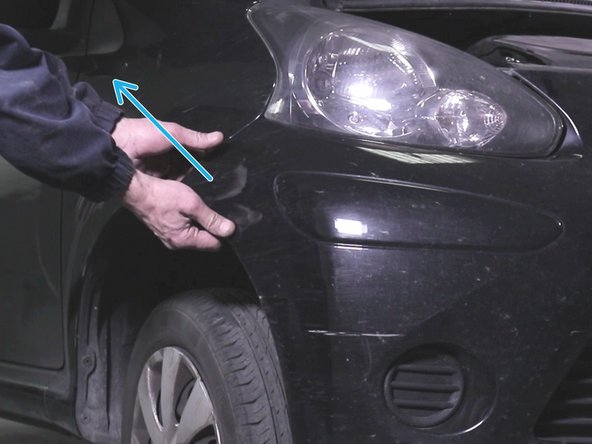
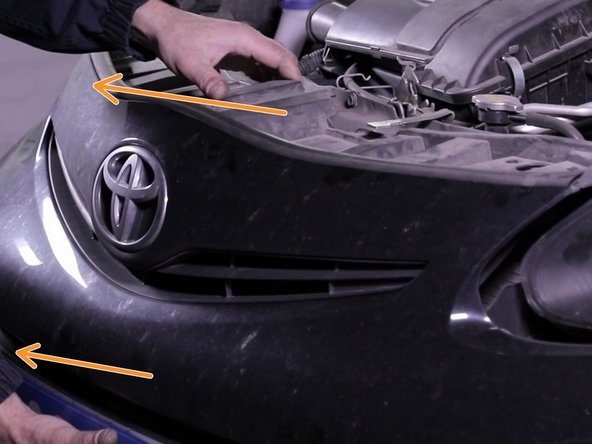
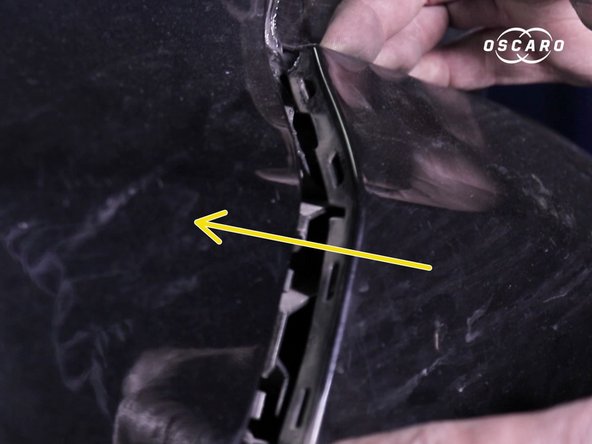
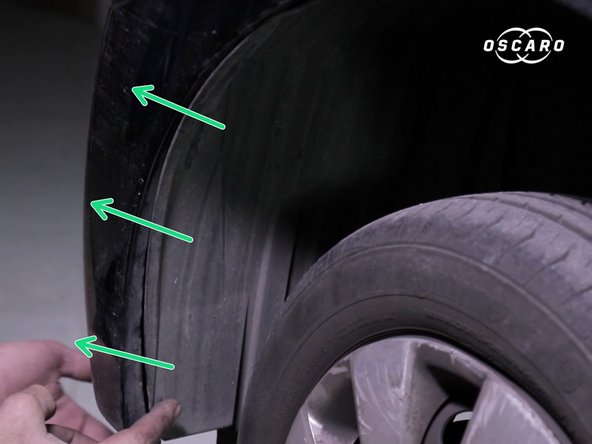
De chaque côté, tirer sur la partie inférieur du pare-choc pour le démettre
-
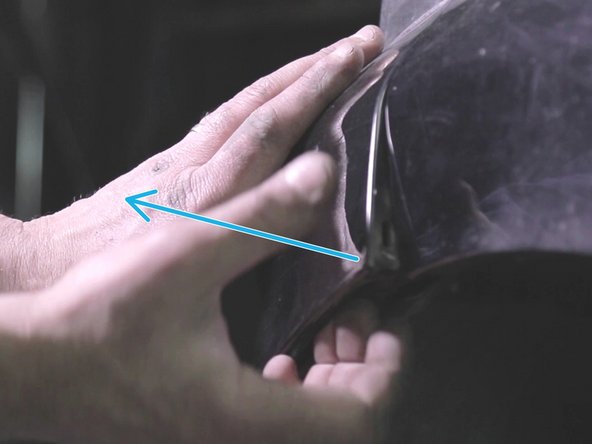
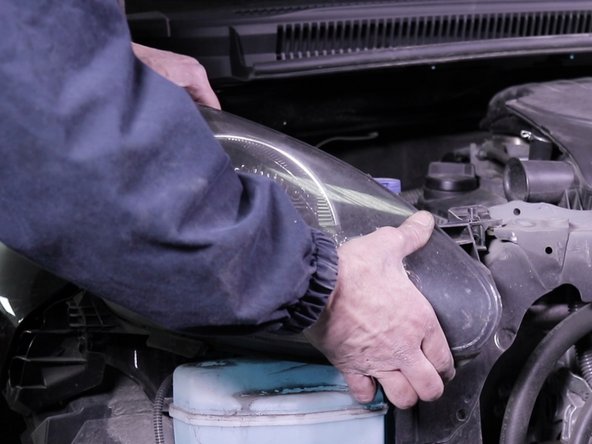
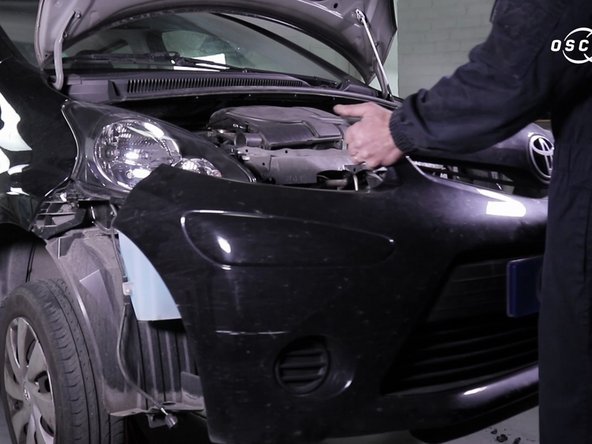
Tenir fermement le pare-choc par le milieu et tirer dessus pour le déboîter sans le retirer
-
-
-
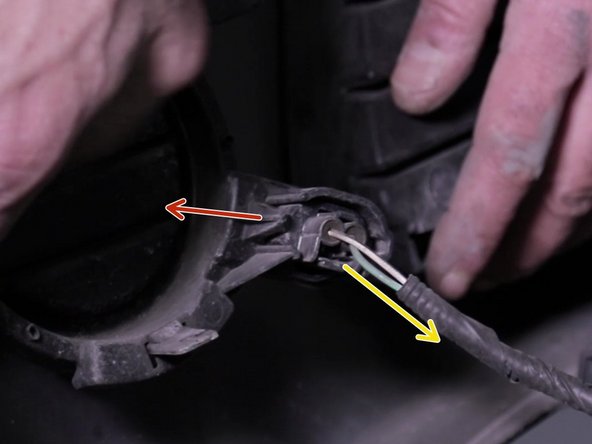
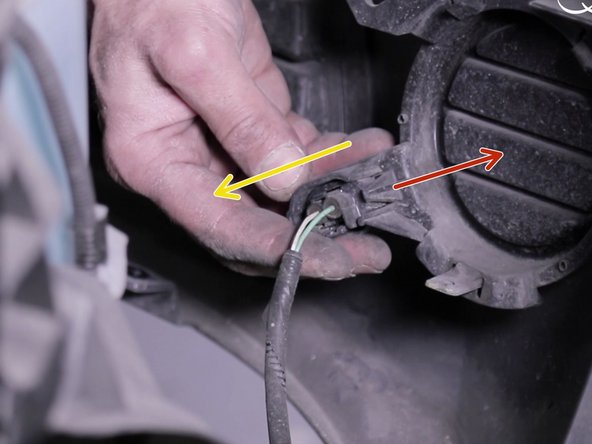
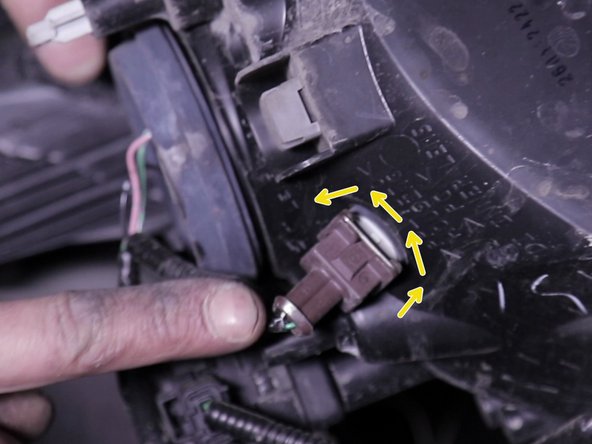
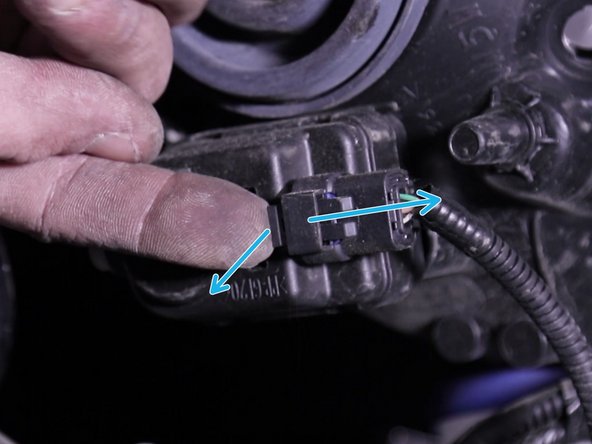
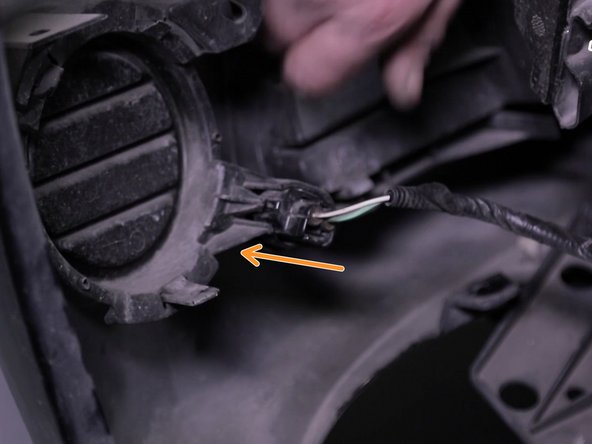
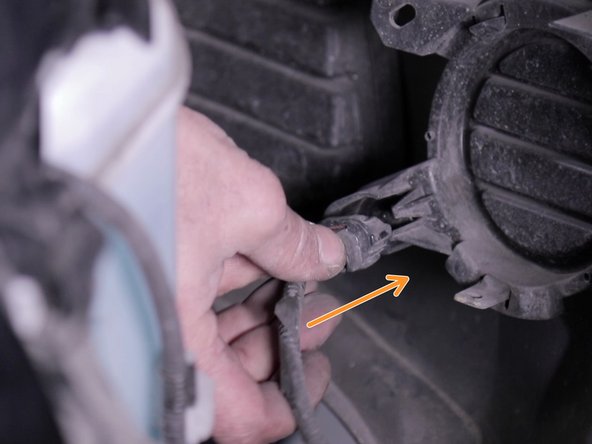
Tirer la languette vers l'extérieur
-
Tirer sur la prise pour débrancher la connectique du phare antibrouillard
-
Répéter l'opération sur les 2 phares
-
Retirer le pare-choc
-
-
-
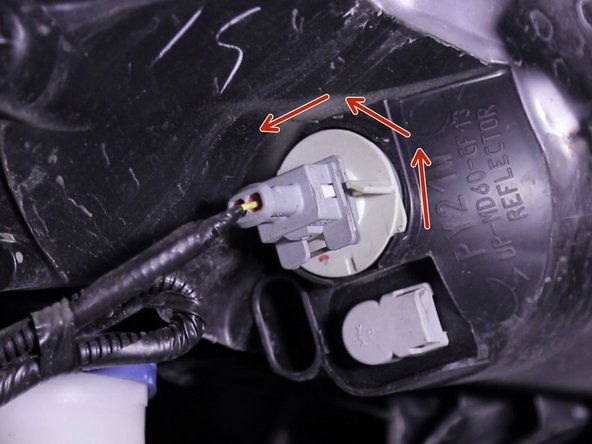
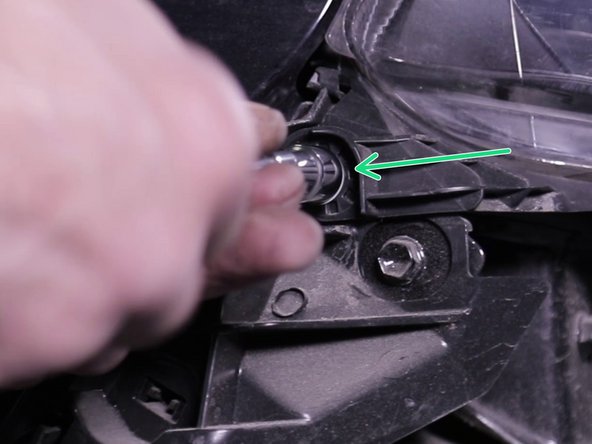
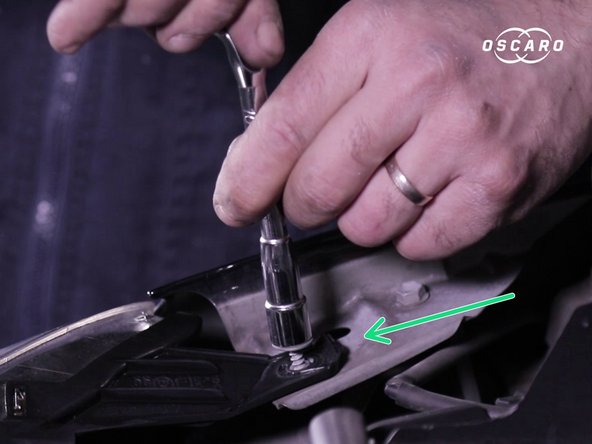
A l'aide de la clef à pipe ou d'une douille de 10, dévisser et retirer les 3 vis de maintien du phare
-
Tirer le phare vers l'avant pour le sortir de son emplacement et le retourner
-
-
-
Pivoter d'un quart de tour pour sortir l'ampoule de feu de position
-
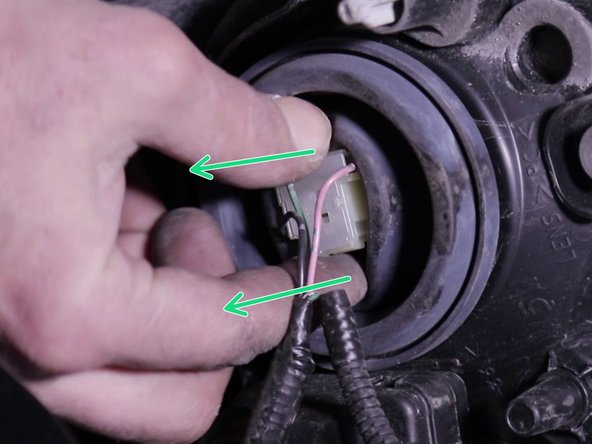
Débrancher la connectique de l'ampoule de feu de croisement en tirant dessus
-
Pousser la languette de la connectique puis tirer sur la prise pour la déconnecter
-
-
-
Pivoter la prise d'un quart de tour pour sortir l'ampoule de clignotant
-
Retirer le phare
-
-
-
Comparer la forme générale des phares
-
Contrôler l'emplacement des orifices des ampoules
-
-
-
Mettre en place le nouveau phare
-
Remettre en place les ampoules et les connectiques
-
Visser les 3 vis de maintien du phare
-
-
-
Positionner le pare-choc
-
Connecter les 2 phares antibrouillard
-
-
-
Remettre le pare-choc en place grâce aux repères sur le haut
-
Clipser les parties latérales en alignant les pattes de fixation
-
-
-
Passer le bord du pare-boue derrière le pare-choc
-
Revisser les 2 vis
-
Remettre le clip en place
-
Revisser les 5 vis sous le pare-choc et les 2 vis des pares-boue
-


Annulation : je n'ai pas terminé ce tutoriel.
2 autres ont terminé cette réparation.

Équipe

2 commentaires
L’enf… de carrossier m’a mis des rivets alu à la place des clips plastique sur les cotés, plus qu’a refaire comme lui ou retrouver les mêmes clips…
Ne pas oublier de graisser les vis du dessous du bouclier avant de les remettre, vu l’état dans lequel elles sont…
Serge Chambard - Résolu à la publication Réponse
sans etre mecano, j’ai mis 1h20 pour tout faire. suivre a la lettre les instructions du tuto et c’est nickel.merci a l’equipe
alain GARDE - Résolu à la publication Réponse