


Difficulté
Modérée
Étapes
7
Temps nécessaire
00:45:00 - 01:00:00

Tutoriel complet
Ce tutoriel contribué par la communauté est complet et prêt pour l'examen de l'équipe Oscaro.

Ce tutoriel a été créé par la communauté
User contributed
Introduction
Ce tutoriel est réalisé sur Twingo 1 1.2 55cv
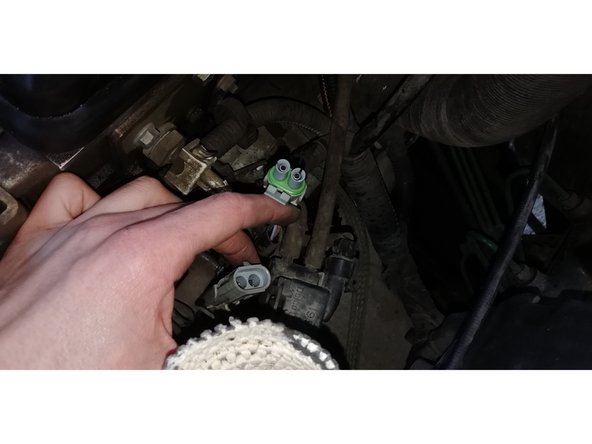
Si votre voiture a du mal à démarrer par temps froid ou humide, ou qu'elle a tendance à caler sans raison à l'arrêt, il y a de grandes chances que cela proviennent d'un capteur PMH usé ou encrassé.
Le but de ce capteur est de déterminer le taux de carburant à injecter. S'il est trop vieux, il risque donc de donner des indications erronées au calculateur et causer l'arrêt du moteur.
Ce tutoriel vous montre pas-à-pas comment le démonter pour le remplacer.
-
-
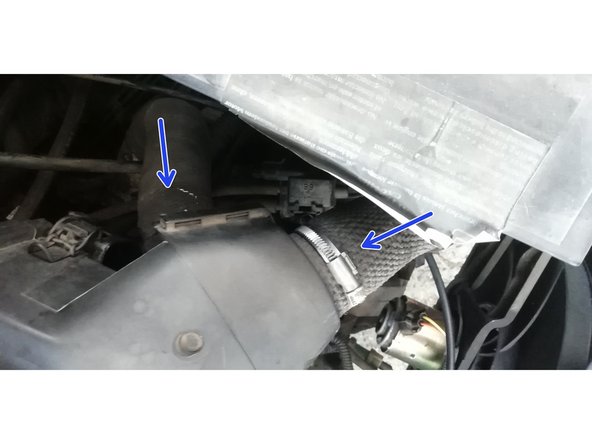
Afin d'avoir plus de place, on commence par démonter la boîte à filtre à air moteur.
-
Décrochez les attaches qui maintiennent les deux parties de la boite. Il y en a 4, une dessus, une de chaque côté, et une en dessous.
-
Tirez sur la partie avant pour la séparer de la partie arrière.
-
N'oubliez pas de débrancher le pôle négatif de votre batterie, comme avant toute intervention électrique !
-


Votre voiture démarre plus facilement et ne cale plus !
Votre voiture démarre plus facilement et ne cale plus !
Annulation : je n'ai pas terminé ce tutoriel.
3 autres ont terminé cette réparation.
5 commentaires
Exellent tuto, quasi exclusif sur les premiers moteurs !
cohenfrederic - Résolu à la publication Réponse