

Difficulté
Modérée
Étapes
5
Temps nécessaire
02:00:00

Ce tutoriel a été créé par la communauté
User contributed

-
-
Roue au sol, desserer l'écrou de cardan, puis déposer la roue
-
Libérer la rotule de suspension inférieur (Voir étape 1)
-
Pousser ensuite le cardan afin de le dégager de la jambe de force
-
Il n'est pas nécéssaire de déposer le système de freinage
-
-
-
Dévisser ensuite les 6 vis de maintiens du cardan coté boite puis déposer celui ci
-
-
-
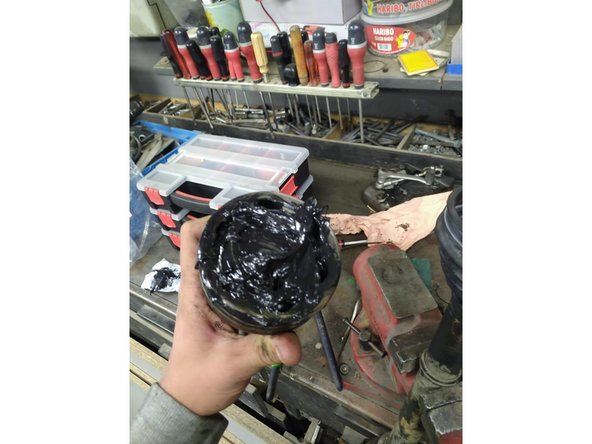
Retirer le vieux soufflet (en le coupant à l'aide d'un cutter par exemple) puis retirer le plus gros de la graisse
-
Ne pas utiliser de dégraissant mais un simple chiffon
-
Bloquer le cardan dans un étau puis écarter le circplis (vert) et à l'aide d'un maillet cuivre (ou une masse et une rallonge de cliquet par exemple) taper en alternant sur les 3 points rouge jusqu'à ce que la tête soit dégager de l'axe
-
Terminer de dégraisser la noix de cardan
-
-
-
Mettre en place le nouveau soufflet sur l'axe
-
Graisser avec de la nouvelle graisse l'intérieur de la noix de cardan
-
Placer cette dernière sur l'axe, puis à l'aide d'un maillet caoutchouc l'emboiter jusqu'à ce que le circlips reprenne sa place dans la rainure (En vert sur la première photo)
-
-
-
Remplir le soufflet de nouvelle graisse puis replacer ce dernier sur la noix et poser les 2 colliers de serrage
-
Remonter le cardan sur le véhicule dans le sens inverse de la dépose
-