


Difficulté
Modérée
Étapes
15
Temps nécessaire
01:00:00
- Changer optique phare sur Citroën C4 I 15 étapes

Ce tutoriel a été créé par la communauté
User contributed
Introduction
Remplacement optique principale sur C4 phase 1


-
-
Ouvrir le capot moteur
-
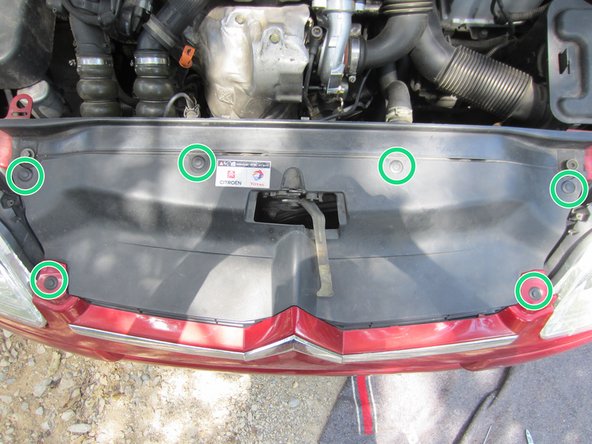
Retirer les 6 clips plastiques
-
Sans démonter l'ensemble du pare-choc on a accès a la fixation du phare qu il faudra démonter ultérieurement
-
-
-
Dévisser les 7 vis torx et les retirer
-
Dévisser les 3 vis de 10 et les retirer
-
Déclipser la plaque
-
Retirer la plaque
-
-
-
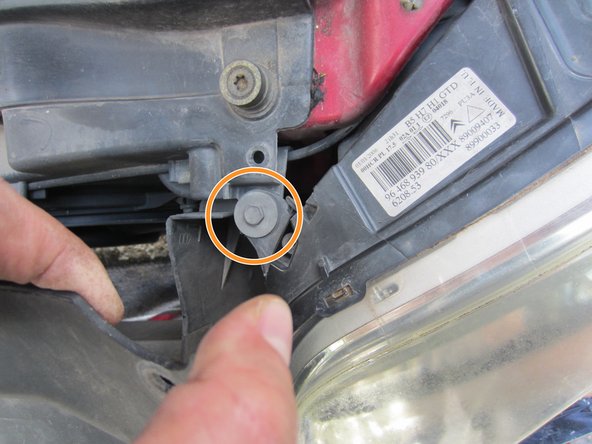
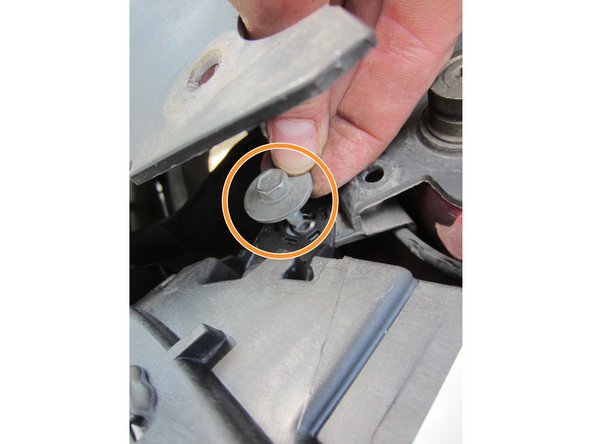
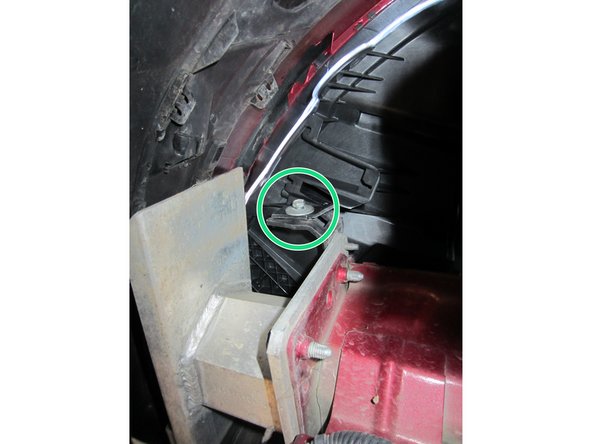
Dévisser la fixation de droite
-
Dévisser la fixation de gauche
-
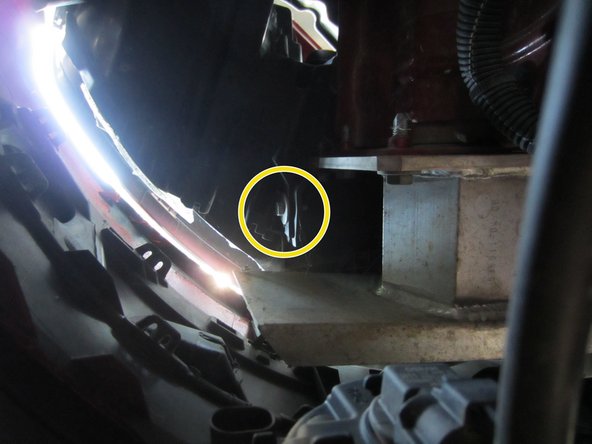
Dévisser la fixation de dessous
-
3 vis de taille 10
-
-
-
Basculer le phare par la droite
-
Déformer légèrement le pare-choc en plastique pour sortir le phare
-
Ne pas sortir entièrement le phare car il est encore connecté électriquement
-
-
-
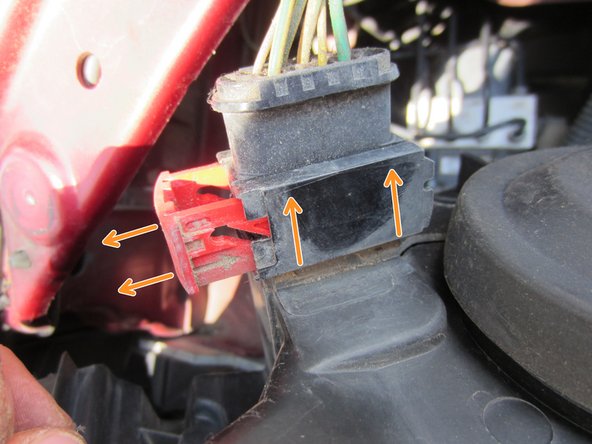
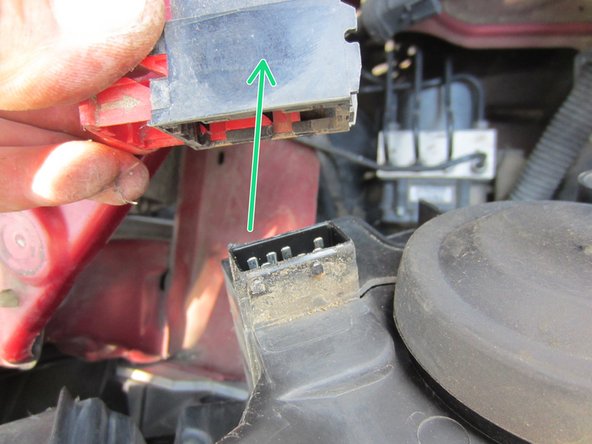
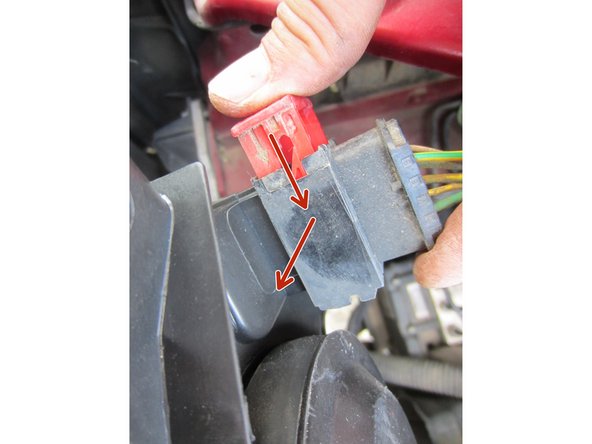
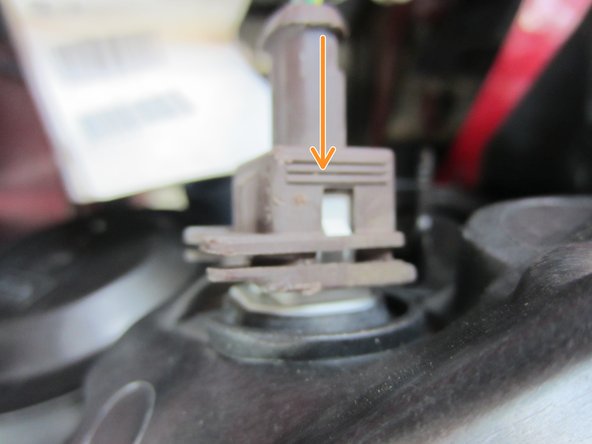
Déverrouiller avec un tournevis le connecteur principal
-
Ouvrir entièrement la partie plastique rouge cela va faire remonter le connecteur
-
Retirer le connecteur
-
-
-
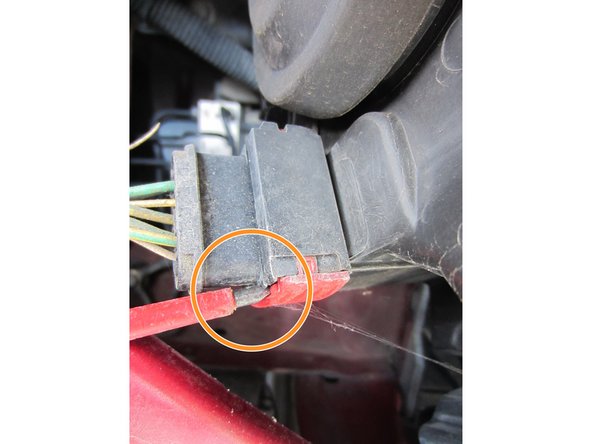
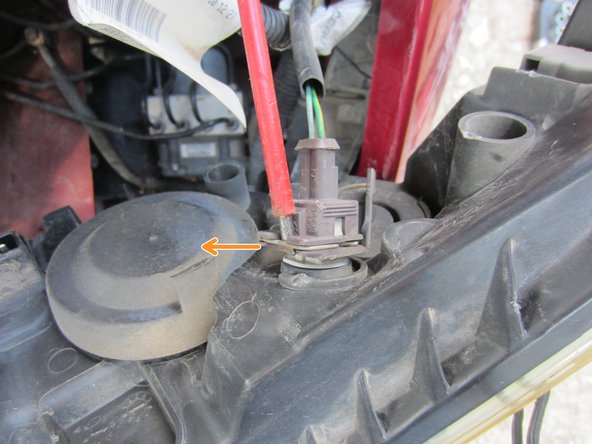
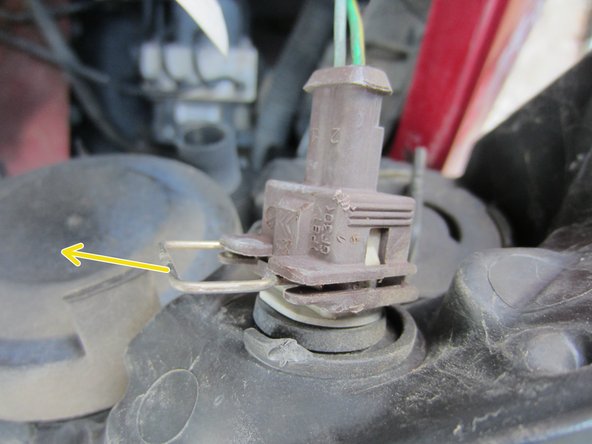
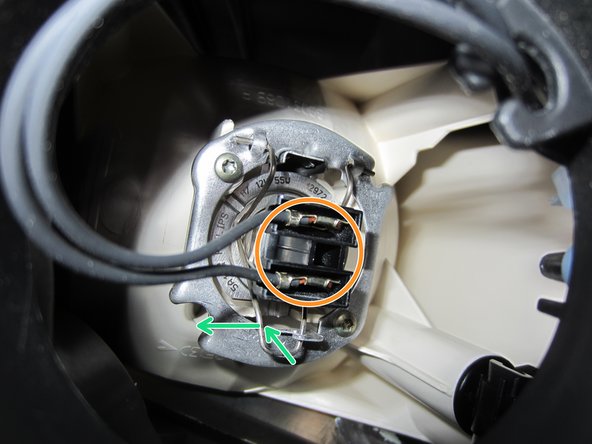
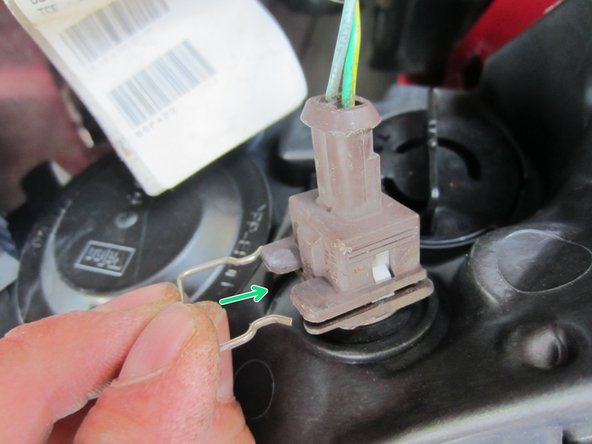
Avec un tournevis extraire la goupille métallique
-
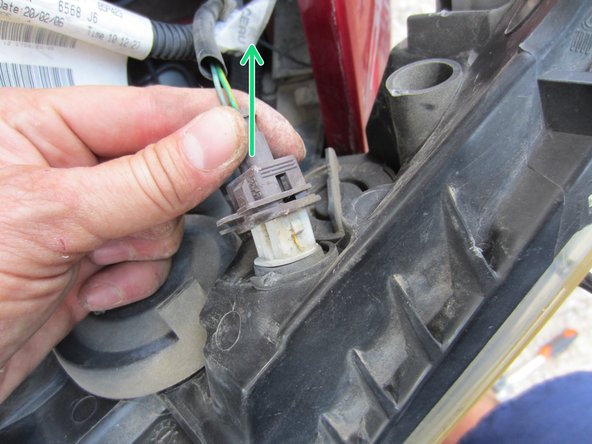
Retirer la goupille
-
Déconnecter le connecteur
-
-
-
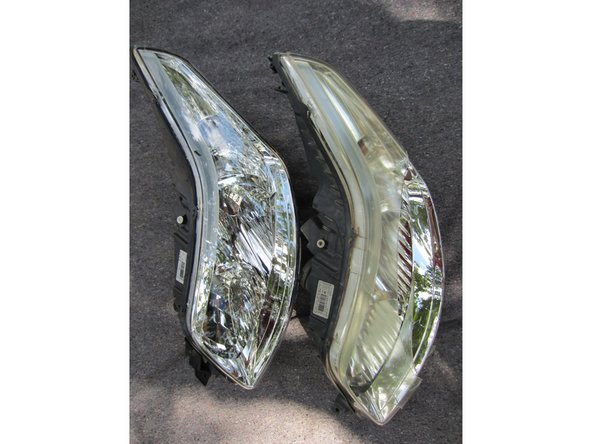
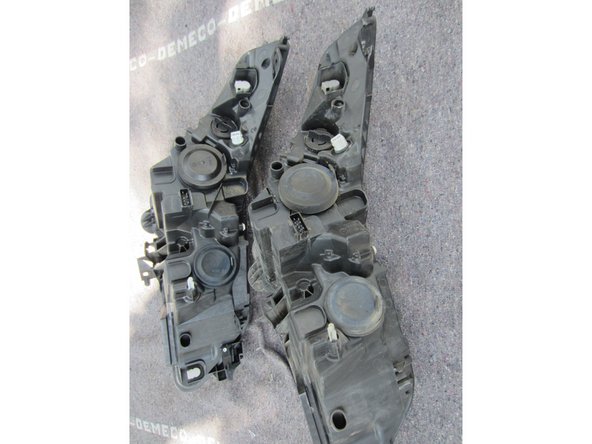
Comparer l'ancien et le nouveau phare
-
connexion électrique
-
fixation
-
taille forme ...
-
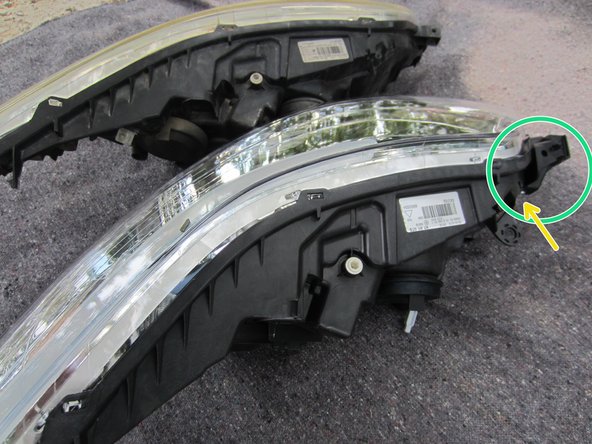
Retirer la pièce de fixation inutile sur C4 phase 1
-
elle est fixée par une vis torx
-
-
-
Il est plus facile d'installer les ampoules quand le phare est démonté
-
Tourner d'un quart de tour le capuchon
-
Retirer l'ampoule en faisant 1/4 de tour
-
Ré-installer l'ampoule et le cache sur le nouveau phare en vissant d 'un 1/4 de tour
-
-
-
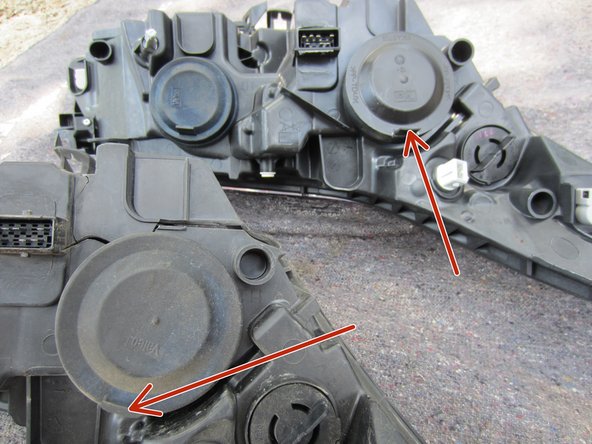
Ouvrir le bouchon de phare
-
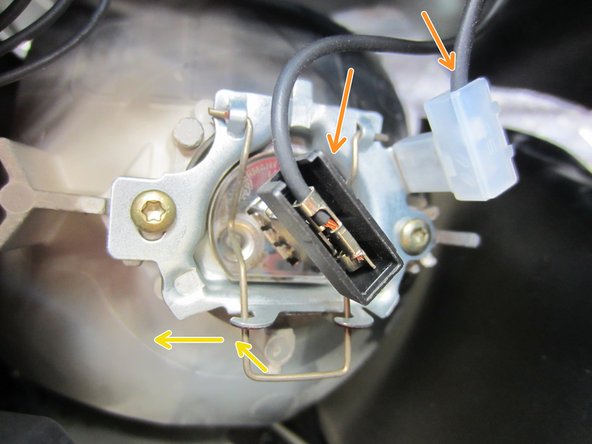
Déconnecter les prises électriques
-
Déverrouiller l'agrafe qui maintien l'ampoule en appuyant et tournant
-
Retirer l'ampoule sans toucher le verre
-
Insérer l'ampoule dans la nouvelle optique de phare
-
Verrouiller l'ampoule avec l'agrafe
-
Reconnecter électriquement
-
Refermer avec le bouchon
-
-
-
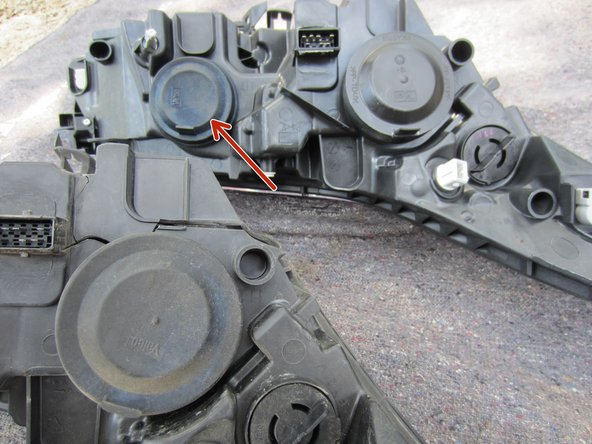
Ouvrir le bouchon de code
-
Déconnecter la prise électrique
-
Déverrouiller l'agrafe qui maintient l'ampoule en appuyant et tournant
-
Retirer l'ampoule sans toucher le verre
-
Insérer l'ampoule dans la nouvelle optique de phare
-
Verrouiller l'ampoule avec l'agrafe
-
Reconnecter électriquement
-
Refermer avec le bouchon
-
-
-
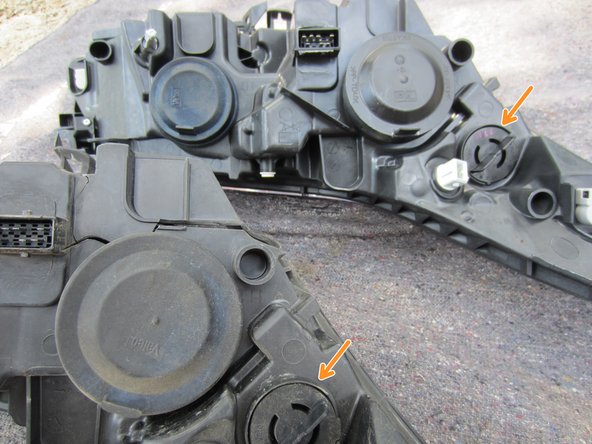
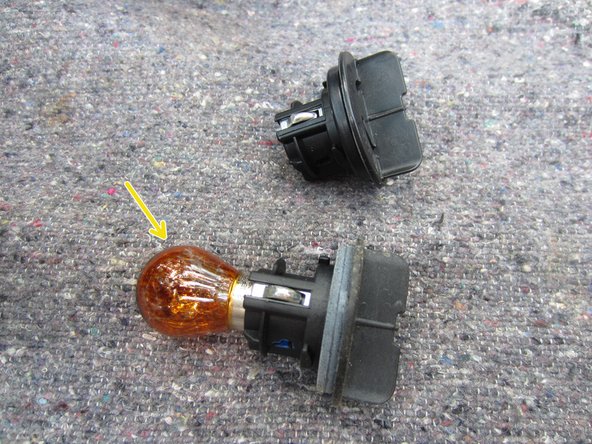
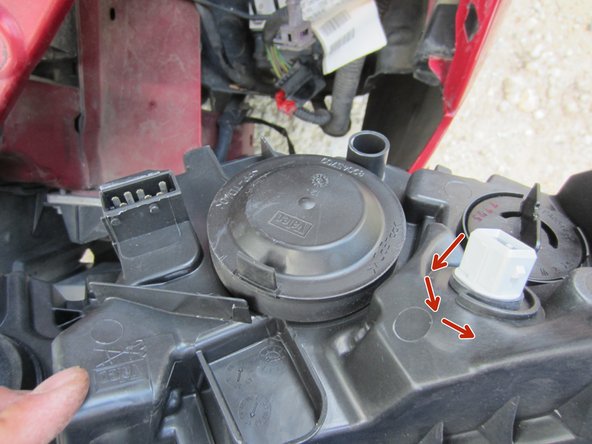
Tournez d'un quart de tour pour libérer le support d'ampoule de veilleuse
-
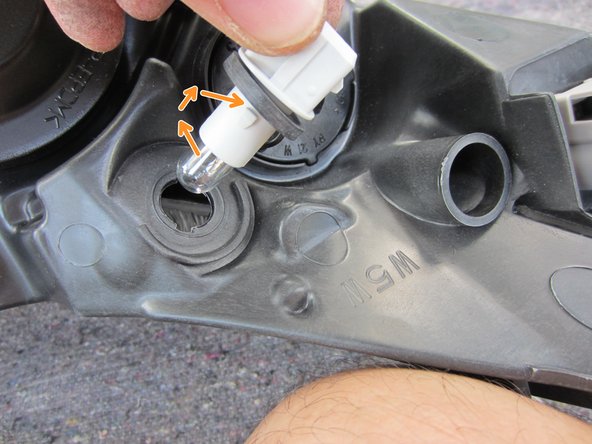
Tourner 1/4 pour libérer l'ampoule
-
Remonter l'ampoule sur le nouveau support
-
Remonter le support sur le nouveau phare
-
-
-
Connecter et verrouillez le connecteur principal
-
Connecter le connecteur de clignotant
-
Verrouillez avec la goupille métallique
-
-
-
Insérer le phare par la gauche et le basculer
-
Il faut utiliser la flexibilité du pare-choc pour mettre en place le phare
-
Attention a bien faire rentrer le bas du phare sous le pare-choc
-
-
-
Visser le phare avec les 3 vis de fixation sur le chassis
-
vis de droite
-
vis gauche
-
vis de dessous
-
-
-
Fixer la plaque de calandre avec les 6 clips plastiques
-
Remise en place de la plaque sous pare-choc et fixation
-
6 vis torx
-
3 vis de 10
-
Contrôle du fonctionnement
-










Annulation : je n'ai pas terminé ce tutoriel.
7 autres ont terminé cette réparation.

7 commentaires
Merci Louis pour votre précieuse expérience. Tout c'est déroulé sans accroc, grâce à votre tuto parfaitement documenté et illustré.
franck.manugal - Résolu à la publication Réponse
très bien fait. Pas de tuto pour les phares arrières y compris celui sur le coffre?
romainaublanc - Résolu à la publication Réponse
Le phare arrière est bien plus simple à démonter, il y a une première vis, celle du caché du dessus, puis 2 tetons dans le coffre pour retirer la moquette, encore 2 vis et le phare se retire