Introduction

First of all, it is essential to disconnect the battery cables, starting with the negative terminal.

  1. Remove the battery starting with the negative terminal. Unscrew the battery mounting clamp
    • Remove the battery starting with the negative terminal. Unscrew the battery mounting clamp

  2. Remove the upper engine guard
    • Remove the upper engine guard

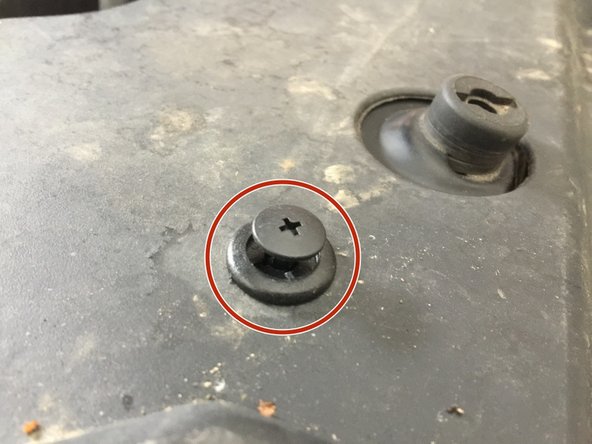
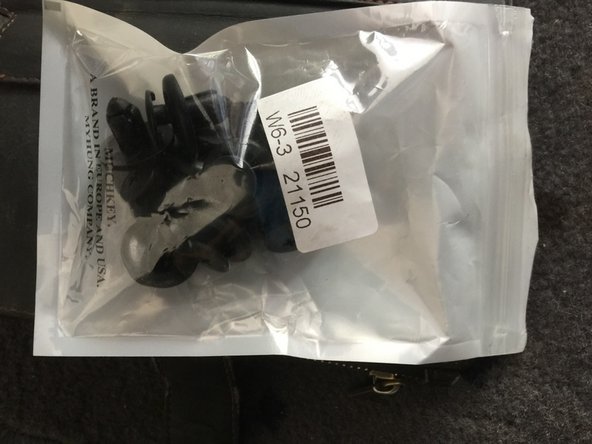
  3. Remove the plastic radiator protection crosspiece by lifting the head of the plastic pins. (If you break them, they are available on the OSCARO website) Remove the plastic radiator protection crosspiece by lifting the head of the plastic pins. (If you break them, they are available on the OSCARO website) Remove the plastic radiator protection crosspiece by lifting the head of the plastic pins. (If you break them, they are available on the OSCARO website)
    • Remove the plastic radiator protection crosspiece by lifting the head of the plastic pins. (If you break them, they are available on the OSCARO website)

  4. Once the protection is filed Once the protection is filed
    • Once the protection is filed

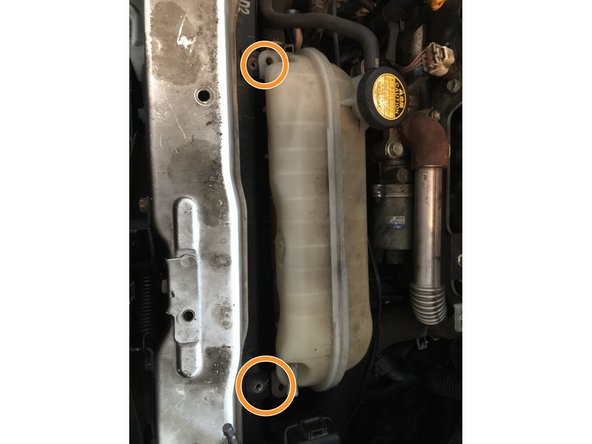
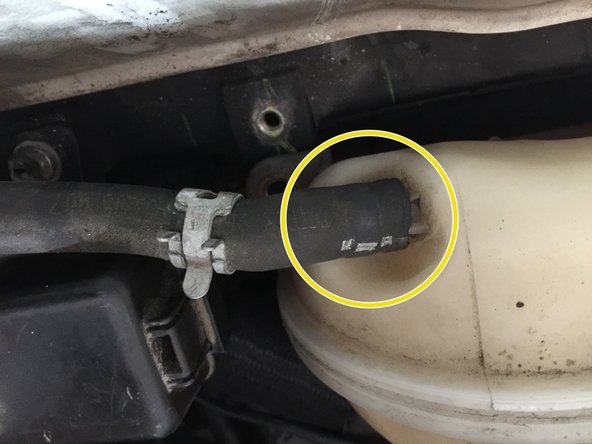
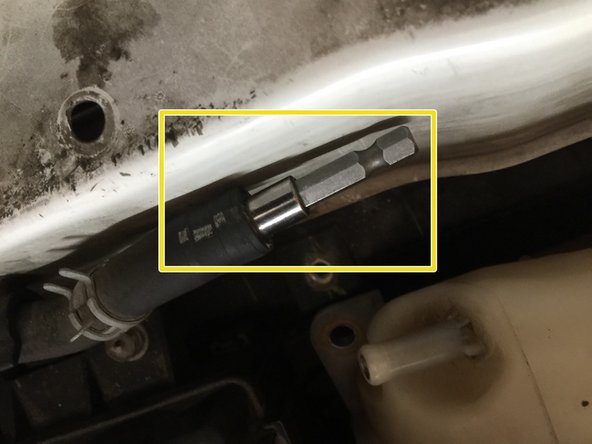
  5. Remove the coolant reservoir. 2 bolts at the ends of the reservoir. 10 socket wrench. Disconnect the right side supply pipe and seal it using a metal plug. Disconnect the right side supply pipe and seal it using a metal plug.
    • Remove the coolant reservoir. 2 bolts at the ends of the reservoir. 10 socket wrench.

    • Disconnect the right side supply pipe and seal it using a metal plug.

  6. Disconnect the starter power cable mounting clamp. Disconnect the starter power cable mounting clamp. Disconnect the starter power cable mounting clamp.
    • Disconnect the starter power cable mounting clamp.

  7. Disconnect the coil terminal Unscrew the central nut of the starter.
    • Disconnect the coil terminal

    • Unscrew the central nut of the starter.

    • To access the starter power terminal you must flip the terminal's protective insulator

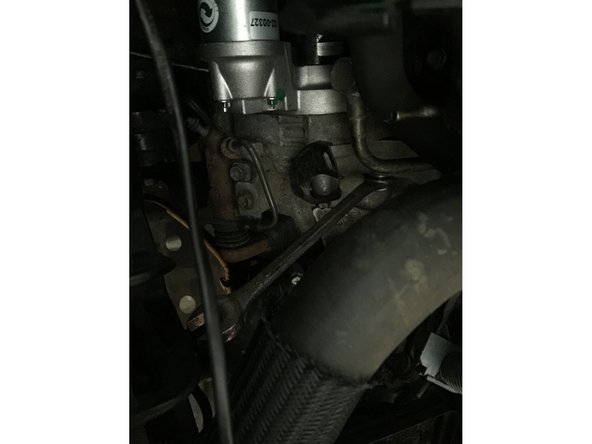
  8. Remove the underside of the engine protection to freely access the underside of the starter. Then, using a 17 mm angled ring spanner, unscrew the starter mounting bolt from underneath the vehicle. Remove the underside of the engine protection to freely access the underside of the starter. Then, using a 17 mm angled ring spanner, unscrew the starter mounting bolt from underneath the vehicle. Remove the underside of the engine protection to freely access the underside of the starter. Then, using a 17 mm angled ring spanner, unscrew the starter mounting bolt from underneath the vehicle.
    • Remove the underside of the engine protection to freely access the underside of the starter. Then, using a 17 mm angled ring spanner, unscrew the starter mounting bolt from underneath the vehicle.

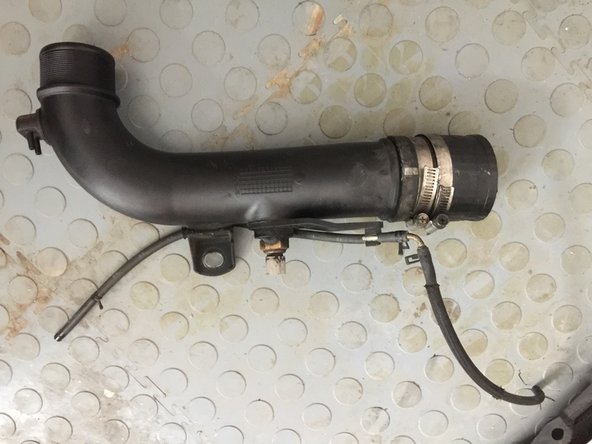
  9. For greater ease, you can remove the air supply hose from below, by disconnecting the 2 ends secured by clamps, the 2 small tubes and the electrical connector.
    • For greater ease, you can remove the air supply hose from below, by disconnecting the 2 ends secured by clamps, the 2 small tubes and the electrical connector.

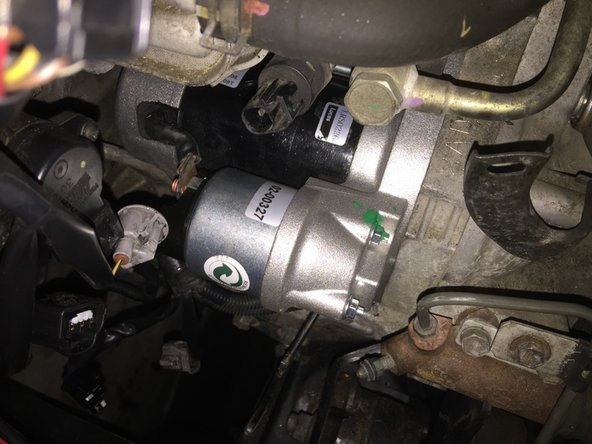
  10. You can recover the starter by unplugging it from the left side and pulling it upwards. It must be turned on itself so that it passes through a relatively narrow passage. Check the condition of the starter crown visible from above. Engage a gear (e.g. 3rd) and push on the vehicle to turn the crown.
    • You can recover the starter by unplugging it from the left side and pulling it upwards. It must be turned on itself so that it passes through a relatively narrow passage. Check the condition of the starter crown visible from above. Engage a gear (e.g. 3rd) and push on the vehicle to turn the crown.

  11. Replace with the new starter and reassemble, repeating the steps in reverse order. Remember to tighten your connections well. Check all cables and connectors for damage. Repair any defective parts.
    • Replace with the new starter and reassemble, repeating the steps in reverse order. Remember to tighten your connections well. Check all cables and connectors for damage. Repair any defective parts.

Conclusion

Check the model of your starter so that it is compatible with your car.

3 other people completed this guide.

MOCQUAIS Christian

Member since: 04/15/2018

658 Reputation

2 Guides authored

7 Comments

Thanks for the tutorial

Without your explanations I would still be there

The lack of space is extraordinary

Mission accomplished

MINETTO - Reply

Thank you for your tutorial

Without it I would still be there

The lack of space is extraordinary

MINETTO - Reply

I personally dismantled the front of the vehicle? but this tutorial is effective

iaroslavtrochkov - Reply

I'm adding a little info.

Indeed, removing the hose makes the task much easier.

Without this it is impossible to uncouple the eclectic cables.

The starter goes better from the bottom than from the top.

stephane bonelli - Reply

Good morning

Which way do you put it from underneath?? I can't get it out

clem.massay -

Add Comment

View Statistics:

Past 24 Hours: 2

Past 7 Days: 42

Past 30 Days: 270

All Time: 16,790