Introduction
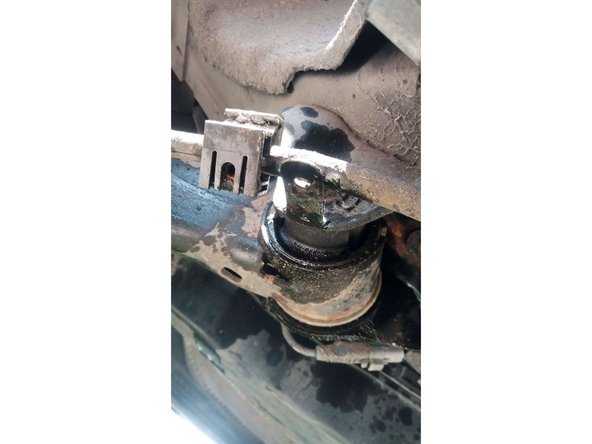
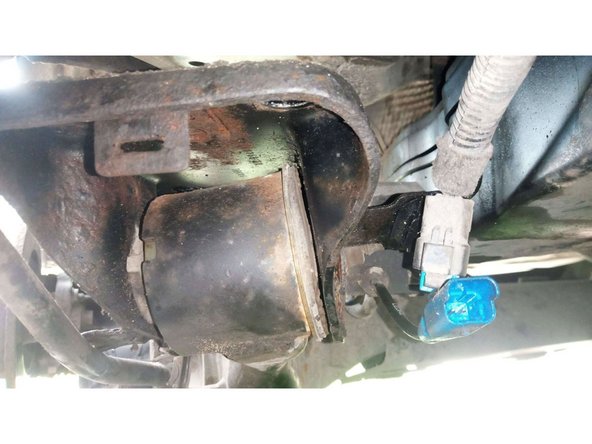
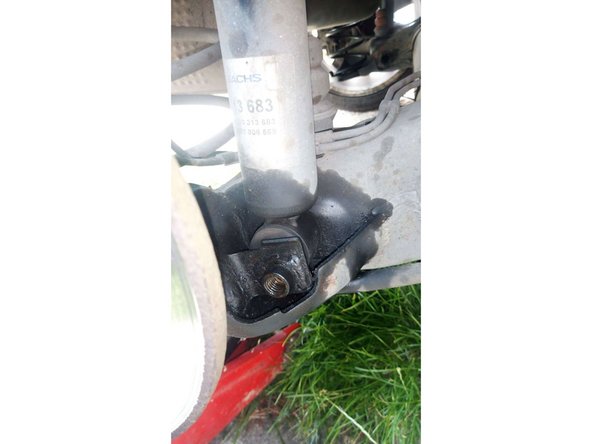
Voici les différentes étapes pour remplacer les silent blocs des suspensions arrières sur une Peugeot 207 1.6 HDI 110 FAP.
-
-
Serrer le frein à main puis mettre le véhicule sur chandelle seulement du côté choisit (ici le côté droit). Enfin, mettre des cales entre chaque roue avant du véhicule.
-
Retirer la roue (ici effectué à l'aide d'une clé à chocs)
-
-
-
Déposer la protection plastique de la suspension (commencer en dégrafant la partie située sous le ressort)
-
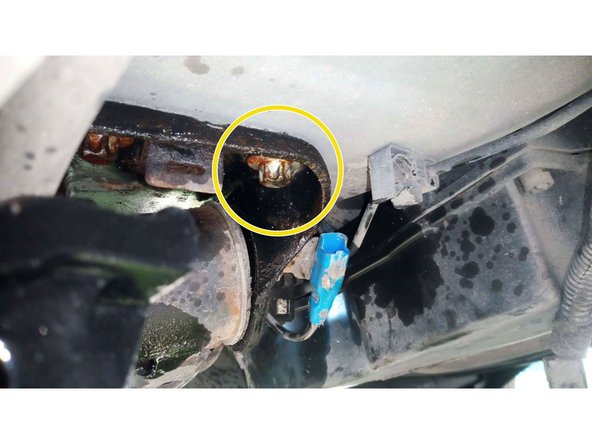
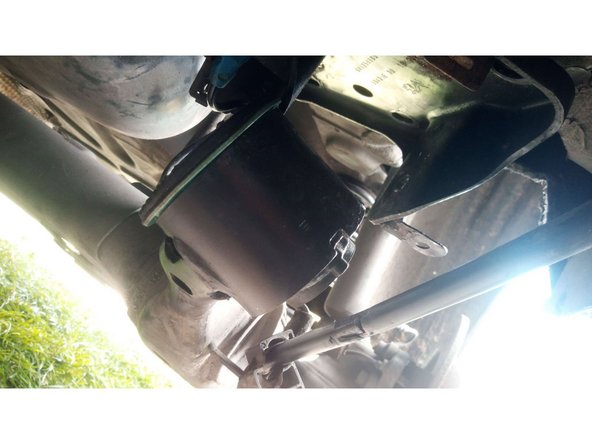
Déposer ensuite la 2ème protection recouvrant l'endroit où se situe le silent bloc. Dévisser la première vis (douille de 10) puis à l'aide un petit tournevis, expulser la seconde vis carter située derrière (côté intérieur du véhicule).
-
-
-
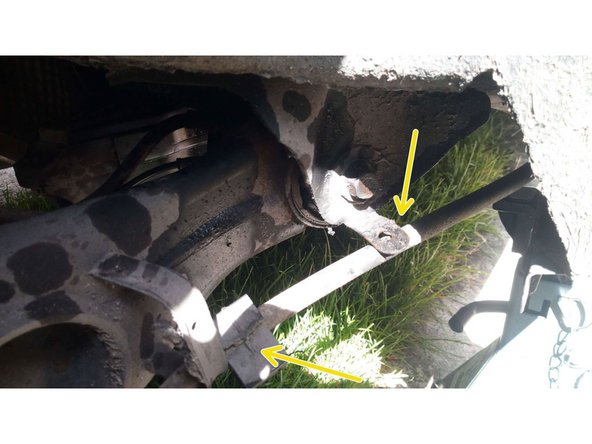
Dégrafer le support du câble de frein à main (en s'aidant d'un tournevis pour faire levier)
-
Après avoir éloigné ce support plastique en le faisant coulisser sur son câble, tirer ce dernier vers vous et le faire passer sous la languette métallique (afin qu'il ne gêne pas pour la suite)
-
Débrancher et dégrafer de son attache les prises du capteur ABS (fiches bleues) et éloigner les cables en dégrafant la gaine ICTA de ses passants).
-
-
-
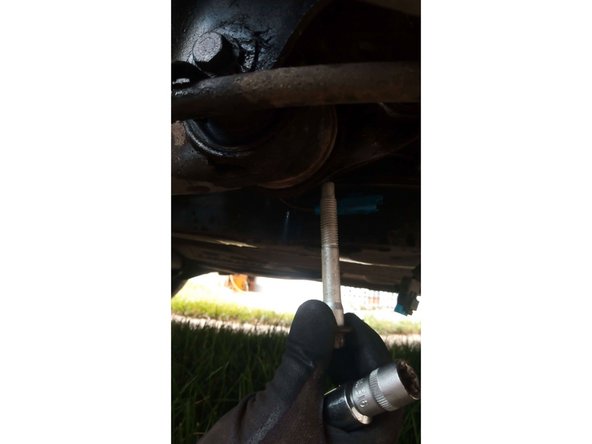
Dévisser délicatement les 4 longues vis maintenant le train arrière au chassis du véhicule (douille Torx femelle E-16) puis les retirer.
-
-
-
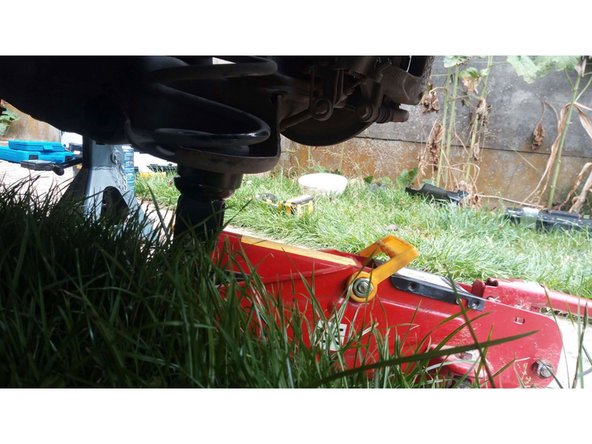
Placer un cric sous le ressort de suspension puis soulager la tension de l'amortisseur en le faisant monter légèrement.
-
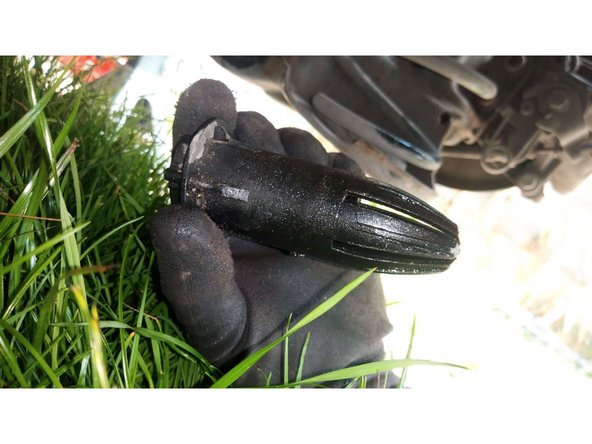
Retirer ensuite le capuchon plastique situé sous la butée (côté intérieur du véhicule) afin d'avoir accès à la vis inférieure de l'amortisseur.
-
-
-
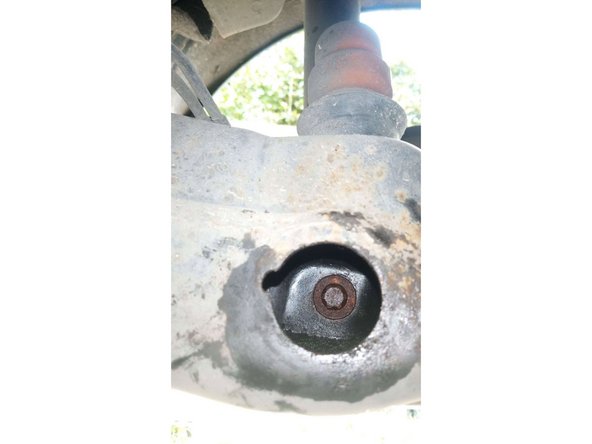
Dévisser la vis inférieure de l'amortisseur arrière (douille Torx femelle E-16).
-
A l'aide d'un chasse goupille, venir expulser la vis en tapant légèrement dessus de l'autre côté et ainsi, libérer l'amortisseur de sa vis inférieure.
-
Faire descendre doucement la suspension à l'aide du cric qui entraînera la descente du train arrière du côté dévissé.
-
Remarque : lors de la descente du train arrière, vous entendrez un claquement. Pas d'inquiétude, c'est tout simplement le petit tuyau rigide de frein qui se sera dégrafé tout seul.
-
Déposer aussi le ressort de suspension (qui ne sera plus comprimé) et profiter de l'occasion pour le nettoyer et vérifier son état.
-
-
-
Dévisser la vis traversant le silent bloc en son centre à l'aide d'une douille de 16 pour l'extérieur et d'une clé plate de 18 pour le côté intérieur (maintenir la clé de 18 en place puis desserrer avec la douille de 16 côté extérieur à l'aide d'une rallonge)
-
Retirer la vis et son écrou puis soulever la partie supérieure et venir la bloquer en la déposant sur la partie cylindrique retenant le silent bloc afin de pouvoir libérer ce dernier.
-
-
-
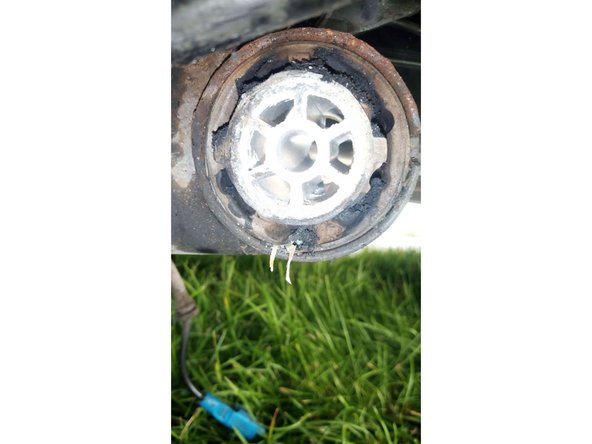
A l'aide d'une perceuse et d'un foret métal de 8, venir percer le silent bloc dans sa partie caoutchouc afin de le détendre. 3 trous en haut puis 3 trous en bas.
-
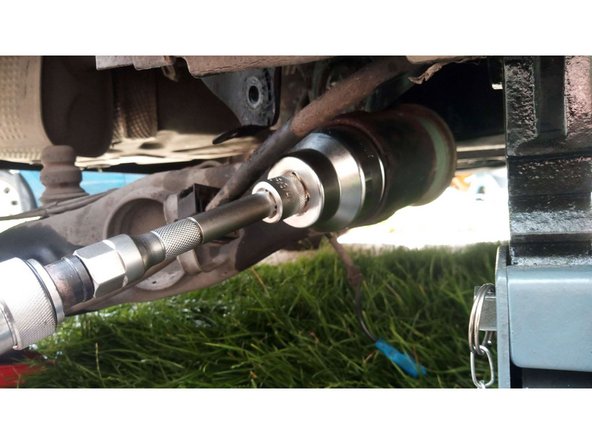
A l'aide d'une douille de 50 mm, d'une rallonge et d'un manche à chocs, venir frapper avec une massette le silent bloc pour l'extraire de son logement.
-
Remarque : Veiller à bien positionner la douille avant de frapper afin de ne pas détériorer les bords métalliques du train arrière.
-
-
-
Nettoyer puis graisser le support dans lequel devra rentrer le nouveau silent bloc.
-
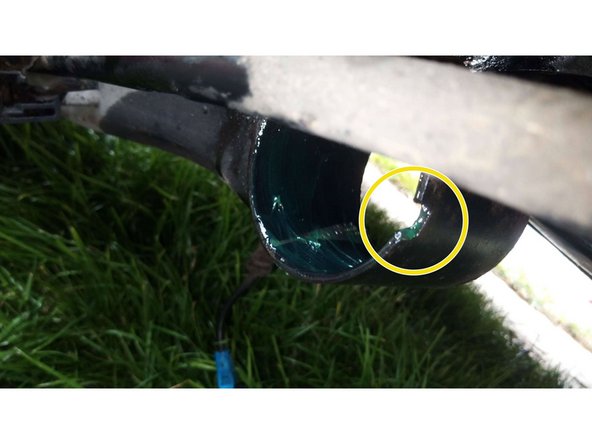
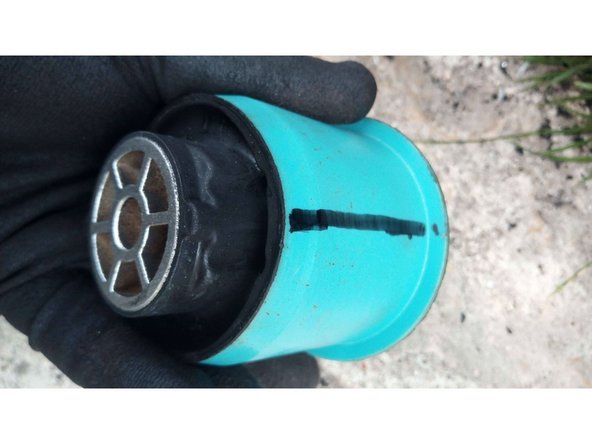
Une encoche est présente sur le cylindre récepteur et ce repère va permettre à positionner le nouveau silent bloc comme il se doit.
-
Tracer au feutre noir indélébile une ligne de part et d'autre rejoignant ainsi les deux repères de chaque coté du silent bloc afin de pouvoir parfaitement positionner ce dernier lors de son insertion. Enfin, graisser le corps du silent bloc.
-
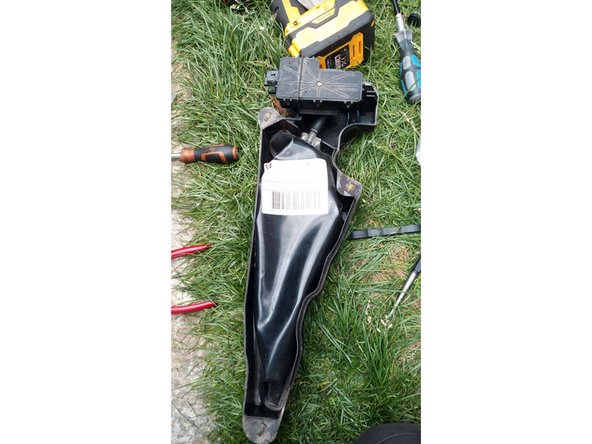
Véhicule équipé d'un FAP : Déposer le réservoir d'additif avec sa pompe. Débrancher l'arrivée à la pompe ainsi que son alimentation puis tourner d'un quart de tour les 3 vis montées sur ressort situées autour du réservoir. Déposer le réservoir en faisant très attention à la manipulation du produit (Eolys Powerflex) dans la poche.
-
-
-
Placer la presse avec grand plateau sur l'extérieur puis positionner le silent bloc en faisant bien attention à l'alignement du trait sur l'encoche.
-
Serrer (toujours à l'extérieur) avec une douille de 22 mm, aidé d'une rallonge et d'une clé à cliquet à manche extensible. Le silent bloc rentre sans aucune difficulté et se place dans son logement à chaque tour de clé.
-
Une fois en place, nous pouvons vérifier que le repère du silent bloc est parfaitement aligné avec l'encoche sur le support.
-
-
-
Remonter le tout dans le bon ordre et resserrer tout aux différents couples constructeur :
-
La vis traversant le silent bloc : 40 N.m + 130°
-
Les 4 vis supérieures du train arrière : 75 N.m
-
La vis inférieure d'amortisseur : 93 N.m
-
Les vis de roue : 90 N.m
-
Annulation : je n'ai pas terminé ce tutoriel.
2 autres ont terminé cette réparation.
Un commentaire
thibaut.ansaldi n’a absolument pas contribué à mon tuto, je tiens à le préciser ! La seule modif qui avait été effectuée par ce dernier et que j’ai dû rectifier derrière, était une grosse erreur sur la photo du silentbloc (pas du tout la bonne pièce !) Et ça se dit professionnel ??? On me contacte avant de modifier (surtout si c’est pour faire des conneries !)
jerome.leclerc81 - Résolu à la publication Réponse


