


Introduction
Changement des ampoules d'éclairage de plaque sur une Honda Civic 8G de 2009.
Pièces
-
-
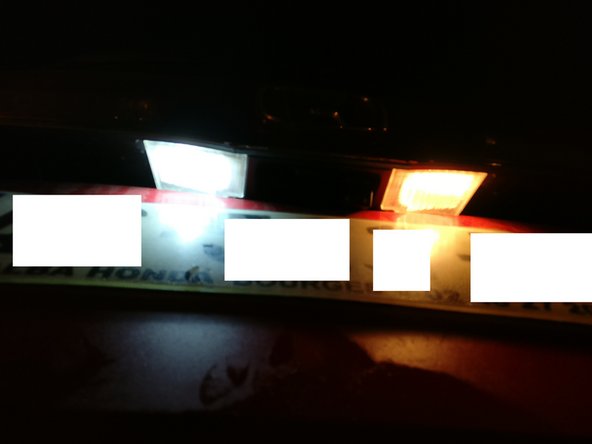
Mettre le contact puis allumer les feux de position
-
Constatez quelle ampoule est défèctueuse
-
Ici c'est l'ampoule de gauche qui est HS
-
Couper le contact
-
-
-
Ouvrir le coffre
-
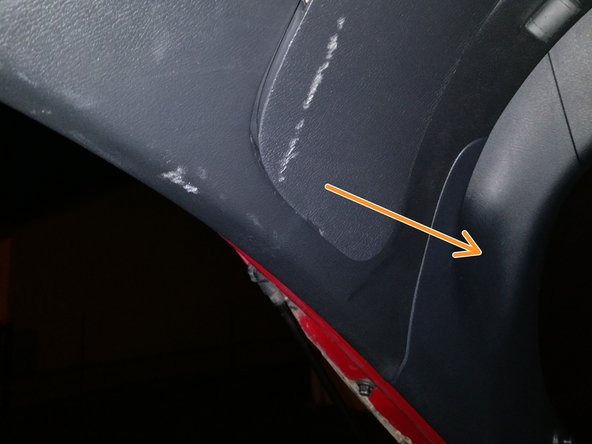
Localiser les trappes de visite
-
Sur ces trappes, il y a une encoche sur l'extrémité (vers l’extérieur du véhicule)
-
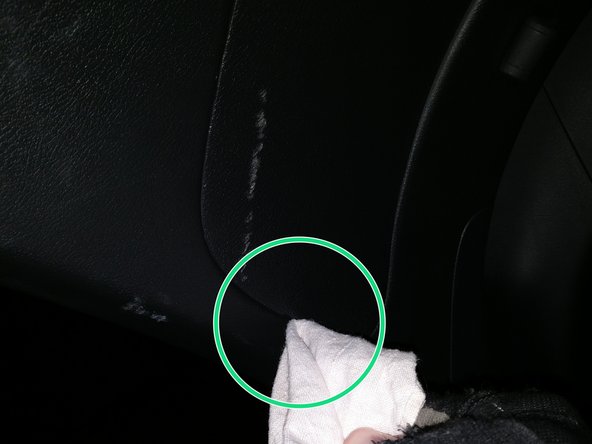
Munissez vous d'un tournevis plat et d'un chiffon ou un torchon
-
-
-
Passer la tête du tournevis dans l'encoche de la trappe de visite (trappe gauche ou droite en fonction de l'ampoule défectueuse)
-
Faite un mouvement de levier pour dé clipser la trappe
-
Tirer doucement sur la trappe pour la dé clipser entièrement
-
-
-
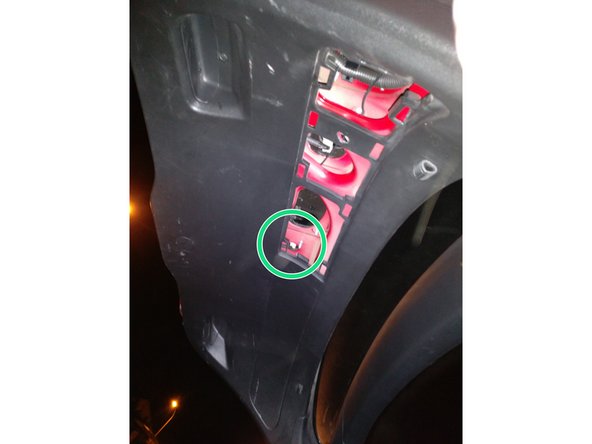
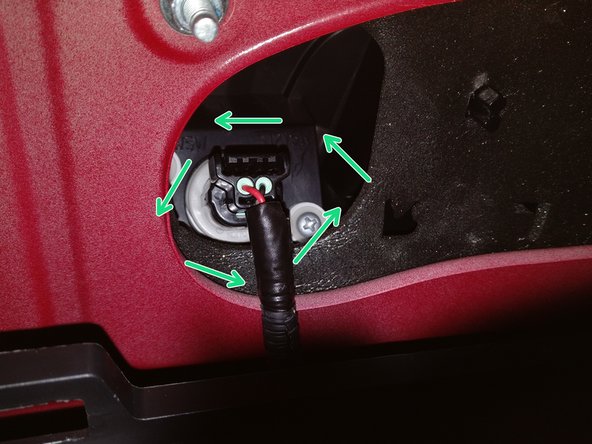
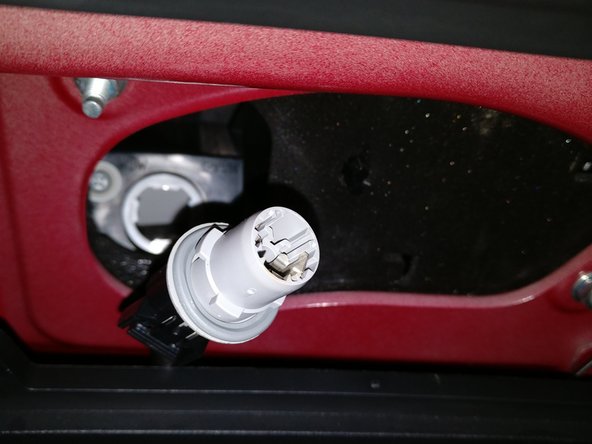
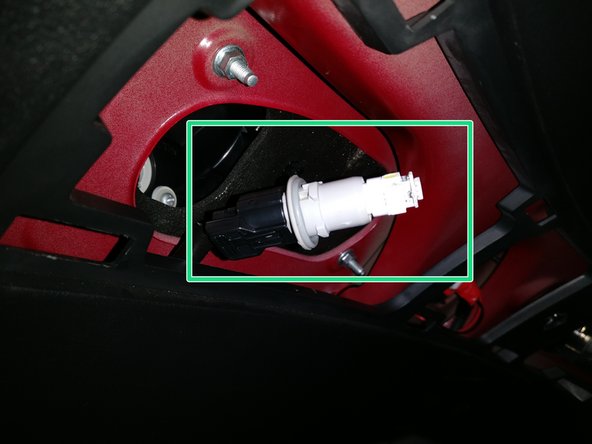
Pour apercevoir le support d'ampoule il faut regarder vers le centre du coffre par la trappe de visite
-
Support d'ampoule de plaque
-
-
-
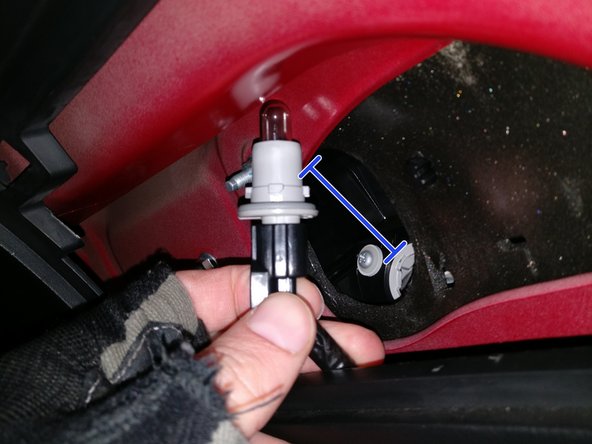
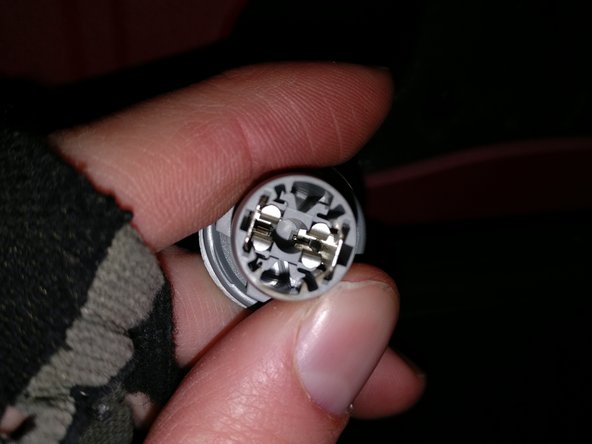
Tourner le support gris dans le sens antihoraire d'1/4 de tour pour le demonter
-
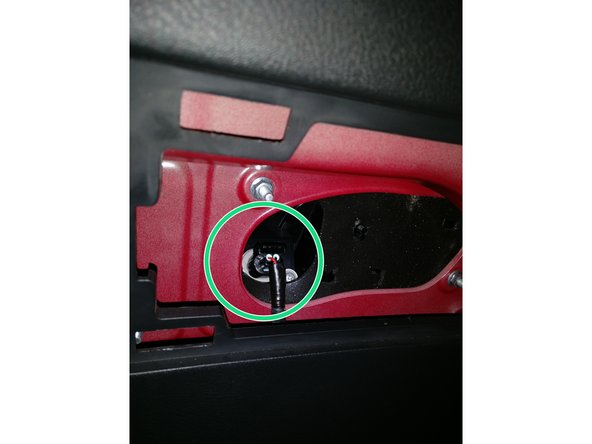
Tirer sur le support délicatement pour le sortir
-
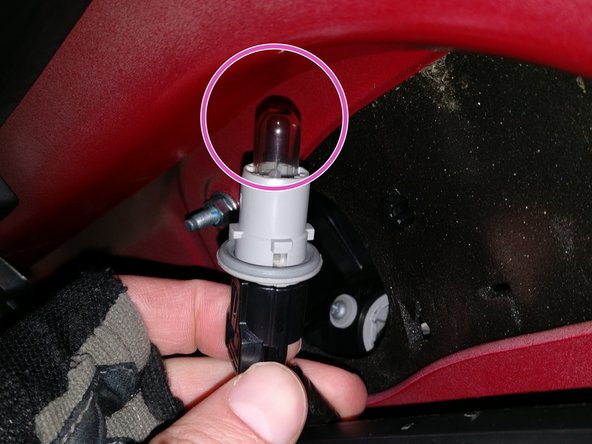
Vérifier si le filament est coupé ou non
-
Si le filament n'est pas coupé le problème peut venir d'ailleurs
-
-
-
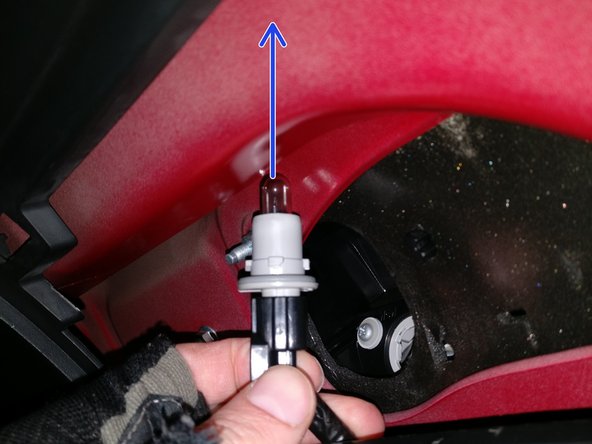
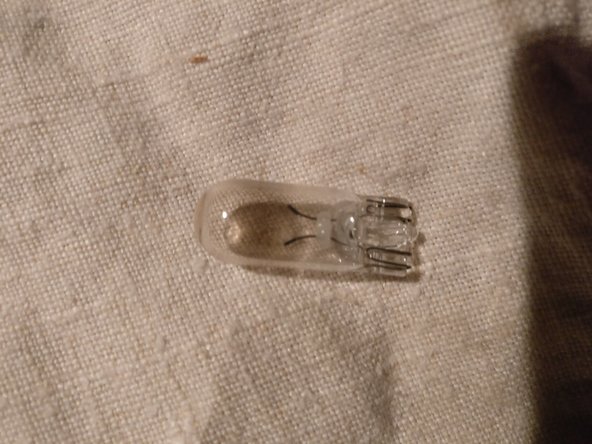
Pour démonter l'ampoule, vous devez utiliser un chiffon !
-
Mettre le chiffon sur l'ampoule et tirer pour la sortir de son culot
-
Ici mon ampoule est bien HS
-
Personnellement je remplace mon ampoule halogène par une LED (elles sont plus puissantes, moins gourmandes et l'éclairage est blanc et non jaune)
-
La LED est une 12v de type W5W (base T10)
-
-
-
Visualiser le culot pour mettre correctement l'ampoule par la suite
-
Mettre l'ampoule à LED dans le culot
-
Vous pouvez vérifier si la LED marche avant de remonter en allumant vos feux de position. Si c'est le cas vous pouvez procéder au remontage dans le sens inverse.
-


Opération très facile que vous pouvez faire vous même sans problème. Utiliser un chiffon avec le tournevis car les plastiques de la civic se rayent très facilement.
Opération très facile que vous pouvez faire vous même sans problème. Utiliser un chiffon avec le tournevis car les plastiques de la civic se rayent très facilement.
Annulation : je n'ai pas terminé ce tutoriel.
5 autres ont terminé cette réparation.
