


Difficulté
Facile
Étapes
8
Temps nécessaire
00:05:00

Ce tutoriel a été créé par la communauté
User contributed
Introduction
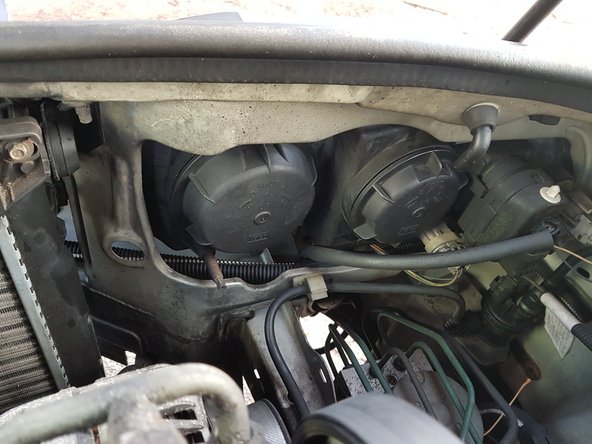
Avant de vous lancer dans le remplacement, référez vous à la notice constructeur pour connaitre le type d'ampoule à acheter. Si vous n'avez pas de notice, vous trouverez dans la majorité des rayons auto une borne de renseignements. Enfin si vous ne trouvez pas l'information recherchée, n'hésitez pas à demander à un vendeur.
-
-
En premier lieu, couper le contact du véhicule, et déverrouiller le capot moteur à l'aide du levier situé dans l'habitacle, au niveau des pieds du conducteur.
-
Le capot dispose d'une sécurité à l'ouverture. Pour la déverrouiller, lever légèrement le capot, et appuyer sur la palette située au centre sous le logo Renault.
-


Annulation : je n'ai pas terminé ce tutoriel.
Une autre personne a terminé cette réparation.