


Introduction
Des ampoules de feux de croisement en bon état de fonctionnement vous permettent de bien voir et d'être bien vu, notamment la nuit. Quand l'une grille, la seconde suit rapidement...
Il est recommandé de changer ces ampoules par paire.
Cependant, vous pouvez en changer une seule pour poursuivre un trajet.
Ce tutoriel est valable pour les feux halogènes. Il n'est pas valable pour les modèles qui ont comme option les feux xénon.
Les deux ampoules halogènes nécessaires sont de référence H7.
Coupez le contact avant de commencer.
Outils
-
-
Saisissez la manette de déverrouillage du capot et tirez-la vers vous. Elle se trouve à gauche des pédales.
-
Vous allez entendre un "clonc", et le capot s'entrouvrira à ce moment.
-
-
-
Placez votre main sous le capot, à gauche du logo Skoda.
-
Pressez la manette métallique que vous sentirez sous vos doigts vers le haut, tout en levant le capot.
-
Levez le capot entièrement, il se maintiendra automatiquement grâce à ses deux vérins.
-
-
-
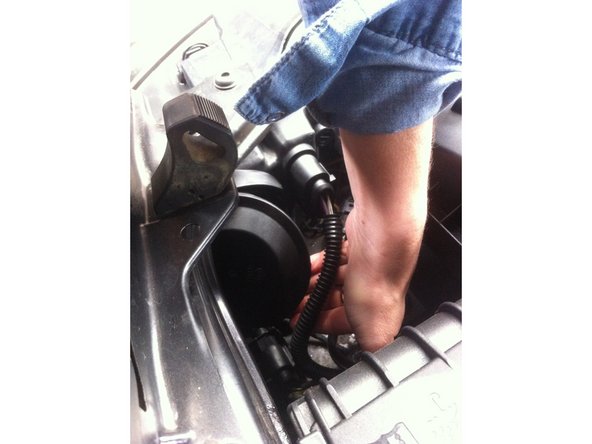
Retirez le couvercle sur le bloc de feux comme sur la photo.
-
Il se retire très facilement, de la même façon que le couvercle d'un tube de balles de tennis.
-
-
-
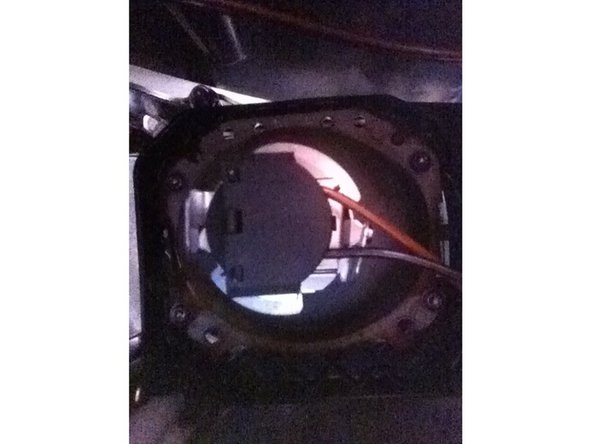
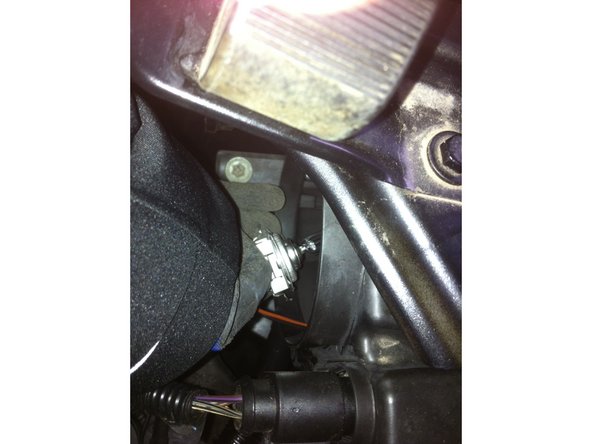
Tournez la fiche à fond sur la gauche, elle se trouve derrière le couvercle que vous avez retiré précédemment à l'étape 3.
-
Initialement, elle est dans la même position que sur la première photo, tournez-la de façon à ce qu'elle soit dans la même position que sur la deuxième photo.
-
La fiche est verrouillée, vous la déverrouillerez en la tournant vers la gauche, en forçant de façon modérée.
-
-
-
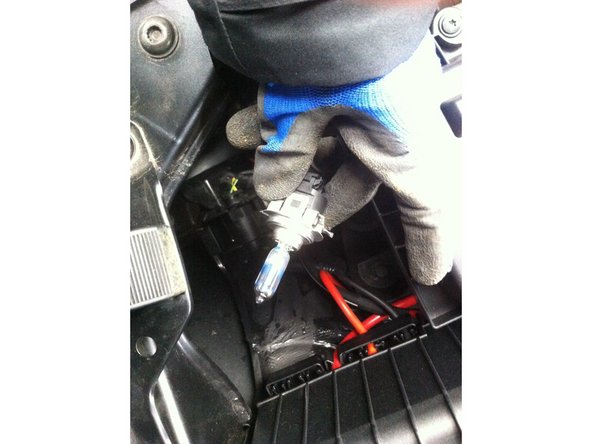
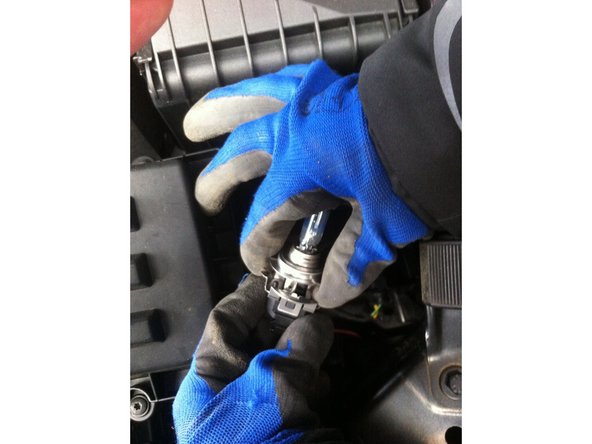
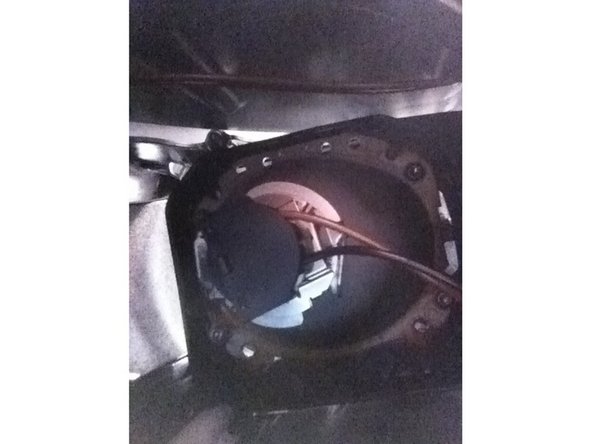
Retirez la fiche et l'ampoule du bloc de feux. Vous avez précédemment déverrouillé la fiche en la tournant vers la gauche (à l'étape 5). Le tout vient sans effort.
-
A cette étape, la fiche et l'ampoule sont encore assemblées.
-
-
-
Placez vos doigts sur la base de l'ampoule et sur la fiche.
-
Séparez l'ampoule et la fiche en les tirant à l'opposé l'une de l'autre.
-
-
-
Retirez l'ampoule de remplacement de son emballage en évitant de touchez le verre.
-
Saisissez l'ampoule par sa base métallique avec vos gants.
-
-
-
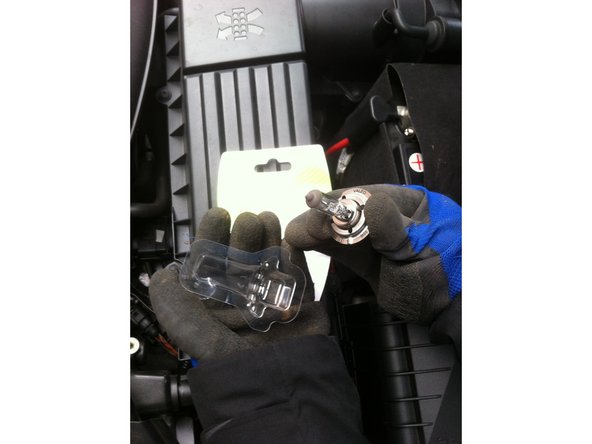
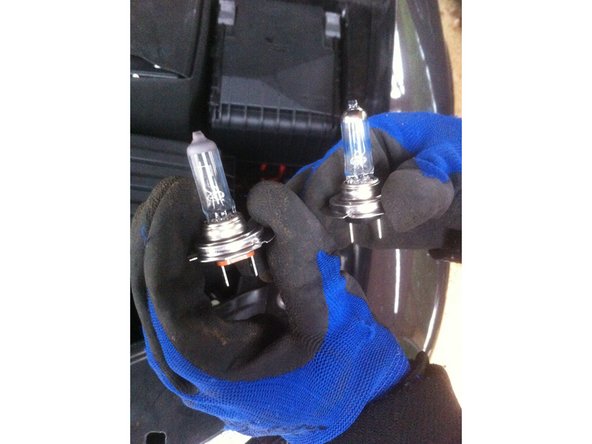
Comparer la nouvelle ampoule avec l'ancienne ampoule.
-
-
-
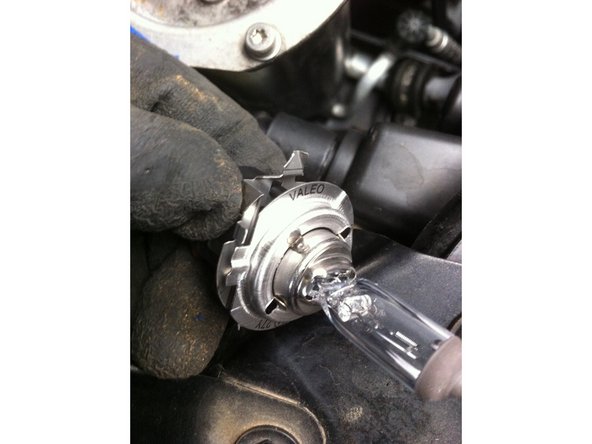
Munissez-vous d'un mouchoir en papier ou d'un essuie-tout afin d'éviter tout contact avec le verre.
-
Enfoncez les pattes de la nouvelle ampoule dans la fiche.
-
-
-
Saisir la fiche et replacer la fiche et l'ampoule sur leur support dans le bloc de feux.
-
Cette étape est l'exacte inverse de l'étape 6.
-
-
-
Positionnez la fiche comme sur la première photo.
-
Tournez la fiche vers la droite afin de clipser ses pattes métalliques dans les encoches métalliques de son support de bloc de feux.
-
La fiche doit être maintenant positionnée comme sur la deuxième photo.
-
Cette étape est l'exacte inverse de l'étape 5.
-
-
-
Repositionnez le couvercle sur le bloc de feux.
-
Cette étape est l'exacte inverse de l'étape 3.
-
-
-
Vous venez de remplacer votre première ampoule.
-
La seconde ampoule se remplace exactement comme la première. Vérifiez le bon fonctionnement de l'ampoule que vous venez de remplacer en mettant le contact puis en allumant les feux de croisement.
-
Couper le contact puis remplacez la seconde ampoule du bloc de feux opposé en reprenant à l'étape 3.
-
Une fois la seconde ampoule remplacée, mettez le contact et allumez les feux de croisement pour vérifier leur bon fonctionnement. Refermez le capot si le tout fonctionne correctement. Recommencez l'opération en cas de dysfonctionnement en reprenant à l'étape 3 sur le bloc de feux concerné.
-


Annulation : je n'ai pas terminé ce tutoriel.
2 autres ont terminé cette réparation.
2 commentaires
Bonjour,Je viens de faire l’acquisition d’une Superb combi 2011 . Je souhaiterais changer les ampoules du Coffre , Feux de jour , Portiere et en dessous des rétros par des LED hautes Puissance. Quelq’un sais me renseigner sur la référence des Ampoules concerné . Merci d’avance.
Adriano MAZZETTO - Résolu à la publication Réponse
Consulté par curiosité uniquement (je n’avais pas à faire cette opération), je trouve ce tutoriel bien fait et tire mon chapeau à ceux qui s’en donne la peine.
RB
Robert BOURGUIN - Résolu à la publication Réponse