


Introduction
Ce tutoriel vous montre comment changer votre liquide de refroidissement sur votre véhicule et faire la purge pour chasser l'air du circuit de refroidissement.
Opération conseillée tous les 4 ans ou 80.000km et à froid, 4h après l' arrêt du moteur.
Vidéo d'introduction
-
-
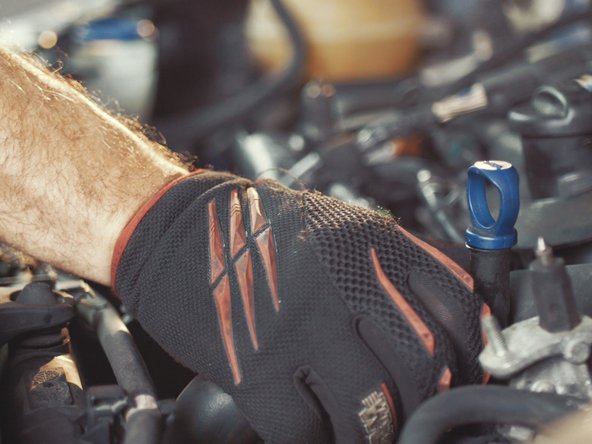
Commencer par ouvrir le capot
-
Localiser le bocal de liquide de refroidissement à l'aide du pictogramme jaune indiquant un point d'exclamation, un thermomètre ou des mains
-
Dévisser le bouchon du bocal pour libérer la pression du circuit et le refermer
-
-
-
Placer une bassine sous le radiateur
-
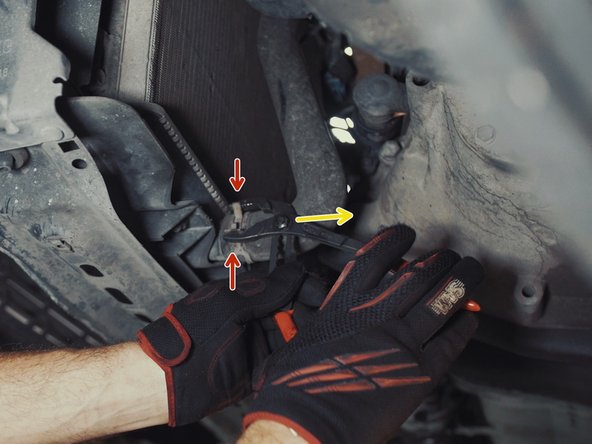
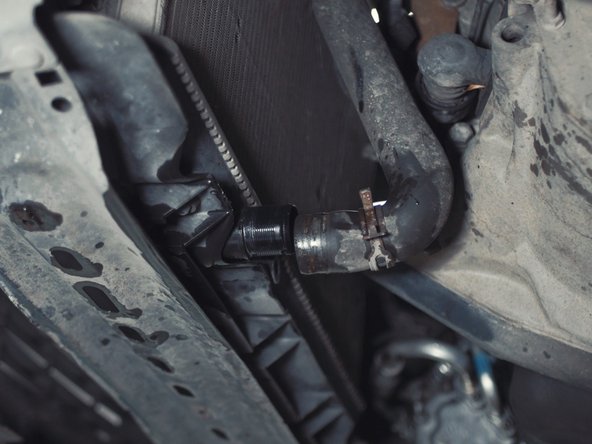
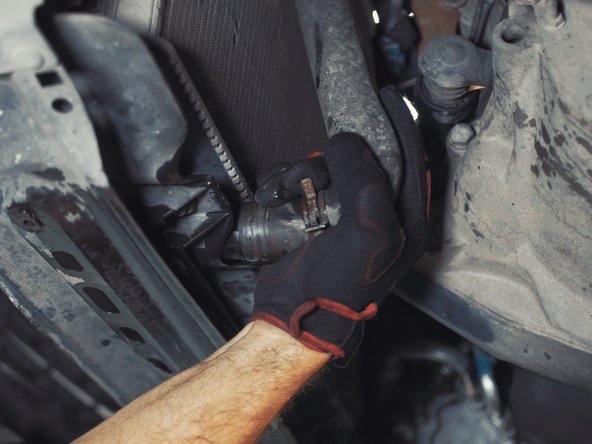
La vidange s'effectue par le radiateur, vous trouverez surement un simple bouchon à dévisser ou comme dans notre cas, une durite à retirer
-
-
-
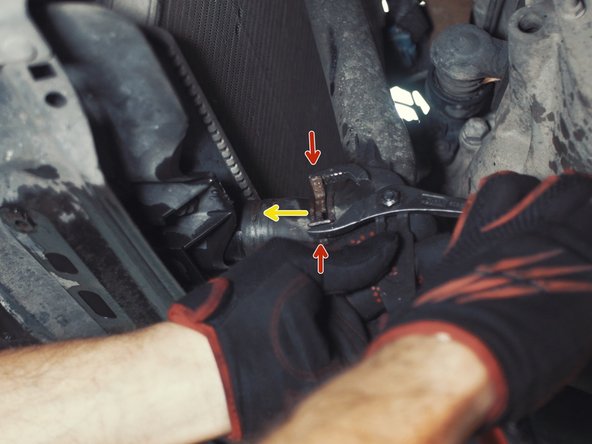
Pincer le collier de la durite avec une pince multiprise
-
et tirer le collier en arrière
-
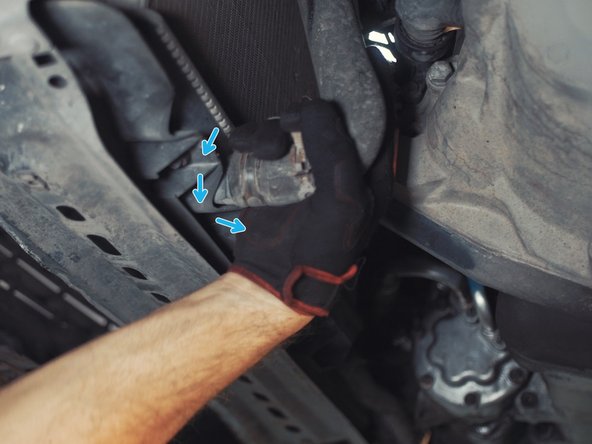
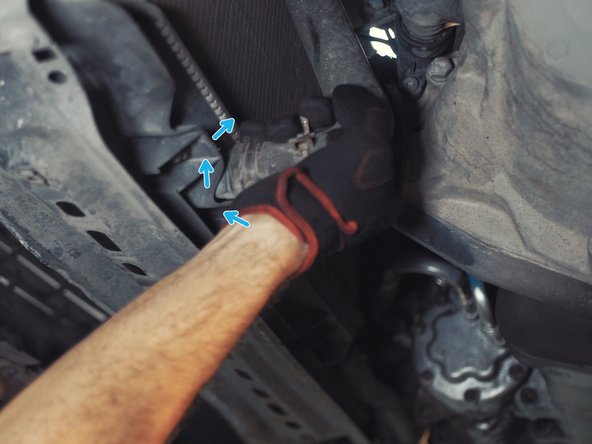
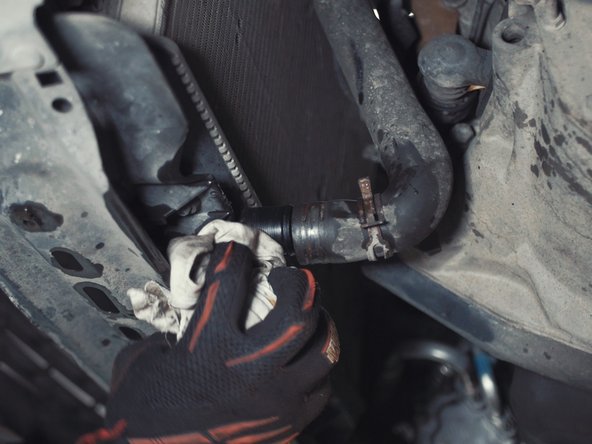
Astuce pour débloquer une durite collée au raccord: tourner la durite sur elle même avant de tirer dessus
-
-
-
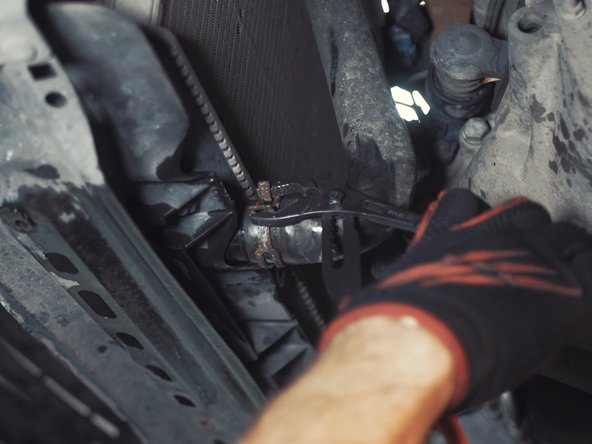
Tenez la bassine sous la durite et tirer sur cette dernière pour la retirer
-
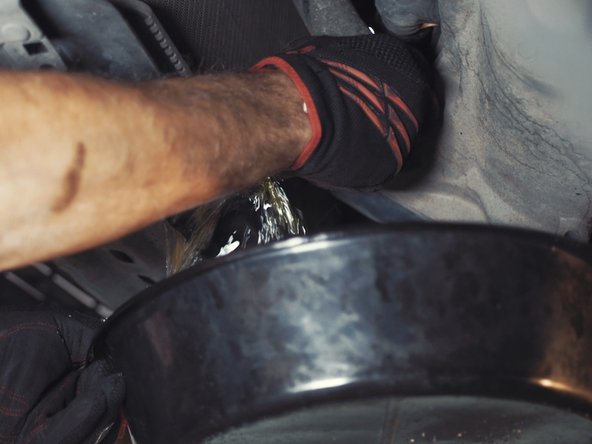
Laisser le liquide de refroidissement s'écouler dans la bassine
-
Porter des gants pour limité le contact sur la peau
-
-
-
Astuce : Ouvrir le bocal puis pincer une durite d'eau pour évacué au maximum le liquide restent dans le circuit
-
-
-
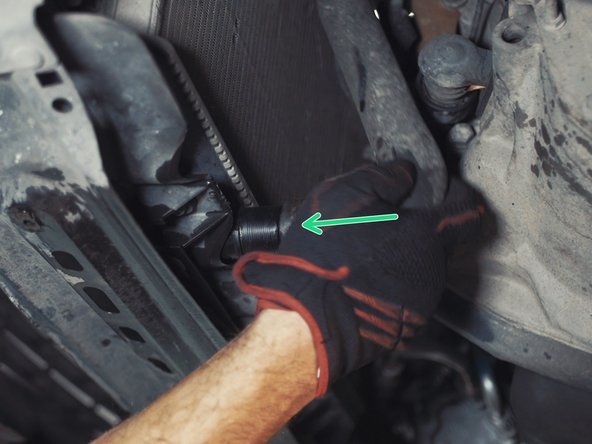
Nettoyer l'emplacement de la durite
-
Emboiter la durite du radiateur à la main
-
-
-
Serrer le collier de la durite avec la pince multiprise et avancer le collier
-
Relâcher la pince pour serrer la durite avec le collier
-
-
-
Le liquide de refroidissement est universel mais il existe des gammes hiver ou encore "longue durée de vie" tel que celui-ci proposé par Aisin, allant de -37°c à 129°c et une durée de vie de 250 000km ou 5 ans
-
Vous retrouverez la quantité de liquide nécessaire dans le manuel d'entretien de votre véhicule. Prévoyez toutefois 0,5l en plus pour une purge.
-
-
-
-
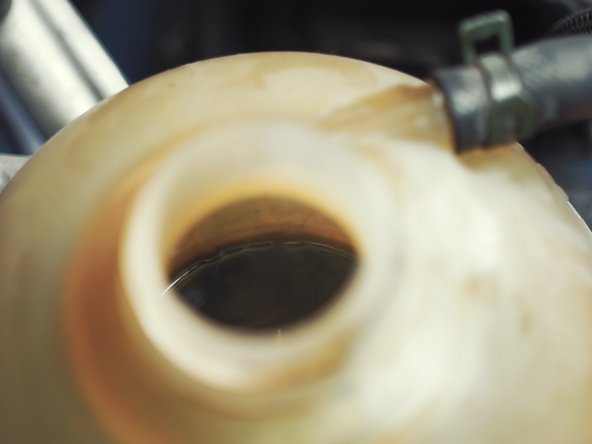
Remplir le bocal jusqu'au dessus du niveau max afin d'avoir assez de liquide pendant la purge, le niveau redescendra
-
Le bocal ne dois jamais être vide durant la purge au risque de faire rentrer de l'air à nouveau dans le circuit.
-
Le véhicule ici présent nécessite plus de 7l de liquide de refroidissement, nous en versons d'abord 4,5l
-
-
-
Placer un chiffon pour ne pas mettre du liquide partout
-
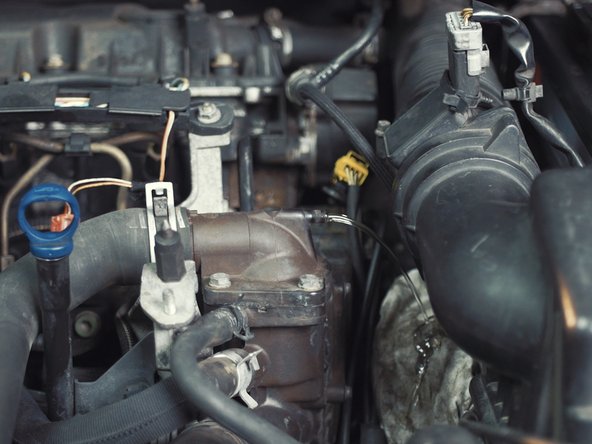
Ouvrir le purgeur présent sur le haut du circuit de refroidissement
-
Laisser le purgeur ouvert jusqu'à ce que le liquide sort sous forme de jet continue pendant quelques secondes tout en surveillent que le niveau de liquide ne descend trop sous le maxi
-
Sur certains modèles, la tête du purgeur s'ouvre avec une clé Allen ou autres, ne nécessite pas forcement de le retirer totalement
-
-
-
Le niveau est descendu sur le niveau max durant la purge, réajuster si besoin
-
-
-
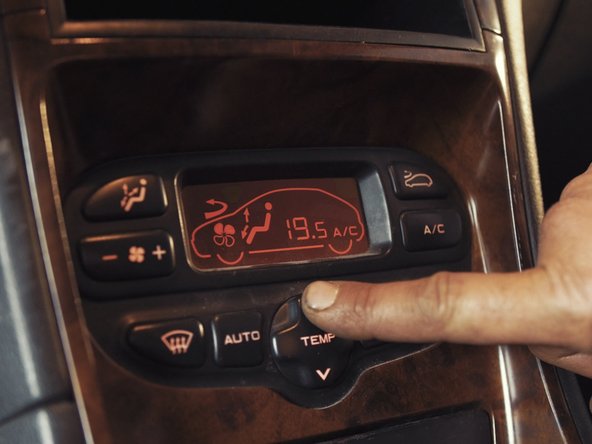
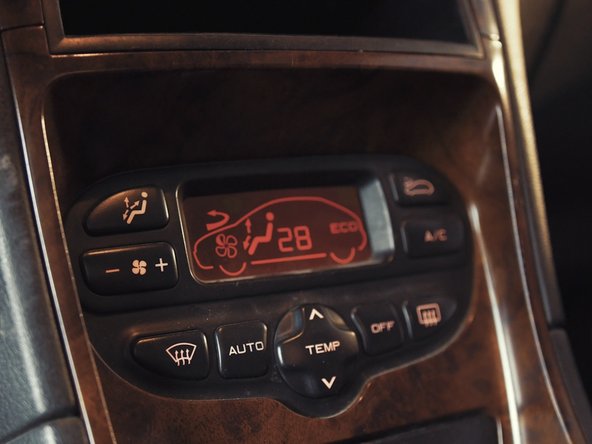
Monter la température de chauffage au maximum dans l'habitacle sans la climatisation et en activant le recyclage d'air si le véhicule en est équipé
-
Couper la ventilation ou positionner la sur le minium
-
Certain véhicule sont équipé d'un système de dérivation du circuit de chauffage, qui s'ouvre plus ou moins en fonction de la température demander dans l'habitacle, c'est pourquoi il est important d'ouvrir au maximum ce circuit pour favoriser la circulation du liquide.
-
-
-
Laisser le moteur chauffer tout en veillant à bien garder le niveau dans le bocal de liquide de refroidissement
-
Des éclaboussures peuvent jaillir du bocal, du aux bulles d'air qui s'échappe du circuit. Attention ne pas refermer le bouchon avant d'avoir entièrement chassé l'air du circuit
-
-
-
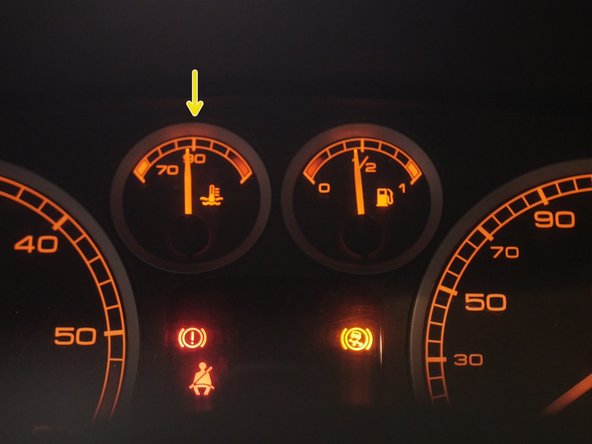
Laisser le véhicule chauffer jusqu'à 90°c, température où le ventilateur moteur devrait se lancer
-
Une fois le ventilateur arrêté, couper le moteur
-
-
-
Laisser le moteur refroidir environ 4 heures et remettez à niveau le bocal si besoin, entre le Mini et Maxi
-
Si le niveau est légèrement au dessus du maxi, il se mettra à niveau tout seul
-


Annulation : je n'ai pas terminé ce tutoriel.
2 autres ont terminé cette réparation.

Équipe

3 commentaires
Excellente explication faite étape par étape. Je ne sais pas comment faire maintenant j'ai compris. Merci
andre.arangois - Résolu à la publication Réponse
La mise en route du chauffage habitacle et une légende, inutile depuis longtemps
fourcademichel - Résolu à la publication Réponse