


Difficulté
Modérée
Étapes
8
Temps nécessaire
00:45:00 - 01:00:00

Ce tutoriel a été créé par la communauté
User contributed
Introduction
Ce tutoriel vous explique comment remplacer les plaquettes de frein arrières sur Opel Astra H 1.3CDTI de 2009.
-
-
Placer deux cales devant les roues avant et engager une vitesse.
-
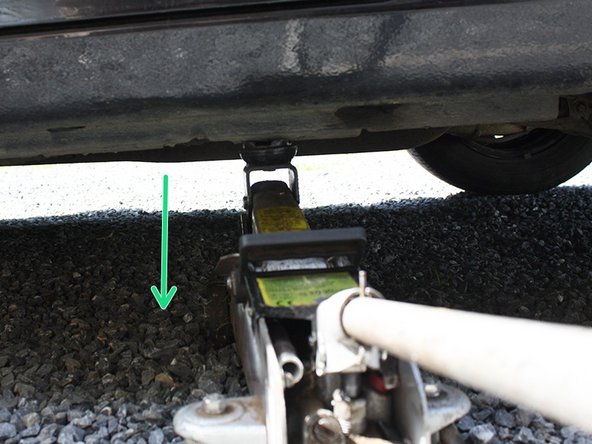
Mettre en place le cric au niveau du point de levage arrière.
-
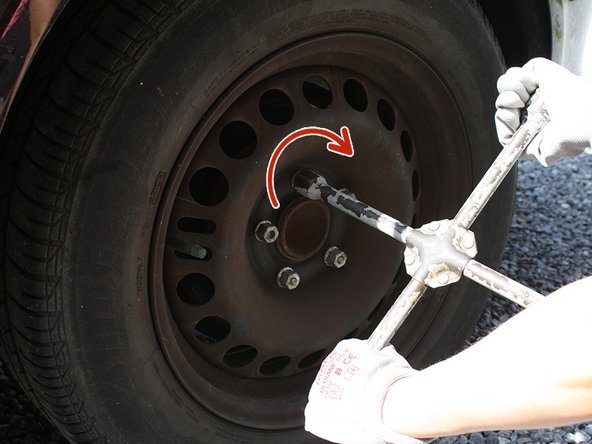
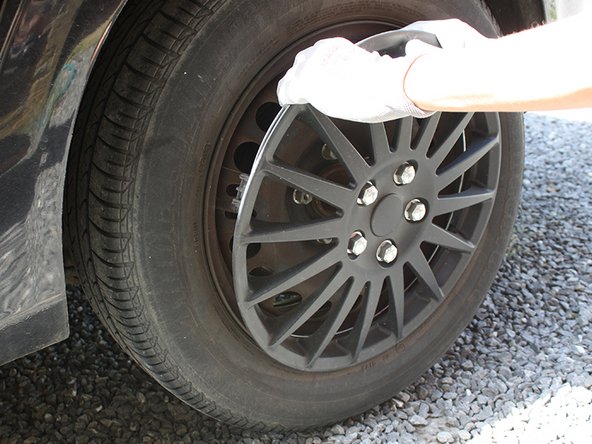
Ôter l'enjoliveur de roue si présent et débloquer, sans les dévisser complètement, les 5 vis de la roue arrière à l'aide d'une clé à douille de 17 ou d'une clé en croix.
-
-
-
Lever le véhicule jusqu'à ce que la roue ne touche plus le sol à l'aide du cric et sécuriser en plaçant une chandelle.
-
Finir de desserrer et ôter les vis de roue.
-
Déposer la roue.
-
Desserrer le frein à main afin de relâcher la pression sur les plaquettes.
-
-
-
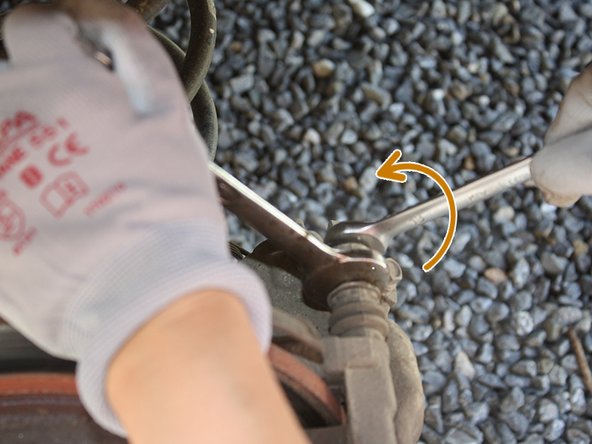
L'étrier est maintenu en place sur son support par 2 vis de 13mm (flèche rouges) supérieur et inférieur et bloqué par 2 contre écrous de 15mm (flèches bleues).
-
Placer une clé plate de 15mm sur le contre écrou afin de l'immobiliser et desserrer la vis avec une clé plate de 13mm. Extraire la vis de l'étrier et faire de même avec la vis inférieur.
-
Tirer l'étrier vers l'arrière afin d'accéder aux plaquettes de frein.
-
-
-
Avec du fil métallique suspendre l'étrier au ressort de suspension afin de soulager câbles et durites.
-
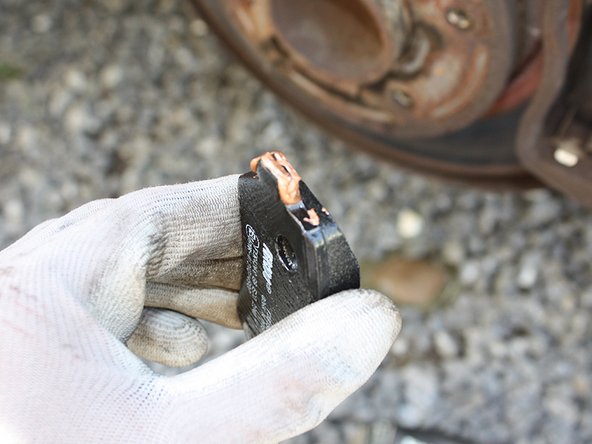
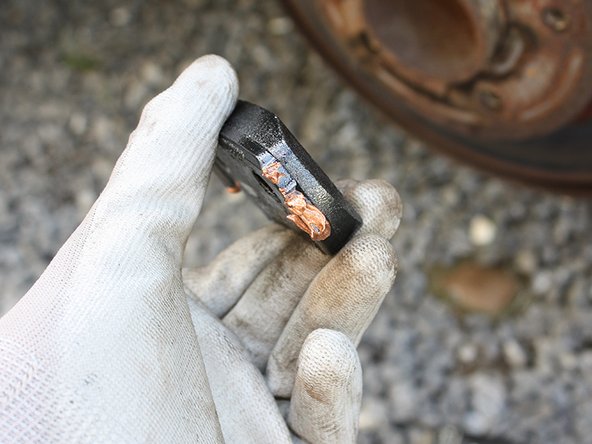
A l'aide d'un outil plat faire levier sur les plaquettes de frein afin de les extraire.
-
-
-
Nettoyer avec une brosse et du nettoyant frein la zone de support de plaquettes.
-
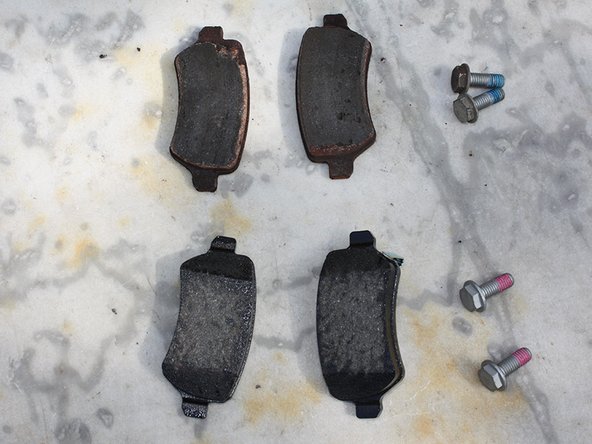
Comparer la forme, les dimensions et les vis des anciennes plaquettes de frein avec les nouvelles.
-
Changer systématiquement les vis des étrier de frein, elles sont fournies avec les plaquettes.
-
-
-
Mettre en place le repousse piston sur l'étrier et serrer le repousse piston afin d'enfoncer le piston jusqu'en butée afin de faciliter la mise en place des plaquettes neuves.
-
Appliquer de la graisse au cuivre sur les plaquettes au niveau des zones de contact plaquettes-étriers, cela facilitera l'insertion des plaquettes et limitera le bruit lors du freinage.
-
-
-
Positionner les nouvelles plaquettes de frein
-
Remettre en place l'étrier de frein et placer les vis d'étrier de frein
-
Maintenir en place le contre écrou avec la clé plate de 15mm et serrer la vis avec la clé plate de 13mm. Faire de même avec la seconde vis.
-
-
-
Serrer le frein à main.
-
Remonter la roue et serrer les vis, et remonter l'enjoliveur de roue si présent.
-
Appuyer plusieurs fois sur la pédale de frein afin de remettre en place le piston
-
Retirer la chandelle et faite descendre le cric afin de poser le véhicule au sol
-
Faite de même sur l'autre roue puis retirer les cales et contrôler le bon fonctionnement du frein à main.
-
Contrôler le niveau du liquide de frein qui doit être entre le mini et le maxi, en cas de niveau insuffisant faire l'appoint.
-


Annulation : je n'ai pas terminé ce tutoriel.
3 autres ont terminé cette réparation.