


Difficulté
Modérée
Étapes
6
Temps nécessaire
00:10:00
- Remplacement capteur ABS arrière 6 étapes

Ce tutoriel a été créé par la communauté
User contributed
Pièces
-
-
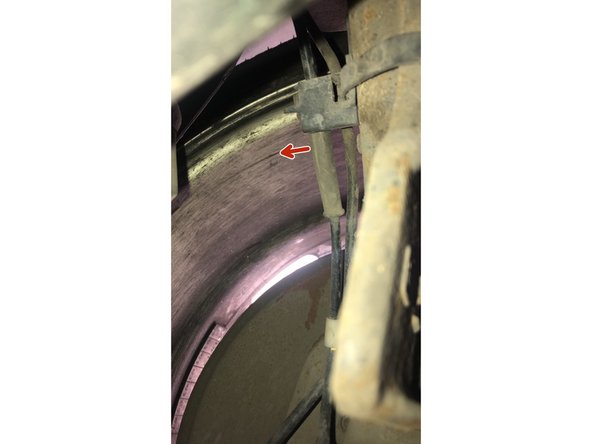
Suite à l'apparition du voyant ABS sur le tableau de bord, je branche le véhicule à un outil diagnostic qui m'indique " capteur arriere droit défectueux"
-
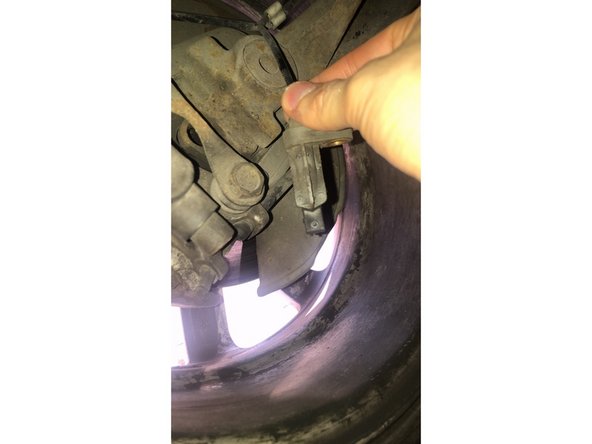
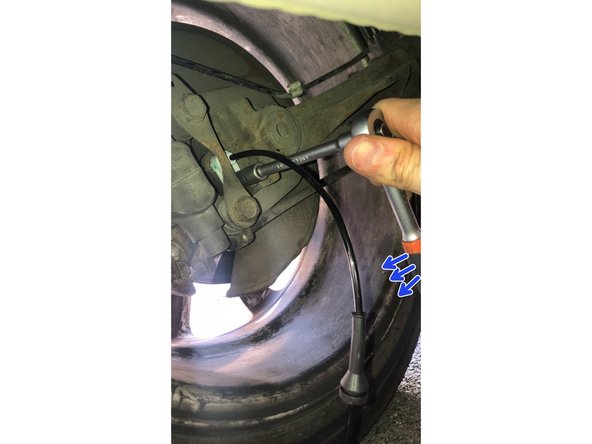
J'utilise un cliquet 3/4, une rallonge et une douille de 10 mm
-
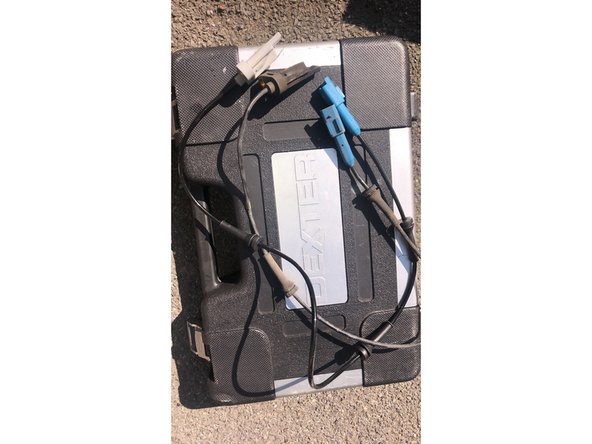
J'ai choisi un capteur ABS de marque Delphi
-


Annulation : je n'ai pas terminé ce tutoriel.
3 autres ont terminé cette réparation.